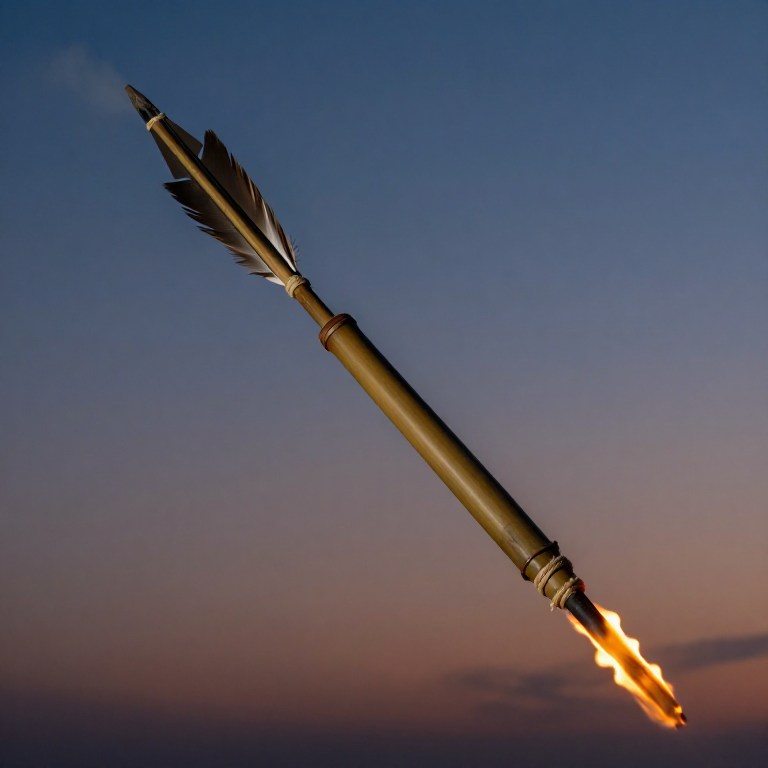


Building Chinese Fire Arrows — The First Rockets in Human History
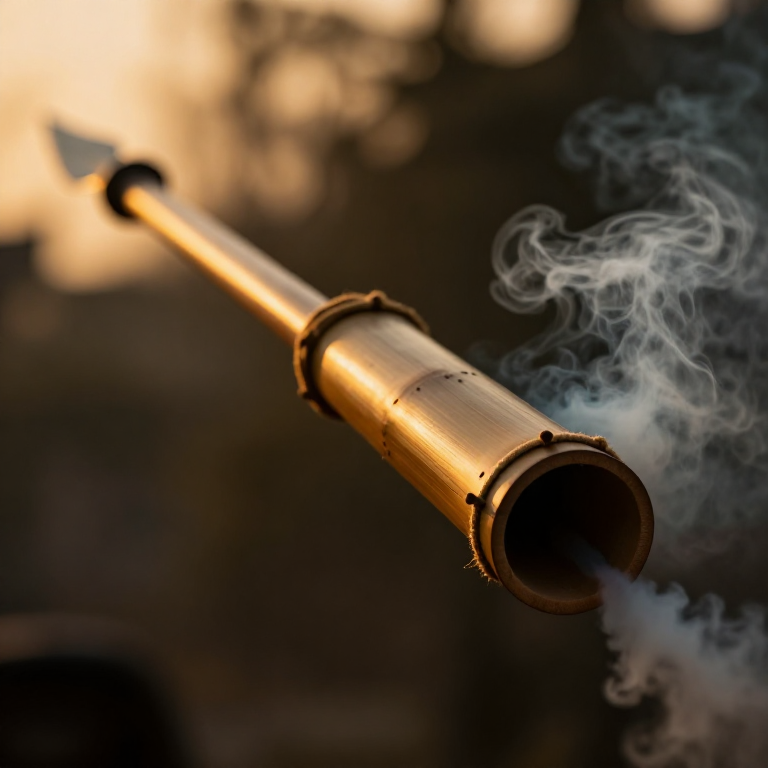
Chinese fire arrows (火箭, huǒ jiàn — literally 'fire arrows') represent the birth of rocketry. First documented in military use around 969 AD during the Song dynasty, they consisted of a tube of gunpowder attached to a standard arrow shaft. When ignited, the burning propellant generated thrust that propelled the arrow farther and faster than any bow could achieve — and the burning tube set fire to whatever it struck.
The critical innovation was the realization that gunpowder could do more than explode — it could push. By leaving one end of the tube open, the expanding gases escaped in a directed jet, creating forward thrust according to the principle that Newton would not formally describe for another 700 years. The earliest fire arrows used bamboo tubes, but later versions adopted paper casings rolled tightly and sealed with lacquer for more consistent burn rates.
At the Battle of Kaifeng in 1232 AD, the Jin dynasty defenders launched fire arrows en masse against the Mongol besiegers — the earliest documented large-scale use of rocket weapons in warfare. The Wujing Zongyao military manual of 1044 AD contains detailed instructions for fire arrow construction, including multi-stage rocket configurations where one tube ignites the next for extended range. These bamboo-and-gunpowder arrows are the direct ancestors of every rocket ever built, from Congreve war rockets to the Saturn V.
Instructions
Prepare the arrow shafts
Prepare the arrow shafts
Select straight bamboo shafts approximately 80-100 cm long and 8-10 mm in diameter. Song dynasty military arrows were longer and heavier than hunting arrows because they needed structural strength to carry the weight of the gunpowder tube without flexing in flight. Each shaft must be perfectly straight — roll it on a flat surface and discard any that wobble.
Scrape the bamboo smooth and remove any side nodes that would interfere with the propellant tube binding. The rear end of the shaft should be notched for a bowstring, and the front end sharpened to a point or fitted with a metal arrowhead. The propellant tube will be mounted behind the arrowhead, along the forward third of the shaft.
Materials for this step:
 Bamboo Poles5 pieces
Tools needed:
 Sharp Knife
Roll the propellant tubes from paper
Roll the propellant tubes from paper
Later Song dynasty fire arrows used paper tubes rather than bamboo for the propellant casing — paper offered more consistent wall thickness and burn characteristics. Cut mulberry bark paper into rectangles approximately 20 cm wide and 15 cm long. Roll each rectangle tightly around a wooden dowel (8-10 mm diameter) to form a tube, applying rice paste between layers to bond them.
Build up 5-7 layers of paper for sufficient structural strength. The tube must be tight enough to contain the burning powder without bursting prematurely, but thin enough that the combustion gases can eventually rupture the sealed front end. Remove the dowel carefully and allow the tubes to dry completely — at least 24 hours. Seal the exterior with a thin coat of tung oil to waterproof the paper.
Materials for this step:
 Mulberry Bark Paper10 sheets
 Tung Oil30 ml
Tools needed:
 Dowel Rod
Mix the rocket propellant
Mix the rocket propellant
Fire arrow propellant requires a slightly different composition than firecracker powder. The goal is sustained thrust, not instantaneous explosion — the powder must burn steadily for 2-3 seconds rather than detonating all at once. The Wujing Zongyao specifies a ratio with slightly less saltpeter than explosive-grade powder: approximately 70% saltpeter, 16% charcoal, and 14% sulfur.
The lower saltpeter content slows the burn rate. Additionally, the charcoal should be coarser than firecracker-grade — small granules rather than fine dust — which further controls the combustion speed. Grind each ingredient separately, then combine and mix gently. Prepare approximately 15-20 grams of propellant per arrow.
Materials for this step:
 Potassium Nitrate (saltpeter)70 g
 Charcoal16 g
 Native Sulfur (collected)14 g
Tools needed:
 Stone Mortar and Pestle (large)
Pack the propellant tubes
Pack the propellant tubes
Seal one end of each paper tube with a clay plug pressed firmly in place — this is the front end (the nozzle end remains open at the rear). Stand the tube upright with the sealed end down and pour the propellant in slowly, tamping it down with a wooden dowel after each addition. Pack the powder firmly and evenly — air gaps cause uneven burning and potential tube failure.
Fill the tube to within 2 cm of the open rear end. The open rear end is the nozzle — the combustion gases will escape through this opening, creating the thrust that propels the arrow. Do not seal the rear end. The front clay plug acts as a blast cap — when internal pressure builds sufficiently, it ruptures and adds a final burst of flame at impact.
Tools needed:
Dowel RodAttach the fuse
Attach the fuse
Insert a saltpeter-soaked hemp cord fuse into the open rear end of each tube, pushing it approximately 2 cm into the packed propellant. The fuse must make firm contact with the powder charge. Leave 5-8 cm of fuse extending from the rear — this is lit just before the arrow is shot from the bow.
The timing is critical in combat use: the archer lights the fuse, nocks the arrow, draws, and releases before the fuse burns down to the propellant. Song dynasty military manuals describe coordinated volleys where entire ranks of archers lit and fired simultaneously, creating a wall of rocket-propelled arrows.
Materials for this step:
 Hemp Cord1 meterPotassium Nitrate (saltpeter)30 g
Bind the propellant tube to the arrow shaft
Bind the propellant tube to the arrow shaft
Position the propellant tube along the forward third of the arrow shaft, with the open nozzle end pointing rearward (toward the feathered end). The thrust direction must align with the arrow's axis of flight — any misalignment will cause the arrow to spiral or veer off course.
Bind the tube to the shaft using thin hemp cord soaked in animal glue, wrapping tightly in a spiral pattern for at least 8 cm at the front and rear of the tube. The binding must be secure enough to withstand the vibration of the bowstring release and the acceleration of the rocket thrust without shifting. Allow the glue to dry completely before use.
Materials for this step:
Hemp Cord1 meterAdd fletching for stability
Add fletching for stability
Attach three feather vanes to the rear of the arrow shaft, spaced 120 degrees apart. Song dynasty military arrows used goose or crane feathers split and trimmed to approximately 12 cm long. The fletching is critical for a fire arrow — without it, the off-axis thrust from any imperfection in the propellant tube would send the arrow tumbling immediately.
Bind each feather to the shaft with fine silk thread and seal with lacquer. The fletching must be positioned behind the propellant tube's nozzle opening so the exhaust gases do not burn the feathers before the arrow reaches its target. Leave at least 3 cm between the nozzle end and the nearest feather.
Materials for this step:
 Feathers15 pieces
Tools needed:
Sharp KnifeTest-fire the fire arrow
Test-fire the fire arrow
Set up a target — a dirt bank or hay bale — at a distance of 30-50 meters in an open field clear of dry vegetation and structures. Fire arrows have unpredictable flight paths until the maker develops consistent tube-packing technique, so a wide safety margin is essential. Clear all people and animals from a 50-meter radius downrange.
Light the fuse, nock the arrow, and draw the bow. Release the arrow before the fuse burns to within 1 cm of the tube — approximately 5-8 seconds after lighting. The arrow will fly normally from the bow, then accelerate dramatically as the rocket propellant ignites mid-flight, trailing fire and smoke. A well-made fire arrow can extend the range of a standard bow by 50-100% and arrives at the target trailing flame.
Tools needed:
 Chemical Splash Goggles
 Nitrile Rubber Gloves (Thick)
Materials
8- 5 piecesPlaceholder
- 10 sheetsPlaceholder
- Placeholder
- Placeholder
Connected Blueprint Materials
Related Blueprints
These blueprints share knowledge with this one — techniques, materials, or principles that connect them in the learning graph.
Related blueprints
Other builds that share materials, tools, or techniques with this one.
CC0 Public Domain
This blueprint is released under CC0. You are free to copy, modify, distribute, and use this work for any purpose, without asking permission.
Support the Maker by purchasing products through their Blueprint where they earn a Maker Commission set by Vendors, or create a new iteration of this Blueprint and include it as a connection in your own Blueprint to share revenue.