সহযোগিতা
কলা
সৌন্দর্য এবং সুস্থতা
ক্রাফট
সংস্কৃতি ও ইতিহাস
বিনোদন
পরিবেশ
খাদ্য ও পানীয়
রিভার্স ইঞ্জিনিয়ারিং
বিজ্ঞান
খেলাধুলা
টেকনোলজি
পরিধানযোগ্য
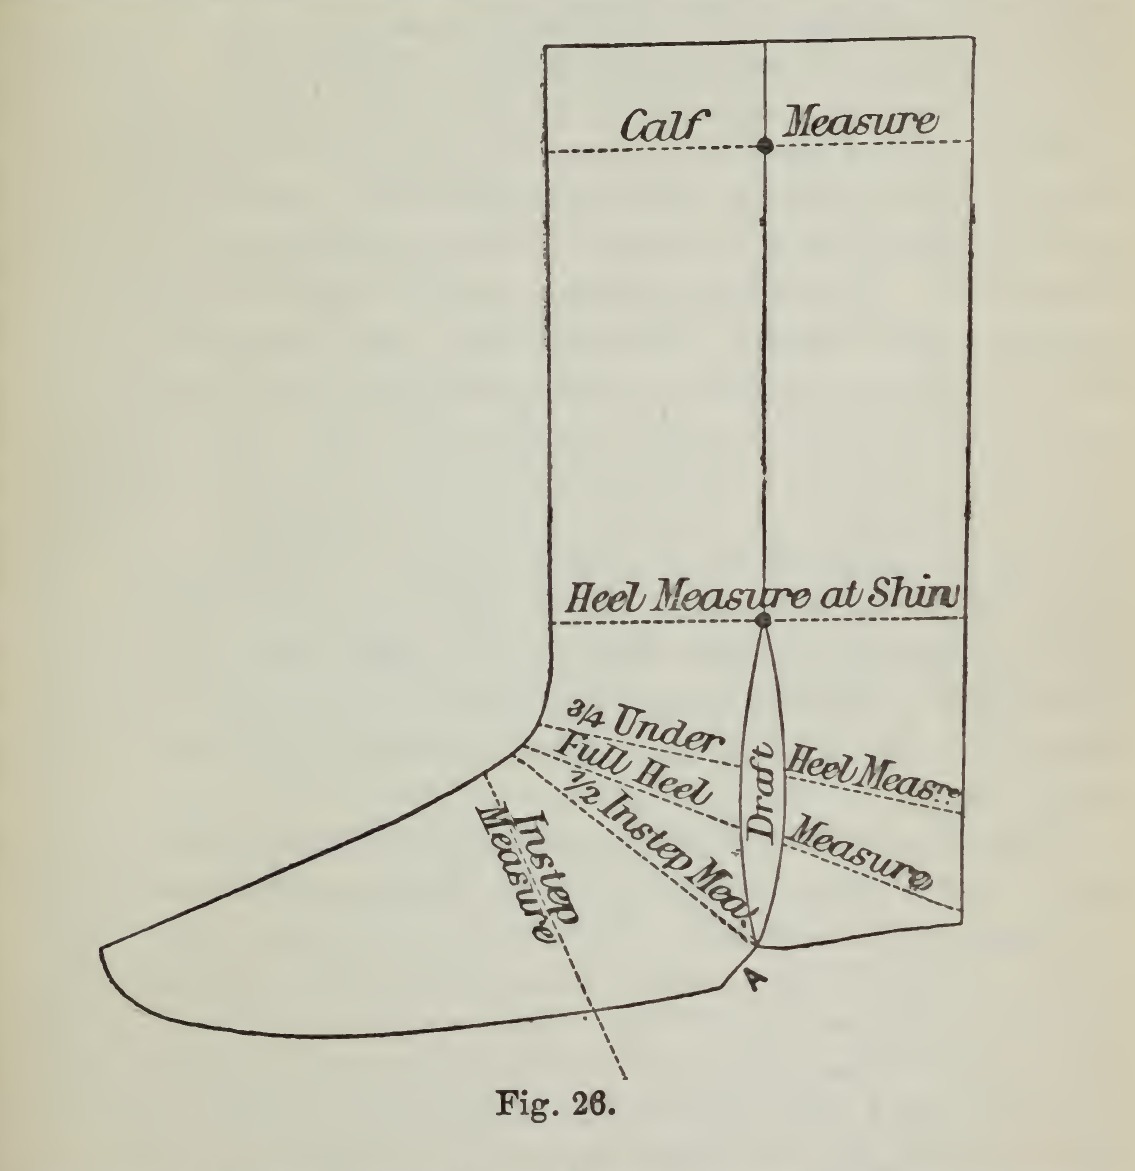


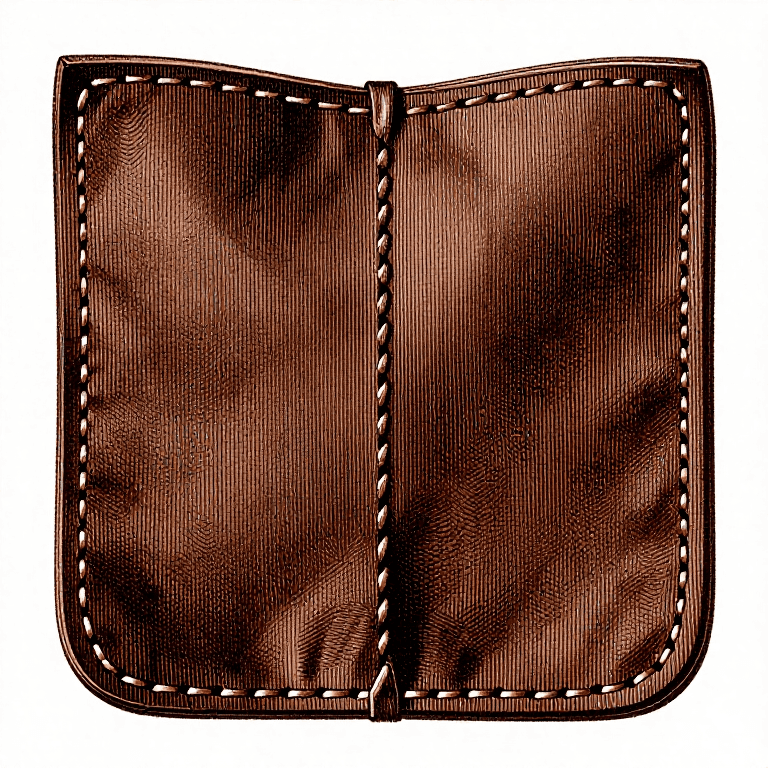
Wellington Boot Leg: Drafted, Lined and Closed With a Welt in the Side Seams (Leno, 1885)
The Wellington, a tall pull-on boot with a seam down each side, is the ancestor of the cowboy boot. From John Bedford Leno's The Art of Boot and Shoemaking (1885): how to draft the front and back from the customer's measures, line them, put on the counter, close the side seams with a leather welt in the clams, and finish the leg with its pull-on straps. "As it was cut at the time of its introduction, so it is cut now."
This makes the upper; lasting and soling it into a boot are the next blueprints.
উন্নত
About 2 days
নির্দেশাবলি
1
1
The draft marks
The draft marks
Jupyter নোটবুক লোড হচ্ছে…
2
2
Read The Art of Boot and Shoemaking, ch. IX
Read The Art of Boot and Shoemaking, ch. IX
"As a rule the form and cut of the majority of boots and shoes undergo considerable variations. No such change has characterized the history of the Wellington."
3
3
Draft the front and back
Draft the front and back
Cut the back at the bottom of the counter so the cut slopes up a quarter of an inch from the bottom of the draft, as his Fig. 26. Put front and back together as they will be when closed, front over back. Measure the calf and pierce through both with the awl at the centre of the measure; measure the shin, which should equal the heel measure, and pierce at its centre. Cut the front of the leg along a straight-edge through the awl marks, then the back the same way. Cut the corner off the front at A, at the bottom of the side seam, half the measure of instep.
এই ধাপের উপকরণ:
 বাছুরের চামড়া1 টুকরা
প্রয়োজনীয় সরঞ্জাম:
 ফিতা-মাপ
 আউল (ছিদ্রকারী)
 সোজা ধার
 চামড়া কাটার ছুরি
4
4
Cut the draft
Cut the draft
Mark the side half the depth of instep for the top of the draft. Overlap and measure at the top of the counter, three quarters of an inch less than the heel measure, and pierce at the centre. Measure from the throat to a quarter of an inch from the bottom of the counter for the full heel measure and pierce at half that distance. Cut the back from the top-draft mark in a semi-oval to the bottom of the counter, and the front the same, using the back as a guide. With the last laid on them, cut away the surplus round the bottom of the front, leaving half an inch to be sewn away. Cut the top lining and side linings and shape the counter to the back.
এই ধাপের উপকরণ:
বাছুরের চামড়া1 টুকরাপ্রয়োজনীয় সরঞ্জাম:
ফিতা-মাপআউল (ছিদ্রকারী)চামড়া কাটার ছুরি5
5
Fit and paste the linings
Fit and paste the linings
Fit the side linings on the board held on your knees, then cut and skive them thin at the edges. If the front is brittle or harsh in the grain, rub it soft. Scrape the dirt off the grain on the vamp side with a blunt knife and paste the linings on. If front or back are light, paste strips of roan from the joint of the linings along their inside edges, the back's running from just below the counter up to the top lining.
এই ধাপের উপকরণ:
বাছুরের চামড়া1 টুকরা রোন চামড়া (রঙিন ভেড়ার চামড়া)1 টুকরা
 গমের আটার আঠা1 টুকরা
প্রয়োজনীয় সরঞ্জাম:
 পাইন কাঠের তক্তাচামড়া কাটার ছুরি
 চামড়া পাতলা করার ছুরি
6
6
Fit the counter
Fit the counter
Choose a counter that needs no stiffener; if it is light, put a stiffener between counter and back. Skive the counter thin and let it run over to the front, where it is held by a row or rows of stabbing, "commended for the support it gives to the boot". Fit the legs and, when the paste is dry, line the front.
এই ধাপের উপকরণ:
বাছুরের চামড়া1 টুকরাগমের আটার আঠা1 টুকরাপ্রয়োজনীয় সরঞ্জাম:
চামড়া পাতলা করার ছুরিচামড়া কাটার ছুরি7
7
Whip the side linings and stitch the counter
Whip the side linings and stitch the counter
Whip or hem the side linings on with awl or needle, leaving no thread marks outside, and not below the joints of the foot. The awl should have no thickness behind its point, no keenness at the side, and be slightly hooked. Stitch the counter on, with the two back counter rows holding counter and stiffener. Mark the holes with the pricker, teeth smooth, struck evenly.
এই ধাপের উপকরণ:
 মসিনার সুতা1 টুকরা
প্রয়োজনীয় সরঞ্জাম:
আউল (ছিদ্রকারী) দুটি জিন-সেলাইয়ের সুচ
 চামড়ার সেলাই ছেনি
8
8
Close the side seams
Close the side seams
With flax thread suited to the leather, put the back in the clams grain side out, top toward you, the front held the same on the left side, and the small strip of leather that forms the welt between them; close up the sides. Keep the stitches regular and an equal distance from the edges; too many stitches weaken the upper. Insert the closer's block, wet the seam slightly and rub it smooth with the long stick.
এই ধাপের উপকরণ:
মসিনার সুতা1 টুকরাবাছুরের চামড়া1 টুকরা জল1 টুকরা
প্রয়োজনীয় সরঞ্জাম:
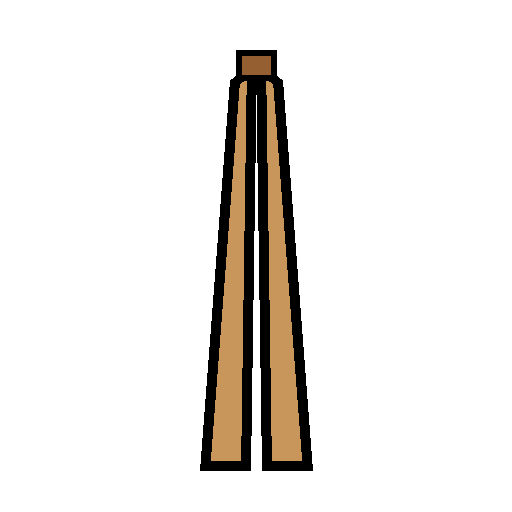 সেলাইয়ের কাঠের চিমটাআউল (ছিদ্রকারী)দুটি জিন-সেলাইয়ের সুচ
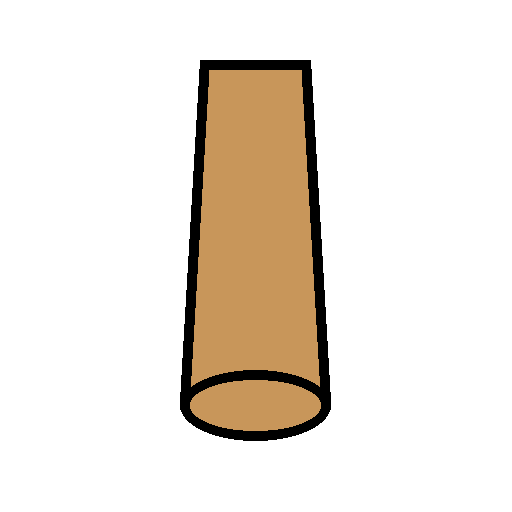 সেলাইকারীর কাঠের ছাঁচ
 ঘষার কাঠি
9
9
Line the top and turn the leg
Line the top and turn the leg
Cut the top lining to the size of the leg and whip it on front and back. Turn the boot, put the block in again and make the seam flat. Take the surplus of the welt away with the welt-cutter, carefully, "or the upper may suffer considerable damage", and set the welt up with the welt-setter.
এই ধাপের উপকরণ:
বাছুরের চামড়া1 টুকরামসিনার সুতা1 টুকরাপ্রয়োজনীয় সরঞ্জাম:
দুটি জিন-সেলাইয়ের সুচসেলাইকারীর কাঠের ছাঁচ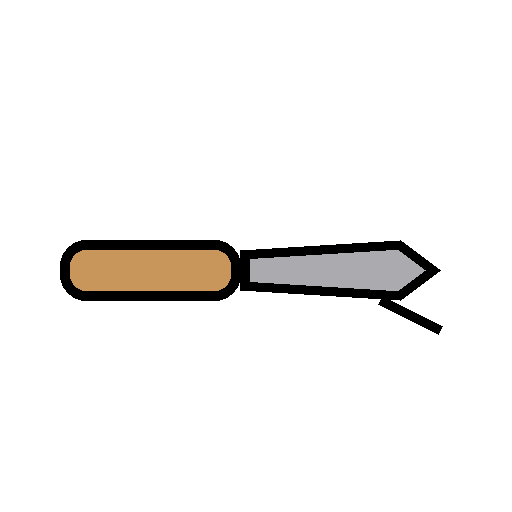 ওয়েল্ট কাটার
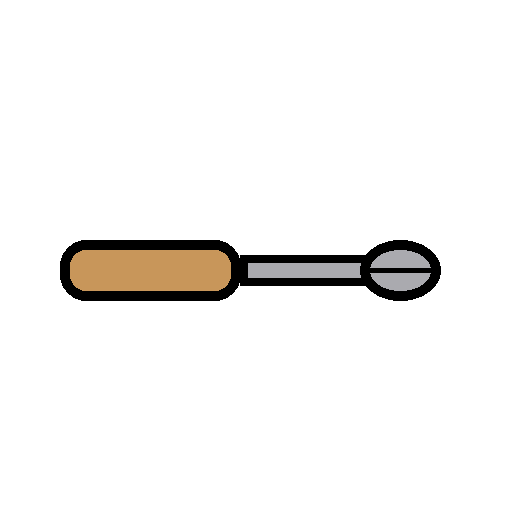 ওয়েল্ট সেটার
10
10
Put in the straps and finish
Put in the straps and finish
Cut a slit in the top lining and insert the straps. Put the boot on the tree and leave it until dry; then stab the top and straps. Set up the welt with a solution of gum arabic and ink or water.
এই ধাপের উপকরণ:
বাছুরের চামড়া1 টুকরামসিনার সুতা1 টুকরা গঁদ (গাম অ্যারাবিক)1 টুকরা
 কালি (কার্বন কালো)1 টুকরা
প্রয়োজনীয় সরঞ্জাম:
 কাঁচি
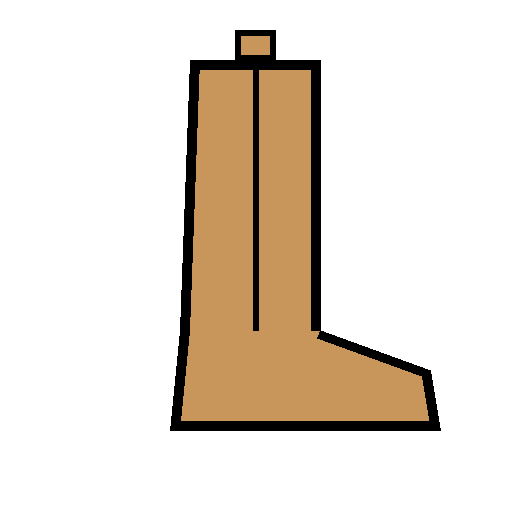 বুটের ছাঁচ (বুট ট্রি)আউল (ছিদ্রকারী)দুটি জিন-সেলাইয়ের সুচওয়েল্ট সেটার
11
11
Troubleshooting
Troubleshooting
Wellington leg troubleshooting.
Flow
Loading...
12
12
History and honest limits
History and honest limits
From **The Art of Boot and Shoemaking** by John Bedford Leno, Crosby Lockwood, London, 1885 (archive.org artofbootshoemak00leno, an 1889 printing), chapter IX, "Fitting and Closing", pp. 66-69: "The Light Wellington" and "How to Cut and Draft a Wellington". For a stout Wellington he grooves the edges with the closer's plough; that tool is not used here. He names no leather for side linings or counter; calf is ours. The metric figures are ours. This blueprint makes the leg (the upper); lasting, welting, soling and heeling it are the next blueprints.
উপকরণ
7- 7 টুকরাপ্লেসহোল্ডার
- প্লেসহোল্ডার
- 1 টুকরাপ্লেসহোল্ডার
- 4 টুকরাপ্লেসহোল্ডার
- 1 টুকরাপ্লেসহোল্ডার
- 1 টুকরাপ্লেসহোল্ডার
- 1 টুকরাপ্লেসহোল্ডার
প্রয়োজনীয় সরঞ্জাম
15- 1 vendor sell this, none ship to you yetপ্লেসহোল্ডার
- প্লেসহোল্ডার
- প্লেসহোল্ডার
- প্লেসহোল্ডার
- প্লেসহোল্ডার
- প্লেসহোল্ডার
- প্লেসহোল্ডার
- প্লেসহোল্ডার
- প্লেসহোল্ডার
- প্লেসহোল্ডার
- প্লেসহোল্ডার
- প্লেসহোল্ডার
- প্লেসহোল্ডার
- প্লেসহোল্ডার
- প্লেসহোল্ডার
এই ব্লুপ্রিন্ট যা তৈরি করে
সম্পর্কিত ব্লুপ্রিন্ট
এই ব্লুপ্রিন্টগুলি জ্ঞান ভাগ করে — কৌশল, উপকরণ বা নীতি
CC0 পাবলিক ডোমেন
এই ব্লুপ্রিন্ট CC0-এর অধীনে প্রকাশিত। আপনি অনুমতি ছাড়াই যেকোনো উদ্দেশ্যে এটি অনুলিপি, পরিবর্তন, বিতরণ ও ব্যবহার করতে পারেন।
মেকারের ব্লুপ্রিন্টের মাধ্যমে পণ্য কিনে তাঁকে সমর্থন করুন, যেখানে তিনি আয় করেন মেকার কমিশন বিক্রেতাদের নির্ধারিত, অথবা এই ব্লুপ্রিন্টের একটি নতুন সংস্করণ তৈরি করে নিজের ব্লুপ্রিন্টে সংযোগ হিসেবে যুক্ত করে আয় ভাগ করুন।