কলা
সৌন্দর্য এবং সুস্থতা
ক্রাফট
সংস্কৃতি ও ইতিহাস
বিনোদন
পরিবেশ
খাদ্য ও পানীয়
রিভার্স ইঞ্জিনিয়ারিং
বিজ্ঞান
খেলাধুলা
টেকনোলজি
পরিধানযোগ্য
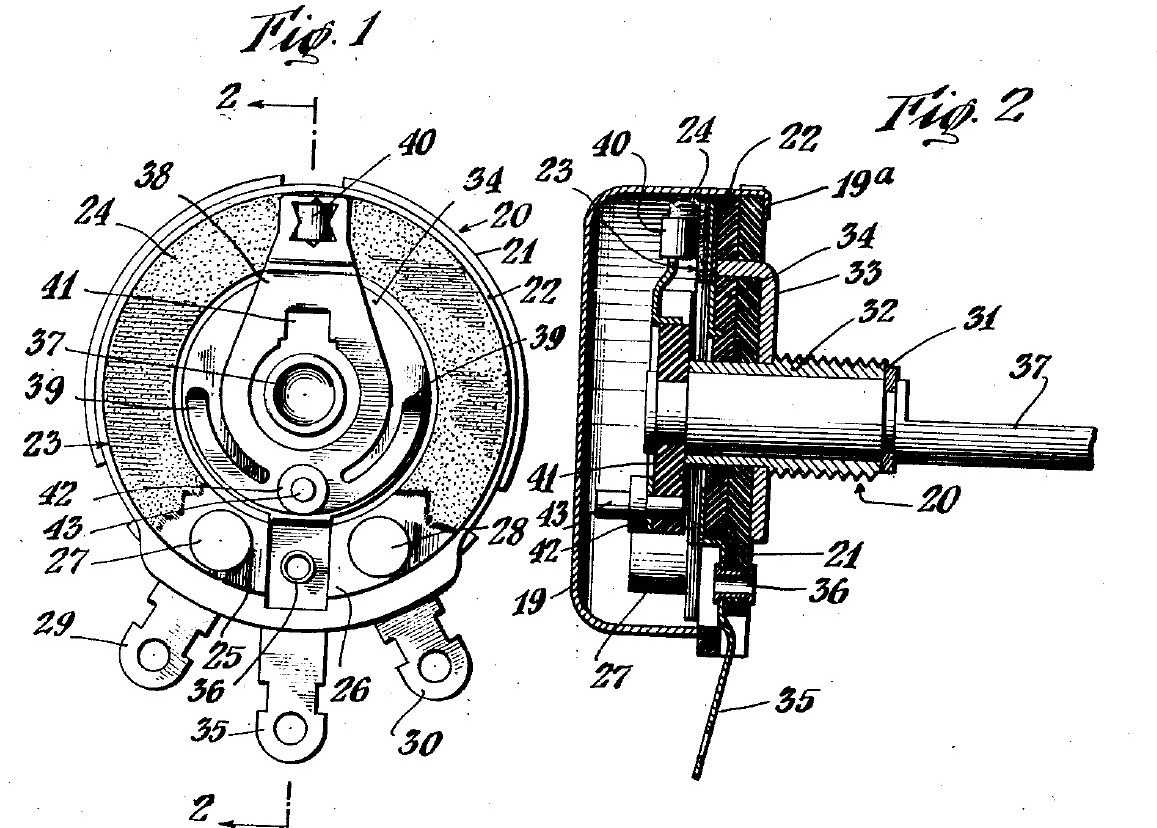


Potentiometer: Mallory Volume Control on a Tung-Oil Paper Ring
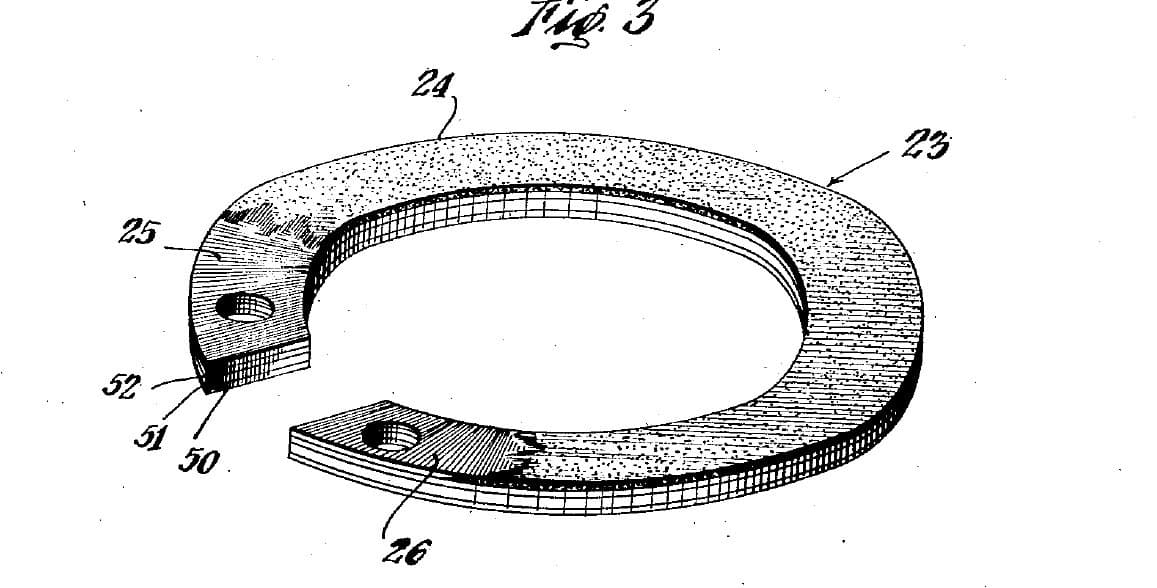
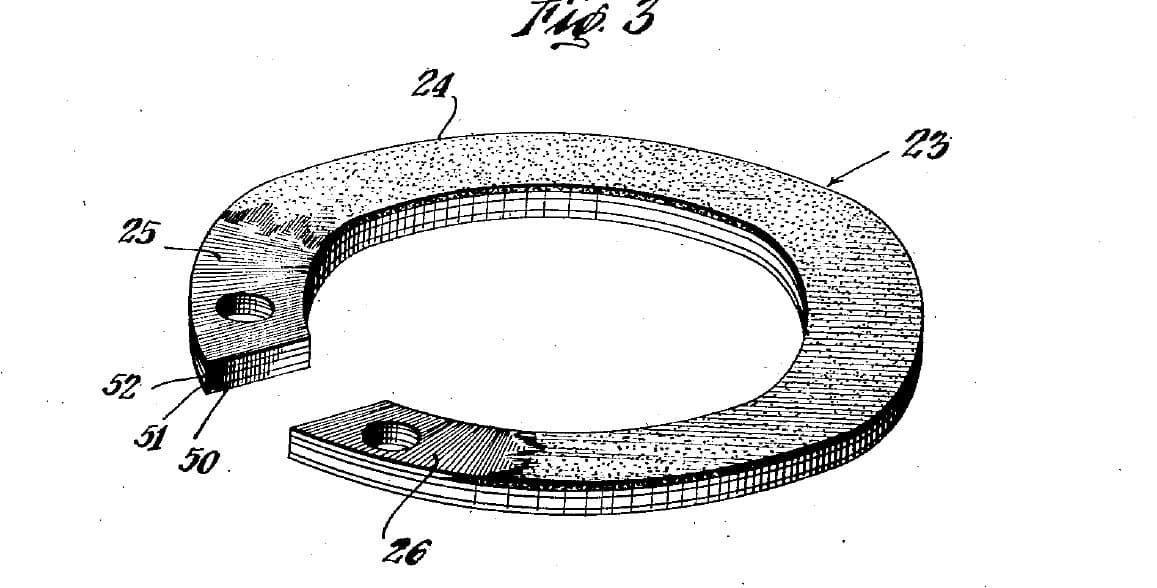
A 1930s radio volume control from Mallory's patent (US 2,144,925, 1939). A carbon ring sits on a base of two resin-fibre discs. A spring arm on the shaft wipes the ring with one contact and a centre metal ring with its fingers, so turning the knob changes the resistance between the centre lug and either end lug. The patent gives no sizes; the parts are named by what they do.
The picture: the patent's drawing (Figs. 1 and 2).
মধ্যবর্তী
2 hours
নির্দেশাবলি
1
1
Clamp the two base discs on the bushing
Clamp the two base discs on the bushing
Stack two discs of resin-impregnated fibre. A metal bushing through their centres clamps them together, with a metal disc clamped against the back of the rear disc. Ours: close the bushing with a hammer and rivet set.
এই ধাপের উপকরণ:
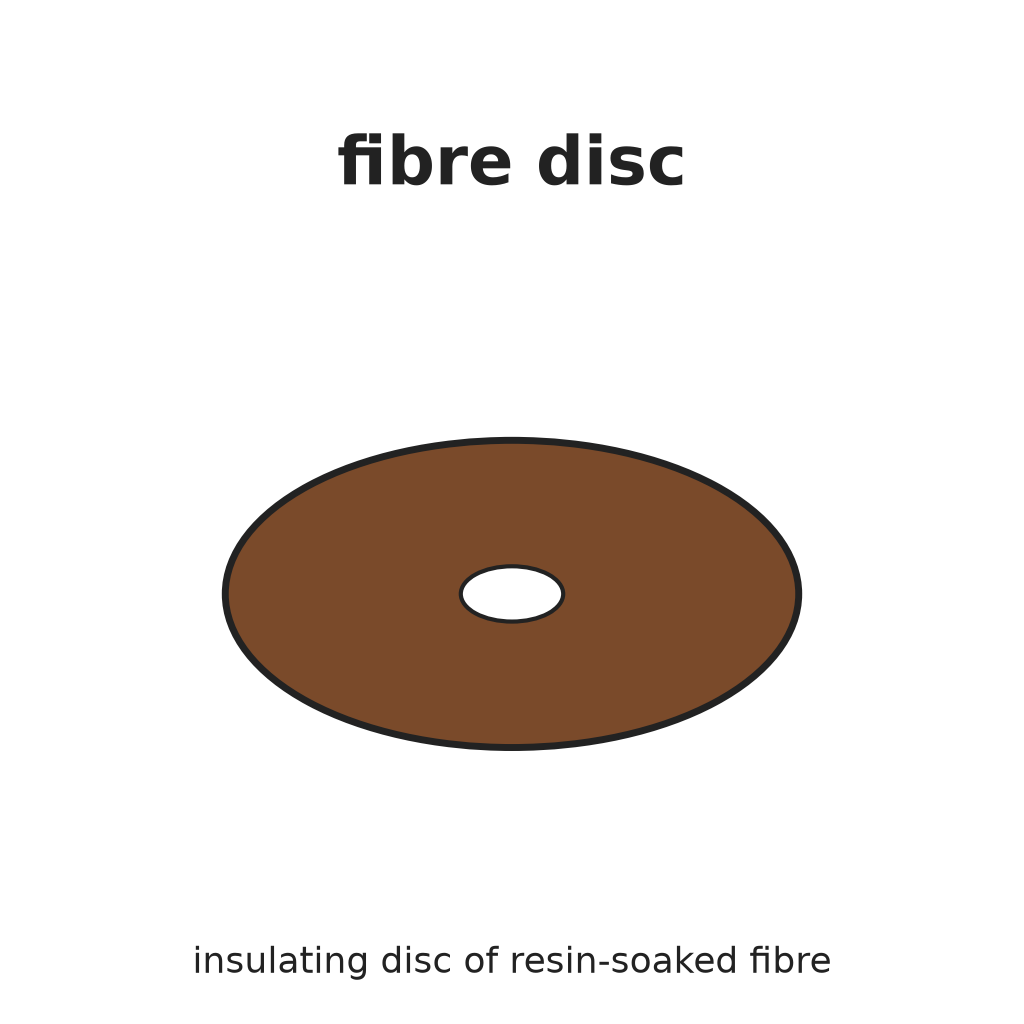 রেজিনে ভেজানো ফাইবার ডিস্ক2 টুকরা
 ধাতব বুশিং1 টুকরা
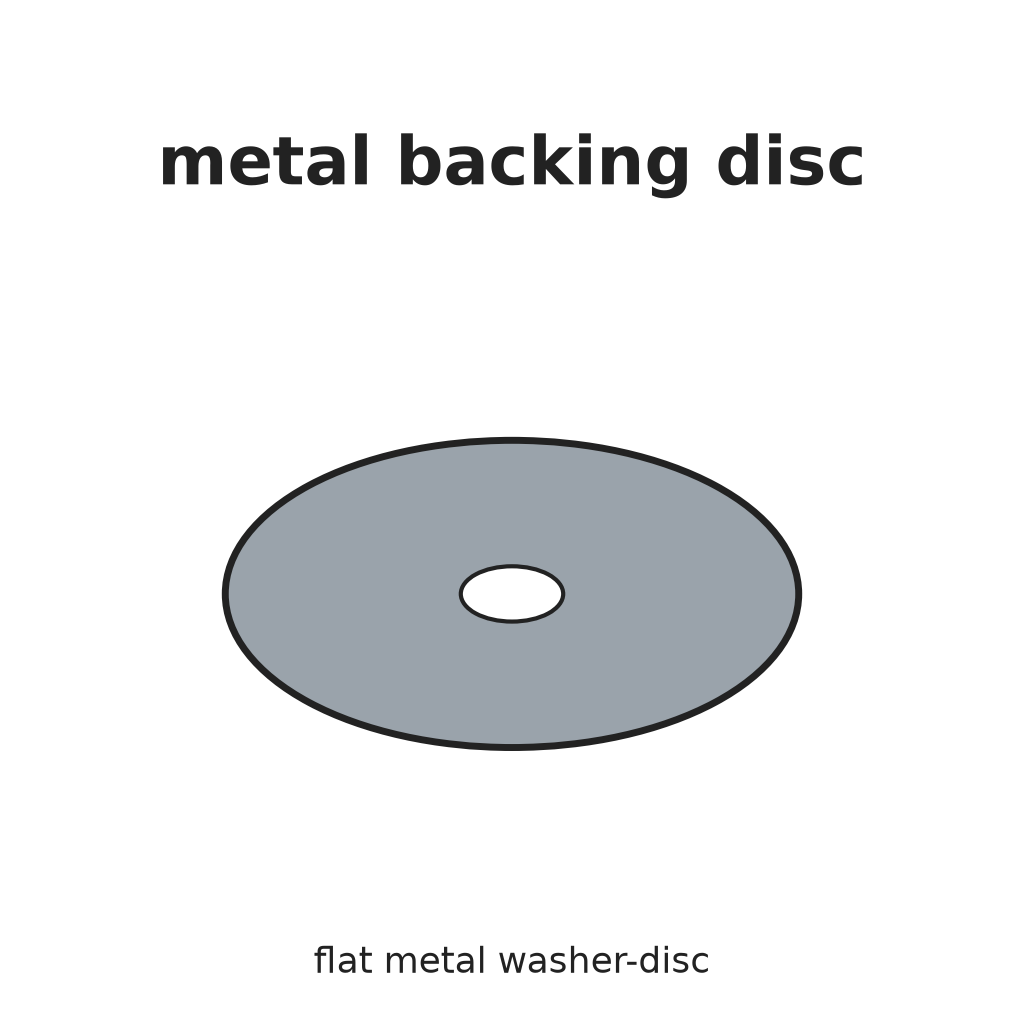 ধাতব ব্যাকিং ডিস্ক1 টুকরা
প্রয়োজনীয় সরঞ্জাম:
 রিভেট হাতুড়ি
 রিভেট সেট
2
2
Fit the centre contact ring
Fit the centre contact ring
Lay the metal contact ring, with its own terminal lug, on the face of the front disc, centred. An eyelet (or rivet) through the lug holds it. Ours: set with a rivet set and hammer.
এই ধাপের উপকরণ:
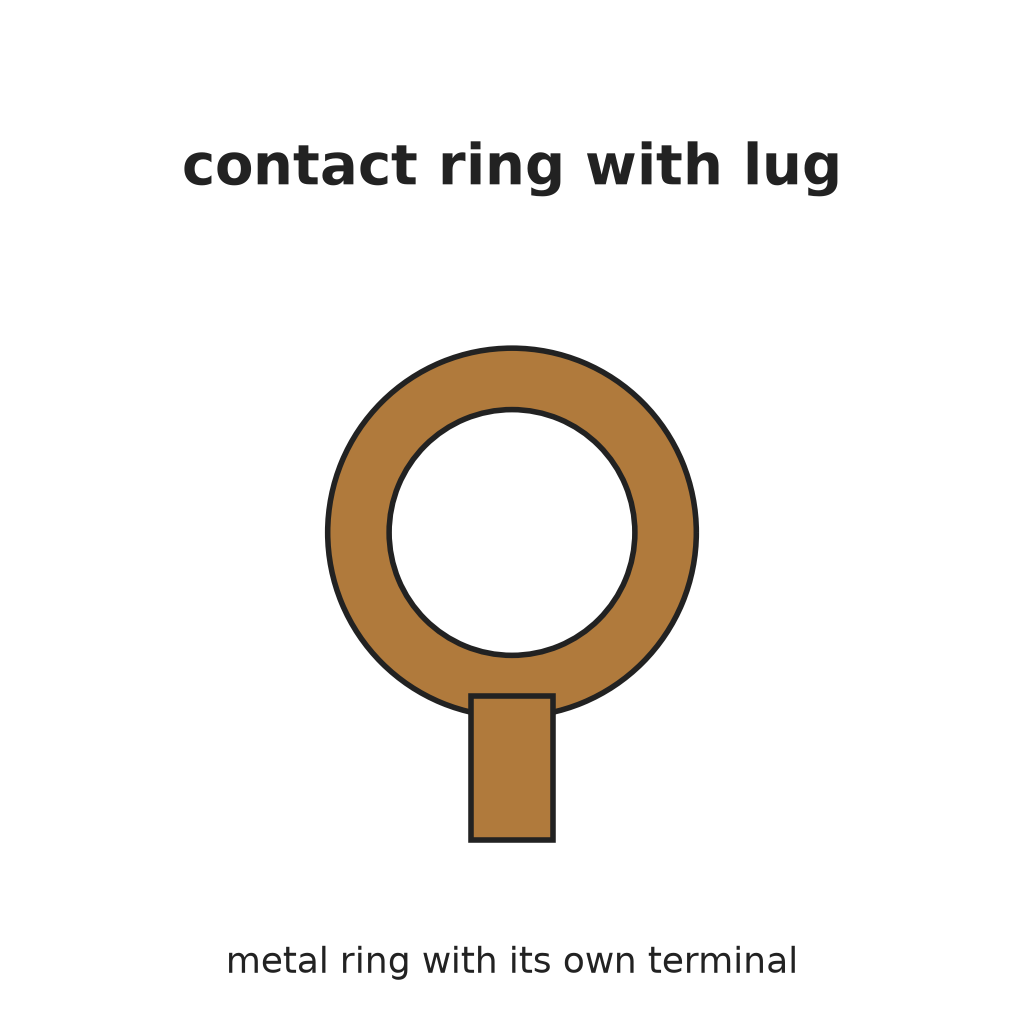 টার্মিনাল লাগ সহ কন্টাক্ট রিং1 টুকরা
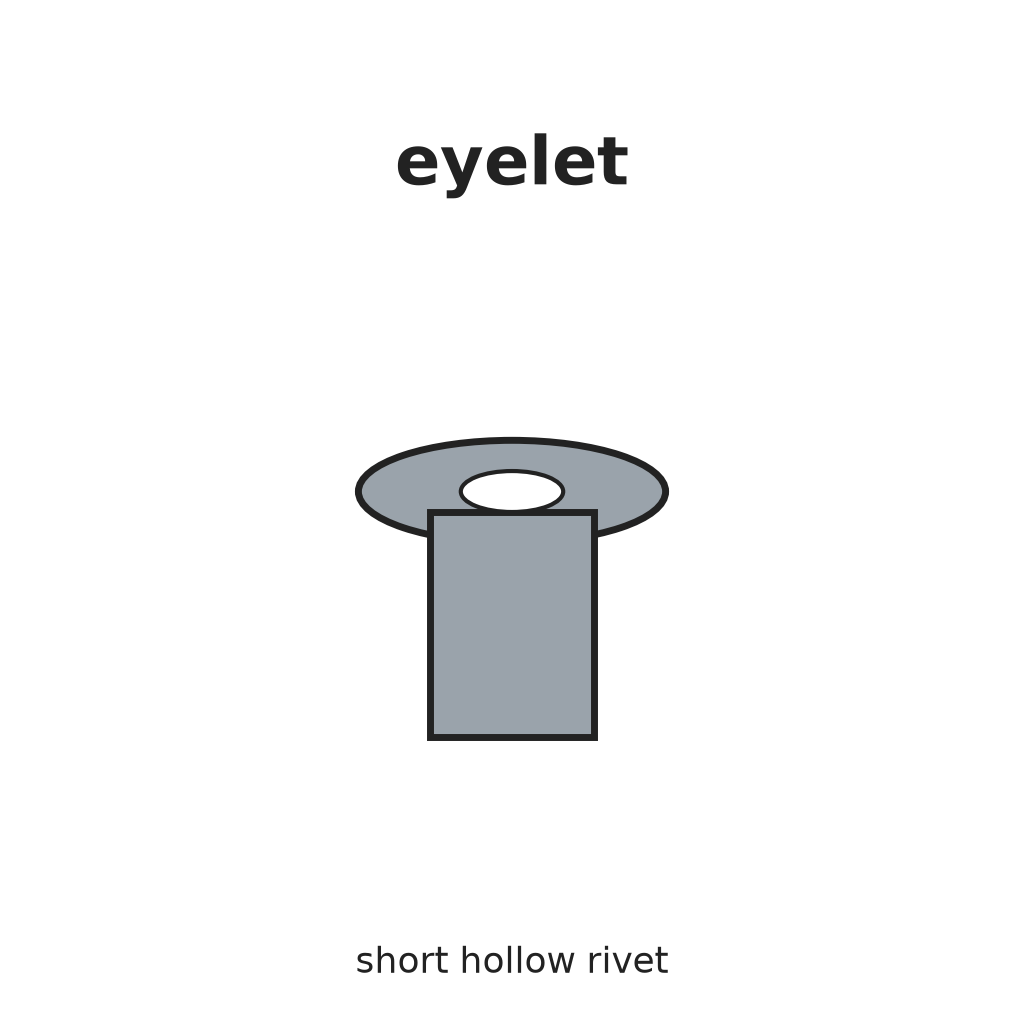 আইলেট1 টুকরা
প্রয়োজনীয় সরঞ্জাম:
রিভেট হাতুড়িরিভেট সেট3
3
Bolt on the resistance ring
Bolt on the resistance ring
Lay the carbon resistance ring on the front disc, round the contact ring. Two terminal bolts pass through the ring's silver-painted ends and the disc; each holds a terminal lug under the disc. The bolts clamp the ring and connect its ends.
এই ধাপের উপকরণ:
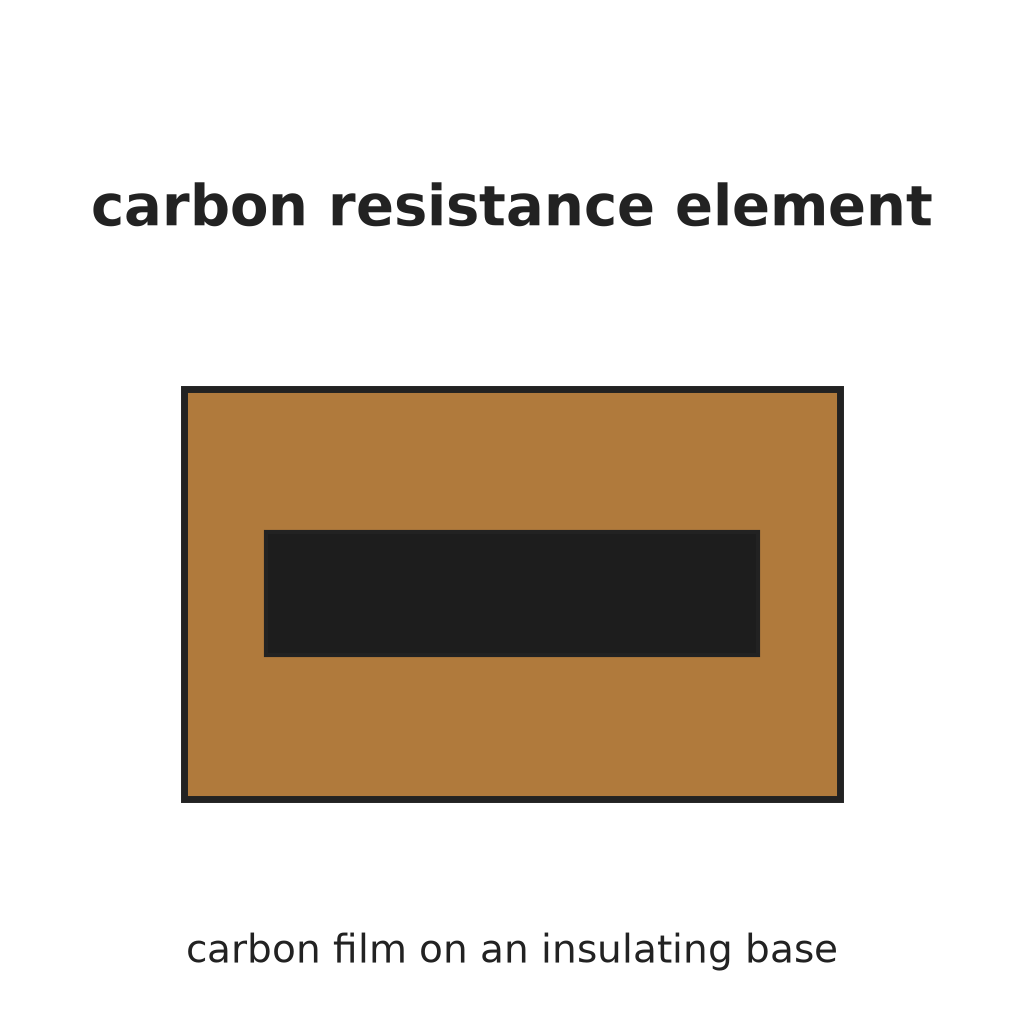 কার্বন রেজিস্ট্যান্স এলিমেন্ট1 টুকরা
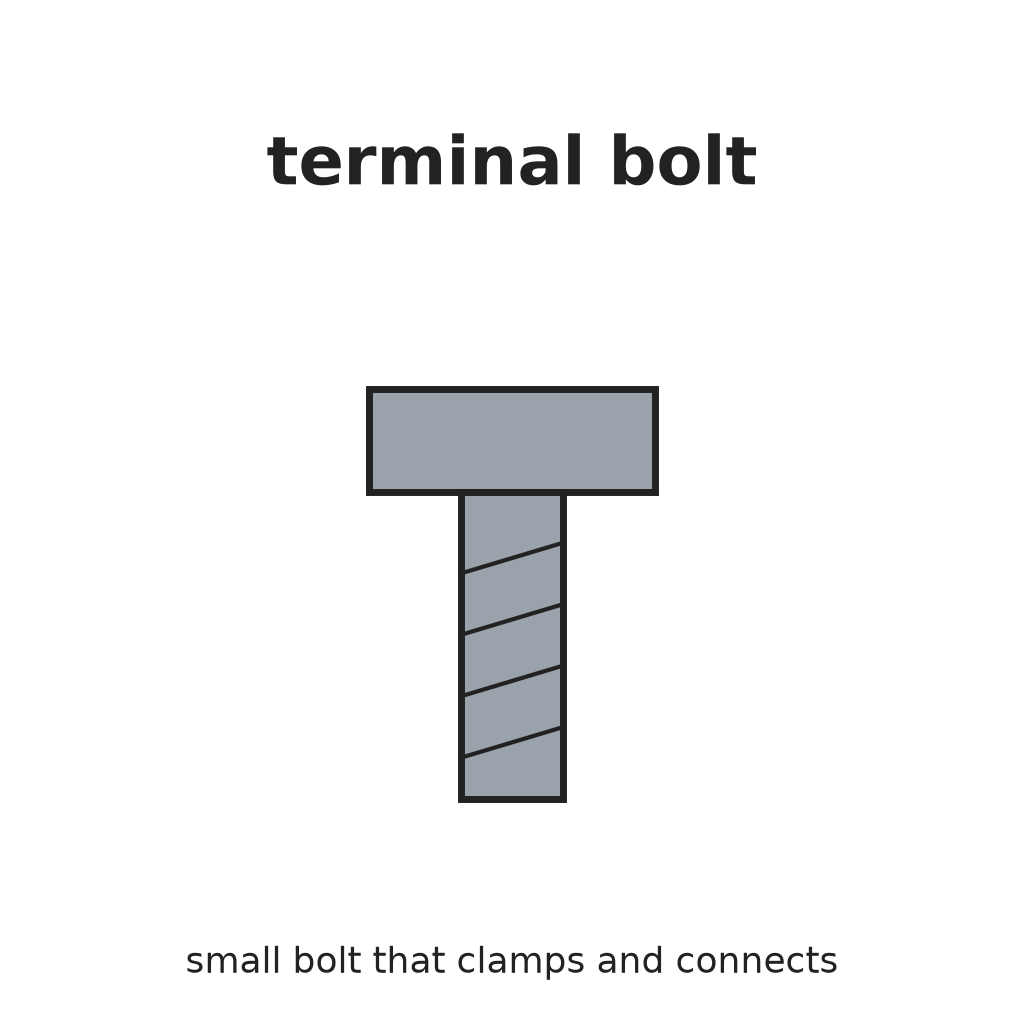 টার্মিনাল বোল্ট2 টুকরা
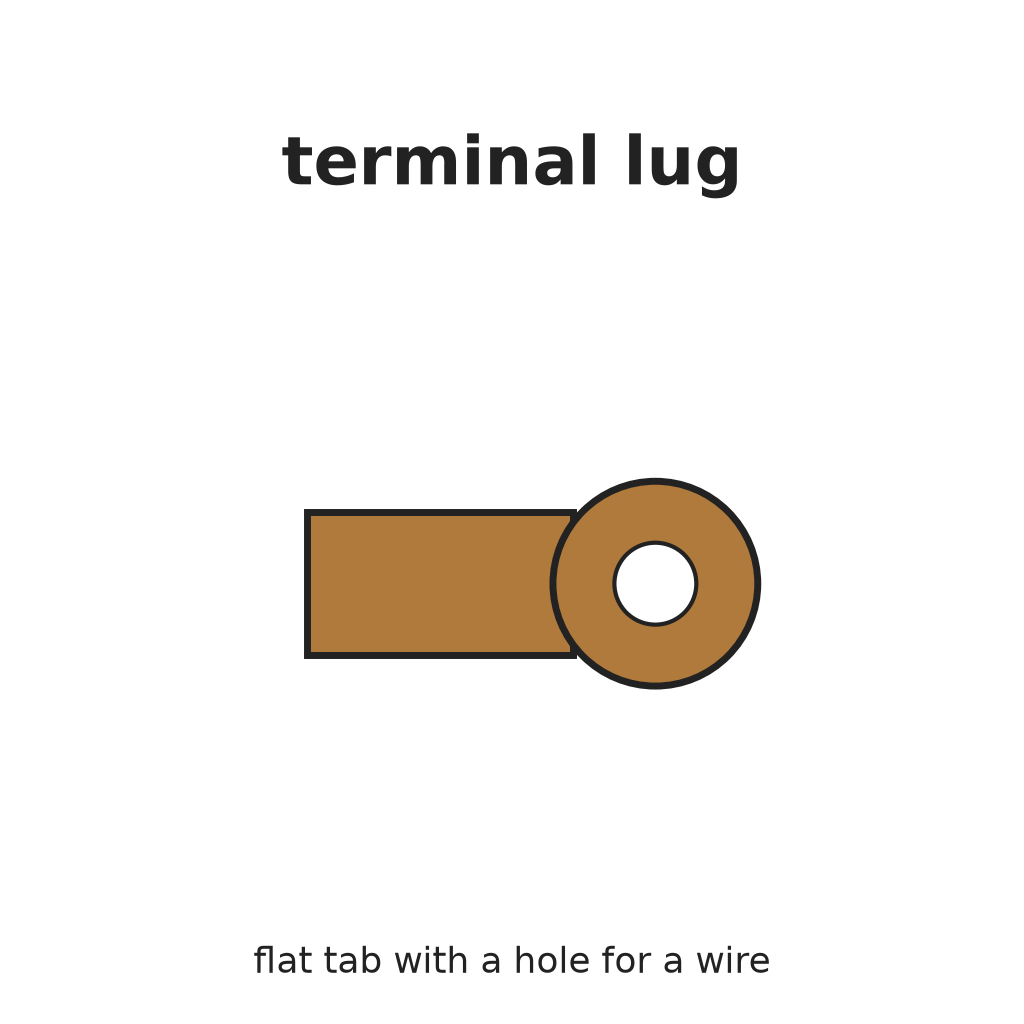 টার্মিনাল লাগ2 টুকরা
প্রয়োজনীয় সরঞ্জাম:
 সরু মুখের প্লায়ার্স
4
4
Fit shaft and spring contact arm
Fit shaft and spring contact arm
Put the shaft through the bushing. On its front end fix the spring contact arm over a small piece of sheet insulation: upset the shaft end to hold the insulation, and clamp arm and insulation together with a rivet pin. The arm's contactor rides on the carbon track, its fingers on the contact ring.
এই ধাপের উপকরণ:
 কন্ট্রোল শ্যাফট1 টুকরা
 স্প্রিং কন্টাক্ট বাহু1 টুকরা
 অন্তরক শিট1 টুকরা
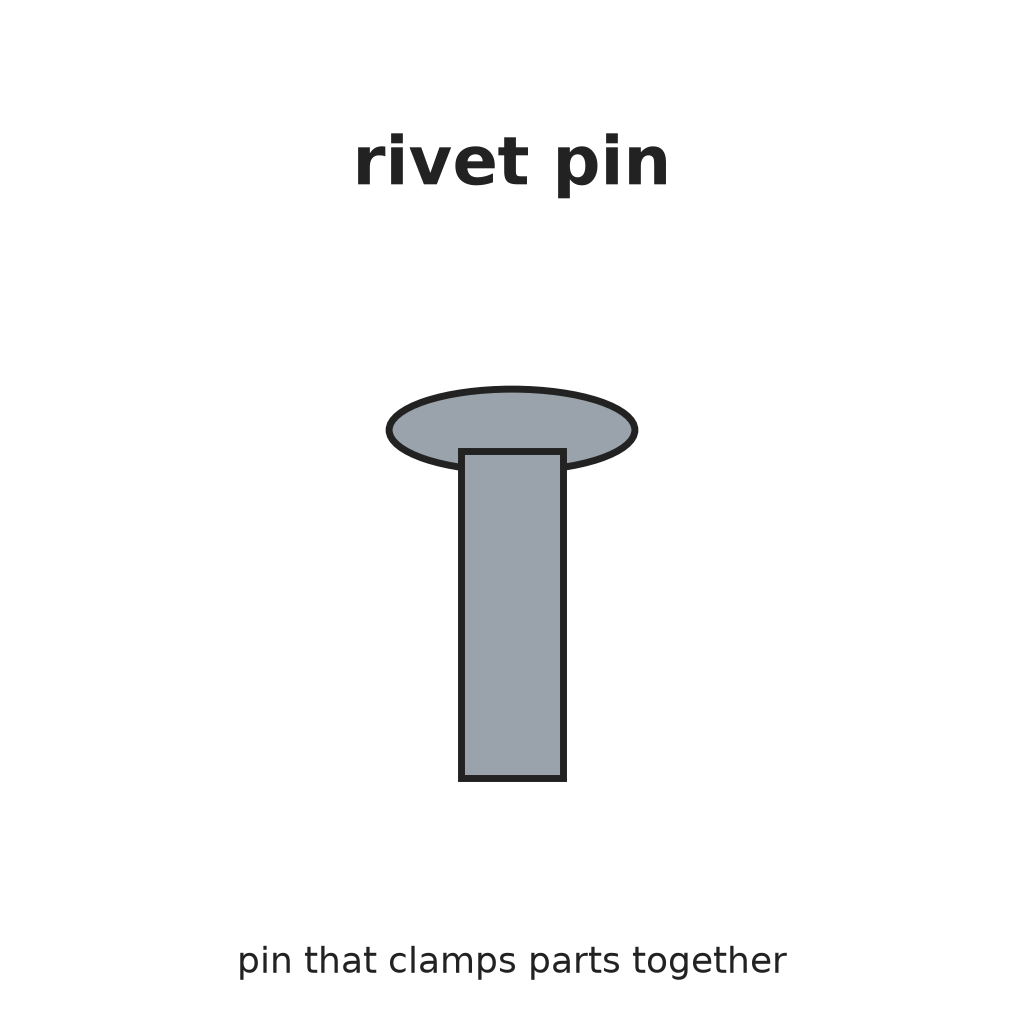 রিভেট পিন1 টুকরা
প্রয়োজনীয় সরঞ্জাম:
রিভেট হাতুড়িরিভেট সেট5
5
Clip washer and cover
Clip washer and cover
Snap a clip washer into the groove in the shaft behind the bushing. It stops the shaft sliding and keeps the arm and fingers pressed on their rings. Fix the metal cover cap over the parts by bending its ears onto the discs.
এই ধাপের উপকরণ:
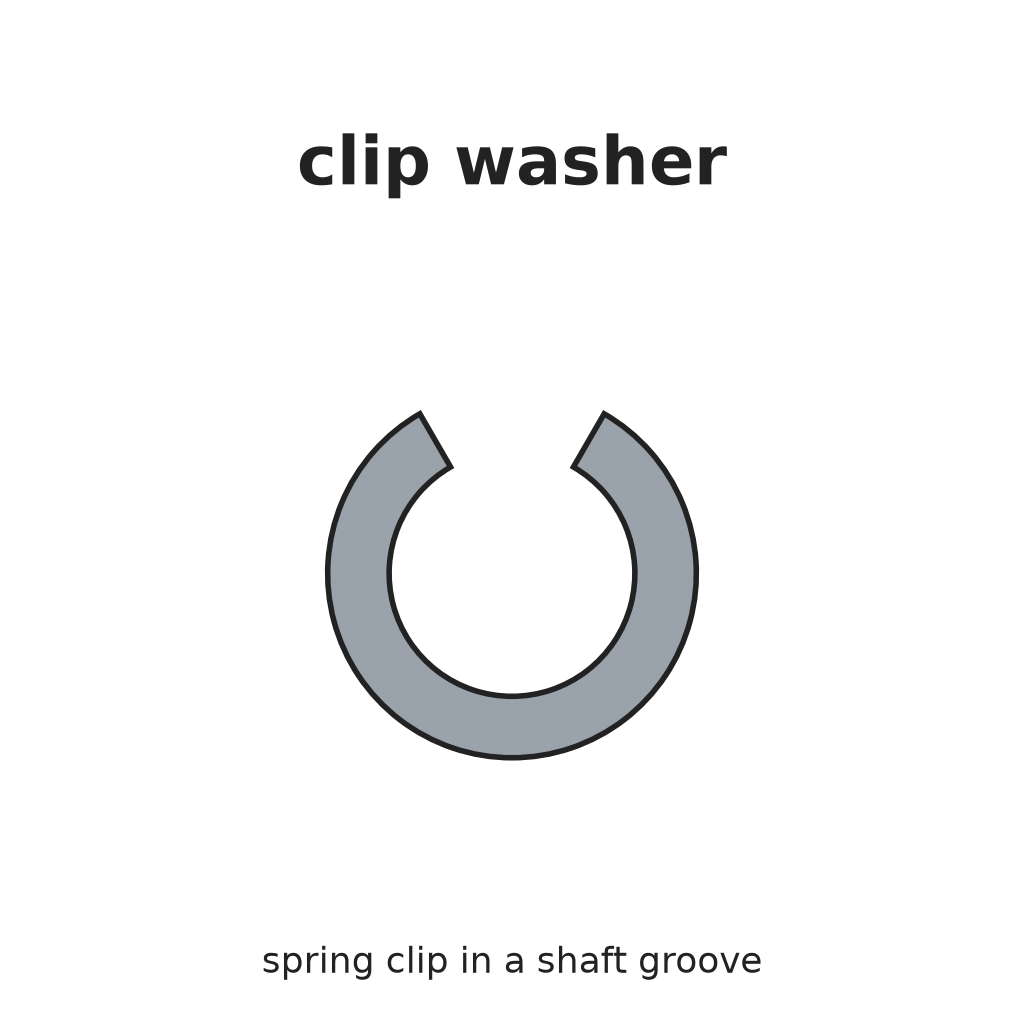 ক্লিপ ওয়াশার1 টুকরা
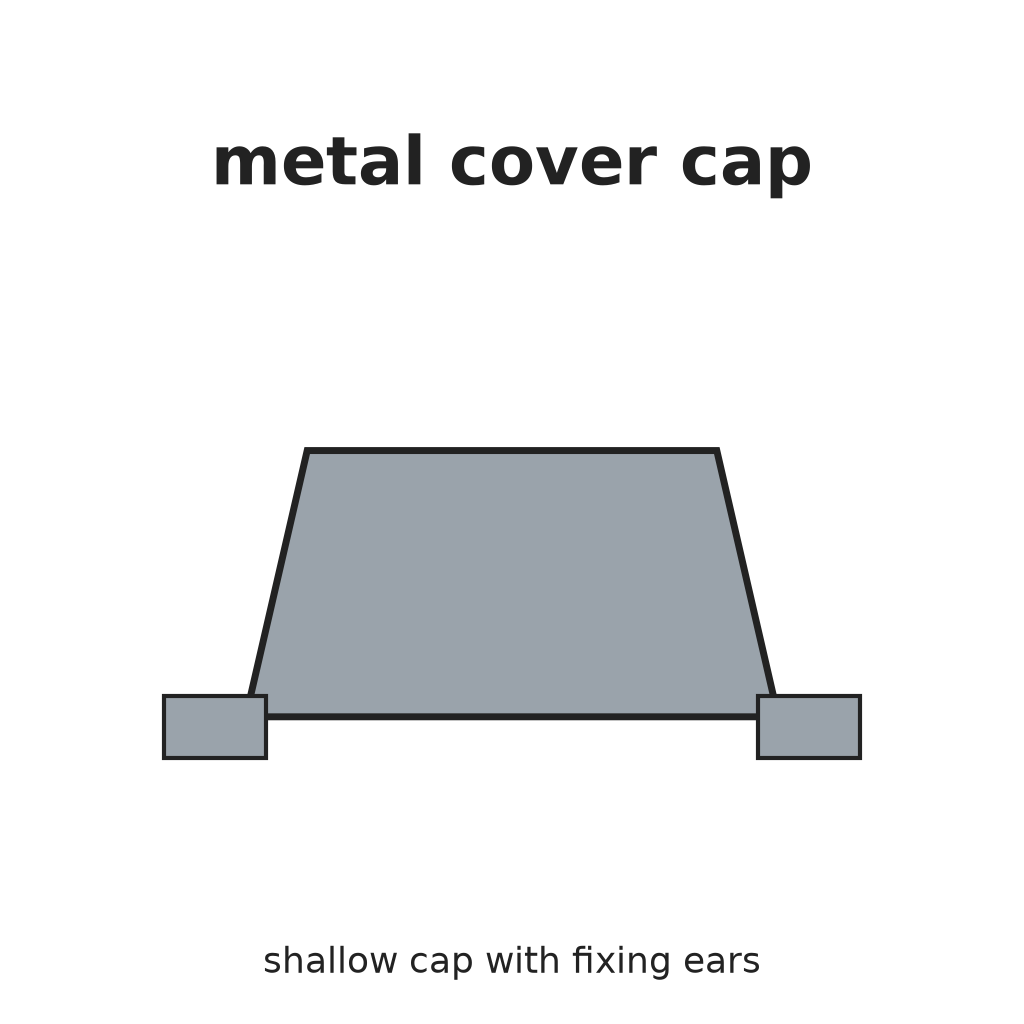 ধাতব কভার ক্যাপ1 টুকরা
প্রয়োজনীয় সরঞ্জাম:
সরু মুখের প্লায়ার্স চ্যাপ্টা মুখের সাঁড়াশি
উপকরণ
14- 2 টুকরাপ্লেসহোল্ডার
- 1 টুকরাপ্লেসহোল্ডার
- 1 টুকরাপ্লেসহোল্ডার
- প্লেসহোল্ডার
- 1 টুকরাপ্লেসহোল্ডার
- প্লেসহোল্ডার
- 2 টুকরাপ্লেসহোল্ডার
- 2 টুকরাপ্লেসহোল্ডার
- 1 টুকরাপ্লেসহোল্ডার
- 1 টুকরাপ্লেসহোল্ডার
- 1 টুকরাপ্লেসহোল্ডার
- 1 টুকরাপ্লেসহোল্ডার
- 1 টুকরাপ্লেসহোল্ডার
- 1 টুকরাপ্লেসহোল্ডার
এই ব্লুপ্রিন্ট যা তৈরি করে
সম্পর্কিত ব্লুপ্রিন্ট
এই ব্লুপ্রিন্টগুলি জ্ঞান ভাগ করে — কৌশল, উপকরণ বা নীতি
CC0 পাবলিক ডোমেন
এই ব্লুপ্রিন্ট CC0-এর অধীনে প্রকাশিত। আপনি অনুমতি ছাড়াই যেকোনো উদ্দেশ্যে এটি অনুলিপি, পরিবর্তন, বিতরণ ও ব্যবহার করতে পারেন।
মেকারের ব্লুপ্রিন্টের মাধ্যমে পণ্য কিনে তাঁকে সমর্থন করুন, যেখানে তিনি আয় করেন মেকার কমিশন বিক্রেতাদের নির্ধারিত, অথবা এই ব্লুপ্রিন্টের একটি নতুন সংস্করণ তৈরি করে নিজের ব্লুপ্রিন্টে সংযোগ হিসেবে যুক্ত করে আয় ভাগ করুন।