
সহযোগিতা
কলা
সৌন্দর্য এবং সুস্থতা
ক্রাফট
সংস্কৃতি ও ইতিহাস
বিনোদন
পরিবেশ
খাদ্য ও পানীয়
রিভার্স ইঞ্জিনিয়ারিং
বিজ্ঞান
খেলাধুলা
টেকনোলজি
পরিধানযোগ্য
Self-Watering Plant Station with ESP32 and OLED
Ed

তৈরি করেছেন

Ed

16. নভেম্বর 2026FI
৪
০
০
০
০

Self-Watering Plant Station with ESP32 and OLED

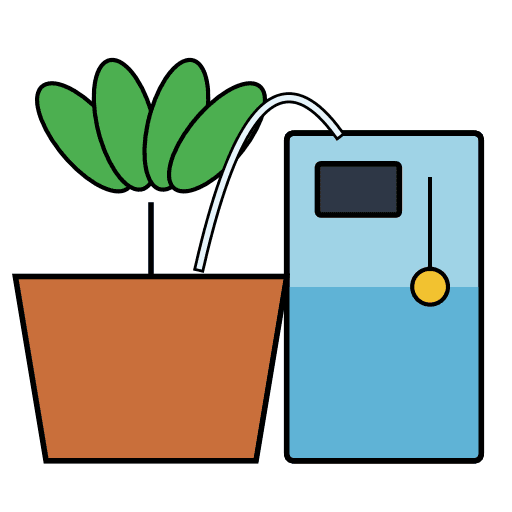
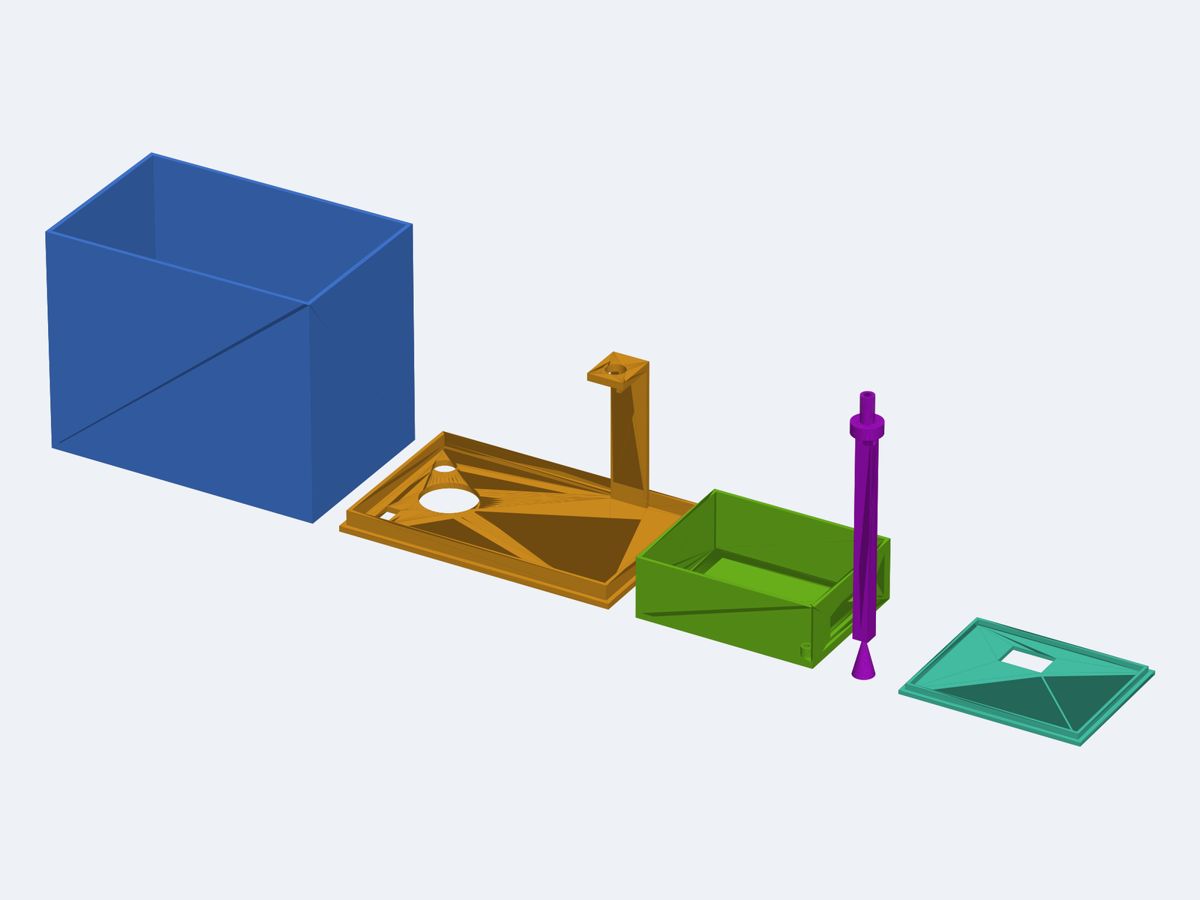
A watering unit that stands next to one houseplant. It has a printed water tank, and a lid on the tank carries the electronics box. An ESP32 reads a capacitive soil-moisture probe in the pot. When the soil is dry, it runs a small 5 V submersible pump in the tank through a logic-level MOSFET, and water goes up a silicone tube to a printed drip stake. A float switch in the tank blocks the pump when the water is low. A 0.96 in OLED shows soil moisture %, tank OK/LOW and pump state. Power comes from a 5 V USB-C adapter.

নির্দেশাবলি

1

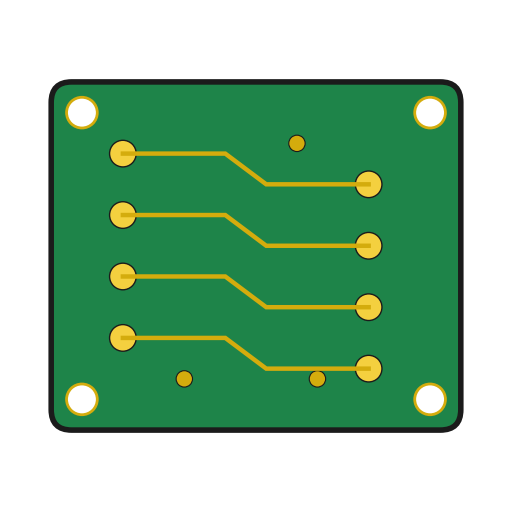
Circuit board

KiCanvas ভিউয়ার লোড হচ্ছে...

পেশাদার PCB নকশা দর্শক

2

Schematic

KiCanvas ভিউয়ার লোড হচ্ছে...

পেশাদার PCB নকশা দর্শক

3

Print the enclosure base

নকশা ফাইলSTL69.0 KBCC0 - Free
4

Print the enclosure lid

নকশা ফাইলSTL3.2 KBCC0 - Free
5

Print the water tank

নকশা ফাইলSTL1.4 KBCC0 - Free
6

Print the tank lid

নকশা ফাইলSTL30.8 KBCC0 - Free
7

Print the drip stake

নকশা ফাইলSTL53.3 KBCC0 - Free
8

Firmware

firmware.inoarduino
// Self-watering controller - ESP32 DevKit (38-pin)
// Soil sensor AOUT -> GPIO34 (ADC1), float switch -> GPIO27 (internal pull-up, other side GND),
// pump MOSFET gate (via 330R) -> GPIO26, SSD1306 128x64 OLED on I2C (SDA 21, SCL 22, addr 0x3C).
// No external libraries required: a tiny SSD1306 driver and 5x7 font are included below.

#include <Wire.h>

// ---------------- user settings ----------------
const int PIN_SOIL  = 34;
const int PIN_FLOAT = 27;
const int PIN_PUMP  = 26;
const uint8_t OLED_ADDR = 0x3C;

// Float switch wiring: true = contact CLOSED when there is enough water (recommended, fail-safe:
// a broken wire reads as LOW tank and blocks the pump). Set false if your switch closes when empty.
const bool FLOAT_CLOSED_MEANS_OK = true;

// Soil sensor calibration (raw 12-bit ADC). Measure your sensor in dry air and in a glass of water.
const int RAW_DRY = 3000;
const int RAW_WET = 1300;

const int  START_BELOW_PCT   = 35;     // start watering below this moisture
const int  STOP_ABOVE_PCT    = 45;     // stop watering at/above this moisture
const unsigned long PUMP_MAX_MS  = 5000;   // max run per watering burst
const unsigned long SOAK_MS      = 60000;  // wait after a burst so water can soak in
const unsigned long TANK_DEBOUNCE_MS = 500;

// ---------------- SSD1306 driver ----------------
uint8_t fb[1024];

void oledCmd(uint8_t c) {
  Wire.beginTransmission(OLED_ADDR);
  Wire.write(0x00);
  Wire.write(c);
  Wire.endTransmission();
}

void oledInit() {
  const uint8_t init[] = {0xAE, 0xD5, 0x80, 0xA8, 0x3F, 0xD3, 0x00, 0x40, 0x8D, 0x14,
                          0x20, 0x00, 0xA1, 0xC8, 0xDA, 0x12, 0x81, 0xCF, 0xD9, 0xF1,
                          0xDB, 0x40, 0xA4, 0xA6, 0xAF};
  for (uint8_t i = 0; i < sizeof(init); i++) oledCmd(init[i]);
}

void oledShow() {
  oledCmd(0x21); oledCmd(0); oledCmd(127);
  oledCmd(0x22); oledCmd(0); oledCmd(7);
  for (int i = 0; i < 1024; i += 16) {
    Wire.beginTransmission(OLED_ADDR);
    Wire.write(0x40);
    Wire.write(&fb[i], 16);
    Wire.endTransmission();
  }
}

// 5x7 font, columns LSB = top. Only the characters used.
struct Glyph { char c; uint8_t d[5]; };
const Glyph FONT[] = {
  {' ', {0x00,0x00,0x00,0x00,0x00}}, {'%', {0x23,0x13,0x08,0x64,0x62}},
  {'-', {0x08,0x08,0x08,0x08,0x08}}, {'.', {0x00,0x60,0x60,0x00,0x00}},
  {'/', {0x20,0x10,0x08,0x04,0x02}}, {':', {0x00,0x36,0x36,0x00,0x00}},
  {'!', {0x00,0x00,0x5F,0x00,0x00}},
  {'0', {0x3E,0x51,0x49,0x45,0x3E}}, {'1', {0x00,0x42,0x7F,0x40,0x00}},
  {'2', {0x42,0x61,0x51,0x49,0x46}}, {'3', {0x21,0x41,0x45,0x4B,0x31}},
  {'4', {0x18,0x14,0x12,0x7F,0x10}}, {'5', {0x27,0x45,0x45,0x45,0x39}},
  {'6', {0x3C,0x4A,0x49,0x49,0x30}}, {'7', {0x01,0x71,0x09,0x05,0x03}},
  {'8', {0x36,0x49,0x49,0x49,0x36}}, {'9', {0x06,0x49,0x49,0x29,0x1E}},
  {'A', {0x7E,0x11,0x11,0x11,0x7E}}, {'B', {0x7F,0x49,0x49,0x49,0x36}},
  {'C', {0x3E,0x41,0x41,0x41,0x22}}, {'D', {0x7F,0x41,0x41,0x22,0x1C}},
  {'E', {0x7F,0x49,0x49,0x49,0x41}}, {'F', {0x7F,0x09,0x09,0x09,0x01}},
  {'G', {0x3E,0x41,0x49,0x49,0x7A}}, {'H', {0x7F,0x08,0x08,0x08,0x7F}},
  {'I', {0x00,0x41,0x7F,0x41,0x00}}, {'J', {0x20,0x40,0x41,0x3F,0x01}},
  {'K', {0x7F,0x08,0x14,0x22,0x41}}, {'L', {0x7F,0x40,0x40,0x40,0x40}},
  {'M', {0x7F,0x02,0x0C,0x02,0x7F}}, {'N', {0x7F,0x04,0x08,0x10,0x7F}},
  {'O', {0x3E,0x41,0x41,0x41,0x3E}}, {'P', {0x7F,0x09,0x09,0x09,0x06}},
  {'Q', {0x3E,0x41,0x51,0x21,0x5E}}, {'R', {0x7F,0x09,0x19,0x29,0x46}},
  {'S', {0x46,0x49,0x49,0x49,0x31}}, {'T', {0x01,0x01,0x7F,0x01,0x01}},
  {'U', {0x3F,0x40,0x40,0x40,0x3F}}, {'V', {0x1F,0x20,0x40,0x20,0x1F}},
  {'W', {0x3F,0x40,0x38,0x40,0x3F}}, {'X', {0x63,0x14,0x08,0x14,0x63}},
  {'Y', {0x07,0x08,0x70,0x08,0x07}}, {'Z', {0x61,0x51,0x49,0x45,0x43}},
};

const uint8_t *glyph(char c) {
  if (c >= 'a' && c <= 'z') c -= 32;
  for (unsigned i = 0; i < sizeof(FONT) / sizeof(FONT[0]); i++)
    if (FONT[i].c == c) return FONT[i].d;
  return FONT[0].d;
}

void setPixel(int x, int y) {
  if (x < 0 || x > 127 || y < 0 || y > 63) return;
  fb[x + (y / 8) * 128] |= (1 << (y & 7));
}

void drawText(int x, int y, const char *s, int scale) {
  for (; *s; s++) {
    const uint8_t *g = glyph(*s);
    for (int col = 0; col < 5; col++)
      for (int row = 0; row < 7; row++)
        if (g[col] & (1 << row))
          for (int dx = 0; dx < scale; dx++)
            for (int dy = 0; dy < scale; dy++)
              setPixel(x + col * scale + dx, y + row * scale + dy);
    x += 6 * scale;
  }
}

void drawBar(int x, int y, int w, int h, int pct) {
  for (int i = 0; i < w; i++) { setPixel(x + i, y); setPixel(x + i, y + h - 1); }
  for (int j = 0; j < h; j++) { setPixel(x, y + j); setPixel(x + w - 1, y + j); }
  int fill = (w - 4) * pct / 100;
  for (int i = 0; i < fill; i++)
    for (int j = 2; j < h - 2; j++) setPixel(x + 2 + i, y + j);
}

// ---------------- application ----------------
bool tankOk = false;
bool tankRaw = false;
unsigned long tankChangeMs = 0;
bool pumpOn = false;
unsigned long pumpStartMs = 0;
unsigned long soakUntilMs = 0;
int moisturePct = 0;
int moistureRaw = 0;

void pump(bool on) {
  if (on && !tankOk) on = false;       // hard interlock: never run with a low tank
  digitalWrite(PIN_PUMP, on ? HIGH : LOW);
  if (on && !pumpOn) pumpStartMs = millis();
  pumpOn = on;
}

int readMoistureRaw() {
  long sum = 0;
  for (int i = 0; i < 16; i++) { sum += analogRead(PIN_SOIL); delay(2); }
  return sum / 16;
}

bool readTankOkRaw() {
  bool closed = (digitalRead(PIN_FLOAT) == LOW);
  return FLOAT_CLOSED_MEANS_OK ? closed : !closed;
}

void setup() {
  pinMode(PIN_PUMP, OUTPUT);
  digitalWrite(PIN_PUMP, LOW);
  pinMode(PIN_FLOAT, INPUT_PULLUP);
  Serial.begin(115200);
  analogReadResolution(12);
  analogSetPinAttenuation(PIN_SOIL, ADC_11db);
  Wire.begin(21, 22);
  Wire.setClock(400000);
  oledInit();
  tankRaw = readTankOkRaw();
  tankOk = false;                      // start with pump blocked until the reading is stable
  tankChangeMs = millis();
}

void loop() {
  unsigned long now = millis();

  // tank: a LOW reading blocks the pump immediately, OK needs to be stable for the debounce time
  bool r = readTankOkRaw();
  if (r != tankRaw) { tankRaw = r; tankChangeMs = now; }
  if (!r) tankOk = false;
  else if (now - tankChangeMs >= TANK_DEBOUNCE_MS) tankOk = true;
  if (!tankOk && pumpOn) pump(false);

  moistureRaw = readMoistureRaw();
  long p = (long)(RAW_DRY - moistureRaw) * 100 / (RAW_DRY - RAW_WET);
  moisturePct = constrain(p, 0, 100);

  if (pumpOn) {
    if (moisturePct >= STOP_ABOVE_PCT || now - pumpStartMs >= PUMP_MAX_MS) {
      pump(false);
      soakUntilMs = now + SOAK_MS;
    }
  } else if (tankOk && moisturePct < START_BELOW_PCT && (long)(now - soakUntilMs) >= 0) {
    pump(true);
  }

  // display
  memset(fb, 0, sizeof(fb));
  char buf[24];
  drawText(0, 0, "SOIL", 2);
  snprintf(buf, sizeof(buf), "%3d%%", moisturePct);
  drawText(128 - 4 * 12, 0, buf, 2);
  drawBar(0, 18, 128, 10, moisturePct);
  drawText(0, 32, "TANK", 2);
  drawText(tankOk ? 128 - 2 * 12 : 128 - 3 * 12, 32, tankOk ? "OK" : "LOW", 2);
  drawText(0, 54, pumpOn ? "PUMP: ON" : "PUMP: OFF", 1);
  if (!tankOk) drawText(64, 54, "REFILL!", 1);
  oledShow();

  static unsigned long lastLog = 0;
  if (now - lastLog > 2000) {
    lastLog = now;
    Serial.printf("raw=%d moisture=%d%% tank=%s pump=%s\n", moistureRaw, moisturePct,
                  tankOk ? "OK" : "LOW", pumpOn ? "ON" : "OFF");
  }
  delay(100);
}
9

Solder resistors and diodes

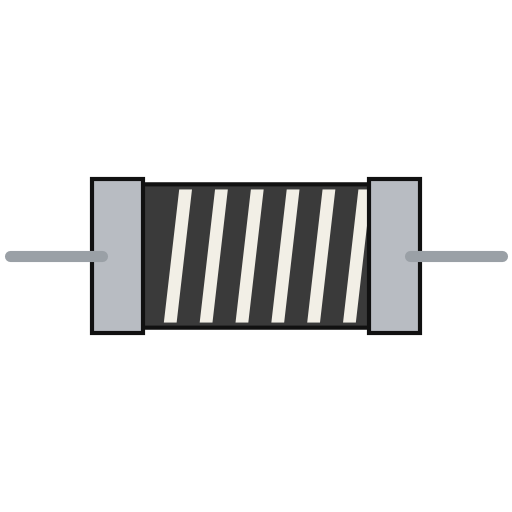
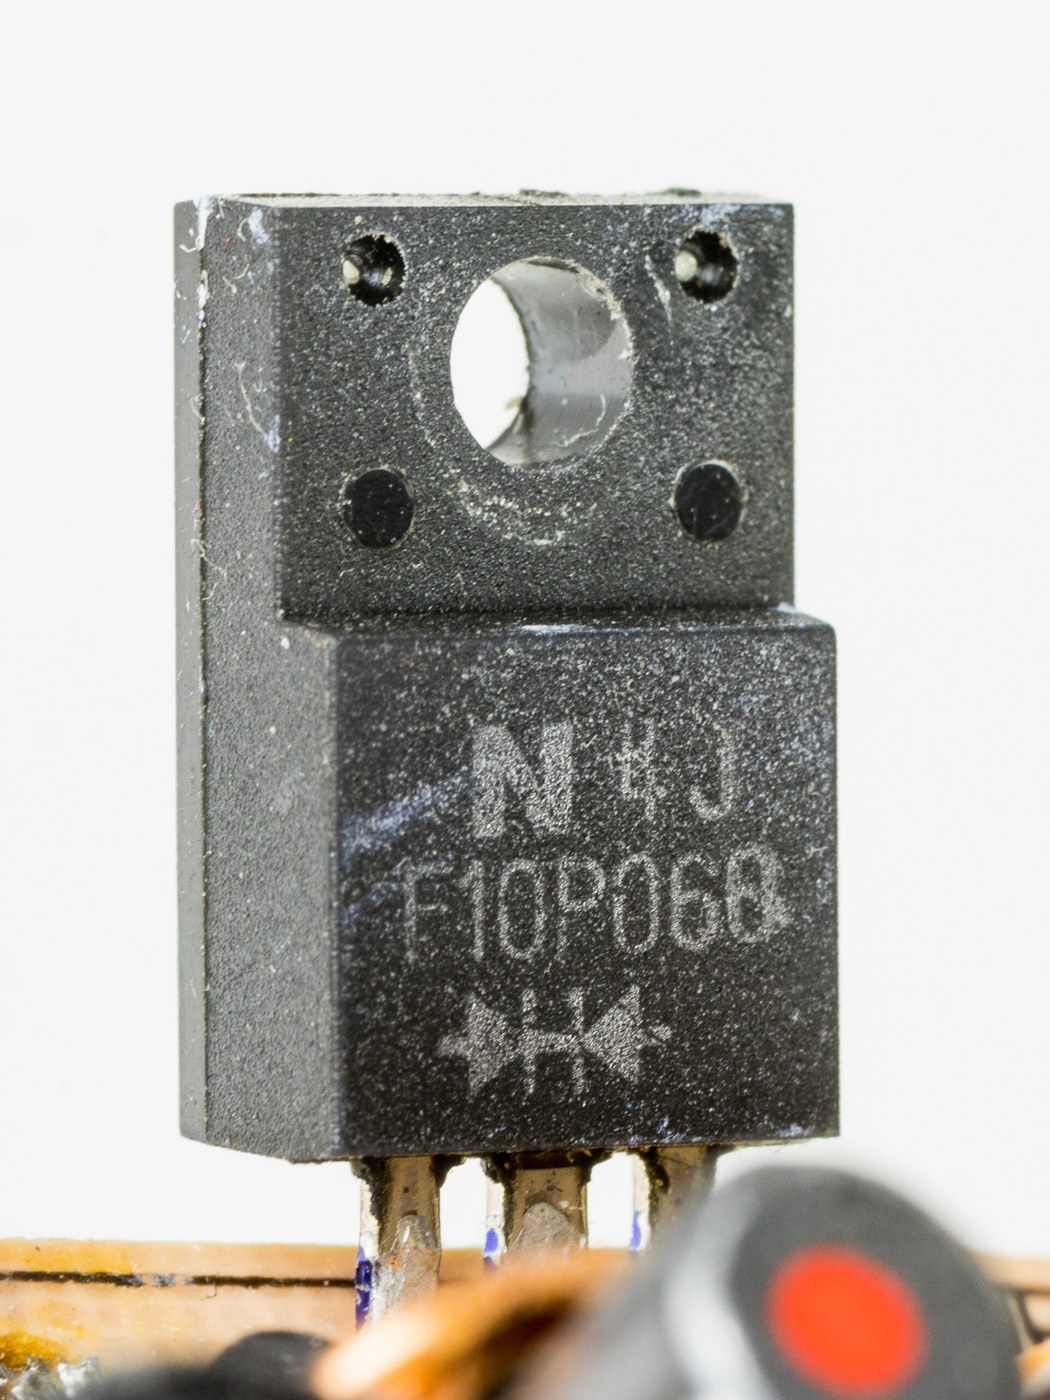
Fit R1 330 Ohm (gate), R2 10 kOhm (gate pull-down), R3 and R4 5.1 kOhm (USB-C CC pull-downs). Fit D1 1N4007 across the pump terminal with its band to +5 V, and D2 Schottky blocking diode from +5 V to VIN with its band toward VIN. Solder them and trim the leads.

এই ধাপের উপকরণ:

মুদ্রিত বর্তনী বোর্ডমুদ্রিত বর্তনী বোর্ড1 টুকরা
৩৩০ ওহম রোধক৩৩০ ওহম রোধক1 টুকরা
১০ কিলো-ওহম রোধক১০ কিলো-ওহম রোধক1 টুকরা
কার্বন ফিল্ম রোধককার্বন ফিল্ম রোধক2 টুকরা
1N4007 রেকটিফায়ার ডায়োড1N4007 রেকটিফায়ার ডায়োড1 টুকরা
অবরোধক ডায়োড (শটকি)অবরোধক ডায়োড (শটকি)1 টুকরা
সোল্ডার তারসোল্ডার তার1 টুকরা

প্রয়োজনীয় সরঞ্জাম:

ঝালাইয়ের ছড়ঝালাইয়ের ছড়
তার কাটার প্লায়ারতার কাটার প্লায়ার
10

Solder USB-C socket and capacitor

Solder the USB-C receptacle J1 on the left edge, including its shell tabs. Fit the 470 uF 10 V electrolytic capacitor C1 with its minus stripe to GND and solder it.

এই ধাপের উপকরণ:

USB-C সকেটUSB-C সকেট1 টুকরা
ইলেকট্রোলাইটিক ধারকইলেকট্রোলাইটিক ধারক1 টুকরা
সোল্ডার তারসোল্ডার তার1 টুকরা

প্রয়োজনীয় সরঞ্জাম:

ঝালাইয়ের ছড়ঝালাইয়ের ছড়
11

Solder MOSFET, sockets and terminals

Solder the IRLZ44N Q1 upright with its tab facing the way shown on the silkscreen. Then solder the two 1x19 female sockets for the ESP32, the 1x4 female socket for the OLED, and the screw terminals J4 (pump), J5 (soil probe) and J6 (float switch). Their openings face the board edge.

এই ধাপের উপকরণ:

যুক্তি-স্তরের MOSFET IRLZ44Nযুক্তি-স্তরের MOSFET IRLZ44N1 টুকরা
পিন হেডারপিন হেডার3 টুকরা
স্ক্রু টার্মিনাল ব্লকস্ক্রু টার্মিনাল ব্লক3 টুকরা
সোল্ডার তারসোল্ডার তার1 টুকরা

প্রয়োজনীয় সরঞ্জাম:

ঝালাইয়ের ছড়ঝালাইয়ের ছড়
12

Check the board for shorts

With no modules plugged in, measure the resistance between +5 V and GND, and between 3V3 and GND. Neither should read as a short. Check the polarity of D1, D2 and C1 against the silkscreen.

প্রয়োজনীয় সরঞ্জাম:

মাল্টিমিটারমাল্টিমিটার
13

Mount the board in the enclosure

Plug the ESP32 DevKit into the sockets with its antenna end at pin 1, as marked on the board. Plug the OLED into its 4-pin socket after checking that its pin order is GND, VCC, SCL, SDA. Screw the board onto the 5 mm standoffs of the printed enclosure base.

এই ধাপের উপকরণ:

ESP32 উন্নয়ন বোর্ডESP32 উন্নয়ন বোর্ড1 টুকরা
OLED পর্দাOLED পর্দা1 টুকরা
সেলফ-ট্যাপিং স্ক্রুসেলফ-ট্যাপিং স্ক্রু4 টুকরা

প্রয়োজনীয় সরঞ্জাম:

স্ক্রুড্রাইভার সেটস্ক্রুড্রাইভার সেট
14

Flash and calibrate the firmware

Connect the soil probe to J5 (1 = GND, 2 = 3V3, 3 = AOUT), using hookup wire where its leads are too short. Unplug USB-C and connect the ESP32's own USB port to the computer. Upload firmware.ino for the esp32:esp32:esp32 board. In the serial monitor at 115200 baud, note the raw reading with the probe in dry air and again with it in a glass of water up to the line marked on the probe. Enter these as RAW_DRY and RAW_WET, then upload again.

এই ধাপের উপকরণ:

ক্যাপাসিটিভ মাটির আর্দ্রতা সেন্সরক্যাপাসিটিভ মাটির আর্দ্রতা সেন্সর1 টুকরা

সংযোগের তারসংযোগের তার1 টুকরা

প্রয়োজনীয় সরঞ্জাম:

Arduino IDE-সহ কম্পিউটারArduino IDE-সহ কম্পিউটার
USB ডেটা কেবলUSB ডেটা কেবল
স্ক্রুড্রাইভার সেটস্ক্রুড্রাইভার সেট
তারের আবরণ ছাড়ানোর যন্ত্রতারের আবরণ ছাড়ানোর যন্ত্র
15

Leak-test the water tank

Fill the printed PETG tank to the brim and stand it on paper towel overnight. If the paper is wet, reprint the tank with more walls and test again.

প্রয়োজনীয় সরঞ্জাম:

কাগজের তোয়ালেকাগজের তোয়ালে
জলজল
16

Fit the pump, tube and float switch

Cut the silicone tube long enough to reach the pot. Push the silicone tube onto the pump outlet and set the pump on the tank floor under the 12 mm lid hole. Fix the vertical float switch through the 10.5 mm hole in the lid arm tab with its nut, so the float hangs below the tab and drops when the water is low. Lead the tube through the 12 mm hole. Lead the pump and float wires through the cable slot.

এই ধাপের উপকরণ:

ডুবন্ত জলের পাম্পডুবন্ত জলের পাম্প1 টুকরা
ফ্লোট সুইচফ্লোট সুইচ1 টুকরা
সিলিকন নলসিলিকন নল1 m

প্রয়োজনীয় সরঞ্জাম:

কাজের ছুরিকাজের ছুরি
স্ক্রুড্রাইভার সেটস্ক্রুড্রাইভার সেট
17

Wire the pump, probe and float switch

Stick the enclosure base to the flat lid area beside the holes with double-sided tape. Extend the leads with hookup wire where they are too short, and insulate the joints with heat shrink. Pump to J4 (1 = +5 V, the red pump wire; 2 = drain). Float switch to J6. Bring the wires in through the slot in the side wall, then push the enclosure lid on.

এই ধাপের উপকরণ:

দুই দিকের টেপদুই দিকের টেপ1 টুকরা
সংযোগের তারসংযোগের তার1 টুকরা
তাপে সংকুচিত নলতাপে সংকুচিত নল1 টুকরা
সোল্ডার তারসোল্ডার তার1 টুকরা

প্রয়োজনীয় সরঞ্জাম:

তারের আবরণ ছাড়ানোর যন্ত্রতারের আবরণ ছাড়ানোর যন্ত্র
ঝালাইয়ের ছড়ঝালাইয়ের ছড়
গরম হাওয়ার বন্দুকগরম হাওয়ার বন্দুক
স্ক্রুড্রাইভার সেটস্ক্রুড্রাইভার সেট
18

Place the probe and drip stake

Push the soil probe into the pot up to its marked line, keeping the electronics end dry. Push the tube onto the drip stake spigot and push the stake into the soil. Set the tank lower than the pot so that the full water line sits below the soil surface. Otherwise water can siphon from the tank into the pot after the pump stops.

প্রয়োজনীয় সরঞ্জাম:

ফুলের টবফুলের টব
19

Power up and test

Fill the tank and plug in the USB-C adapter and cable. Check the OLED shows soil % and tank OK. Lift the probe into air: the pump should run for at most 5 s and then wait 60 s. Empty the tank until the float drops: the display should show LOW and the pump must not run. Measure the 5 V rail while the pump runs and check that it stays above about 4.5 V.

এই ধাপের উপকরণ:

USB-C পাওয়ার অ্যাডাপ্টারUSB-C পাওয়ার অ্যাডাপ্টার1 টুকরা
USB-C কেবলUSB-C কেবল1 টুকরা

প্রয়োজনীয় সরঞ্জাম:

মাল্টিমিটারমাল্টিমিটার
জলজল

উপকরণ

24

প্রয়োজনীয় সরঞ্জাম

12

ডিজাইন ফাইল

5

সম্পর্কিত ব্লুপ্রিন্ট

এই ব্লুপ্রিন্টগুলি জ্ঞান ভাগ করে — কৌশল, উপকরণ বা নীতি

CC0 পাবলিক ডোমেন

এই ব্লুপ্রিন্ট CC0-এর অধীনে প্রকাশিত। আপনি অনুমতি ছাড়াই যেকোনো উদ্দেশ্যে এটি অনুলিপি, পরিবর্তন, বিতরণ ও ব্যবহার করতে পারেন।

মেকারের ব্লুপ্রিন্টের মাধ্যমে পণ্য কিনে তাঁকে সমর্থন করুন, যেখানে তিনি আয় করেন মেকার কমিশন বিক্রেতাদের নির্ধারিত, অথবা এই ব্লুপ্রিন্টের একটি নতুন সংস্করণ তৈরি করে নিজের ব্লুপ্রিন্টে সংযোগ হিসেবে যুক্ত করে আয় ভাগ করুন।

আলোচনা

(0)

লগ ইন করুন আলোচনায় যোগ দিতে

মন্তব্য লোড হচ্ছে...