

Reading a Photoresistor — SIK Circuit 6
নির্দেশাবলি
Parts & Introduction
Parts & Introduction
A photoresistor (or LDR — Light Dependent Resistor) changes resistance based on light levels. Combined with a fixed resistor, it forms a voltage divider that the Arduino can read as an analog value. You'll use this to control LED brightness automatically.
Parts Needed
- 1x Arduino Uno + USB cable
- 1x Breadboard
- 1x Photoresistor
- 1x LED (any color)
- 1x 330Ω Resistor
- 1x 10KΩ Resistor (for voltage divider)
- 6x Jumper Wires
এই ধাপের উপকরণ:
 SparkFun Inventor's Kit - V3.21 কিট
প্রয়োজনীয় সরঞ্জাম:
 Arduino IDE-সহ কম্পিউটার
Hardware Hookup
Hardware Hookup
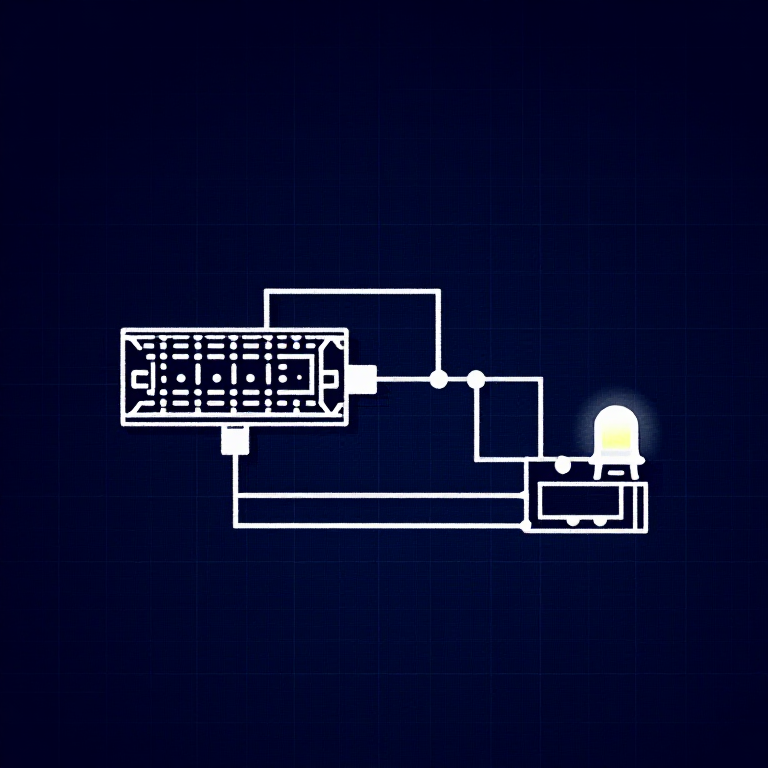
Wiring Instructions
- Connect one side of the photoresistor to 5V.
- Connect the other side to Analog Pin A0.
- Connect a 10K resistor from Analog Pin A0 to GND (this completes the voltage divider).
- Connect the LED positive leg to Digital Pin 9 (PWM-capable).
- Connect the LED negative leg through a 330Ω resistor to GND.
The voltage divider produces a voltage proportional to light level, which the Arduino reads as 0-1023.
এই ধাপের উপকরণ:
 ব্রেডবোর্ড1 টুকরা
 জাম্পার তার5 টুকরা
Arduino Code
Arduino Code
Open the Arduino IDE and upload the following sketch to your Arduino board.
এই ধাপের উপকরণ:
 Arduino Uno R31 টুকরা
প্রয়োজনীয় সরঞ্জাম:
Arduino IDE-সহ কম্পিউটারTest & Experiment
Test & Experiment
What You Should See
The LED brightness changes based on ambient light. Cover the photoresistor to dim or brighten the LED (depending on orientation).
Troubleshooting
- LED stays dark: Check LED polarity. Also verify the photoresistor is in the circuit correctly.
- Not responding to light: The photoresistor spacing is non-standard — make sure both legs are making good contact.
- Subtle changes: Try using a flashlight or covering the sensor completely for more dramatic results.
Experiments to Try
- Uncomment
autoTune()to let the Arduino automatically calibrate to your lighting conditions. - Use the sensor to trigger actions at specific light thresholds (e.g., turn on a "night light" when dark).
উপকরণ
8- SparkFun Inventor's Kit - V3.210% কমিশন1 কিট$104.30
- প্লেসহোল্ডার
- প্লেসহোল্ডার
- প্লেসহোল্ডার
- 1 টুকরাপ্লেসহোল্ডার
- প্লেসহোল্ডার
- 1 টুকরাপ্লেসহোল্ডার
- প্লেসহোল্ডার
প্রয়োজনীয় সরঞ্জাম
1- প্লেসহোল্ডার
CC0 পাবলিক ডোমেন
এই ব্লুপ্রিন্ট CC0-এর অধীনে প্রকাশিত। আপনি অনুমতি ছাড়াই যেকোনো উদ্দেশ্যে এটি অনুলিপি, পরিবর্তন, বিতরণ ও ব্যবহার করতে পারেন।
মেকারের ব্লুপ্রিন্টের মাধ্যমে পণ্য কিনে তাঁকে সমর্থন করুন, যেখানে তিনি আয় করেন মেকার কমিশন বিক্রেতাদের নির্ধারিত, অথবা এই ব্লুপ্রিন্টের একটি নতুন সংস্করণ তৈরি করে নিজের ব্লুপ্রিন্টে সংযোগ হিসেবে যুক্ত করে আয় ভাগ করুন।