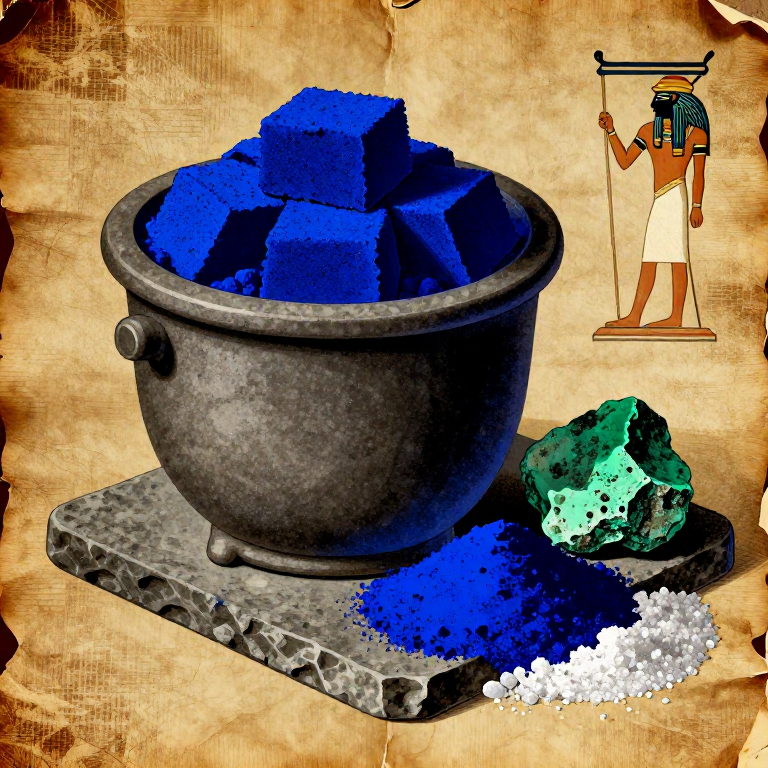


Making Egyptian Blue — The World's First Synthetic Pigment
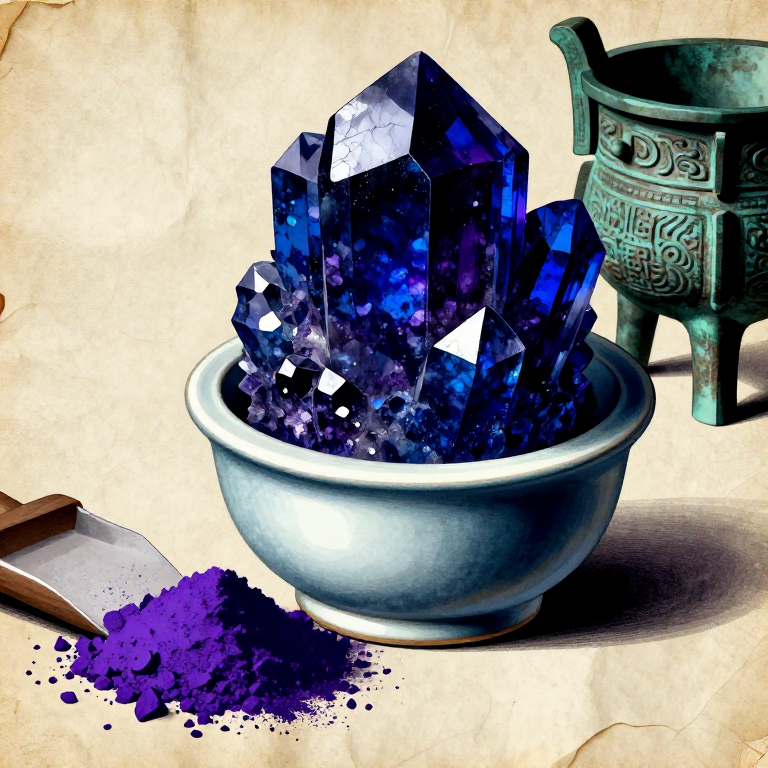
Egyptian blue (cuprorivaite, CaCuSi₂O₆) is the oldest known synthetic pigment, first produced in Egypt around 3100 BC. Also called blue frit, Pompeian blue, or Alexandrian blue, it was the most important blue colourant of the ancient world — used from the Old Kingdom tomb paintings through Roman frescoes and across Mesopotamia for over three thousand years.
The chemistry is a high-temperature solid-state reaction: copper (from malachite), silica (from quartz sand), and calcium (from limestone) combine with a sodium-rich flux (natron) at 900–950°C over many hours. The result is a sintered blue frit — a glass-ceramic mass containing crystals of cuprorivaite, a calcium copper tetrasilicate. When ground, this frit yields a vivid blue pigment whose colour depends on particle size: coarse grinding gives a deep, intense blue; fine grinding gives a paler, more delicate sky blue.
The pigment is remarkably stable — lightfast, alkali-resistant, and compatible with fresco, encaustic, and tempera media. Modern analysis of Egyptian blue on 4,500-year-old tomb paintings shows the colour virtually unchanged. It also exhibits near-infrared luminescence, a property now used in art authentication.
SAFETY WARNING: This process involves kiln temperatures of 900–950°C and handling of mineral dusts. Malachite dust contains copper compounds harmful if inhaled. Natron is caustic and irritating to skin and eyes. Wear a dust mask when grinding minerals, heat-resistant gloves when handling the kiln and crucible, and work in a well-ventilated area.
Instructions
Weigh malachite ore
Weigh malachite ore
Weigh out 30 g of crushed malachite ore. Malachite (Cu₂(CO₃)(OH)₂) is a basic copper carbonate — it provides the copper that gives Egyptian blue its colour. The ancient Egyptians used malachite from Sinai mines, but any source of malachite or even copper filings will work. The purer and more finely divided the copper source, the more uniform the final blue.
Materials for this step:
 Malachite Ore (crushed)30 g
Grind malachite to fine powder
Grind malachite to fine powder
Crush and grind the malachite in a stone mortar until it passes through a fine mesh sieve. The particles should be as fine as flour — coarse copper particles produce uneven blue spots in the final pigment. Wear a dust mask during all grinding: copper-bearing dusts are harmful if inhaled.
Tools needed:
 Stone Mortar and Pestle (large)
 Dust Mask
Sieve malachite powder
Sieve malachite powder
Pass the ground malachite through a 120-mesh sieve. Return any coarse particles to the mortar and regrind. All the malachite must pass through the sieve to ensure intimate mixing with the other ingredients at the molecular level.
Tools needed:
 120-Mesh Sieve
Weigh and prepare quartz sand
Weigh and prepare quartz sand
Weigh out 160 g of clean quartz sand. This is the silica source — the largest component of the mixture. Pure white quartz sand produces the cleanest blue; iron-contaminated sand shifts the colour towards green. If the sand is coarse, grind it briefly in the mortar to reduce particle size. The sand does not need to be as fine as the malachite, but finer particles react more completely.
Materials for this step:
 Quartz Sand (clean)160 g
Weigh and crush limestone
Weigh and crush limestone
Weigh out 45 g of crushed limestone (calcium carbonate, CaCO₃). This provides the calcium component of the cuprorivaite crystal. Crush it to a fine powder in the mortar. Chalk or marble dust can substitute for limestone — all are forms of calcium carbonate. The calcium is essential: without it, the product is copper-stained glass rather than crystalline cuprorivaite.
Materials for this step:
 Calcium Carbonate (limestone, crushed)45 g
Weigh and crush natron
Weigh and crush natron
Weigh out 15 g of natron (hydrated sodium carbonate). This acts as a flux — it lowers the melting point of the silica and promotes the solid-state reaction that forms cuprorivaite crystals. Too little flux and the reaction is incomplete; too much and the product melts into a glassy mass with poor colour. Crush any lumps to a fine powder. The ancient Egyptians collected natron from the Wadi El Natrun deposits.
Materials for this step:
 Natron15 g
Combine all dry ingredients
Combine all dry ingredients
Pour the sieved malachite, quartz sand, crushed limestone, and natron together into the mortar. The approximate ratio by weight is 1 copper : 5 silica : 1.5 lime : 0.5 flux. This 250 g batch will yield roughly 200 g of finished blue frit after firing losses.
Mix thoroughly to uniform blend
Mix thoroughly to uniform blend
Grind and mix all four powders together in the mortar for at least 10 minutes. The mixture should appear a uniform pale green-grey colour with no visible streaks of individual ingredients. Intimate mixing at this stage is critical — regions of unmixed material will not form cuprorivaite and will remain as white or grey inclusions in the final pigment.
Tools needed:
Stone Mortar and Pestle (large)Add water and form a stiff paste
Add water and form a stiff paste
Add a small amount of clean water — roughly 30–40 ml — to the mixed powder and work it into a stiff, mouldable paste. The paste should hold its shape when squeezed, not be wet or runny. The water helps bind the particles together for forming into cakes and ensures good particle contact during firing.
Materials for this step:
 Clean Water40 ml
Shape paste into flat cakes
Shape paste into flat cakes
Form the paste into flat discs approximately 3–4 cm in diameter and 1 cm thick — similar to small biscuits. Making thin cakes rather than one large mass ensures heat penetrates evenly throughout the material. Archaeological evidence from Amarna and other Egyptian sites shows that Egyptian blue was produced in exactly this form — small flat cakes stacked in crucibles.
Dry the cakes overnight
Dry the cakes overnight
Lay the cakes on a clean surface and allow them to dry in air for at least 12 hours, preferably overnight. They should be bone-dry before firing — any residual moisture turns to steam in the kiln and can cause the cakes to crack or explode. The dried cakes will feel hard and chalky.
Prepare the refractory crucible
Prepare the refractory crucible
Line a refractory clay crucible with a thin dusting of dry quartz sand to prevent the frit from sticking. Stack the dried cakes loosely in the crucible, leaving small gaps between them for heat circulation. Do not pack them tightly — air circulation helps the reaction proceed evenly.
Tools needed:
 Clay Crucible (refractory)
Load and preheat the furnace
Load and preheat the furnace
Load the charcoal furnace with plenty of hardwood charcoal — you will need to sustain high temperatures for many hours. Light the fire and allow it to build gradually. The goal is to reach 900–950°C, which requires forced air (bellows or a blower). Do not place the crucible in yet — let the furnace reach a stable operating temperature first. This may take 1–2 hours.
Materials for this step:
Tools needed:
 Charcoal Furnace (small)
 Leather Gauntlet Gloves
Place crucible in furnace
Place crucible in furnace
Using long-handled crucible tongs, carefully place the loaded crucible into the centre of the furnace. Position it where the temperature is most even — surrounded by glowing charcoal on all sides. Pack additional charcoal around and above the crucible. The temperature at the crucible should be 900–950°C. Below 850°C the reaction barely proceeds; above 1050°C the material melts into a glassy mass with fewer cuprorivaite crystals.
Tools needed:
 Crucible Tongs (long-handled)
Maintain firing temperature for 12–24 hours
Maintain firing temperature for 12–24 hours
Maintain the furnace at 900–950°C for 12 to 24 hours. Add fresh charcoal regularly to sustain the temperature — expect to use the entire 10 kg supply. The longer the firing, the more complete the conversion to cuprorivaite. Ancient Egyptian workshops fired their blue frit for at least one full day. Check the colour by briefly lifting the crucible lid with tongs: the cakes should be developing a deep blue colour throughout, not just on the surface.
Cool slowly in the furnace
Cool slowly in the furnace
When the firing is complete, stop adding fuel and allow the furnace to cool naturally with the crucible still inside. Do NOT quench with water or remove the crucible while hot — rapid cooling produces thermal stress cracks and can shatter the frit into unusable dust. Slow cooling over 12 or more hours allows the cuprorivaite crystals to grow larger, producing a richer blue. Leave overnight.
Remove the cooled crucible
Remove the cooled crucible
Once the furnace is fully cold — at least 12 hours after the fire died — remove the crucible with tongs. The frit cakes should now be a hard, sintered, vivid blue mass. Some cakes may have partially fused together. The blue colour should be visible throughout the cross-section when you break a cake, not just on the surface. A thin crust of slightly glassy material on the exterior is normal.
Tools needed:
Crucible Tongs (long-handled)Break apart the blue frit
Break apart the blue frit
Turn the frit cakes out of the crucible onto a clean stone surface. Break them into smaller pieces using the pestle or a hammer. The interior should show a uniform deep blue colour. Any white or grey cores indicate incomplete firing — these regions did not reach sufficient temperature. Set aside any incompletely fired pieces for a second firing if desired.
Crush frit coarsely
Crush frit coarsely
Place the blue frit fragments in the mortar and crush them to coarse granules — roughly the size of coarse sand. Work carefully to avoid over-grinding at this stage: the final particle size determines the shade of blue. Coarse particles (0.1–0.5 mm) give a deep, saturated blue; very fine grinding gives a paler, more powdery blue. Most ancient uses employed medium to coarse grades.
Tools needed:
Stone Mortar and Pestle (large)Fine-grind with glass muller
Fine-grind with glass muller
For a finer pigment grade, transfer a portion of the coarse frit to a flat stone slab and grind with a glass muller using a circular motion. Add a few drops of water to prevent dust. This wet-grinding (levigation) produces a smooth, even particle size. Grind only to the degree of fineness you need: ultra-fine grinding yields a pale sky blue, while stopping at medium fineness preserves the rich deep blue.
Materials for this step:
Clean Water100 mlTools needed:
 Glass Muller
 Flat Stone Slab
Sieve the ground pigment
Sieve the ground pigment
Pass the ground pigment through a 120-mesh sieve to remove any oversized particles or unfired inclusions. Return coarse material to the muller for further grinding. The sieved fraction is your finished pigment. For the finest grades, use water levigation: suspend the powder in water, let it settle for a timed interval (30 seconds for coarse, 5 minutes for fine), and decant the suspended fine particles.
Tools needed:
120-Mesh SieveWash pigment to remove flux residue
Wash pigment to remove flux residue
Suspend the sieved pigment in clean water and stir well. Allow the heavy blue pigment to settle for 5 minutes, then carefully pour off the cloudy water which carries soluble sodium compounds from the natron flux. Repeat this wash-and-decant cycle three times. Each washing removes more soluble salts that could cause efflorescence or interfere with binding media.
Materials for this step:
Clean Water500 mlFinal decanting
Final decanting
After the final wash, allow the pigment to settle completely — this takes 1–2 hours. Pour off the clear water carefully without disturbing the settled blue layer. The water should be nearly clear, indicating that soluble impurities have been removed.
Dry the pigment
Dry the pigment
Spread the wet pigment in a thin layer on a clean ceramic dish or glass plate. Dry in the shade at room temperature — direct sunlight will not harm the colour (Egyptian blue is extremely lightfast), but shade-drying prevents dust contamination. The pigment is fully dry when it crumbles easily to a free-flowing powder with no damp clumps. This may take 24–48 hours depending on humidity.
Assess the final pigment
Assess the final pigment
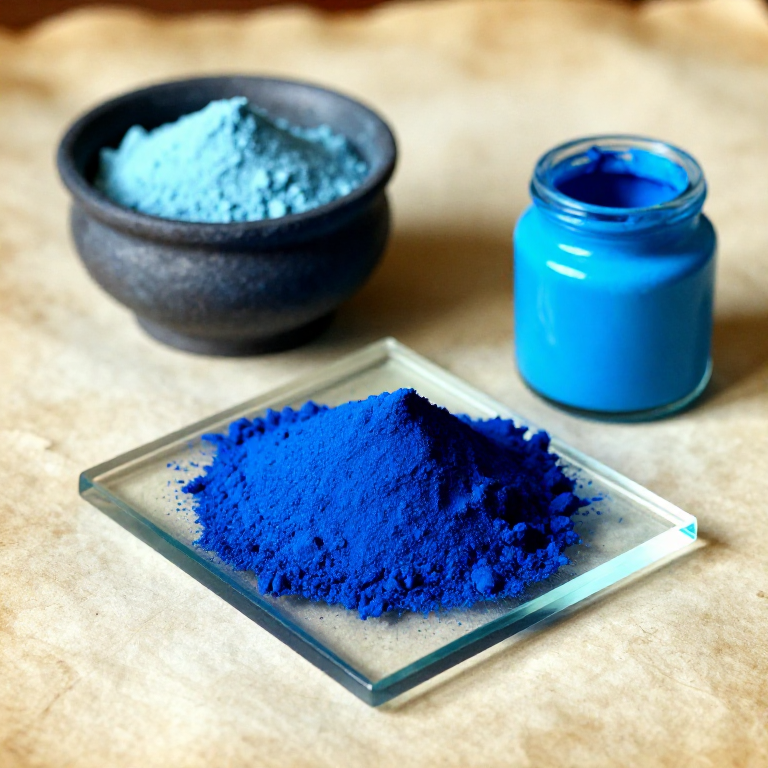
Examine the dried pigment. It should be a vivid blue powder — the shade depends on the grind: coarse particles look deep blue with visible sparkle (like blue sand), fine particles look paler and more uniform. Mix a small pinch with a drop of gum arabic water and paint a test swatch on paper. The colour should be a clean, bright, warm blue without green or grey muddy tones. Egyptian blue has a distinctive warm-blue hue that differs from the cooler tones of azurite or ultramarine.
Store the pigment
Store the pigment
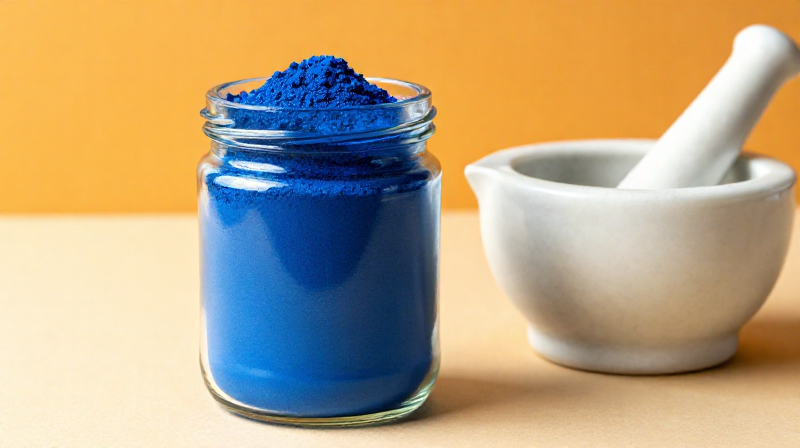
Transfer the finished Egyptian blue pigment to a clean, dry glass jar with an airtight lid. Label with the date, batch size, and grind grade (coarse, medium, or fine). Egyptian blue is one of the most stable pigments ever created — it is lightfast, alkali-resistant, and chemically inert. Properly stored, it will last indefinitely. Tomb paintings 4,500 years old still show vivid Egyptian blue.
Tools needed:
 Glass Storage Jar with Lid
Materials
6- Placeholder
- 500 mlPlaceholder
- Placeholder
- 160 gPlaceholder
Tools Required
10- Placeholder
- Placeholder
- Placeholder
- Placeholder
- Placeholder
- Placeholder
- Placeholder
- Placeholder
- Placeholder
Connected Blueprint Materials
Related Blueprints
These blueprints share knowledge with this one — techniques, materials, or principles that connect them in the learning graph.
Related blueprints
Other builds that share materials, tools, or techniques with this one.
CC0 Public Domain
This blueprint is released under CC0. You are free to copy, modify, distribute, and use this work for any purpose, without asking permission.
Support the Maker by purchasing products through their Blueprint where they earn a Maker Commission set by Vendors, or create a new iteration of this Blueprint and include it as a connection in your own Blueprint to share revenue.