

LED མིག་རྫུན — ཁྱོད་ཀྱི་ Arduino ལས་འགུལ་དང་པོ
ལམ་སྟོན
ཁ་གླེང་ཕོ་ཆེ་ཚུ་སྡེབ་སྒྲིག་གླེང་སྟེ་ལེན་པ།
ཁ་གླེང་ཕོ་ཆེ་ཚུ་སྡེབ་སྒྲིག་གླེང་སྟེ་ལེན་པ།
གོམ་པ་འདིའི་རྫས་རིགས:
 SparkFun Inventor's Kit - V3.21 kit
 Arduino Uno R31 piece
 5mm LED (any color)1 piece
 220 ohm Resistor (1/4W)1 piece
 Breadboard1 piece
 Jumper Wires (Male-to-Male)2 pieces
 USB-B Cable1 piece
ལག་ཆས་དགོས་མཁོ:
མིག་བྱང་ circuit
མིག་བྱང་ circuit
གོམ་པ་འདིའི་རྫས་རིགས:
Arduino Uno R31 piece5mm LED (any color)1 piece220 ohm Resistor (1/4W)1 pieceཐག་སྦྲེལ་མཐུད
ཐག་སྦྲེལ་མཐུད
- LED འདི breadboard ནང་བཙུགས — རྐང་རིང་པོ (anode +) གྲལ་གཅིག་ནང་ རྐང་ཐུང་ (cathode −) གྲལ་གཞན་ནང་།
- 220Ω resistor གྱི་རྐང་གཅིག LED cathode གྱི་གྲལ་གཅིག་ནང་བཙུགས། རྐང་གཞན་གྲལ་སོ་སོར།
- Jumper wire LED anode གྲལ་ལས → Arduino Pin 13།
- Jumper wire resistor གྱི་གྲལ་ཁ་ཕྱེ་ལས → Arduino GND།
གོམ་པ་འདིའི་རྫས་རིགས:
5mm LED (any color)1 piece220 ohm Resistor (1/4W)1 pieceBreadboard1 pieceJumper Wires (Male-to-Male)2 piecesམིག་རྫུན་ code ཡར་བསྐྱལ
མིག་རྫུན་ code ཡར་བསྐྱལ
གོམ་པ་འདིའི་རྫས་རིགས:
Arduino Uno R31 pieceUSB-B Cable1 pieceལག་ཆས་དགོས་མཁོ:
PCB འབེད་སྟེགས་ (ལreference་)
PCB འབེད་སྟེགས་ (ལreference་)
ཚོད་སྐུལ་དང་དཔེ་ལ་དགོད།
ཚོད་སྐུལ་དང་དཔེ་ལ་དགོད།
གཞི་རིས་ལེགས་བསྒྲིགས་དགོས་པ།
- LED འོད་འཕྲེང་གིས་མ་འབར་ངེས། LED ལ་ལྡོག་སྐུལ་གླེང་། རིང་པོའི་གླེང་དགེ་Pin 13 ལ་ཕྱོགས་གླེང་དགོས།
- LED དུས་ཡུན་གོ་མོའི་རིང་འོད་འཕྲེང་གིས་འབར་སྲིད། རམ་འདེགས་བྱེད་སྐུལ་དང་ཇེ་དགོས་གླེང་དགོས།
- གང་ཡང་མ་བྱུང་སྲིད། གླེང་སྟེགས་དང་གླེང་དགེ་འདི་གུ་གླེང་ལ་ཐུག་དགོས།
རམ་འདེགས་གླེང་སྟེགས།
delay()གོ་ཕུགས་ཐོག་གླེང་དགེ་འབར་སྲིད་གྱི་སྐུལ་ཆེད་དགོས།- LED གླེང་གྲུབ་གླེང་ Pin 12 ལ་གླེང་དགོས།
- RGB LED ལ་ལྡོག་སྐུལ་གླེང་། (SIK Circuit 3 ལ་ལྟ།)
རྫས་རིགས
7- $105.00
- 1 pieceས་ཆ་འཛིན
- ས་ཆ་འཛིན
- ས་ཆ་འཛིན
- 1 pieceས་ཆ་འཛིན
- ས་ཆ་འཛིན
Required Equipment
Equipment this kind of build typically needs — buy from any maker below.
- RecommendedDust Mask / Respirator·
 Full-Face Gas Mask (ABEK multi-gas cartridge)
 Dust Mask
 Venetian Mask Blank (Papier-Mache)
 Full-Face Respirator
 Respirator Fit Test Kit
 Respirator with Acid Gas Cartridge
 - RecommendedSafety Glasses·
 Safety Sign (Caution/Warning)
 Splash-Proof Safety Goggles
 Reflective Safety Vest Kit (DIY)
 Chemical Splash Goggles
 Safety Netting for Rockfall
 Steel-Toed Safety Boots
 - RecommendedWork Gloves·
 Boxing Gloves (Training)
 Leather Gauntlet Gloves
 Cotton Gloves
 Welding Gloves
 Heavy-Duty Gloves
 Leather Work Gloves
 - OptionalFire Extinguisher·
 ABC Fire Extinguisher
 Fire Extinguisher
 - OptionalFirst Aid Kit·
 First Aid Kit
 Mountain First Aid Kit (Altitude)
 Workshop First Aid Kit
 Bow Release Aid
You can swap these in
Can't get one of the materials? Swap it for an equivalent — these work just as well.
- Instead of Arduino Uno R3, try:
 Prototyping Shield for Arduino Uno (3-Pack)
 - Instead of USB Cable, try:
 Open Logic Sniffer - Probe Cable Kit
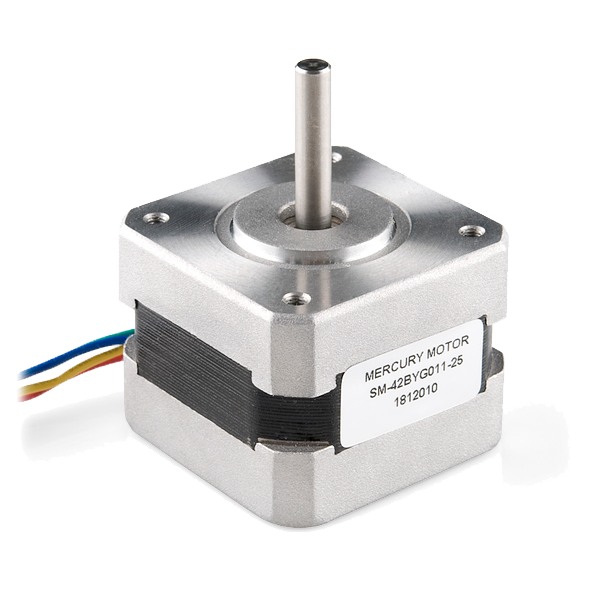 Stepper Motor with Cable
 USB-A to USB-B Cable (1m, 3-Pack)
 Steel Cable 40mm
 - Instead of 5mm LED Assortment Kit (300pcs, 5 Colors), try:
 WS2812B NeoPixel LED Strip (1m, 60 LEDs)
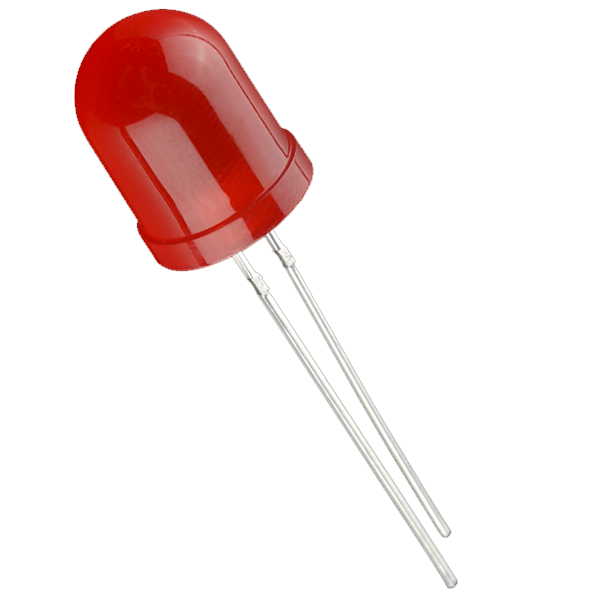 Diffused LED - 10mm
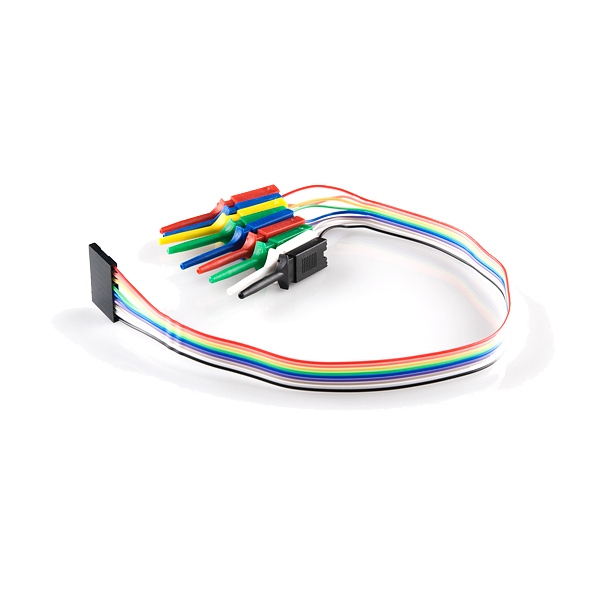
 - Instead of Jumper Wire Kit (350pcs, M-M / M-F / F-F), try:
 Tie Wire
 Thin Brass Wire (for cleaning spouts)
 Slip Ring - 6 Wire (2A)
 Bezel Wire
 Bronze Wire
Recommended for this build
Products makers often use with builds like this one.
 Jumper Wires Premium F/F - 15.5 cm (Pack of 10)Used together and in similar builds
 Resistor 330 Ohm 1/6 Watt PTH - 20 packUsed together and in similar builds
 74HC595 Shift Register (10-Pack)Used in similar builds
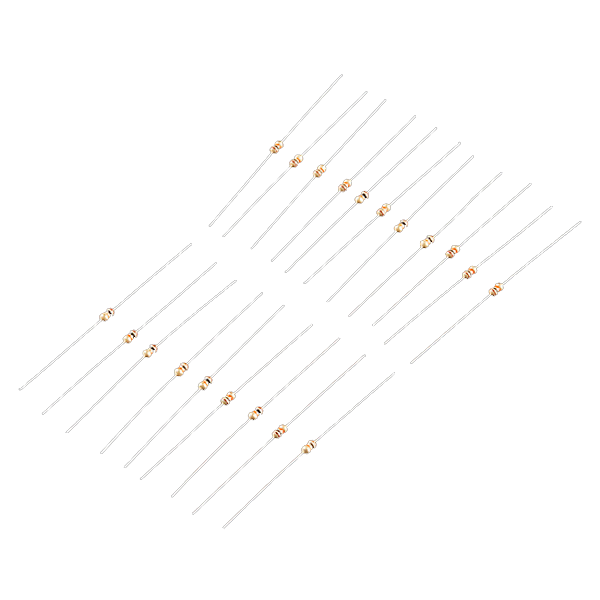 Resistor 10K Ohm 1/6th Watt PTH - 20 packFrequently used with this build's materials
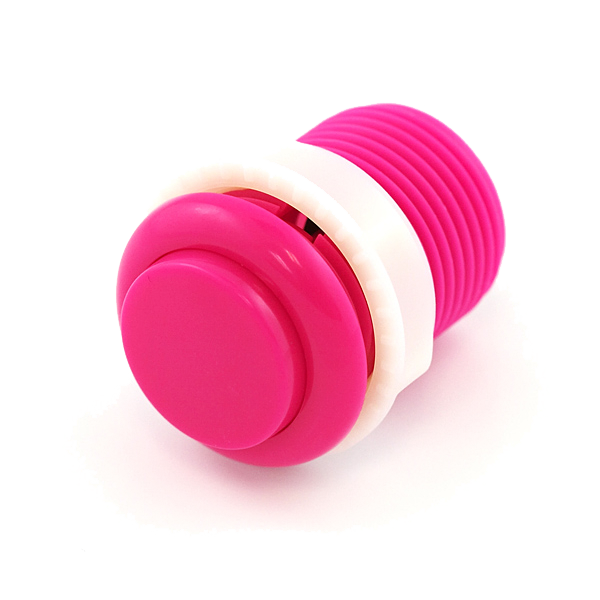 Push Button - 33mmFrequently used with this build's materials
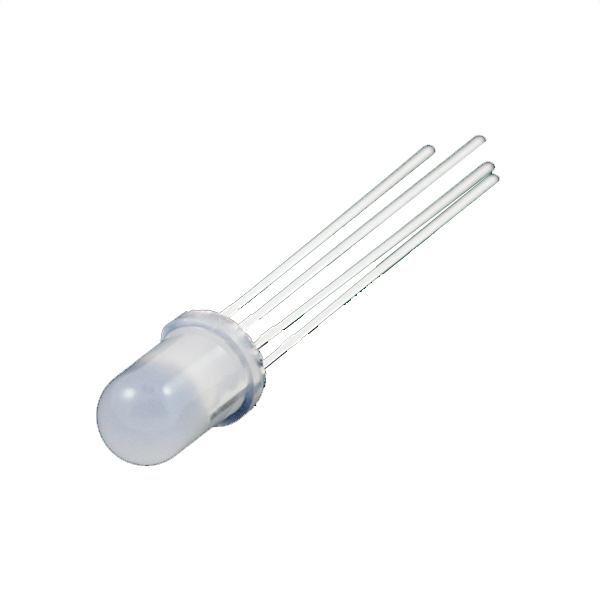 LED - RGB Diffused Common Cathode - 5mmFrequently used with this build's materials
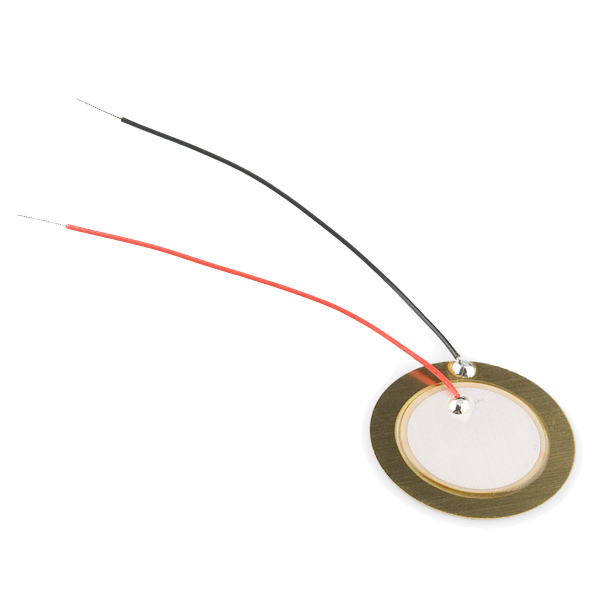 Piezo ElementFrequently used with this build's materials
 Diode KitFrequently used with this build's materials
Related blueprints
Other builds that share materials, tools, or techniques with this one.


CC0 སྤྱི་དབང
བིལུ་པིརིན་ཊི་འདི་CC0 འོག་བཀྲམས་ཡོད། ཁྱེད་རང་གིས་ཆོག་མཆན་མ་བཞེས་པར་ཕབ་ལེན་དང་བཟོ་བཅོས། བགོ་བཤའ། དགོས་མཁོ་གང་ལའང་བཀོལ་སྤྱོད་བྱས་ཆོག
བཟོ་མཁན་ལ་རྒྱབ་སྐྱོར་བྱེད་པའི་ཆེད་ཁོང་ཚོའི་བིལུ་པིརིན་ཊི་བརྒྱུད་ཐོན་སྐྱེད་ཉོ། བཟོ་མཁན་གྱིས བཟོ་མཁན་གྱི་ཁེ་ཕོགས ཚོང་པས་གཏན་འཁེལ་བྱས་པ། ཡང་ན་བིལུ་པིརིན་ཊི་འདིའི་པར་གསར་བཟོས་ཏེ་ཁྱེད་རང་གི་བིལུ་པིརིན་ཊི་ནང་མཐུད་སྦྲེལ་བྱས་ཏེ་ཡོང་སྒོ་བགོ་བཤའ་བྱེད།