Burning Lime from Limestone — The Oldest Chemical Industry on Earth
Lime (calcium oxide, CaO) is arguably humanity's oldest manufactured chemical. The process of burning limestone (calcium carbonate, CaCO₃) in a kiln to produce quicklime has been practiced for at least 10,000 years — predating metallurgy, glassmaking, and even agriculture in some regions. Lime plaster floors have been found at Göbekli Tepe (c. 9500 BCE) and Pre-Pottery Neolithic sites in the Levant.
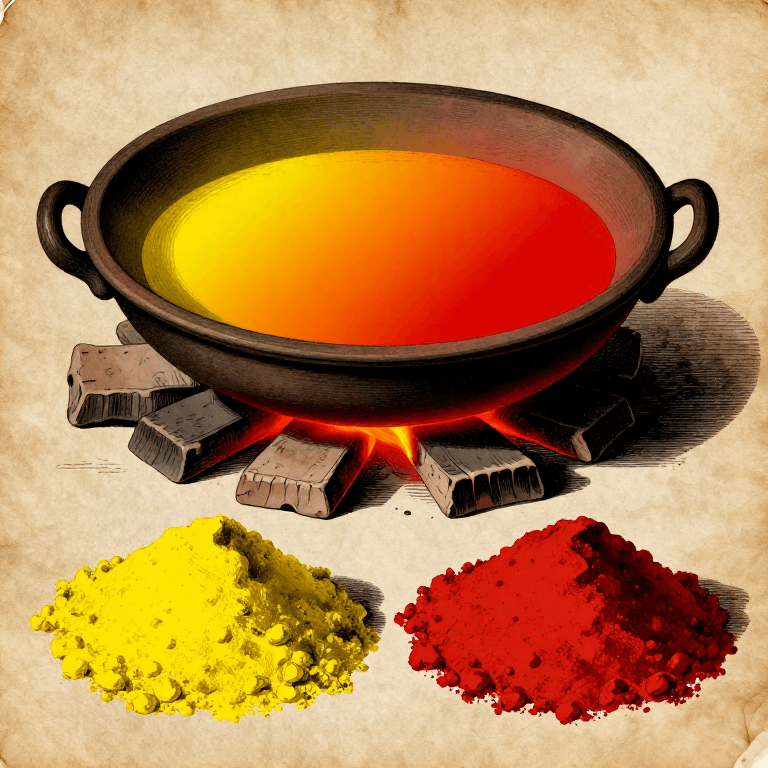
The chemistry is deceptively simple: CaCO₃ → CaO + CO₂. Heating limestone above approximately 900°C drives off carbon dioxide gas, leaving behind a white, caustic powder — quicklime. When water is added to quicklime, it reacts violently and exothermically: CaO + H₂O → Ca(OH)₂ (slaked lime, or calcium hydroxide), releasing enough heat to boil water. This 'slaking' reaction is one of the most dramatic simple chemical reactions.
Lime is foundational to civilization: it makes morite, plaster, whitewash, cement, glass, steel, paper, sugar, and leather. The Romans built their empire on lime mortar (opus caementicium). Medieval cathedrals stand on lime foundations. Modern steel production consumes more lime than any other industry.
HAZARD: Quicklime (CaO) is severely caustic — it causes chemical burns on contact with skin or eyes. The slaking reaction releases intense heat and can splatter. Lime dust irritates the respiratory tract. Wear full eye protection, chemical-resistant gloves, and a dust mask. Work outdoors.
ལམ་སྟོན
Source and select limestone
Source and select limestone
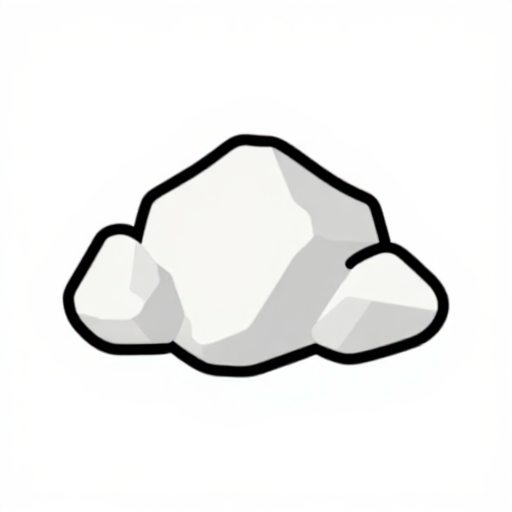
Identify and collect limestone (calcium carbonate, CaCO₃). Limestone is an extremely common sedimentary rock — it forms approximately 10% of all sedimentary rocks worldwide. It ranges from pure white (chalk) through grey to dark grey, depending on clay and organic content. Key identification: limestone fizzes vigorously when dilute hydrochloric acid (or even strong vinegar) is dropped on it — the CO₂ gas escaping is visible as bubbles.
Select pieces approximately 5-10 cm diameter. Avoid dolomite (CaMg(CO₃)₂) which looks similar but requires higher temperatures. Test with acid: pure limestone fizzes strongly and quickly; dolomite fizzes slowly and weakly. Chalk, marble, and shell deposits are all calcium carbonate and work equally well.
གོམ་པ་འདིའི་རྫས་རིགས:
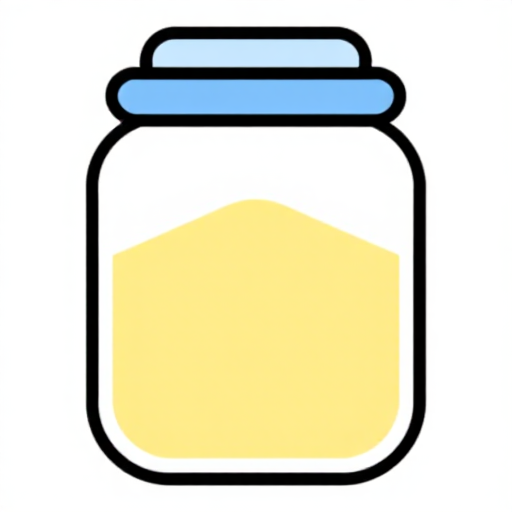
 Calcium Carbonate (limestone, crushed)10 kg
ལག་ཆས་དགོས་མཁོ:
 Geological Hammer
 Safety Goggles
Build a simple lime kiln
Build a simple lime kiln
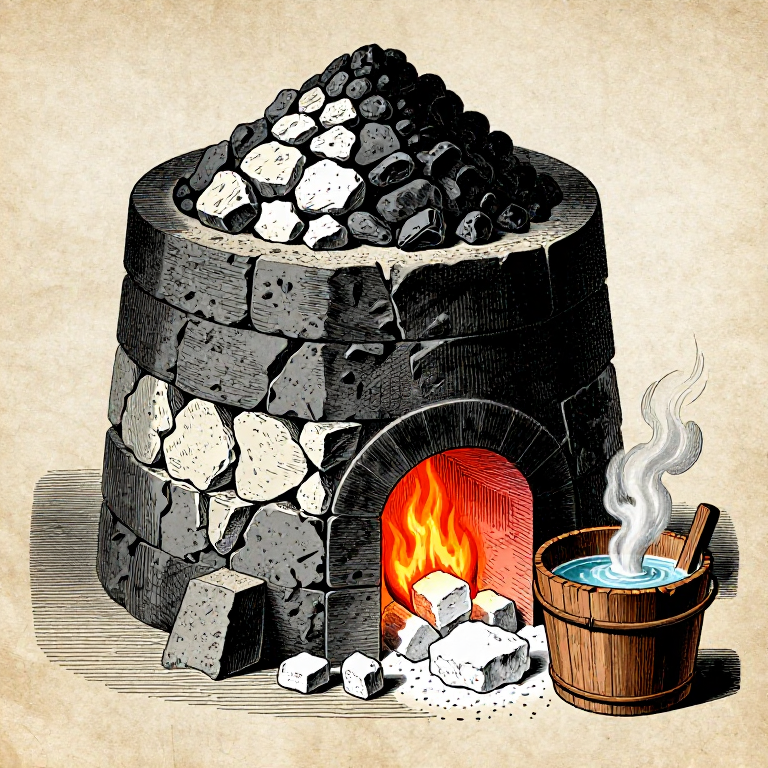
A basic lime kiln can be built from firebricks or even a pit in the ground lined with stones. The requirement is sustained temperature above 900°C for several hours. The simplest approach: dig a pit approximately 60 cm deep and 50 cm diameter, line with firebricks or refractory clay, and build a grate from steel bars 15 cm above the bottom to hold the limestone above the fire.
Stack limestone pieces loosely on the grate — air must circulate freely through the charge. Leave gaps between pieces for CO₂ to escape. The fire will be built beneath the grate using hardwood or charcoal. A draught hole at the base is essential for airflow.
གོམ་པ་འདིའི་རྫས་རིགས:
 Refractory Clay (firecite)5 kg
 Charcoal15 kg
ལག་ཆས་དགོས་མཁོ:
 Shovel
Fire the kiln and maintain temperature
Fire the kiln and maintain temperature
Light the fire beneath the limestone and gradually increase temperature over the first hour. The critical temperature is approximately 900°C (bright orange-yellow heat). Below this temperature, decomposition is too slow; above 1300°C, the lime 'dead burns' — it sinters into dense, unreactive lumite that won't slake properly.
Maintain firing for 4-6 hours minimum for 5-10 cm pieces. You'll know calcination is progressing when the stones visibly lighten in color (from grey to white) and lose weight — fully calcined lime weighs approximately 56% of the original limestone (the 44% lost is CO₂ gas). The pieces will also become noticeably lighter to lift and will ring with a higher-pitched sound when struck.
གོམ་པ་འདིའི་རྫས་རིགས:
Charcoal20 kgལག་ཆས་དགོས་མཁོ:
 Crucible Tongs (long-handled)Safety Goggles
 Nitrile Rubber Gloves (Thick)
Retrieve and test the quicklime
Retrieve and test the quicklime
Allow the kiln to cool for several hours before retrieving the calcined stones. Properly burned quicklime is white to light grey, significantly lighter than the original limestone, and has a chalky, crumbly texture. It no longer fizzes with acid — the carbonate has been driven off.
Test: drop a small piece into a cup of water (CAREFULLY — stand back). Properly calcined quicklime will react vigorously, hissing, steaming, and generating intense heat. The water may boil. The lime crumbles and disintegrates into a white paste (slaked lime, Ca(OH)₂). If the stone sits inertly in water, it is either underburned (still CaCO₃) or overburned (dead-burned, sintered).
ལག་ཆས་དགོས་མཁོ:
Crucible Tongs (long-handled)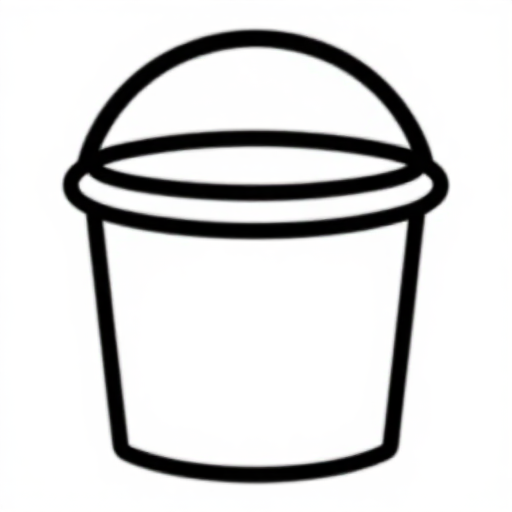 Bucket (5-gallon)
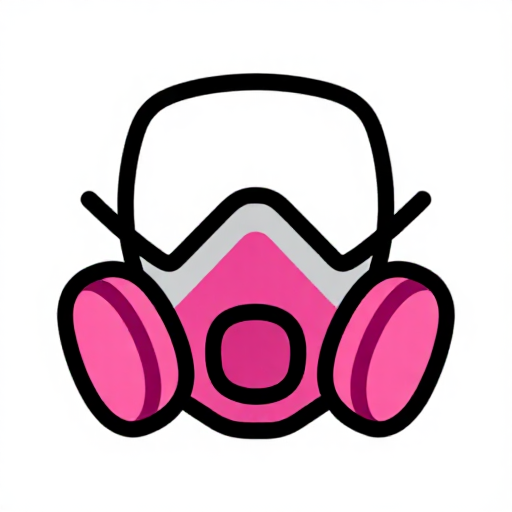 P100 RespiratorSafety Goggles
Slake the lime to produce calcium hydroxide
Slake the lime to produce calcium hydroxide
Slaking converts quicklime (CaO) to slaked lime (Ca(OH)₂) by controlled addition of water. The reaction is highly exothermic — temperatures can reach 300°C at the reaction surface. Work outdoors, wear full eye protection and gloves, and add water gradually.
For lime putty (used in traditional plaster and mortar): place quicklime chunks in a large metal container and add water slowly — approximately 3 parts water to 1 part lime by volume. The lime will crack, hiss, steam, and eventually disintegrate into a smooth white paste. Stir carefully with a long stick. Allow to cool completely. This lime putty improves with age — traditional plasterers aged lime putty for months or years.
ལག་ཆས་དགོས་མཁོ:
Bucket (5-gallon) Steel Stirring RodP100 RespiratorSafety GogglesNitrile Rubber Gloves (Thick)
Make lime mortar or limewash
Make lime mortar or limewash
Lime mortar: Mix 1 part lime putty with 2-3 parts clean, sharp sand. This is the mortar that built the Colosseum, the Great Wall of China, and every medieval cathedral. Lime mortar sets slowly by absorbing CO₂ from the air (carbonation): Ca(OH)₂ + CO₂ → CaCO₃ + H₂O — it literally turns back into limestone over decades, which is why ancient lime mortar structures are still standing.
Limewash: Dilute lime putty with water to a milk-like consistency. This is the original white paint — used on buildings worldwide for millennia. Limewash is naturally antiseptic (high pH kills bacteria and fungi), breathable (allows moisture to pass through masonry), and self-healing (minor cracks fill as the lime carbonates). Apply with a large brush in thin coats.
གོམ་པ་འདིའི་རྫས་རིགས:
 Quartz Sand (clean)5 kg
ལག་ཆས་དགོས་མཁོ:
Bucket (5-gallon)Nitrile Rubber Gloves (Thick)Safety Gogglesརྫས་རིགས
4- ས་ཆ་འཛིན
- ས་ཆ་འཛིན
- ས་ཆ་འཛིན
མཐུད་སྦྲེལ་བིལུ་པིརིན་ཊི་རྫས་རིགས

Making Soda-Lime Glass from Raw Materials — The Recipe That Has Not Changed in 5,000 Years
Mary གྱིས![]()
ཤེལ་བཟོ

Making Lime Wash — The Oldest and Simplest Wall Paint in the World
Charlie གྱིས![]()
སྒྱུ་རྩལ

Making Casein Paint from Milk and Lime — The Ancient Protein-Based Wall Paint
Charlie གྱིས![]()
སྒྱུ་རྩལ

Making Soda Ash by the Leblanc Process — The Chemical That Made Soap and Glass Affordable
Charlie གྱིས![]()
བཟོ་གྲྭ

Making Portland Cement from Limestone and Clay — The Material That Built the Modern World
Charlie གྱིས![]()
བཟོ་གྲྭ
འབྲེལ་ཡོད་བིལུ་པིརིན་ཊི
བིལུ་པིརིན་ཊི་འདི་ཚུ་ཐབས་ལམ་དང་རྫས་རིགས། སྤྱི་ཆོས་བགོ་བཤའ་བྱེད

CC0 སྤྱི་དབང
བིལུ་པིརིན་ཊི་འདི་CC0 འོག་བཀྲམས་ཡོད། ཁྱེད་རང་གིས་ཆོག་མཆན་མ་བཞེས་པར་ཕབ་ལེན་དང་བཟོ་བཅོས། བགོ་བཤའ། དགོས་མཁོ་གང་ལའང་བཀོལ་སྤྱོད་བྱས་ཆོག
བཟོ་མཁན་ལ་རྒྱབ་སྐྱོར་བྱེད་པའི་ཆེད་ཁོང་ཚོའི་བིལུ་པིརིན་ཊི་བརྒྱུད་ཐོན་སྐྱེད་ཉོ། བཟོ་མཁན་གྱིས བཟོ་མཁན་གྱི་ཁེ་ཕོགས ཚོང་པས་གཏན་འཁེལ་བྱས་པ། ཡང་ན་བིལུ་པིརིན་ཊི་འདིའི་པར་གསར་བཟོས་ཏེ་ཁྱེད་རང་གི་བིལུ་པིརིན་ཊི་ནང་མཐུད་སྦྲེལ་བྱས་ཏེ་ཡོང་སྒོ་བགོ་བཤའ་བྱེད།