སྒྱུ་རྩལ
མཛེས་སྡུག་དང་བདེ་ཐང
བཟོ་རིག
རིག་གནས་དང་ལོ་རྒྱུས
དགའ་སྟོན
ཁོར་ཡུག
ཟས་དང་བཏུང་རྫས
ཕྱིར་འཕྲུལ་རིག
ཚན་རིག
རྩེད་འགྲན
རིག་རྩལ
གྱོན་རུང
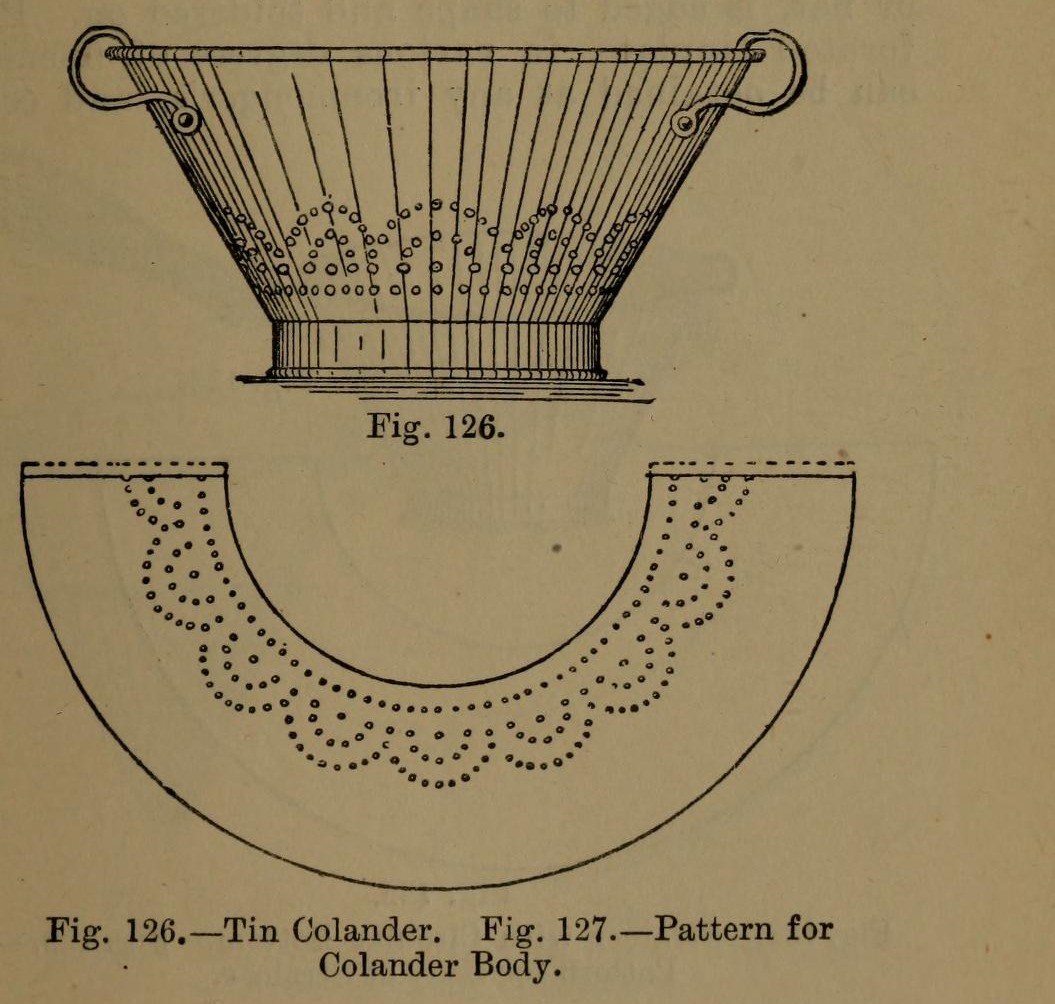


Colander: a Tinplate Colander with Perforated Body and Bottom (Hasluck, 1907)
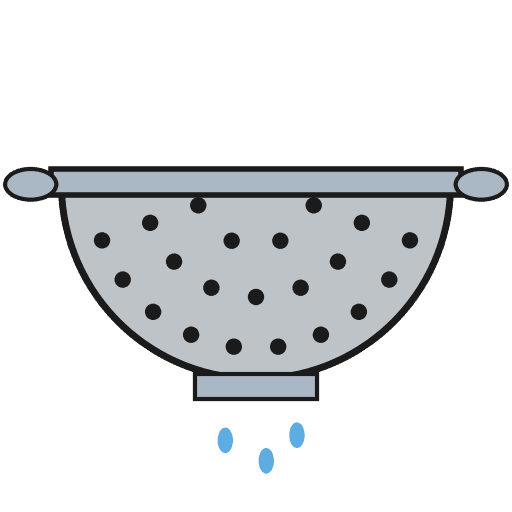
A tinsmith's colander for straining: a tapered tinplate body and a hollowed bottom, both punched full of holes, standing on a wired hoop, with two bow handles.
The body pattern is a ring segment: outer radius = top diameter, inner radius = bottom diameter, which gives sides at 60 degrees.
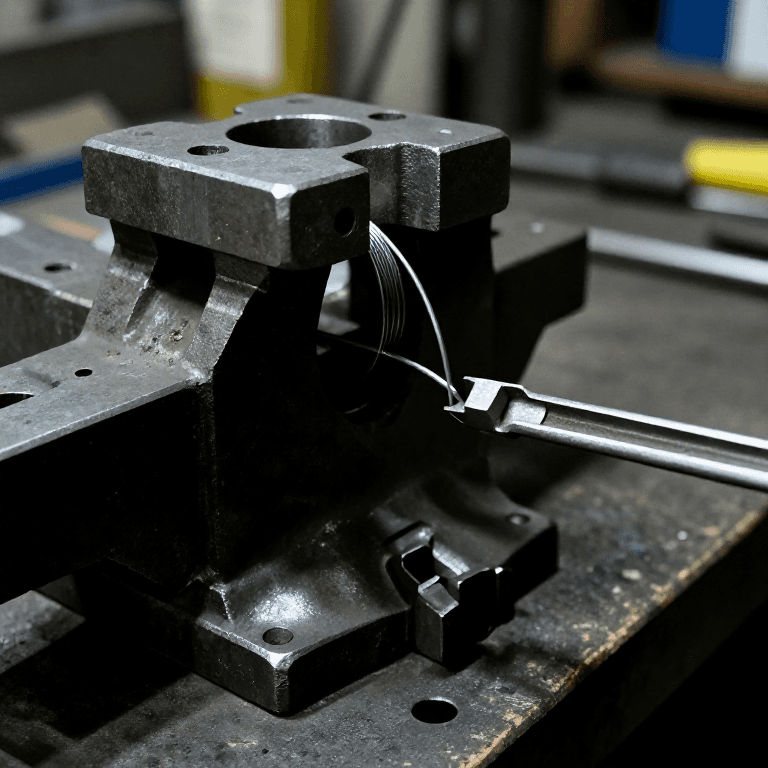
Source: Paul N. Hasluck, Tinplate Work (1907), pp. 50-51. Unknown: sizes, solder. Picture: Figs. 126-127 of the book.
བར་མ
Unknown
ལམ་སྟོན
1
1
Set out the body pattern
Set out the body pattern
Choose the top and bottom diameters. On tinplate, strike an arc with radius equal to the top diameter and, from the same centre, one equal to the bottom diameter (Fig. 127); the sides then slope at 60 degrees. Mark the rows of holes, add edges for a grooved seam and the wire, and cut it out.
གོམ་པ་འདིའི་རྫས་རིགས:
 ཊིན་བྱུགས་ལྕགས་ལེབ།1 body
ལག་ཆས་དགོས་མཁོ:
 རྩེ་གཉིས་ཀྱི་སྐོར་ཐིག་ཆས།
 ཐིག་འཛུགས་ཁབ།
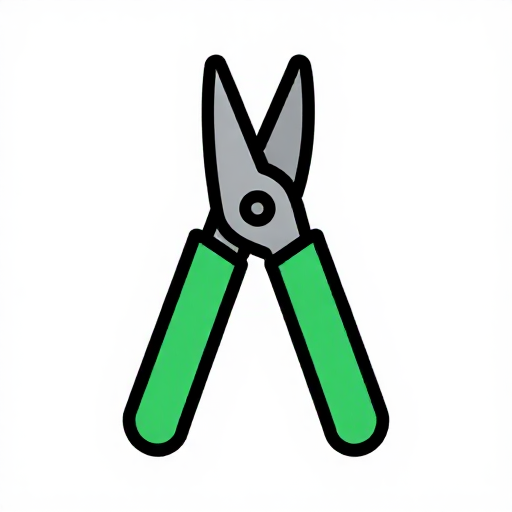 ལྕགས་ལེབ་གཏུབ་ནིའི་ཇེམ་ཙི།
2
2
Break, punch and planish the body
Break, punch and planish the body
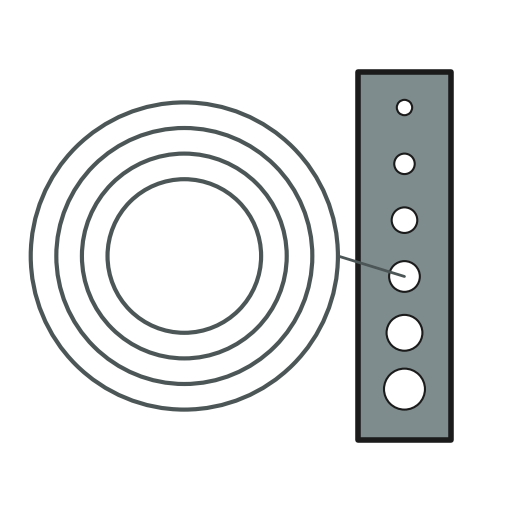
'Break' the pattern through the rollers, turning it the opposite way each pass, so it won't crease when bent. Punch the holes on a hardwood block, then flatten and planish the burrs.
ལག་ཆས་དགོས་མཁོ:
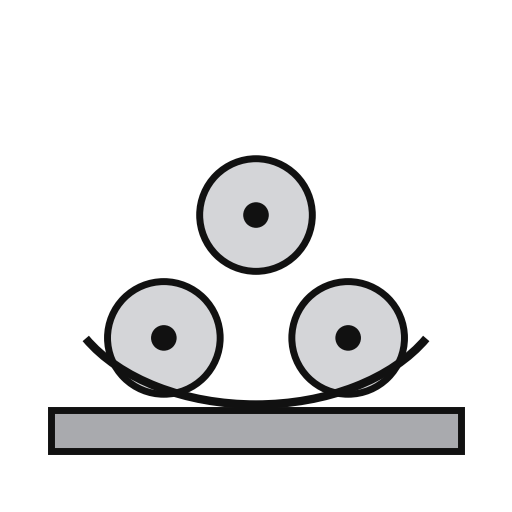 ལྕགས་ལྡེབ་གུག་འཕྲུལ།
 ལྕགས་ལེབ་ཁུང་བུ་གཏོད་ཆས།
 སྲ་བའི་ཤིང་གི་སྒོ་རྡོག
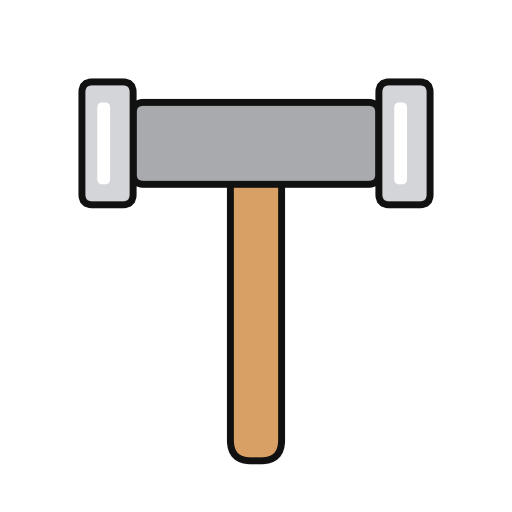 སྙོམས་བཟོའི་ཐོ་བ།
3
3
Seam and wire the body
Seam and wire the body
Set off the edges for a grooved seam, bend the body to shape and seam it. Solder the seam inside. Set off an edge on the wide end and wire it with No. 10 B.W.G. wire. If you like, raise a swage about 1 1/2 in below the wired edge: it stiffens the colander and looks better.
གོམ་པ་འདིའི་རྫས་རིགས:
 ལྕགས་སྐུད1 No. 10 B.W.G.
 གསའ-ཞ་ཡི་ལྷ་ཡིག1 seam
ལག་ཆས་དགོས་མཁོ:
 ཤིང་གི་ཐོ་བ།
 ཕུར་པ
 གློག་གི་ཞ་སྦྱར་ལྕགས
 ཞུ་རོགས་རྫས
4
4
Make and fit the bottom
Make and fit the bottom
Cut out the bottom, hollow it and edge it to fit the small end. Inside, mark circles from 1 in across at the centre, each 1 in wider than the last, out to the edge. Punch holes at short intervals round them and flatten the burrs on an upturned hollowing hammer. Solder the bottom on.
གོམ་པ་འདིའི་རྫས་རིགས:
ཊིན་བྱུགས་ལྕགས་ལེབ།1 bottomགསའ-ཞ་ཡི་ལྷ་ཡིག1 bottomལག་ཆས་དགོས་མཁོ:
རྩེ་གཉིས་ཀྱི་སྐོར་ཐིག་ཆས།ལྕགས་ལེབ་གཏུབ་ནིའི་ཇེམ་ཙི།ལྕགས་ལེབ་ཁུང་བུ་གཏོད་ཆས།སྙོམས་བཟོའི་ཐོ་བ།གློག་གི་ཞ་སྦྱར་ལྕགསཞུ་རོགས་རྫས5
5
Add the hoop and handles
Add the hoop and handles
Cut a strip 1 1/2 in wide, as long as the circumference of the bottom. Wire it with No. 10 B.W.G., round it, seam it and solder it on as the foot. Rivet a pair of bow handles opposite each other at the top.
གོམ་པ་འདིའི་རྫས་རིགས:
ཊིན་བྱུགས་ལྕགས་ལེབ།1 hoopལྕགས་སྐུད1 hoopགསའ-ཞ་ཡི་ལྷ་ཡིག1 hoop ཡུ་བ།2 bow handles
 ལྕགས་ཀྱི་གཟེར་ཆུང་།1 number not given
ལག་ཆས་དགོས་མཁོ:
ལྕགས་ལེབ་གཏུབ་ནིའི་ཇེམ་ཙི།གློག་གི་ཞ་སྦྱར་ལྕགསཞུ་རོགས་རྫས གཟེར་བརྡུང་གི་ཐོ་བ།
6
6
Clean and scald
Clean and scald
Clean with turpentine and whiting, then polish with dry whiting. Before first use, steep it a short time in boiling water, as for any metal article for the kitchen.
ལག་ཆས་དགོས་མཁོ:
 ཐང་སྣུམ
 ཀེལ་སིམ་ཀར་བོ་ནེཊ (རྡོ་ཐལ་གྱི་ཕྱེ)
 ཆུ།
རྫས་རིགས
5- 1 hoopས་ཆ་འཛིན
- 1 hoopས་ཆ་འཛིན
- 1 hoopས་ཆ་འཛིན
- 2 bow handlesས་ཆ་འཛིན
- 1 number not givenས་ཆ་འཛིན
ལག་ཆས་དགོས་མཁོ
15- ས་ཆ་འཛིན
- ས་ཆ་འཛིན
- ས་ཆ་འཛིན
- ས་ཆ་འཛིན
- ས་ཆ་འཛིན
- ས་ཆ་འཛིན
- ས་ཆ་འཛིན
- ས་ཆ་འཛིན
- ས་ཆ་འཛིན
- ས་ཆ་འཛིན
- ས་ཆ་འཛིན
- ས་ཆ་འཛིན
- ས་ཆ་འཛིན
- ས་ཆ་འཛིན
མཐུད་སྦྲེལ་བིལུ་པིརིན་ཊི་རྫས་རིགས


བིལུ་པིརིན་ཊི་འདི་གིས་བཟོ་མི
CC0 སྤྱི་དབང
བིལུ་པིརིན་ཊི་འདི་CC0 འོག་བཀྲམས་ཡོད། ཁྱེད་རང་གིས་ཆོག་མཆན་མ་བཞེས་པར་ཕབ་ལེན་དང་བཟོ་བཅོས། བགོ་བཤའ། དགོས་མཁོ་གང་ལའང་བཀོལ་སྤྱོད་བྱས་ཆོག
བཟོ་མཁན་ལ་རྒྱབ་སྐྱོར་བྱེད་པའི་ཆེད་ཁོང་ཚོའི་བིལུ་པིརིན་ཊི་བརྒྱུད་ཐོན་སྐྱེད་ཉོ། བཟོ་མཁན་གྱིས བཟོ་མཁན་གྱི་ཁེ་ཕོགས ཚོང་པས་གཏན་འཁེལ་བྱས་པ། ཡང་ན་བིལུ་པིརིན་ཊི་འདིའི་པར་གསར་བཟོས་ཏེ་ཁྱེད་རང་གི་བིལུ་པིརིན་ཊི་ནང་མཐུད་སྦྲེལ་བྱས་ཏེ་ཡོང་སྒོ་བགོ་བཤའ་བྱེད།