Greek Iron Nail — Forging Wrought Iron Nails
ལམ་སྟོན
Heat the Iron Rod in the Forge
Heat the Iron Rod in the Forge
Place the end of a wrought iron or mild steel rod into the forge and heat it to a bright yellow-orange color, approximately 900-1050 degrees Celsius. At this temperature, iron becomes highly plastic and can be shaped with relatively light hammer blows. Iron must be worked hot — unlike bronze, which can be cold-hammered and annealed, iron at room temperature is too hard and brittle for efficient shaping. The Greek adoption of iron technology (beginning circa 1050-900 BCE) represented a major technological shift, as iron ore is far more abundant than copper and tin but requires higher furnace temperatures and more sophisticated smelting techniques. Early Greek iron was produced in small bloomery furnaces that yielded spongy masses of wrought iron mixed with slag.
གོམ་པ་འདིའི་རྫས་རིགས:
ལག་ཆས་དགོས་མཁོ:
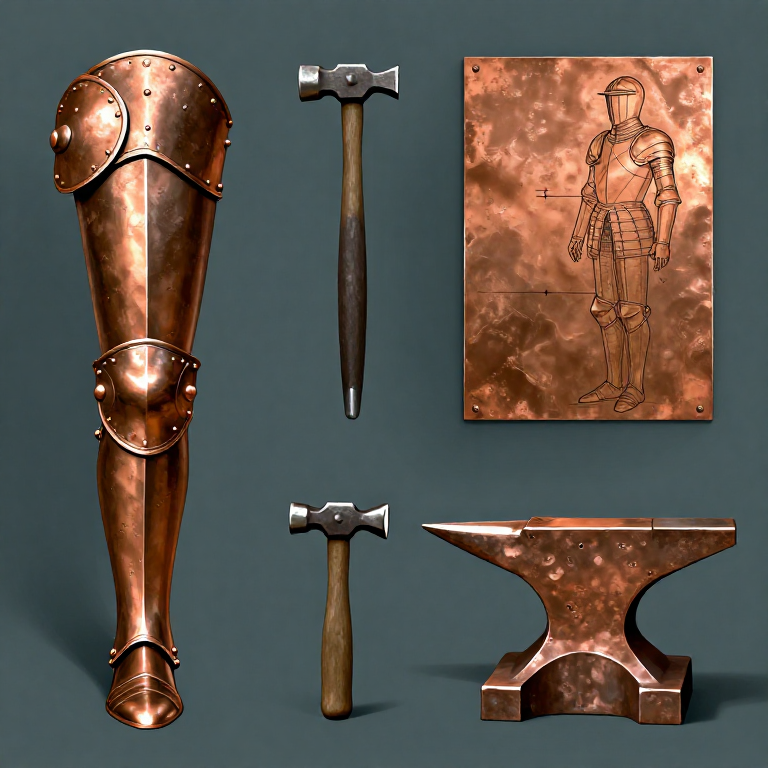
 Forge
Forge Anvil
Anvil Forge Hammer (Cross-Peen)
 Forge Tongs
Draw Out and Taper the Nail Shank
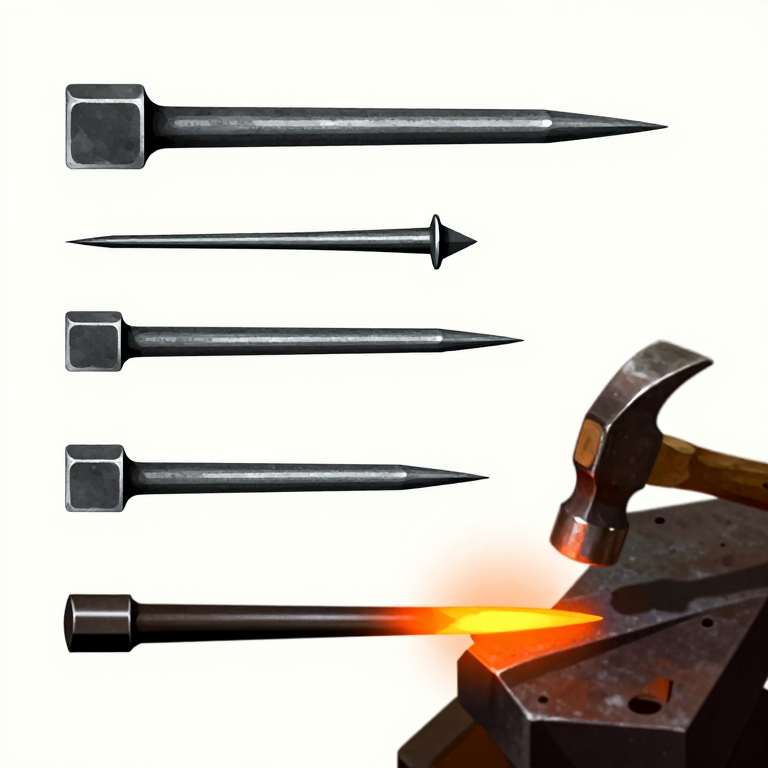
Draw Out and Taper the Nail Shank
Remove the glowing rod from the forge with tongs and place it on the anvil. Hammer the heated section to draw it out (lengthen it) while tapering it to a point. Work on two opposing faces first, then rotate 90 degrees and taper the other two faces, creating a square-section taper. The finished nail shank should taper evenly from approximately 6 mm square at the head end to a sharp point over a length of 4-8 cm, depending on the desired nail size. Work quickly while the iron is hot — you have approximately 30-60 seconds of working time before the metal cools below forging temperature and must be reheated. Return the rod to the forge as needed.
Cut the Nail from the Rod
Cut the Nail from the Rod
Reheat the iron and position the rod over the hardy (a cutting tool set into the anvil's hardy hole) at the point where you want to separate the nail from the parent rod — leaving approximately 5-8 mm of extra material above the cut for forming the head. Strike the rod against the hardy edge to cut approximately three-quarters through, then break the nail free by bending. Alternatively, use a hot-cut chisel held against the rod while an assistant strikes. The cut should be clean and positioned so the remaining stub above the shank is sufficient to upset (spread) into a nail head.
Form the Nail Head
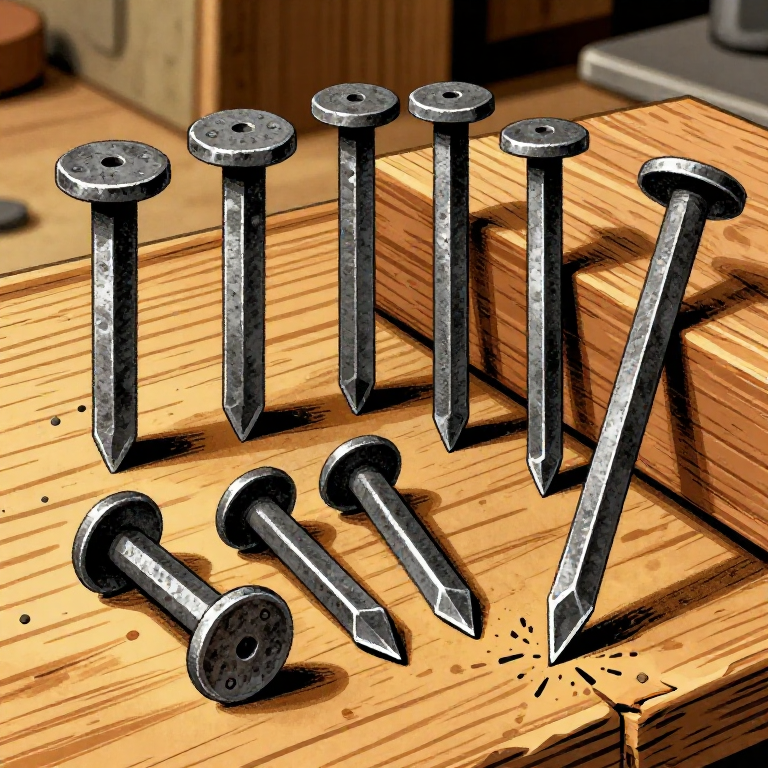
Form the Nail Head
Reheat just the head end of the nail to yellow heat. Insert the nail point-first through the tapered hole in a nail header (a thick metal plate with a countersunk hole that supports the nail while the head is formed). The shank should protrude through the hole with only the head material visible above. Strike the protruding stub firmly with the flat face of the hammer to upset (spread) it outward, forming a flat, round or square head. This is called heading. Two or three heats may be required to form a well-shaped head. The head should be wider than the shank by at least 3-4 mm on all sides to provide holding power when driven into wood. Rose-head nails (with a slightly domed, faceted head) were the most common historical form.
Quench and Test the Finished Nail
Quench and Test the Finished Nail
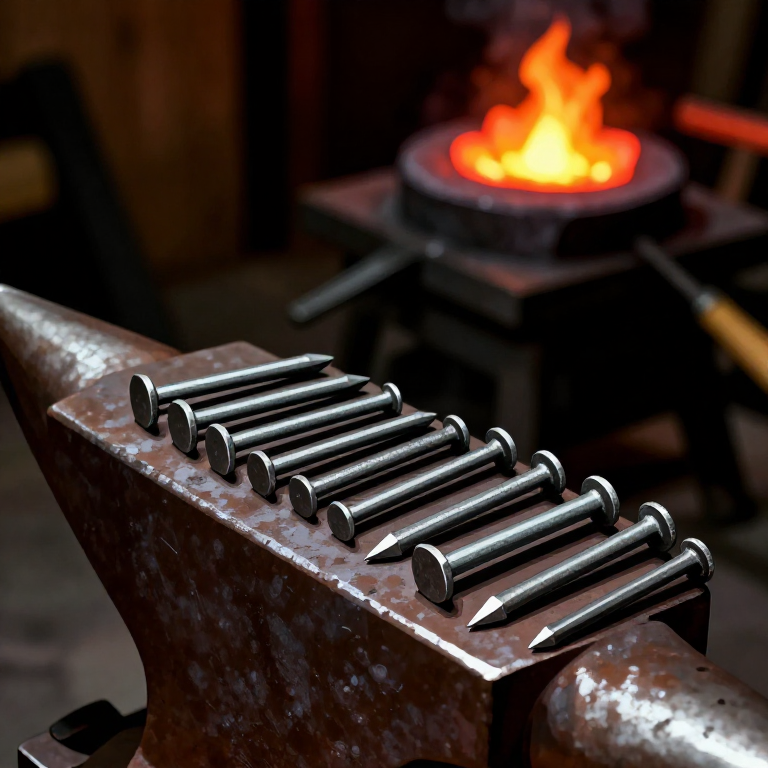
Once the head is formed, quench the nail in water to cool it. Wrought iron nails do not need to be heat-treated like steel tools — the low carbon content of wrought iron means it does not harden significantly when quenched. The finished nail should have a straight, evenly tapered shank with a sharp point and a flat, well-formed head. Test by driving it into a piece of softwood — it should enter straight without bending, and the head should sit flush with or slightly below the wood surface. A skilled smith can produce 200-400 nails per day. Hand-forged nails were a critical commodity in the ancient world — shipbuilding alone consumed enormous quantities. The Athenian trireme (warship) required thousands of bronze and iron nails and bolts to fasten its hull planking, and naval arsenals maintained large stockpiles of nails as strategic materials.
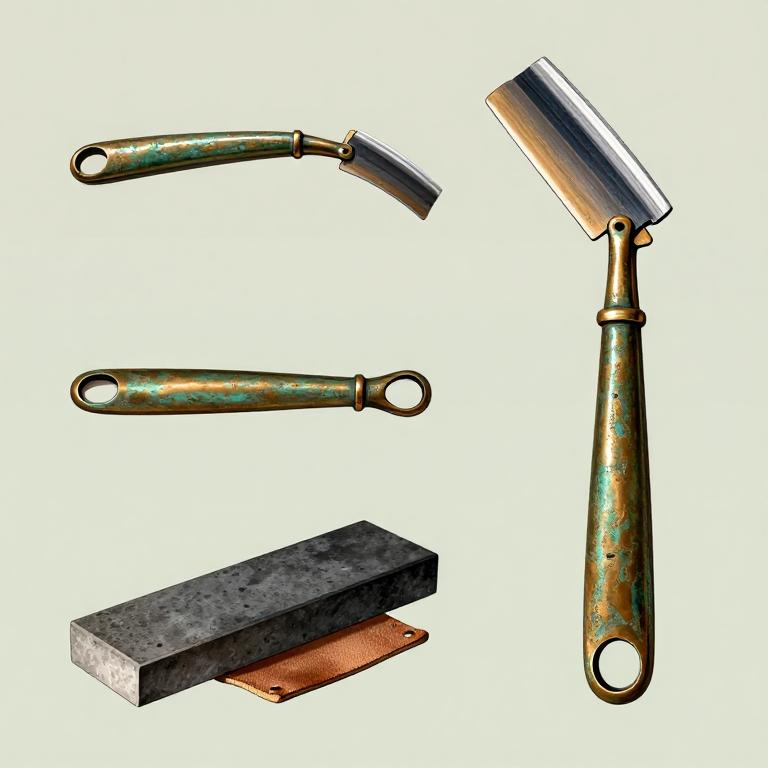
Related blueprints
Other builds that share materials, tools, or techniques with this one.
CC0 སྤྱི་དབང
བིལུ་པིརིན་ཊི་འདི་CC0 འོག་བཀྲམས་ཡོད། ཁྱེད་རང་གིས་ཆོག་མཆན་མ་བཞེས་པར་ཕབ་ལེན་དང་བཟོ་བཅོས། བགོ་བཤའ། དགོས་མཁོ་གང་ལའང་བཀོལ་སྤྱོད་བྱས་ཆོག
བཟོ་མཁན་ལ་རྒྱབ་སྐྱོར་བྱེད་པའི་ཆེད་ཁོང་ཚོའི་བིལུ་པིརིན་ཊི་བརྒྱུད་ཐོན་སྐྱེད་ཉོ། བཟོ་མཁན་གྱིས བཟོ་མཁན་གྱི་ཁེ་ཕོགས ཚོང་པས་གཏན་འཁེལ་བྱས་པ། ཡང་ན་བིལུ་པིརིན་ཊི་འདིའི་པར་གསར་བཟོས་ཏེ་ཁྱེད་རང་གི་བིལུ་པིརིན་ཊི་ནང་མཐུད་སྦྲེལ་བྱས་ཏེ་ཡོང་སྒོ་བགོ་བཤའ་བྱེད།