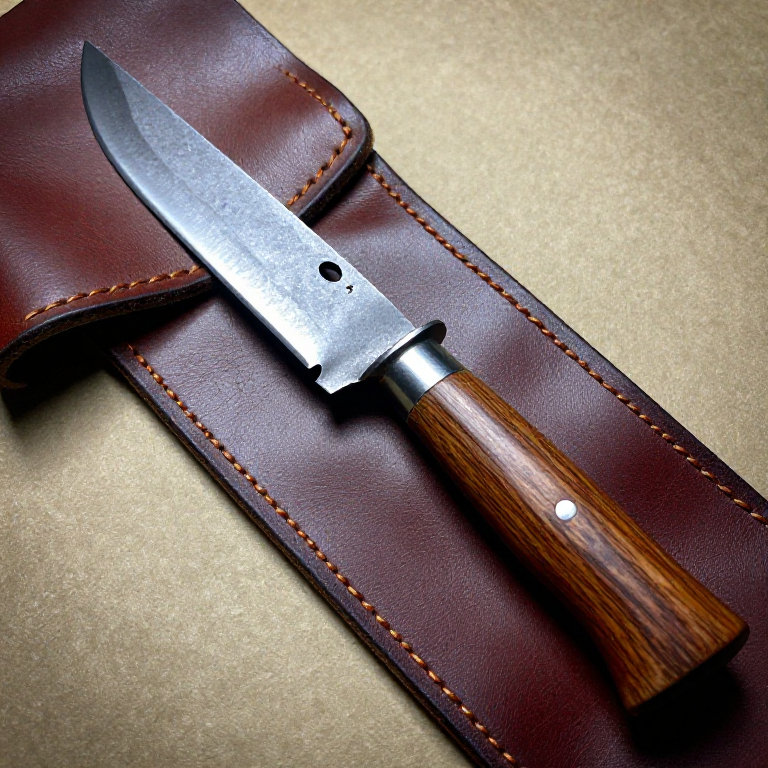
Forging an Iron Knife from a Wrought Iron Bar — The Smith's First Project
The iron knife is traditionally the first object a blacksmith apprentice learns to forge. It teaches every fundamental operation: drawing out (lengthening the metal), tapering (creating a point), bevelling (forming the cutting edge), and finishing (grinding and hafting). An experienced smith can forge a knife in under an hour; a beginner should expect a full day of practice.
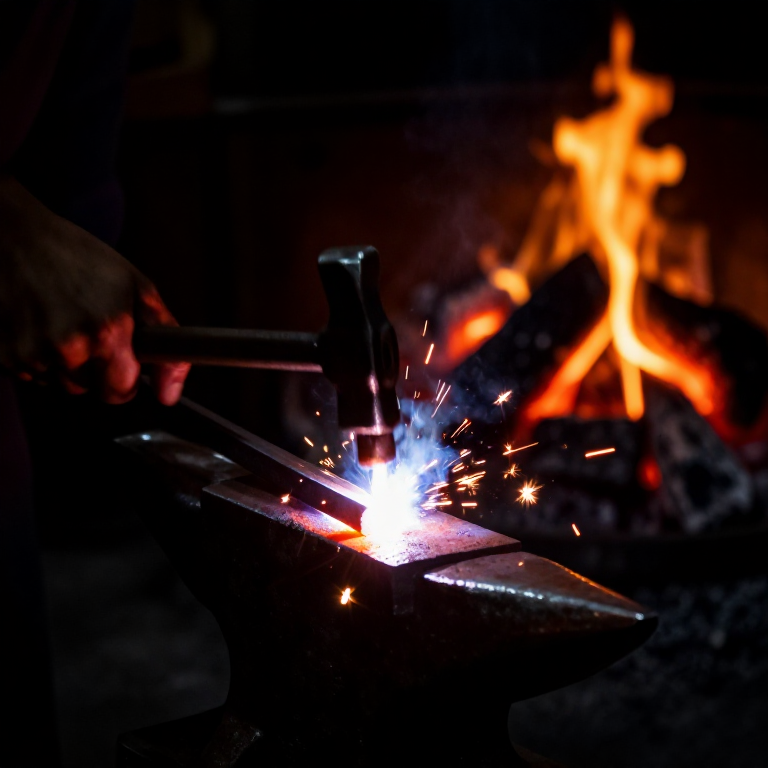
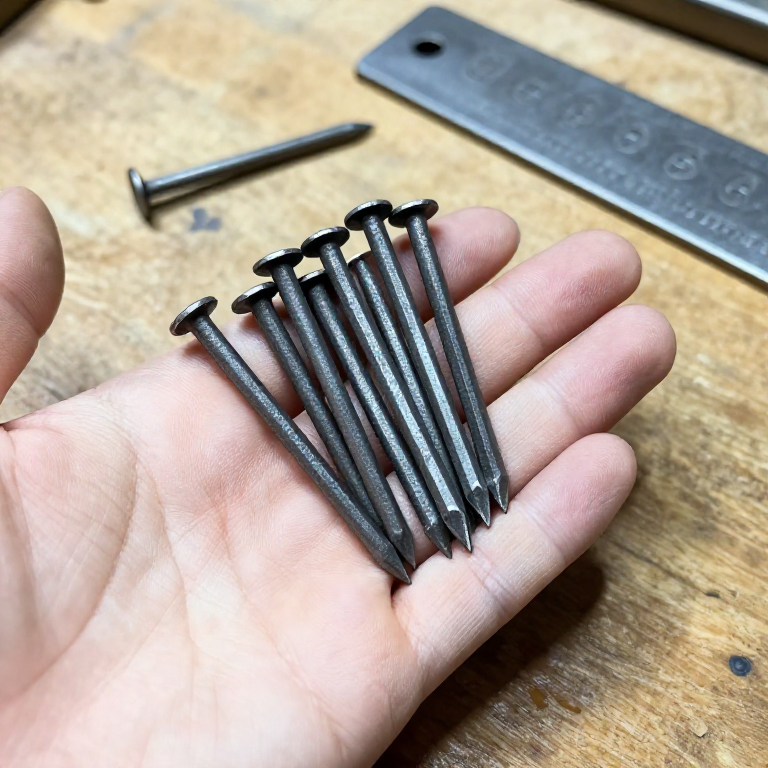
Unlike bronze tools which are cast into shape, iron tools are forged — beaten into shape from a solid bar using only heat, hammer, and anvil. The wrought iron bar is heated to bright orange in a charcoal forge, then hammered on an anvil to draw it into a blade shape. The tang (the part that goes into the handle) is formed by drawing the opposite end to a narrow taper.
The blade is then ground, and the edge can be hardened by case-carburising (packing in charcoal and heating) to add a thin layer of steel to the surface. This gives a wrought iron blade the best of both worlds: a tough, shock-absorbing body with a hard, sharp edge.
ལམ་སྟོན
Select and cut the bar stock
Select and cut the bar stock
Heat the tang end to forging temperature
Heat the tang end to forging temperature
གོམ་པ་འདིའི་རྫས་རིགས:
 Charcoal3 kg
Draw out the tang
Draw out the tang
ལག་ཆས་དགོས་མཁོ:
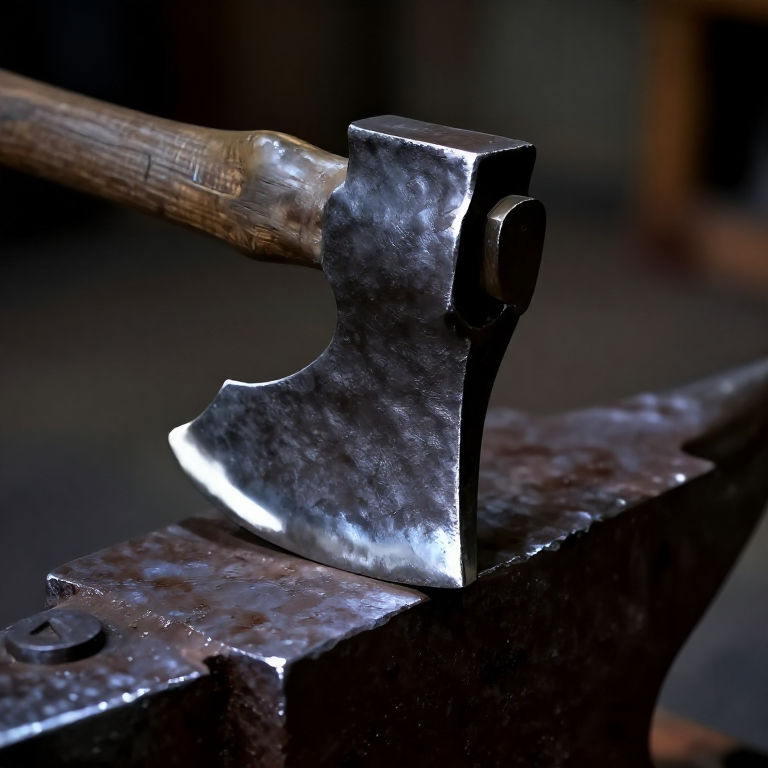
 Forge Hammer (Cross-Peen)
 Forge Tongs
 Hearth (Forge Fire)
Define the shoulder
Define the shoulder
Taper the blade to a point
Taper the blade to a point
Set the bevel
Set the bevel
Straighten and true the blade
Straighten and true the blade
Normalise the blade
Normalise the blade
Grind the edge
Grind the edge
གོམ་པ་འདིའི་རྫས་རིགས:
 Sandstone (Abrasive)1 piece
 Whetstone1 piece
Haft with a wooden handle
Haft with a wooden handle
རྫས་རིགས
3- 1 pieceས་ཆ་འཛིན
ལག་ཆས་དགོས་མཁོ
3- ས་ཆ་འཛིན
- ས་ཆ་འཛིན
- ས་ཆ་འཛིན
མཐུད་སྦྲེལ་བིལུ་པིརིན་ཊི་རྫས་རིགས
འབྲེལ་ཡོད་བིལུ་པིརིན་ཊི
བིལུ་པིརིན་ཊི་འདི་ཚུ་ཐབས་ལམ་དང་རྫས་རིགས། སྤྱི་ཆོས་བགོ་བཤའ་བྱེད
Related blueprints
Other builds that share materials, tools, or techniques with this one.


CC0 སྤྱི་དབང
བིལུ་པིརིན་ཊི་འདི་CC0 འོག་བཀྲམས་ཡོད། ཁྱེད་རང་གིས་ཆོག་མཆན་མ་བཞེས་པར་ཕབ་ལེན་དང་བཟོ་བཅོས། བགོ་བཤའ། དགོས་མཁོ་གང་ལའང་བཀོལ་སྤྱོད་བྱས་ཆོག
བཟོ་མཁན་ལ་རྒྱབ་སྐྱོར་བྱེད་པའི་ཆེད་ཁོང་ཚོའི་བིལུ་པིརིན་ཊི་བརྒྱུད་ཐོན་སྐྱེད་ཉོ། བཟོ་མཁན་གྱིས བཟོ་མཁན་གྱི་ཁེ་ཕོགས ཚོང་པས་གཏན་འཁེལ་བྱས་པ། ཡང་ན་བིལུ་པིརིན་ཊི་འདིའི་པར་གསར་བཟོས་ཏེ་ཁྱེད་རང་གི་བིལུ་པིརིན་ཊི་ནང་མཐུད་སྦྲེལ་བྱས་ཏེ་ཡོང་སྒོ་བགོ་བཤའ་བྱེད།