
Forging a Warded Iron Padlock — Medieval Security
ལམ་སྟོན
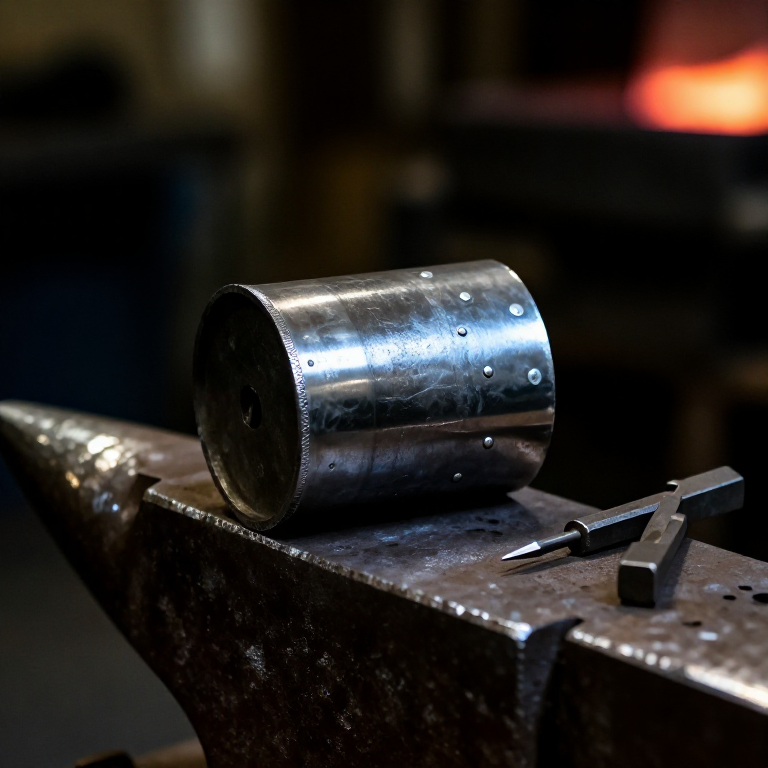
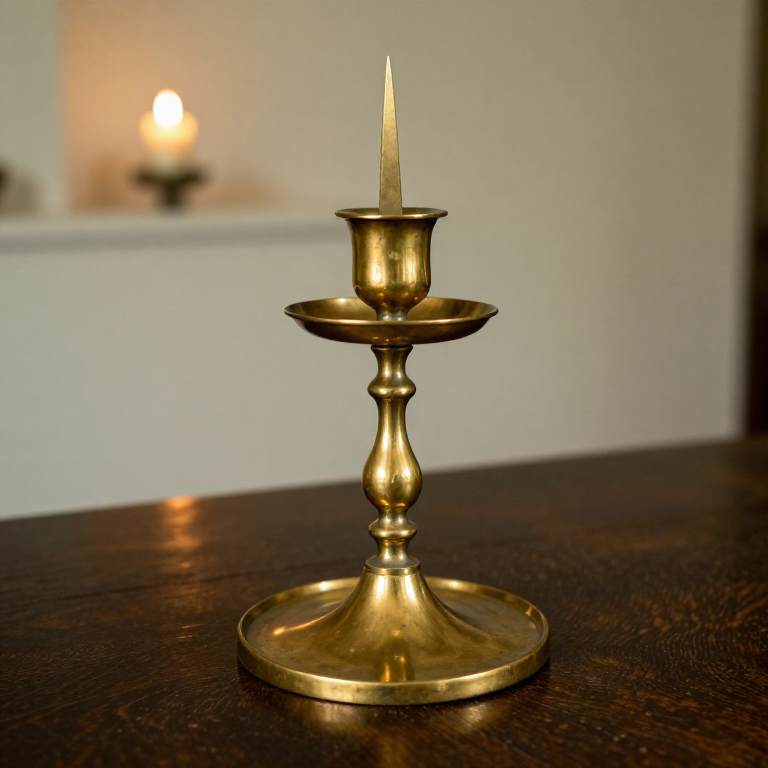
Forge the Lock Body (Case)
Forge the Lock Body (Case)
Cut a rectangle of steel sheet approximately 10 cm wide and 8 cm tall. Heat it in the forge and bend it around a cylindrical mandrel (a steel rod or pipe of about 3 cm diameter) to form a barrel shape. Overlap the edges by approximately 10 mm and forge-weld or rivet them together to form a sealed cylinder. Cut and fit circular end caps from the same sheet steel — one end is permanently closed (welded or riveted), and the other has a keyhole slot filed into it. The keyhole shape must match the cross-section of the key bit that will be made in a later step. All joints must be tight to prevent the lock from being pried open. The barrel body of medieval padlocks typically measured 3 to 5 cm in diameter and 5 to 8 cm in length.
གོམ་པ་འདིའི་རྫས་རིགས:
 Mild Steel Sheetpiece approx. 20 x 15 cm cm
 Spring Steel Strip15 x 5 cm cm
ལག་ཆས་དགོས་མཁོ:
 Anvil
Anvil Tin Snips
 Cold Chisel
Make the Internal Bolt and Spring
Make the Internal Bolt and Spring
The bolt is the moving piece that locks and unlocks the shackle. Cut a rectangular bolt from steel strip that slides inside the lock body. The bolt should have a notch or hole that engages the shackle foot when in the locked position. Cut a leaf spring from thin spring steel (1 mm thick, approximately 5 cm long) that pushes the bolt into the locked position by default. The spring should be heat-treated — heated to cherry red and quenched in oil, then tempered to spring blue (approximately 300 degrees Celsius) to give it the elasticity to return to position after the key retracts the bolt. When the key is inserted and turned, the key bit pushes the bolt against the spring to the unlocked position. When the key is withdrawn, the spring pushes the bolt back to locked.
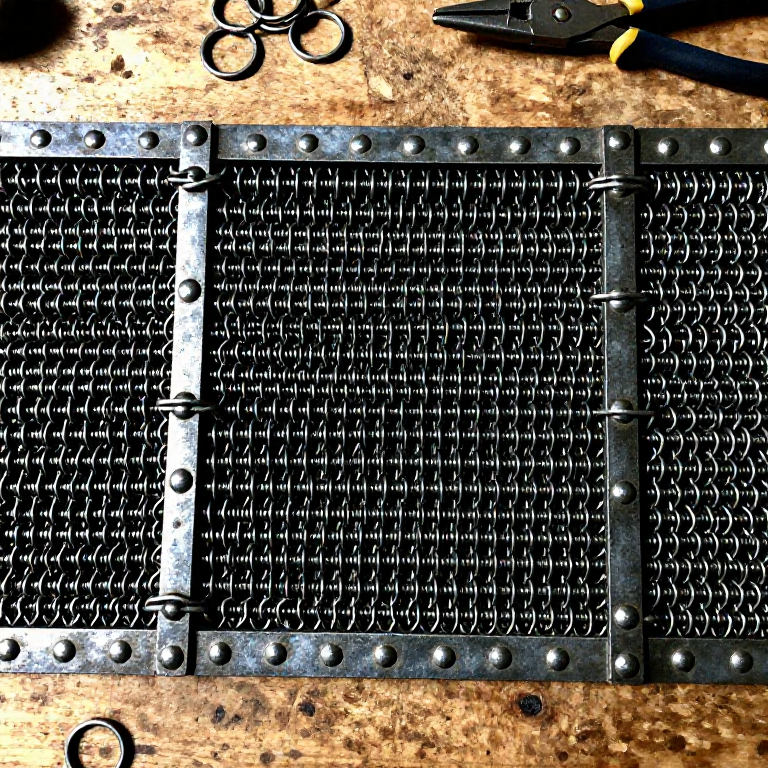
Cut and Install the Ward Plates
Cut and Install the Ward Plates
Wards are fixed obstructions inside the lock that block any key except the correct one from turning. Cut one or two ward plates from thin steel sheet — these are flat plates with a central hole for the key shaft and protruding tabs that block an incorrect key's bit from rotating. File the ward shapes carefully — the pattern of wards determines the lock's unique key combination. Rivet or braze the ward plates inside the lock body at fixed positions between the keyhole and the bolt. Only a key with matching cutouts in its bit (slots filed to clear each ward) can rotate past the wards to reach and push the bolt. The more wards and the more complex their shape, the more secure the lock — though warded locks can generally be opened with skeleton keys that have most of the bit filed away to clear all possible ward positions.
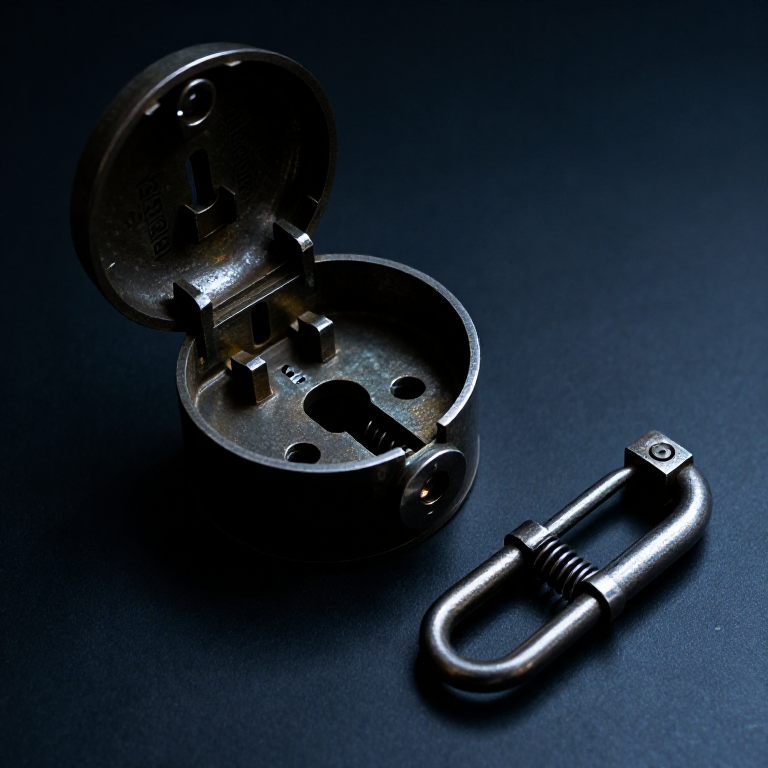
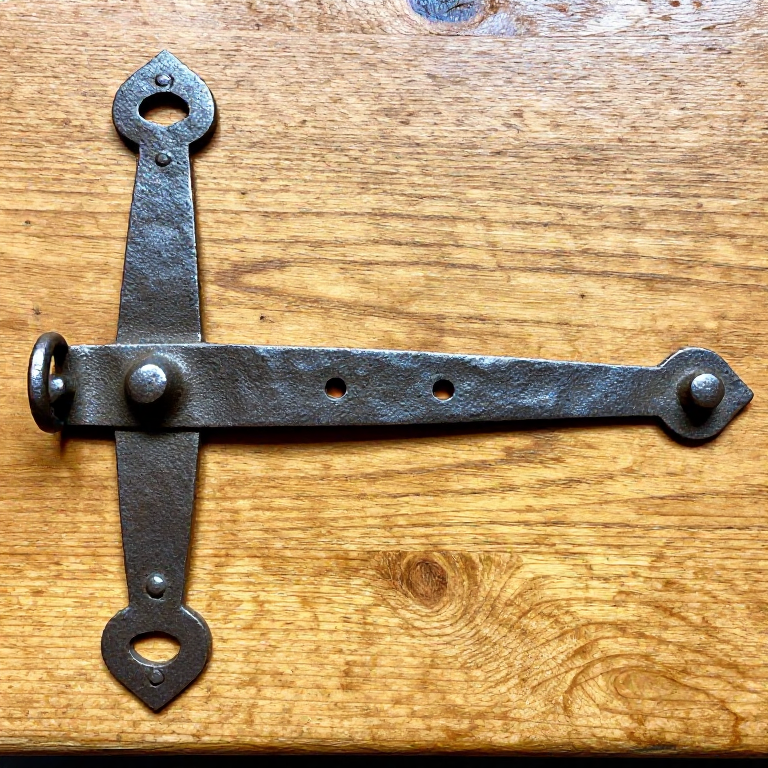
Forge the Shackle
Forge the Shackle
Bend the steel rod into a U-shape to form the shackle — the arch should be large enough to pass around the hasp or chain link being secured. One leg of the shackle is permanently attached to the lock body (by riveting or by forging an integral pivot), while the other leg (the free leg) is the one that the bolt engages when locked. The free leg should have a groove or notch near its end that the bolt slides into when the shackle is pushed closed. The shackle must be strong enough to resist cutting — hardened steel or a thicker rod provides better security. Trim both legs to the correct length so the shackle seats flush against the lock body when closed. The hinge or pivot for the fixed leg should allow the shackle to swing open when unlocked but not detach from the lock body.
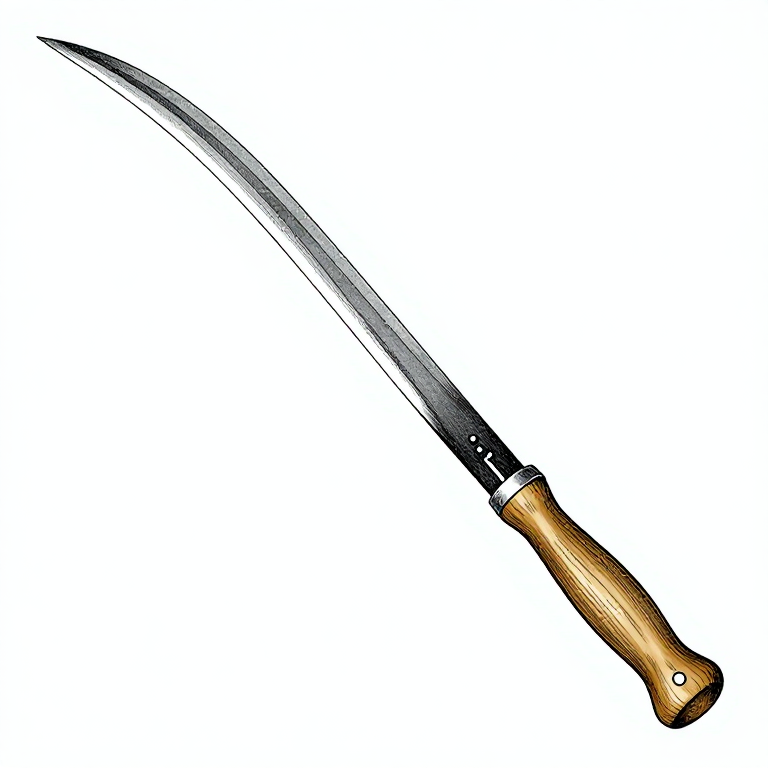
Make the Key and Test the Lock
Make the Key and Test the Lock
Forge the key from a steel rod: form a decorative bow (handle loop) at one end by bending and welding or brazing the rod into an oval or trefoil shape. The shaft extends from the bow, and the bit (the working end) is forged or filed to the specific shape that matches the lock's wards. File cutouts in the bit that correspond exactly to the ward positions — where each ward protrudes, the key bit must have a matching slot. The end of the bit must also be shaped to push the bolt when the key is fully turned. Test the mechanism by inserting the key through the keyhole, verifying it clears all wards, and confirming that a full turn retracts the bolt against the spring. The shackle should release when the bolt retracts and snap locked when pushed closed. Test with an incorrect key or flat bar to confirm the wards prevent operation. Adjust the wards, bolt, or key as needed for smooth, reliable operation.
རྫས་རིགས
4- piece 20x15 cm, 1.5-2mm pieceས་ཆ་འཛིན
- 25 cm, 6-8 mm dia pieceས་ཆ་འཛིན
- 15x5 cm, 1mm thick pieceས་ཆ་འཛིན
- 10 cm, 4 mm pieceས་ཆ་འཛིན
ལག་ཆས་དགོས་མཁོ
7- ས་ཆ་འཛིན
- ས་ཆ་འཛིན
- ས་ཆ་འཛིན
- ས་ཆ་འཛིན
Related blueprints
Other builds that share materials, tools, or techniques with this one.
CC0 སྤྱི་དབང
བིལུ་པིརིན་ཊི་འདི་CC0 འོག་བཀྲམས་ཡོད། ཁྱེད་རང་གིས་ཆོག་མཆན་མ་བཞེས་པར་ཕབ་ལེན་དང་བཟོ་བཅོས། བགོ་བཤའ། དགོས་མཁོ་གང་ལའང་བཀོལ་སྤྱོད་བྱས་ཆོག
བཟོ་མཁན་ལ་རྒྱབ་སྐྱོར་བྱེད་པའི་ཆེད་ཁོང་ཚོའི་བིལུ་པིརིན་ཊི་བརྒྱུད་ཐོན་སྐྱེད་ཉོ། བཟོ་མཁན་གྱིས བཟོ་མཁན་གྱི་ཁེ་ཕོགས ཚོང་པས་གཏན་འཁེལ་བྱས་པ། ཡང་ན་བིལུ་པིརིན་ཊི་འདིའི་པར་གསར་བཟོས་ཏེ་ཁྱེད་རང་གི་བིལུ་པིརིན་ཊི་ནང་མཐུད་སྦྲེལ་བྱས་ཏེ་ཡོང་སྒོ་བགོ་བཤའ་བྱེད།