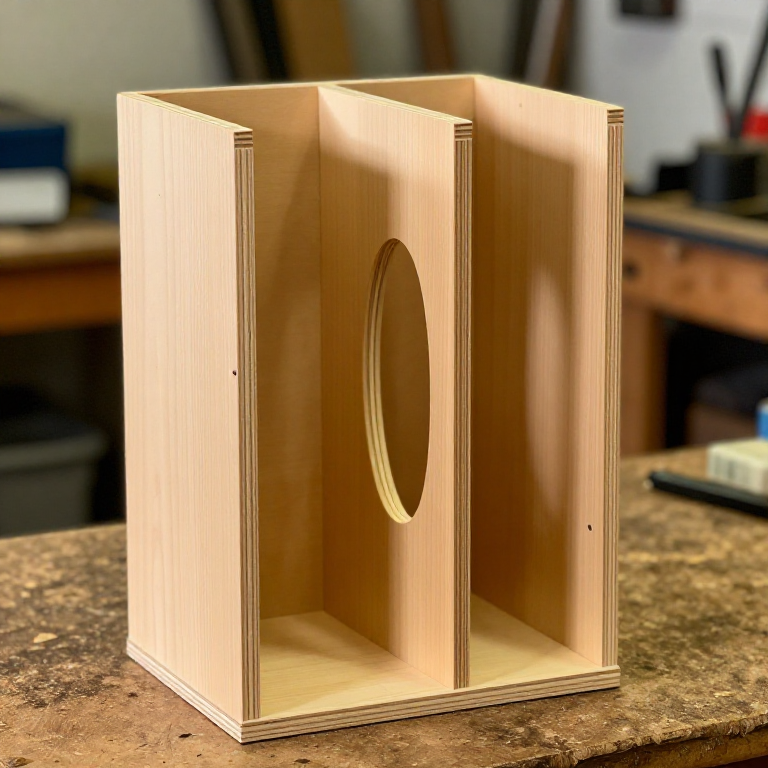


Mitre-Saw Storage Caddy
ལམ་སྟོན
Measure the tool, not a drawing
Measure the tool, not a drawing
Measure what the caddy has to hold, at its widest points.
- The saw across its base, and its height with the head locked down.
- A battery pack, plus however many travel with you.
- Anything else that lives with the saw — stops, a square, spare blades.
Add 10 mm clearance to each compartment so things drop in rather than needing to be aimed.
A caddy built to a published cut list rarely fits the tool actually in the shop. Ten minutes with a tape here saves rebuilding it.ལག་ཆས་དགོས་མཁོ:
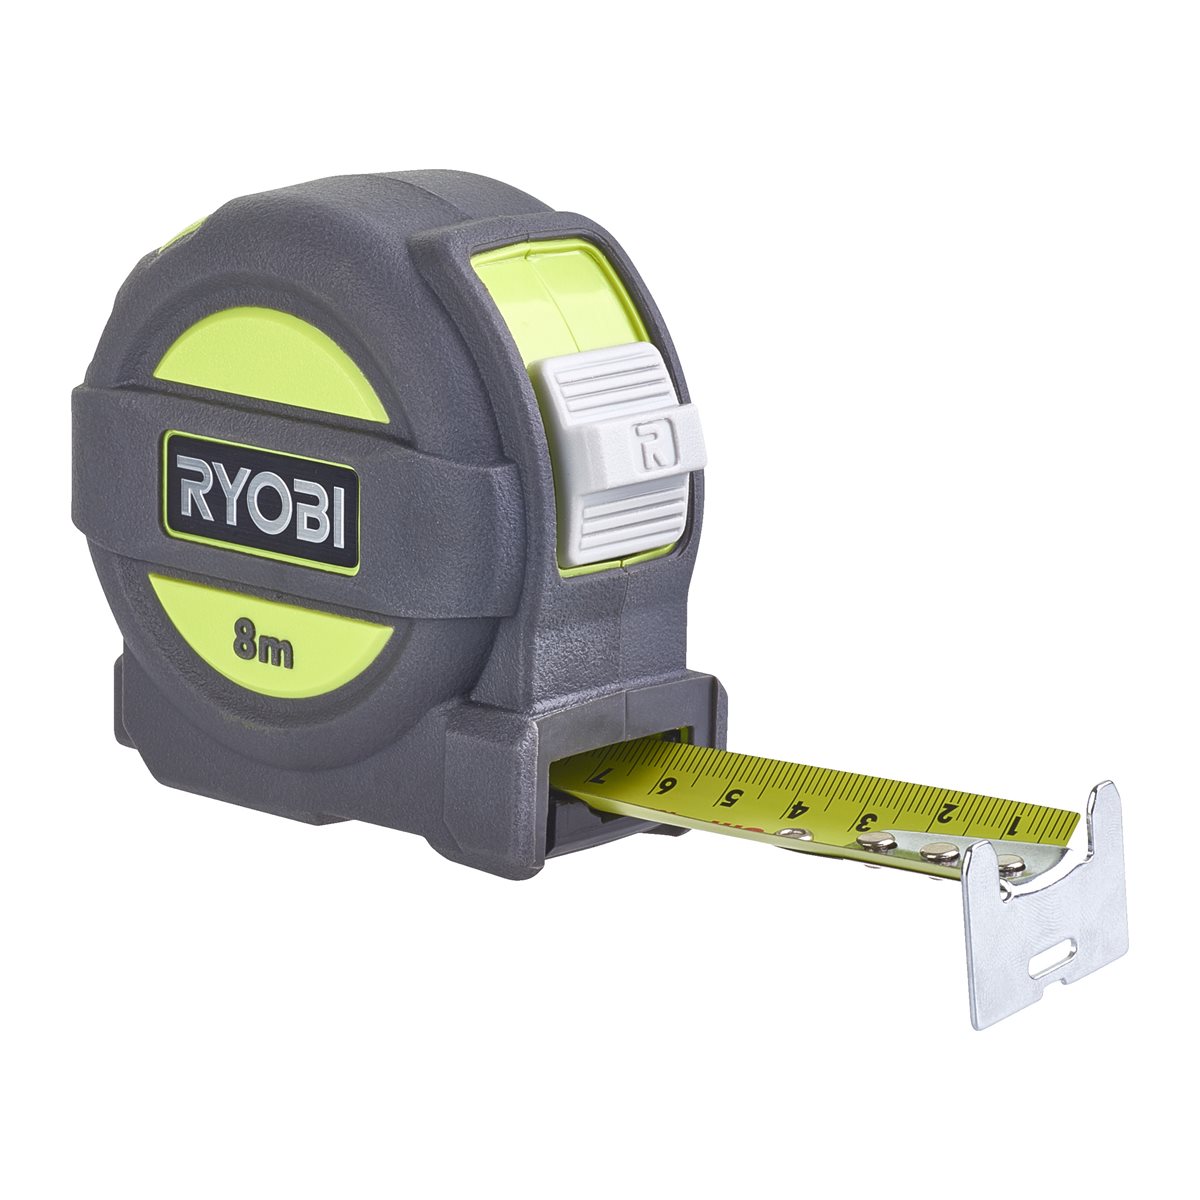 Ryobi RTM8M Tape Measure 8 m
 Hultafors Carpenter's Pencil HB
Cut the base, sides, ends and dividers
Cut the base, sides, ends and dividers
Cut every panel from three-quarter-inch plywood.
- Base, two long sides, two ends, and one central divider that will also carry the handle.
- Check each crosscut against the speed square before you cut, not after.
- Keep the two long sides identical — cut them in one setup.
གོམ་པ་འདིའི་རྫས་རིགས:
 བཱལ་ཊིཀ་བིརཆ་ཤིང་ལེབ།1 ལེབ་གཟུགས།
ལག་ཆས་དགོས་མཁོ:
 Ryobi ONE+ R18MS216-0 Cordless Mitre Saw 216 mm
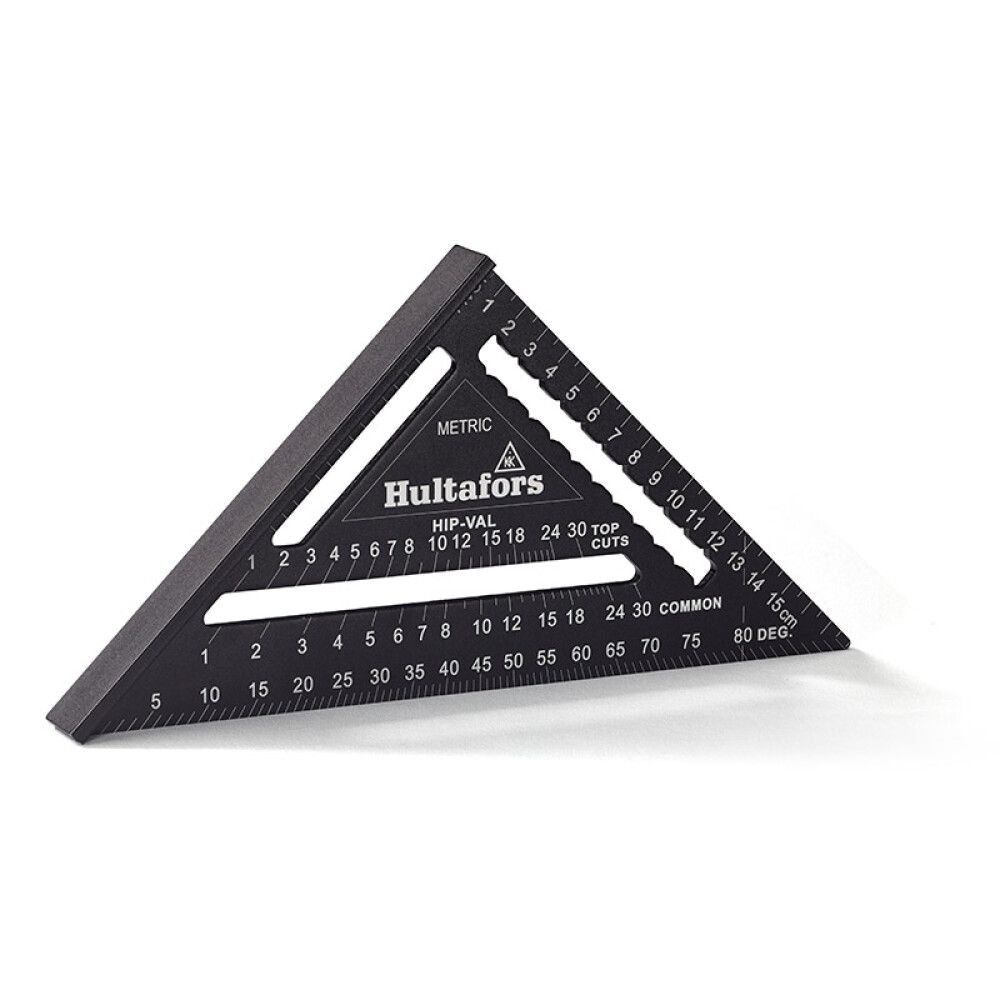 Hultafors MRS 18 Speed Square — Metric
 Ryobi ONE+ RB1850X 18V Lithium+ Battery 5.0 Ah
Set the nailer depth on an offcut first
Set the nailer depth on an offcut first
Before touching the real parts, fire three or four brads into a scrap of the same plywood and adjust until the heads sit just below the surface.
- Too deep and the head tears through the face veneer.
- Too shallow and the head stands proud and snags.
- Keep hands well clear of the nose — a brad can deflect inside plywood and exit the side.
གོམ་པ་འདིའི་རྫས་རིགས:
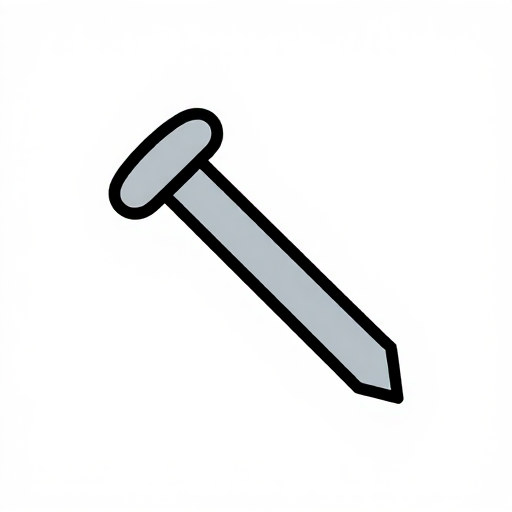 18-gauge x 1" བེ་རེཌ་གཟེར།40 དུམ་བུ།
ལག་ཆས་དགོས་མཁོ:
 Ryobi ONE+ R18GN18-0 Cordless Brad Nailer
Glue and nail the carcass
Glue and nail the carcass
Assemble base, sides and ends.
- Run a bead of glue on each mating face and spread it thin.
- Hold the parts square and fire brads through the sides into the ends.
- Check the diagonals before the glue grabs — equal diagonals mean square.
གོམ་པ་འདིའི་རྫས་རིགས:
 PVA ཤིང་གི་སྤྱིན།1 ཤེལ་དམ།
ལག་ཆས་དགོས་མཁོ:
Ryobi ONE+ R18GN18-0 Cordless Brad NailerFit the divider to the tool, then glue it
Fit the divider to the tool, then glue it
Dry-fit the divider with the saw and batteries actually in the caddy.
- Stand the saw in place and slide the divider until each compartment holds its contents without slack.
- Mark the divider position on the base with the pencil.
- Only then glue and nail it home.
ལག་ཆས་དགོས་མཁོ:
Ryobi ONE+ R18GN18-0 Cordless Brad NailerCut the handle opening and round it well
Cut the handle opening and round it well
Cut a hand-sized opening in the top of the central divider — about 110 × 30 mm with rounded ends.
- Drill a starter hole inside the waste, then cut the opening with the jigsaw.
- Sand the opening smooth and round the edges generously, top and bottom.
གོམ་པ་འདིའི་རྫས་རིགས:
 བྱེ་མའི་ཤོག་ཀུ1 ལེབ་གཟུགས།
ལག་ཆས་དགོས་མཁོ:
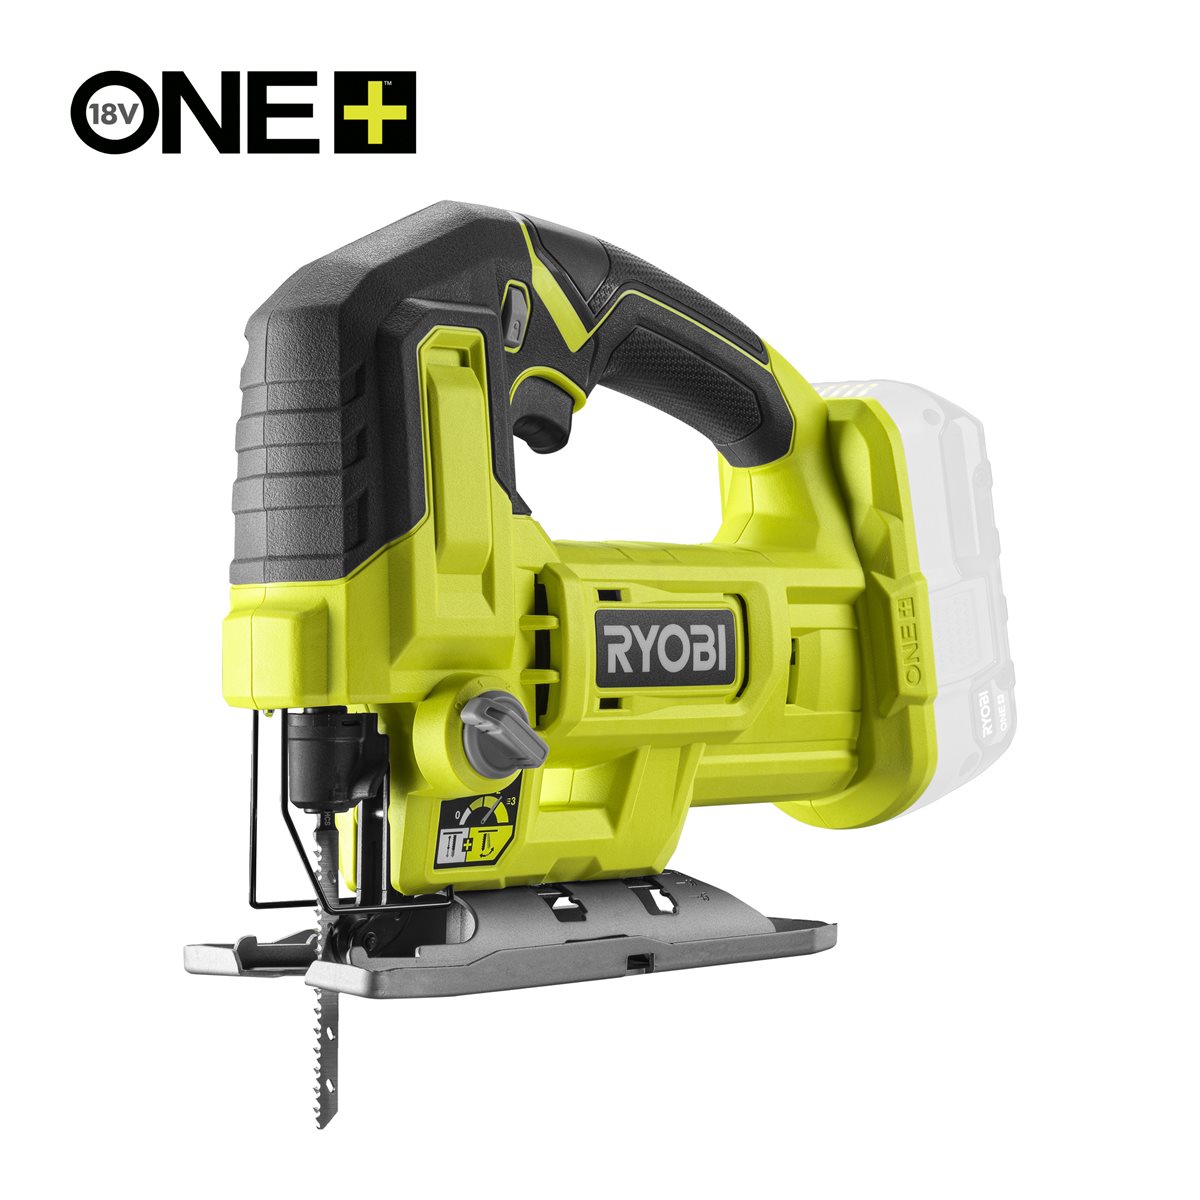 Ryobi ONE+ RJS18-0 Cordless Jigsaw
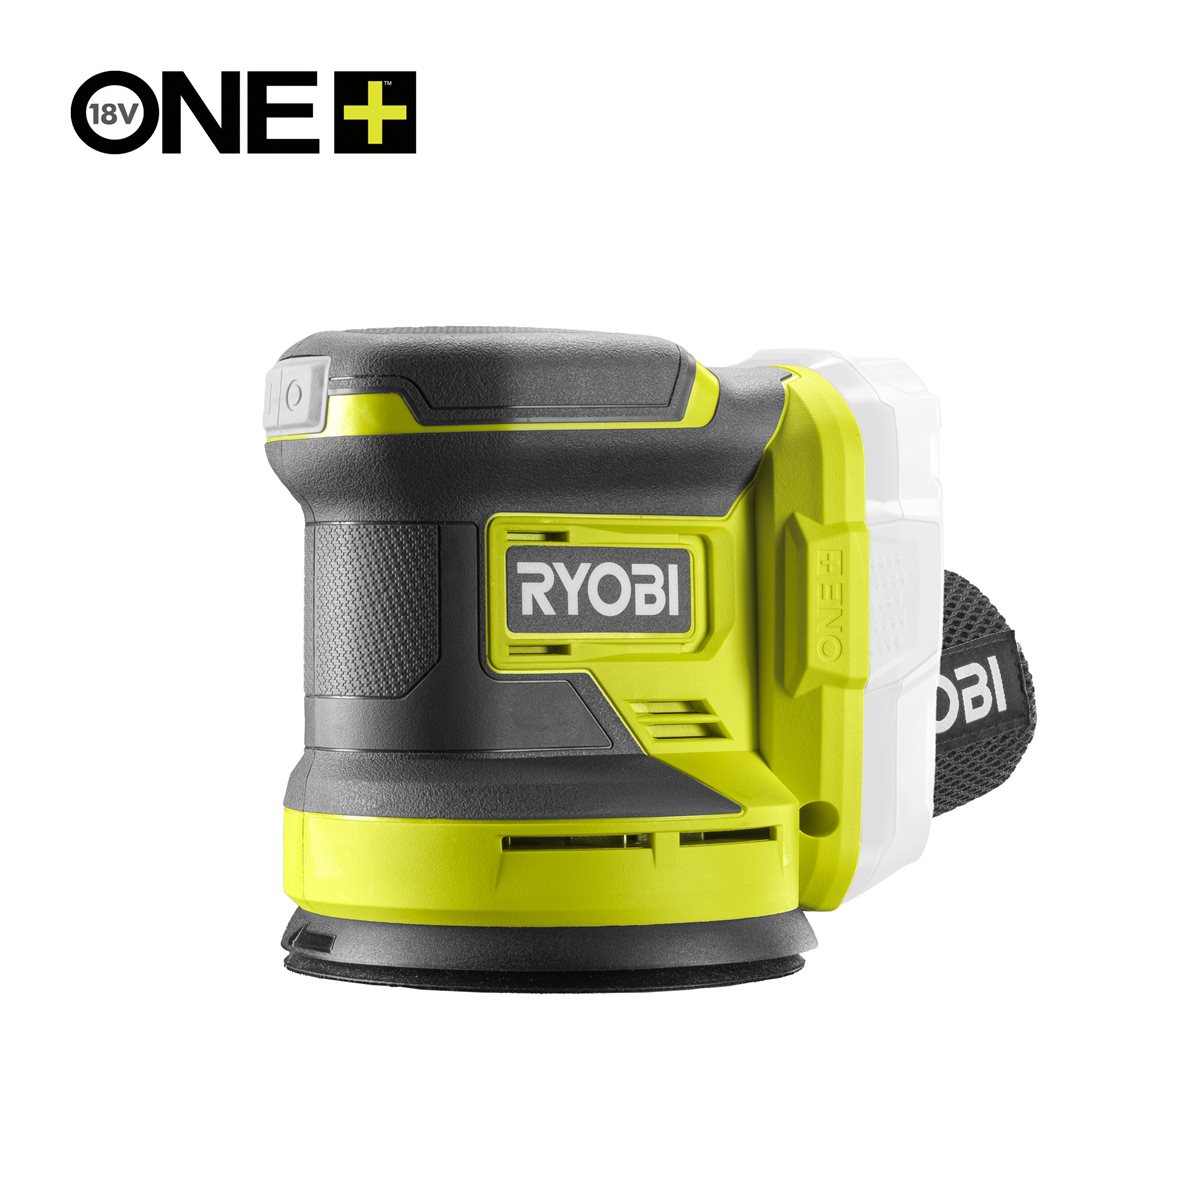 Ryobi ONE+ R18ROSN-0 Cordless Random Orbit Sander
Load it and check the balance
Load it and check the balance
Load the caddy as it will actually travel and lift it by the handle.
- If it tips toward one end, move the heaviest item nearer the handle.
- Re-check that nothing slides when the caddy tilts.
རྫས་རིགས
4- 1 ལེབ་གཟུགས།ས་ཆ་འཛིན
- 40 དུམ་བུ།ས་ཆ་འཛིན
- 1 ཤེལ་དམ།ས་ཆ་འཛིན
- 1 ལེབ་གཟུགས།ས་ཆ་འཛིན
ལག་ཆས་དགོས་མཁོ
8- Ryobi RTM8M Tape Measure 8 mཁེ་ཕོགས 3%$24.29
- Hultafors Carpenter's Pencil HBཁེ་ཕོགས 3%$1.69
- $464.02
- Hultafors MRS 18 Speed Square — Metricཁེ་ཕོགས 3%$27.77
- $150.45
- $324.66
- Ryobi ONE+ RJS18-0 Cordless Jigsawཁེ་ཕོགས 3%$127.23
- $127.23
བིལུ་པིརིན་ཊི་འདི་གིས་བཟོ་མི

འབྲེལ་ཡོད་བིལུ་པིརིན་ཊི
བིལུ་པིརིན་ཊི་འདི་ཚུ་ཐབས་ལམ་དང་རྫས་རིགས། སྤྱི་ཆོས་བགོ་བཤའ་བྱེད
CC0 སྤྱི་དབང
བིལུ་པིརིན་ཊི་འདི་CC0 འོག་བཀྲམས་ཡོད། ཁྱེད་རང་གིས་ཆོག་མཆན་མ་བཞེས་པར་ཕབ་ལེན་དང་བཟོ་བཅོས། བགོ་བཤའ། དགོས་མཁོ་གང་ལའང་བཀོལ་སྤྱོད་བྱས་ཆོག
བཟོ་མཁན་ལ་རྒྱབ་སྐྱོར་བྱེད་པའི་ཆེད་ཁོང་ཚོའི་བིལུ་པིརིན་ཊི་བརྒྱུད་ཐོན་སྐྱེད་ཉོ། བཟོ་མཁན་གྱིས བཟོ་མཁན་གྱི་ཁེ་ཕོགས ཚོང་པས་གཏན་འཁེལ་བྱས་པ། ཡང་ན་བིལུ་པིརིན་ཊི་འདིའི་པར་གསར་བཟོས་ཏེ་ཁྱེད་རང་གི་བིལུ་པིརིན་ཊི་ནང་མཐུད་སྦྲེལ་བྱས་ཏེ་ཡོང་སྒོ་བགོ་བཤའ་བྱེད།