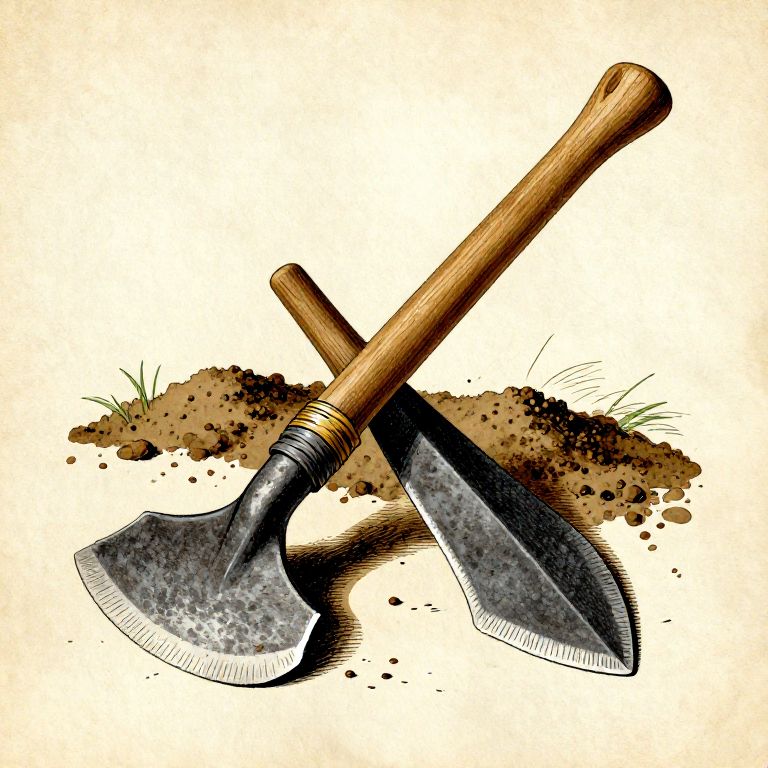
Knapping a Flint Hand Axe — Bifacial Reduction Technique
ལམ་སྟོན
Select and Assess the Raw Material
Select and Assess the Raw Material
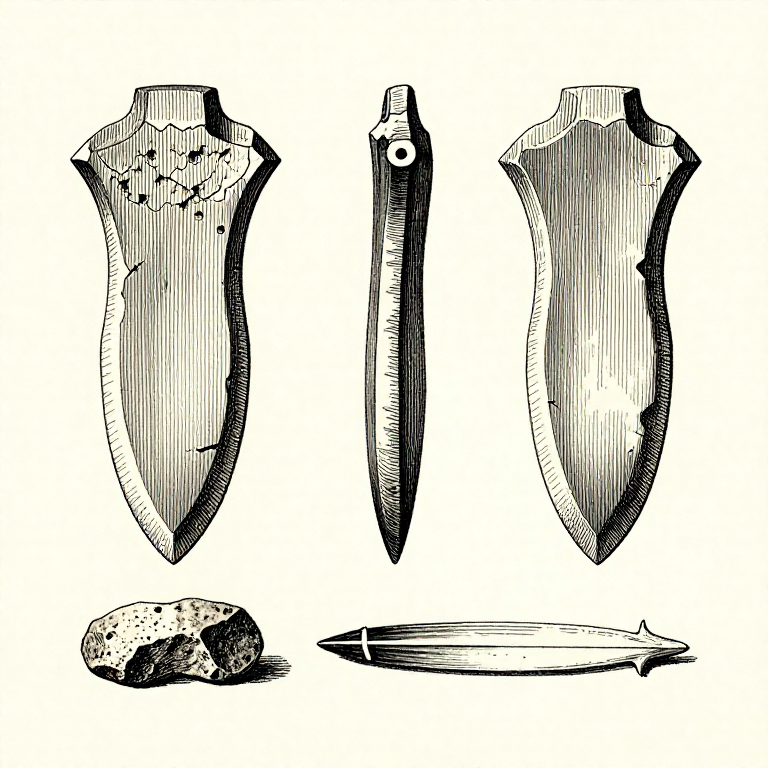
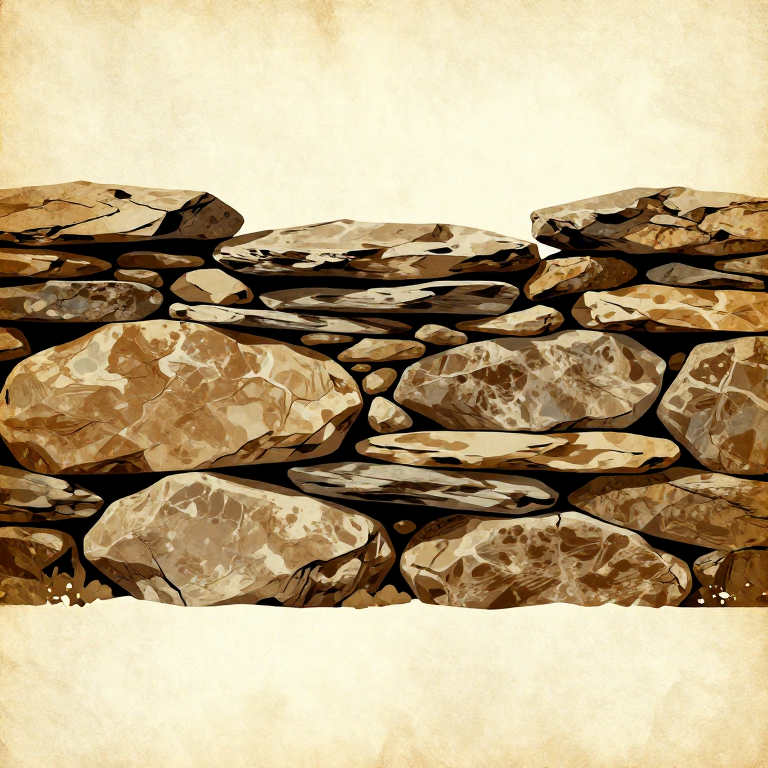
Choose a flint nodule large enough to produce a hand axe 12-18 cm long. The nodule should be free of major fracture planes, frost cracks, or inclite inclusions — tap it and listen for a clear ring rather than a dull thud, which indicates internal flaws. Flint, chert, and obsidian are all conchoidal fracture materials, meaning they break in smooth, curved surfaces predictable enough to control. Assess the nodule's shape and plan which face will become which side of the finished axe. The best starting point is a naturally flat or slightly convex surface.
གོམ་པ་འདིའི་རྫས་རིགས:
 Flint Nodule1 large piece, 15-20 cm cm
ལག་ཆས་དགོས་མཁོ:
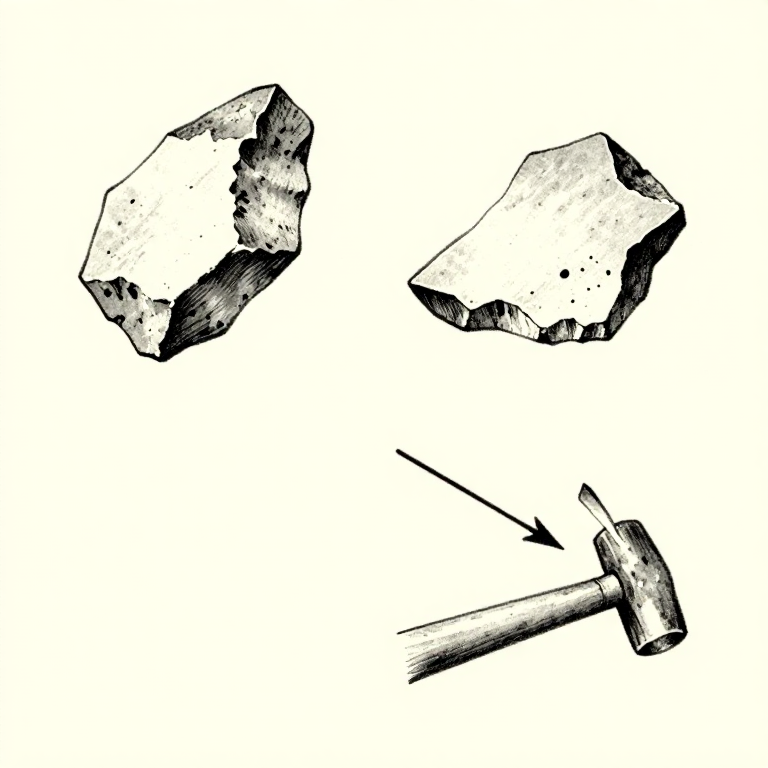
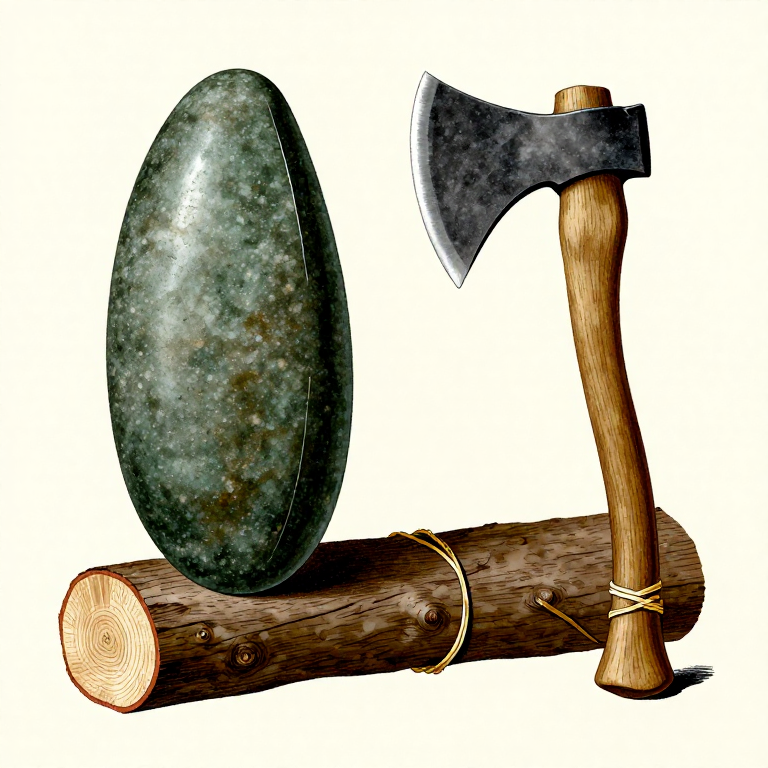
 Hammerstone
Rough Out with Hard Hammer
Rough Out with Hard Hammer
Using a round hammerstone (a hard, dense river cobble about fist-sized), strike large flakes from both faces of the nodule to establish the basic teardrop outline. Strike at the edge at an angle of about 60 degrees, aiming to remove broad, flat flakes. Work alternately on both faces — this is the bifacial technique. Each flake removed from one face creates a new platform for removing flakes from the opposite face. The goal at this stage is to reduce the nodule to a rough biface approximately the right size and shape, with a continuous edge around the perimeter.
Thin and Shape with Soft Hammer
Thin and Shape with Soft Hammer
Switch to an antler billet (a section of deer antler used as a soft hammer) for the thinning stage. Soft hammer percussion removes thinner, wider, flatter flakes than hard hammer, allowing precise control of the biface cross-section. Strike near the edge with a sweeping follow-through motion. The antler absorbs some impact energy and grips the stone surface slightly, producing a different fracture than hard stone. Work both faces evenly to maintain symmetry and a lenticular (lens-shaped) cross-section. The biface should now be about 2-3 cm thick with regular flake scars covering both faces.
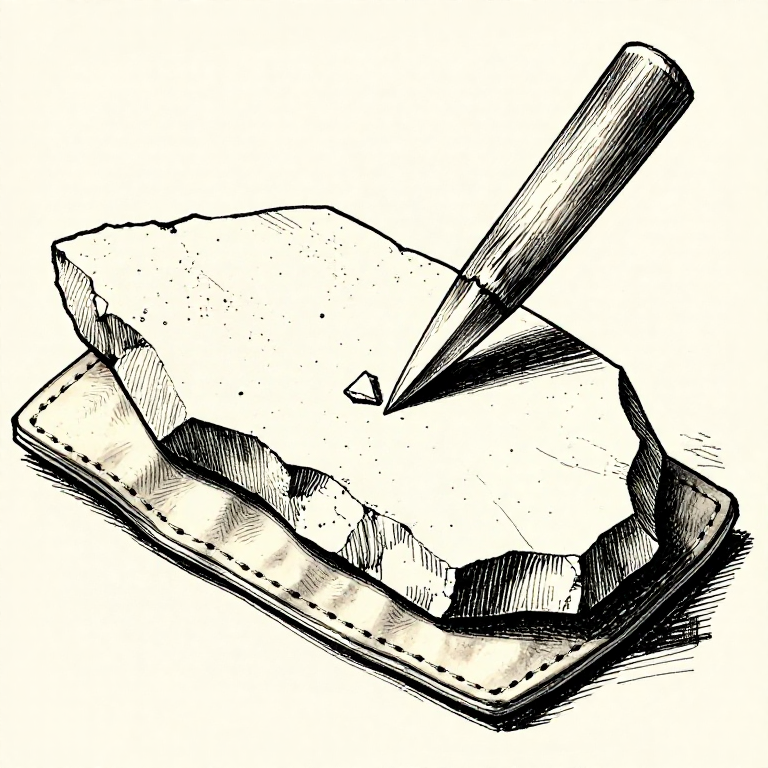
Refine the Edge with Pressure Flaking
Refine the Edge with Pressure Flaking
For final edge refinement, use an antler tine as a pressure flaker. Place the tip of the tine against the edge and push firmly, levering tiny flakes off the surface. Pressure flaking produces very controlled, shallow removals that straighten and sharpen the edge. Work around the entire perimeter, removing any irregularities or step fractures left by percussion. The finished edge should be sinuous but sharp — capable of cutting hide, meat, and wood. A well-made hand axe has a balanced, symmetrical form with a sharp edge extending around the pointed tip and both lateral margins.
Test and Evaluate
Test and Evaluate
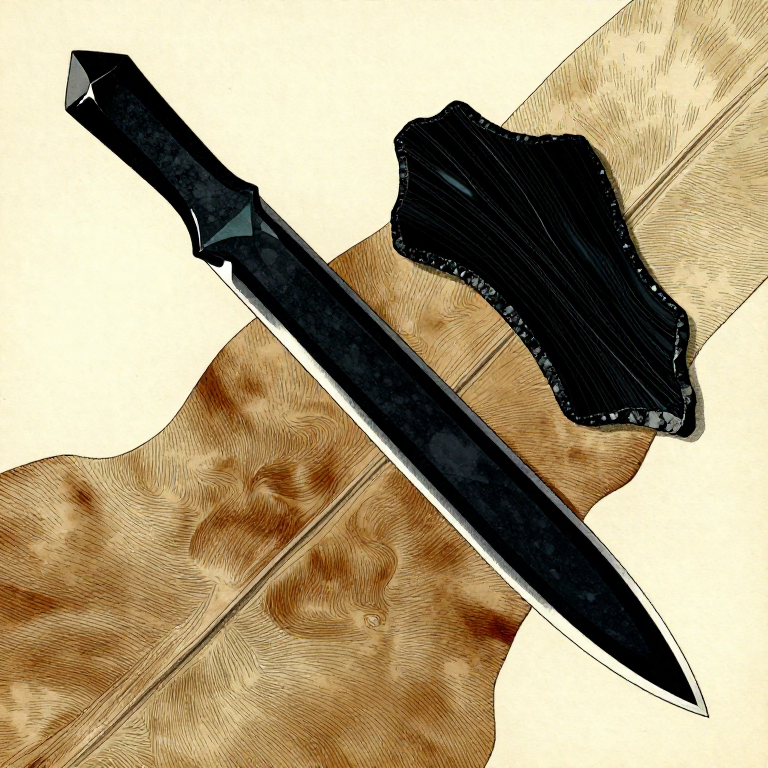
Test the finished hand axe by cutting through a piece of rope or slicing into a green branch. A properly knapped edge should slice cleanly without excessive force. Assess the axe for symmetry by holding it at eye level and checking the outline from both ends. Examine the cross-section — it should be evenly lenticular, not wedge-shaped or lumpy on one face. Acheulean hand axes were multi-purpose tools used for butchering game, digging roots, cutting wood, and scraping hides. The broad base provides a comfortable grip while the pointed tip concentrates force for piercing and chopping tasks.
ལག་ཆས་དགོས་མཁོ
3- ས་ཆ་འཛིན
- ས་ཆ་འཛིན
- ས་ཆ་འཛིན
Related blueprints
Other builds that share materials, tools, or techniques with this one.

CC0 སྤྱི་དབང
བིལུ་པིརིན་ཊི་འདི་CC0 འོག་བཀྲམས་ཡོད། ཁྱེད་རང་གིས་ཆོག་མཆན་མ་བཞེས་པར་ཕབ་ལེན་དང་བཟོ་བཅོས། བགོ་བཤའ། དགོས་མཁོ་གང་ལའང་བཀོལ་སྤྱོད་བྱས་ཆོག
བཟོ་མཁན་ལ་རྒྱབ་སྐྱོར་བྱེད་པའི་ཆེད་ཁོང་ཚོའི་བིལུ་པིརིན་ཊི་བརྒྱུད་ཐོན་སྐྱེད་ཉོ། བཟོ་མཁན་གྱིས བཟོ་མཁན་གྱི་ཁེ་ཕོགས ཚོང་པས་གཏན་འཁེལ་བྱས་པ། ཡང་ན་བིལུ་པིརིན་ཊི་འདིའི་པར་གསར་བཟོས་ཏེ་ཁྱེད་རང་གི་བིལུ་པིརིན་ཊི་ནང་མཐུད་སྦྲེལ་བྱས་ཏེ་ཡོང་སྒོ་བགོ་བཤའ་བྱེད།