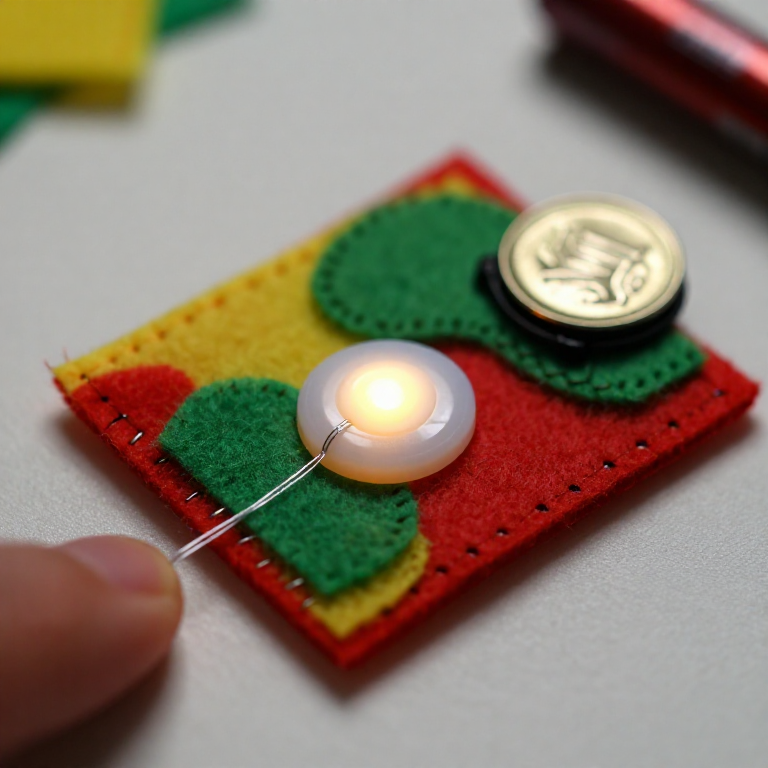


Sewing a LilyPad Button Circuit
Add a switch you can sew: a LilyPad button placed in the circuit lights your LED only while it's pressed. Same e-textile rules as before — + to + and - to -, no crossing lines — but now the button sits in the + line, so current flows only when you press it. A press-to-light patch for a bag, badge or costume.
ལམ་སྟོན
Plan the circuit with a button
Plan the circuit with a button
Arrange a LilyPad LED, a LilyPad button and a coin-cell battery holder on felt. The button goes in the + line, between the battery's + tab and the LED's + tab, so pressing it completes the circuit.
གོམ་པ་འདིའི་རྫས་རིགས:
 LilyPad LED - 5 pcs1 སྒྲིལ་ཐུམ།
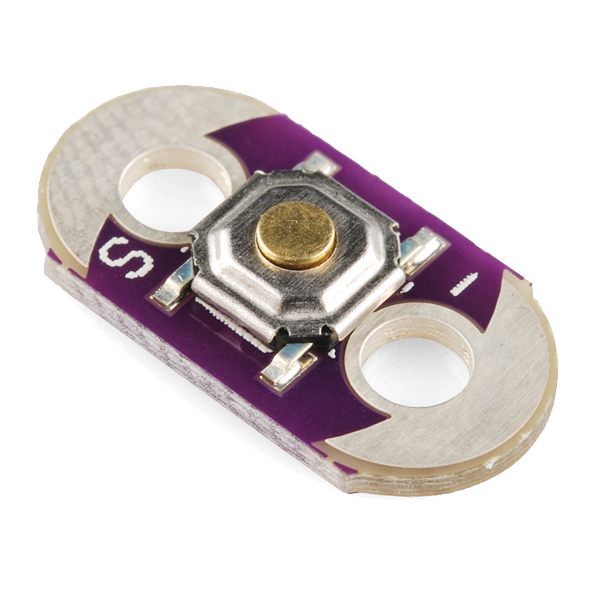 LilyPad Button Board1 དུམ་བུ།
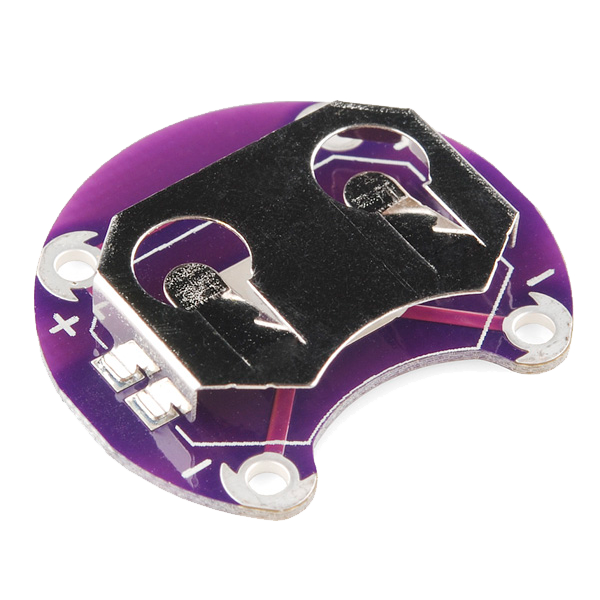 LilyPad Coin Cell Battery Holder - 20mm1 དུམ་བུ།
 བལ་གྱི་ཕྱིང་ལེབ།1 ལེབ་གཟུགས།
Sew the positive line through the button
Sew the positive line through the button
With conductive thread, stitch from the battery + tab to one tab of the button, then knot and cut; start fresh and stitch from the button's other tab to the LED + tab. Loop 3–4 times through each hole for firm contact and trim the tails short.
གོམ་པ་འདིའི་རྫས་རིགས:
 Conductive Thread - 60g (Stainless Steel)1 སྐུད་ཤིང་།
 ལག་པའི་ཚེམ་ཁབ།1 སྒྲིལ་ཐུམ།
Sew the negative line
Sew the negative line
With a fresh thread, stitch the LED - tab straight to the battery - tab. Keep this line well away from the + line and the button — anywhere the two conductive paths touch, the circuit shorts.
Press to test
Press to test
Slot in a CR2032 (+ side up). Press the button — the LED lights; release — it goes out. If it stays dark, check that both button tabs are stitched into the line and that no threads are touching across the two sides.
གོམ་པ་འདིའི་རྫས་རིགས:
 CR2032 ཊམ་ཀའི་གློག་སྟེགས།1 དུམ་བུ།
Secure and use
Secure and use
Seal each knot with a dab of clear nail polish or fabric glue so it can't loosen. Sew the felt onto a bag, badge or costume — you've made a press-to-light patch.
རྫས་རིགས
7- LilyPad LED - 5 pcsཁེ་ཕོགས 10%1 སྒྲིལ་ཐུམ།$4.14
- LilyPad Button Boardཁེ་ཕོགས 10%1 དུམ་བུ།$2.20
- LilyPad Coin Cell Battery Holder - 20mmཁེ་ཕོགས 10%1 དུམ་བུ།$4.14
- 1 ལེབ་གཟུགས།ས་ཆ་འཛིན
- Conductive Thread - 60g (Stainless Steel)ཁེ་ཕོགས 10%1 སྐུད་ཤིང་།$39.62
- 1 སྒྲིལ་ཐུམ།ས་ཆ་འཛིན
- 1 དུམ་བུ།ས་ཆ་འཛིན
ལག་ཆས་དགོས་མཁོ
1- ས་ཆ་འཛིན
འབྲེལ་ཡོད་བིལུ་པིརིན་ཊི
བིལུ་པིརིན་ཊི་འདི་ཚུ་ཐབས་ལམ་དང་རྫས་རིགས། སྤྱི་ཆོས་བགོ་བཤའ་བྱེད

CC0 སྤྱི་དབང
བིལུ་པིརིན་ཊི་འདི་CC0 འོག་བཀྲམས་ཡོད། ཁྱེད་རང་གིས་ཆོག་མཆན་མ་བཞེས་པར་ཕབ་ལེན་དང་བཟོ་བཅོས། བགོ་བཤའ། དགོས་མཁོ་གང་ལའང་བཀོལ་སྤྱོད་བྱས་ཆོག
བཟོ་མཁན་ལ་རྒྱབ་སྐྱོར་བྱེད་པའི་ཆེད་ཁོང་ཚོའི་བིལུ་པིརིན་ཊི་བརྒྱུད་ཐོན་སྐྱེད་ཉོ། བཟོ་མཁན་གྱིས བཟོ་མཁན་གྱི་ཁེ་ཕོགས ཚོང་པས་གཏན་འཁེལ་བྱས་པ། ཡང་ན་བིལུ་པིརིན་ཊི་འདིའི་པར་གསར་བཟོས་ཏེ་ཁྱེད་རང་གི་བིལུ་པིརིན་ཊི་ནང་མཐུད་སྦྲེལ་བྱས་ཏེ་ཡོང་སྒོ་བགོ་བཤའ་བྱེད།