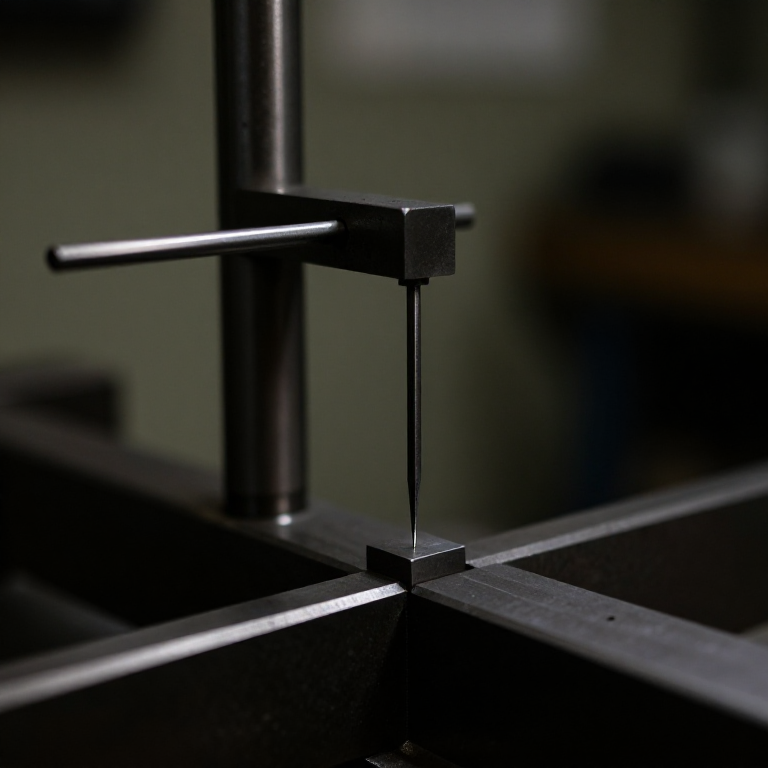


Surface Gauge
ལམ་སྟོན
Make the base heavy and its underside true
Make the base heavy and its underside true
Everything the gauge does depends on the base sitting flat and staying put.
- Cut a base 120 × 90 mm from 18 mm Baltic birch plywood.
- Face the UNDERSIDE with 6 mm aluminium flat bar, fixed with M4 × 20 flat head machine screws × 4 and M4 hex nuts × 4, countersunk well below the surface.
- File the aluminium face flat, checking against a known flat surface with a marker transfer.
- Add mass — bolt a second plate on top, or pocket the ply and fill it.
Why weight helps. A light gauge tips when the scriber touches the work, and the tip is an error you cannot see. A heavy base resists that, which is why commercial surface gauges have a cast iron base out of all proportion to the delicate scriber above it.
Countersunk fixings again — this is the third tool in this batch where a proud screw head under a reference face would destroy the instrument's whole purpose.གོམ་པ་འདིའི་རྫས་རིགས:
 བཱལ་ཊིཀ་བིརཆ་ཤིང་ལེབ།1 ལེབ་གཟུགས།
 ཨེ་ལུ་མི་ནི་ཡམ་གྱི་ལེབ་དབྱུག1 དུམ་བུ།
 མགོ་ལེབ་ཀྱི་སྐེད་ཀུ།4 དུམ་བུ།
 ཟུར་དྲུག་གི་ནཊ།4 དུམ་བུ།
ལག་ཆས་དགོས་མཁོ:
 ཇིག་སོ།
 ཐག་མེད་ཕུག་འཕྲུལ།
 ཕུག་མགོའི་ཚོགས་ཆས།
 ཕུག་ཁ་ཟུར་བཟོའི་ཕུག་ཆས་ཆ་ཚན།
 དར་མའི་ཚོགས་ཆས།
Fit the pillar square to the base
Fit the pillar square to the base
A pillar leaning by a degree puts the scriber somewhere different at every height.
- Cut a pillar 150 mm from 10 mm aluminium round bar.
- Drill the base 10.2 mm and seat the pillar in it.
- Lock it with two M5 cup point set screws at 90 degrees to each other, entering from the base edges.
- Check squareness in TWO directions with the combination square, adjusting the set screws.
Two set screws at right angles is the adjustment. One screw can only push the pillar one way and it will lean in the other axis. Two at 90 degrees let you correct both, and this is a standard way of aligning a shaft without machining a precise socket.
Check squareness by scribing a line at the top of the pillar's travel and again at the bottom, against a fixed vertical edge. If the two marks are not in line, the pillar leans.གོམ་པ་འདིའི་རྫས་རིགས:
 ཨེ་ལུ་མི་ནི་ཡམ་གྱི་དབྱུག་ཟླུམ།1 དུམ་བུ།
 M5 མགུ་ལེབ་ཀྱི་འཛིན་ཐག་ཙི2 དུམ་བུ།
ལག་ཆས་དགོས་མཁོ:
ཐག་མེད་ཕུག་འཕྲུལ།ཕུག་མགོའི་ཚོགས་ཆས། ཟུར་དྲུག་ལྡེ་མིག་གི་ཚོགས་ཆས།
 མཉམ་སྦྱོར་གྲུ་བཞི།
 ལྕགས་གཏུབ་སྒྲོམ་དང་སོག་ལེབ།
Build the sliding scriber holder
Build the sliding scriber holder
It must slide freely, lock hard, and not move as it locks.
- Make a block 40 × 30 mm from 18 mm ply faced with aluminium, bored 10.2 mm to slide on the pillar.
- Saw a slit from one edge into the bore, so the block can pinch.
- Fit an M6 × 40 hex bolt across the slit with an M6 hex nut to clamp it.
- Drill the block crosswise for the scriber and clamp it with an M5 × 25 socket head cap screw and M5 flat washer.
- Fit an old drill bit or a sharpened rod as the scriber.
The pinch-block clamp is chosen deliberately. A single set screw bearing directly on the pillar pushes the block sideways as it tightens, shifting the scriber height by exactly the clearance in the bore. Pinching the whole bore closes it symmetrically and holds the height you set.
Set the scriber so it can swivel — a scriber at a slight angle reaches into places a horizontal one cannot, and lets you get the point to the work rather than the work to the point.གོམ་པ་འདིའི་རྫས་རིགས:
བཱལ་ཊིཀ་བིརཆ་ཤིང་ལེབ།1 ལེབ་གཟུགས། ལེབ་ཏོག་ཏོའི་ཝཱ་ཤར།2 དུམ་བུ།ཟུར་དྲུག་གི་ནཊ།1 དུམ་བུ།
ལག་ཆས་དགོས་མཁོ:
 གུག་གཏུབ་སོག་ལེ།ཐག་མེད་ཕུག་འཕྲུལ།ཕུག་མགོའི་ཚོགས་ཆས།ཟུར་དྲུག་ལྡེ་མིག་གི་ཚོགས་ཆས།དར་མའི་ཚོགས་ཆས།
Use it both ways — scribe, then compare
Use it both ways — scribe, then compare
One instrument, two distinct jobs.
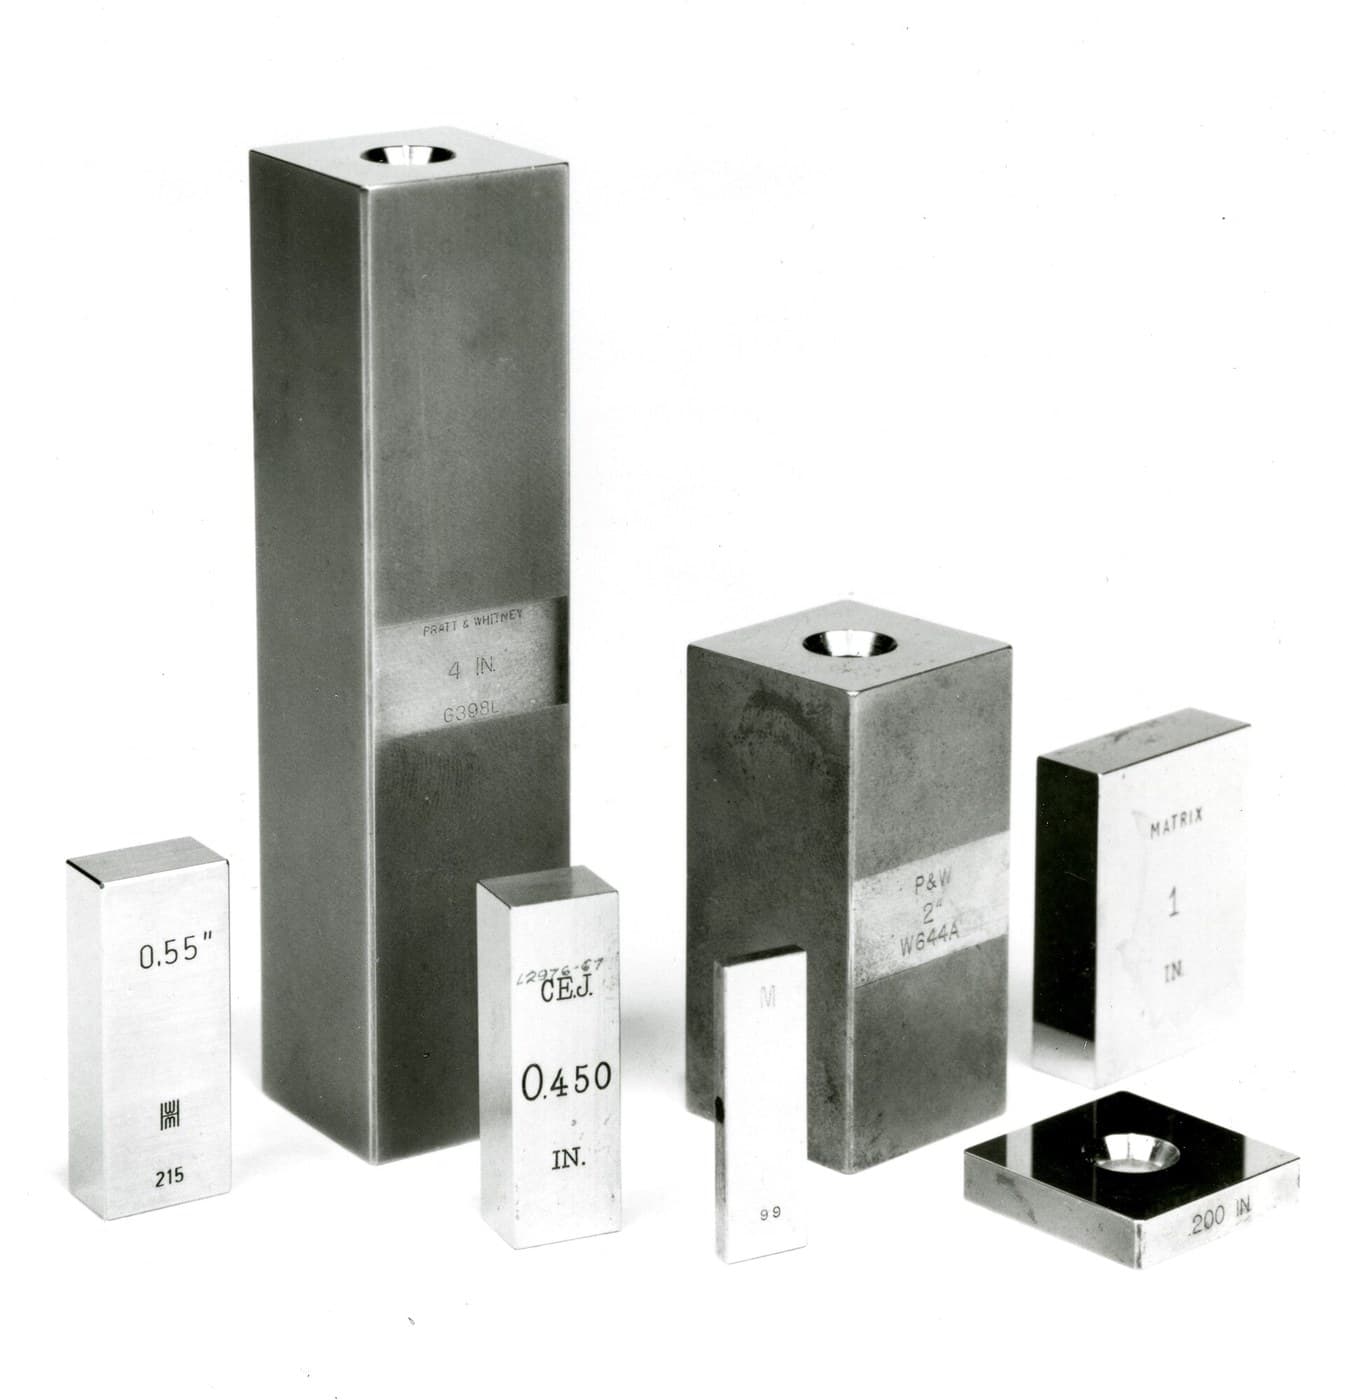
- Scribing: set the scriber to a height using gauge blocks or a rule, lock, and draw a line round a workpiece by sliding the base.
- Rotate the work 90 degrees and scribe again to carry the line around.
- Comparing: set the scriber to just touch one end of a face.
- Slide to the other end without changing anything. Any gap or drag is the error in parallelism.
ལག་ཆས་དགོས་མཁོ:
མཉམ་སྦྱོར་གྲུ་བཞི། ཨང་རྟགས་ཚད་འཇལ་ཆས་ ཨིནཅི 6ཟུར་དྲུག་ལྡེ་མིག་གི་ཚོགས་ཆས།
What it needs underneath it, and history
What it needs underneath it, and history
A surface gauge is only as good as the surface it slides on. Every height it holds is measured from that plane, so it inherits every error in it. This is why the three-plate method sits alongside this tool in the same batch: one makes the reference plane, the other exploits it. A surface gauge used on a kitchen table is a scriber with extra steps.
History. Surface gauges — also called scribing blocks — are standard equipment in machine shops from the nineteenth century, and appear in the earliest catalogues of precision tools alongside surface plates, squares and scribers. The form barely changed because the job did not: heavy base, adjustable pillar, swivelling scriber.
Its siblings, in increasing cost: a scriber alone is free and holds no height. A surface gauge holds a height but has no scale, so it needs blocks or a rule to set it. A vernier height gauge combines the two — a scale on the pillar, so it both sets and reads — and costs many times more. Each buys convenience with money, and all three measure from the same plane.
Honest limit of this build: plywood is not stable enough for fine work and will move with humidity, so re-check the pillar's squareness regularly. The tool's real lesson is the principle — a height held constant by a base sliding on a reference — and that transfers to any material you later build it in.
རྫས་རིགས
8- 1 ལེབ་གཟུགས།ས་ཆ་འཛིན
- 1 དུམ་བུ།ས་ཆ་འཛིན
- 4 དུམ་བུ།ས་ཆ་འཛིན
- 4 དུམ་བུ།ས་ཆ་འཛིན
- 1 དུམ་བུ།ས་ཆ་འཛིན
- 2 དུམ་བུ།ས་ཆ་འཛིན
- 2 དུམ་བུ།ས་ཆ་འཛིན
- 1 དུམ་བུ།ས་ཆ་འཛིན
ལག་ཆས་དགོས་མཁོ
10- 1 vendor sell this, none ship to you yetས་ཆ་འཛིན
- 1 vendor sell this, none ship to you yetས་ཆ་འཛིན
- ས་ཆ་འཛིན
- ས་ཆ་འཛིན
- ས་ཆ་འཛིན
- ས་ཆ་འཛིན
- ས་ཆ་འཛིན
- ས་ཆ་འཛིན
- ས་ཆ་འཛིན
- ས་ཆ་འཛིན
བིལུ་པིརིན་ཊི་འདི་གིས་བཟོ་མི
འབྲེལ་ཡོད་བིལུ་པིརིན་ཊི
བིལུ་པིརིན་ཊི་འདི་ཚུ་ཐབས་ལམ་དང་རྫས་རིགས། སྤྱི་ཆོས་བགོ་བཤའ་བྱེད

CC0 སྤྱི་དབང
བིལུ་པིརིན་ཊི་འདི་CC0 འོག་བཀྲམས་ཡོད། ཁྱེད་རང་གིས་ཆོག་མཆན་མ་བཞེས་པར་ཕབ་ལེན་དང་བཟོ་བཅོས། བགོ་བཤའ། དགོས་མཁོ་གང་ལའང་བཀོལ་སྤྱོད་བྱས་ཆོག
བཟོ་མཁན་ལ་རྒྱབ་སྐྱོར་བྱེད་པའི་ཆེད་ཁོང་ཚོའི་བིལུ་པིརིན་ཊི་བརྒྱུད་ཐོན་སྐྱེད་ཉོ། བཟོ་མཁན་གྱིས བཟོ་མཁན་གྱི་ཁེ་ཕོགས ཚོང་པས་གཏན་འཁེལ་བྱས་པ། ཡང་ན་བིལུ་པིརིན་ཊི་འདིའི་པར་གསར་བཟོས་ཏེ་ཁྱེད་རང་གི་བིལུ་པིརིན་ཊི་ནང་མཐུད་སྦྲེལ་བྱས་ཏེ་ཡོང་སྒོ་བགོ་བཤའ་བྱེད།