Hafting a Flint-Bladed Grain Sickle — Composite Harvesting Tool
说明
Select and Shape the Handle
Select and Shape the Handle
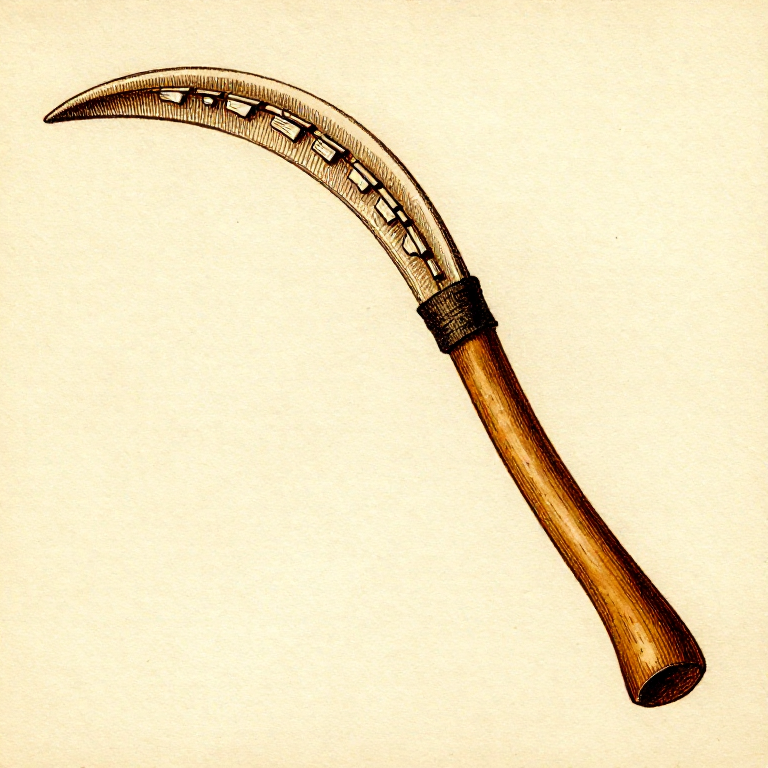
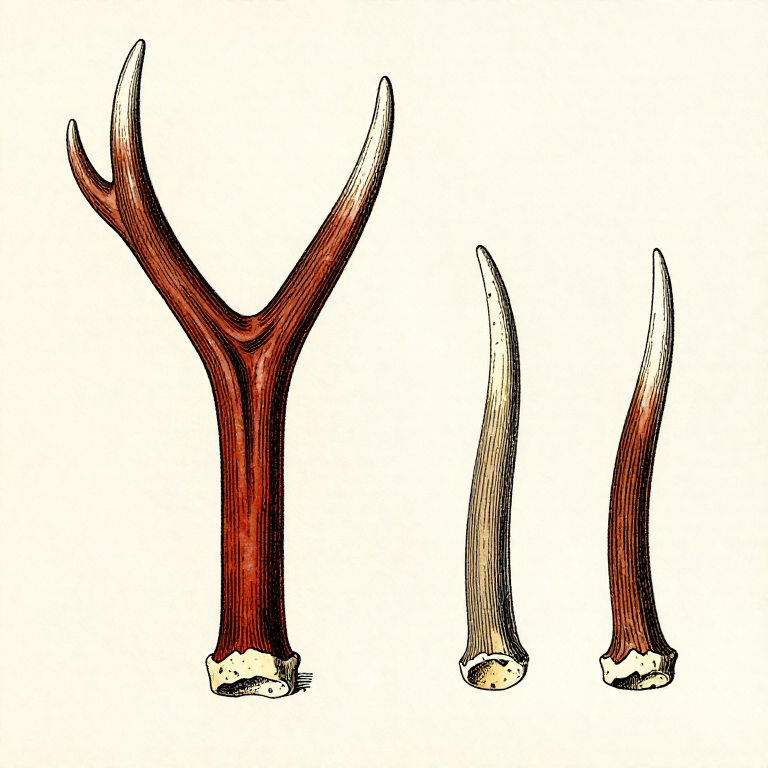
Choose a naturally curved piece of hardwood — the inner curve of a branch fork or a section of curved jawbone works well. The handle should curve like a shallow crescent, 30-40 cm along the outside edge. Carve a narrow groove (about 5 mm wide and 5-8 mm deep) along the inside edge of the curve. This groove will receive the flint blades. The groove must follow the curve consistently so that all blades present a uniform cutting edge. A mandible (jawbone) from a large animal such as a deer or cow provides a natural curved handle with a slot along the tooth socket that can serve as the blade groove.
此步骤所需材料:
 Pine Pitch Glueenough to fill the blade groove 个
所需工具:
Prepare the Flint Blades
Prepare the Flint Blades
Select or knap small, thin flint bladelets — each approximately 3-5 cm long, 1-2 cm wide, and 3-5 mm thick. The bladelets should have at least one sharp, straight edge that will serve as the cutting surface. For a sickle 30-40 cm long, you need 5-10 bladelets arranged end to end along the groove. Test-fit the blades in the groove before gluing — they should sit flush with the edge of the handle, with their sharp edges protruding 3-5 mm beyond the groove to form a continuous serrated cutting edge. A slightly serrated (saw-toothed) edge is actually more effective for cutting grain stems than a smooth edge.

Set the Blades with Adhesive
Set the Blades with Adhesive
Warm bitumen (natural asphalt, found as surface deposits in Mesopotamia) or pine pitch until it is soft and workable. Press a layer of warm adhesive into the groove, then press each blade into position, one after another. The adhesive fills the gap around each blade and locks it firmly in place when it cools and hardens. Bitumen was the preferred adhesive in the Near East because it is naturally waterproof and very strong — archaeological sickles with bitumen hafting remain intact after 8,000 years. If using pine pitch, mix it with crusite charcoal powder and beeswax to improve its adhesion and reduce brittleness.
Test and Adjust
Test and Adjust
Once the adhesive has fully hardened (allow several hours for bitumen, overnight for pine pitch), test the sickle by cutting a bundle of grass or grain stems. Grip the handle firmly and draw the blade edge across the stems in a sweeping, pulling motion. The serrated flint edge should slice cleanly through the stems. If any blades are loose, re-warm the adhesive and re-seat them. If the cutting angle is awkward, the curve of the handle can be adjusted by selecting a different natural curve. The sickle should feel balanced and comfortable for extended use, as grain harvest was intense, time-critical work lasting days or weeks.
Harvesting Technique and Sickle Sheen
Harvesting Technique and Sickle Sheen
To harvest grain, grasp a bundle of stems near the seed heads with one hand and cut through the stems 15-20 cm above the ground with the sickle. The serrated flint edge creates a sawing action that is more effective on fibrous stems than a smooth knife edge. After repeated use cutting silica-rich grain stems (wheat, barley, and emmer all have high silica content in their stems), the flint blades develop a distinctive high-gloss polish on the cutting edge called sickle sheen. This polish is caused by microscopic silica particles in the plant stems abrading and polishing the flint surface. Sickle sheen is visible to the naked eye as a bright, reflective band along the blade edge and is one of the most reliable archaeological indicators that a site practised agriculture.

材料
3- 1 piece, 30-40 cm 个占位符
- 5-10 pieces, 3-5 cm 个占位符
- enough for groove 个占位符
所需工具
2Related blueprints
Other builds that share materials, tools, or techniques with this one.
CC0 公共领域
此蓝图以 CC0 协议发布。你可以自由复制、修改、分发和使用此作品,无需征得许可。
通过购买蓝图中的产品支持创客,他们将获得 创客佣金 (由供应商设定),或创建此蓝图的新版本并将其作为连接包含在你自己的蓝图中以分享收入。