

Copperplate Engraving
A woodcut prints from what is left standing. An engraving does the opposite: the line is a furrow cut into a copper plate, the plate is inked and then wiped clean so ink survives only in the grooves, and the press forces damp paper down into them. It is printing in reverse, and it holds far finer detail than any relief block.
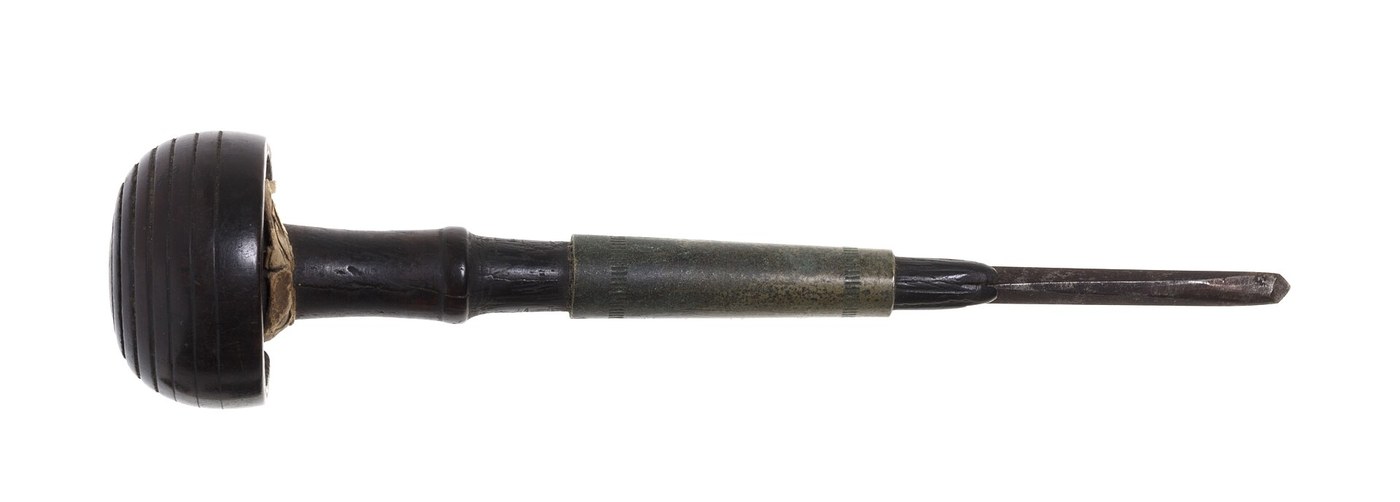
The whole craft lives in one tool. The burin is a lozenge-section steel rod pushed — never dragged — through the metal, throwing up a curl of copper ahead of it. Line weight comes from depth, so a swelling line means the hand is steadily rising and sinking through the cut.
This is how Dürer worked, and how every banknote and scientific plate was made for four hundred years.
说明
Keep the burin pointed away from your holding hand
Keep the burin pointed away from your holding hand
A burin that slips travels fast and far. Always cut away from the hand steadying the plate, and never put that hand in front of the tool.
Prepare a copper plate
Prepare a copper plate
Take a 1-1.5 mm copper plate and file the edges to a 45° bevel all round. An unbevelled edge cuts the press blankets and embosses a black line on every print.
此步骤所需材料:
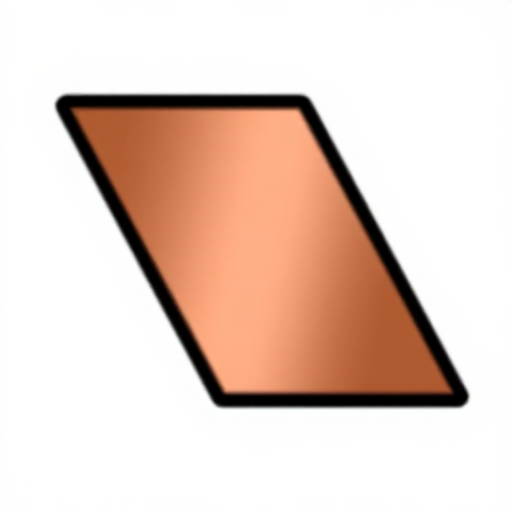 铜板1 张
铜板1 张所需工具:
 锉刀(手用锉)
Polish the face to a mirror
Polish the face to a mirror
Work through abrasives until the surface is flawless. Every scratch you leave will hold ink and print as a line you did not intend.
Degrease the plate
Degrease the plate
Clean with whiting and vinegar, then rinse and dry. Grease repels ink from the grooves and shows up as gaps in a printed line.
Sharpen the burin on both faces
Sharpen the burin on both faces
Hone the two belly facets and the end face until the point is genuinely sharp. A dull burin skids across copper instead of entering it, and that is when it slips.
Set the plate on a leather sandbag
Set the plate on a leather sandbag
Rest the plate on a sand-filled cushion. You steer curves by turning the PLATE against a burin held in a straight line — the tool travels straight, always.
Hold the burin low, almost flat
Hold the burin low, almost flat
Grip the mushroom handle in the palm with the shaft along the fingers, at roughly 10-15° to the plate. Raise the angle and the point digs in and stops.
Push from the shoulder, not the wrist
Push from the shoulder, not the wrist
Drive the tool with the whole arm behind it. A copper curl should peel ahead of the point. If you get powder instead of a curl, the burin is blunt.
Practise swelling a line
Practise swelling a line
Cut a straight line while gradually sinking then rising. Deeper cut, wider groove, more ink, thicker printed line — this is how engravers model form.
Scrape and burnish away every burr
Scrape and burnish away every burr
Remove the raised copper along each groove with a scraper, then burnish. A burr left in place holds ink and prints as a soft dark fuzz beside the line.
Build tone with hatching, not shading
Build tone with hatching, not shading
Darken areas with parallel and cross-hatched lines. There is no grey in engraving — only more line or less, exactly as in silverpoint.
Ink the warmed plate and force it into the lines
Ink the warmed plate and force it into the lines
Warm the plate gently, then work stiff ink across the surface in all directions with a dabber so it fills every groove.
Wipe the surface clean, leaving the grooves full
Wipe the surface clean, leaving the grooves full
Wipe back with tarlatan then the heel of the hand until the face is clean and the lines still hold ink. The wipe decides the print — over-wipe and the image is thin, under-wipe and it is muddy.
Print through a press on damp paper
Print through a press on damp paper
Soak and blot the paper, lay it on the plate under felts, and roll through under heavy pressure. Damp paper is essential: dry paper cannot be pushed into the grooves.
History & Context — printing from the hole, not the hill
History & Context — printing from the hole, not the hill
Where it came from. Engraving on metal is far older than printing from it — goldsmiths had decorated armour, cups and niello work with the burin for centuries. Around the 1430s, in the Upper Rhine and the Low Countries, someone realised the same incised plate could be inked and printed on paper. That is the actual invention: not the cutting, but the printing. The earliest engravers are anonymous and known by their works, and the technique reaches its peak within a lifetime, in Martin Schongauer and then Albrecht Dürer.
Intaglio versus relief. A woodcut is a relief process: you cut away everything that is not the line, and print from the standing surface, and it can be locked up in a forme alongside movable type. An engraving is intaglio — Italian for cut-in — and prints from the recesses, which needs a rolling press and a separate print run. Intaglio holds far finer lines and reproduces tone by hatching, which is why scientific illustration, maps, portraiture and banknotes all went to copper while text stayed with type.
Engraving is not etching, and the difference matters. Engraving cuts the line mechanically with a burin; etching draws through a wax ground and lets acid bite the line. An etched line is free and drawn-looking, an engraved line is controlled and swells with depth. The two are constantly conflated, and plates often combine them — but only engraving gives the characteristic tapering swell, because only engraving controls depth continuously.
Why the plate wears out. Copper is soft. A plate yields a few hundred good impressions before the fine lines flatten under press pressure, after which it must be reworked. Nineteenth-century printers solved this by steel-facing plates electrolytically, which is how banknote plates survive enormous runs. Softness is also what makes copper cuttable by hand in the first place — the same property that limits the edition is what allows the art.
CC0 公共领域
此蓝图以 CC0 协议发布。你可以自由复制、修改、分发和使用此作品,无需征得许可。
通过购买蓝图中的产品支持创客,他们将获得 创客佣金 (由供应商设定),或创建此蓝图的新版本并将其作为连接包含在你自己的蓝图中以分享收入。