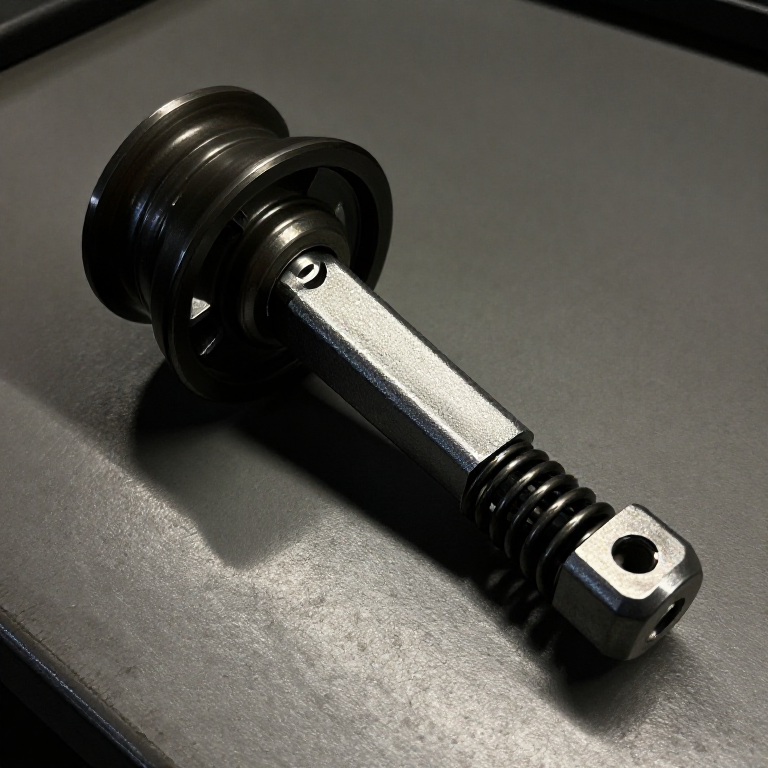


Jockey Pulley Tensioner
说明
Build the idler wheel
Build the idler wheel
It carries no drive, only tension — so it needs to spin with almost no friction.
- Cut a 60 mm idler pulley from 18 mm ply and bore it 22 mm for a 608 bearing.
- Press the bearing in and check the wheel spins freely for several seconds when flicked.
- Crown its face slightly if it will run against a flat belt.
- Fit an M8 × 50 hex bolt through the bearing as its axle.
Why the bearing matters more here than elsewhere. A jockey pulley runs constantly and contributes nothing but drag. A stiff idler is a permanent power loss and a source of heat, which is why even cheap production tensioners get a proper sealed bearing.
Decide now which side of the belt it will run on. An idler on the OUTSIDE of the belt bends it backwards, which shortens belt life — but it also increases wrap on both pulleys. An inside idler is kinder to the belt and only increases wrap on one.此步骤所需材料:
 波罗的海桦木胶合板1 张
 Ball Bearing - Non-Flanged (8mm Bore, 22mm OD)1 个
所需工具:
 曲线锯
曲线锯 充电式电钻
充电式电钻 钻头套装
钻头套装 锉刀套装
锉刀套装 6 英寸数显卡尺
Make the pivoting arm
Make the pivoting arm
Arm length and pivot position decide how constant the tension stays.
- Cut an arm 140 mm between hole centres from 6 mm aluminium flat bar.
- Pivot one end to the baseplate with an M6 × 35 hex bolt, M6 flat washers × 2 and an M6 nylon insert lock nut, set for free swing.
- Mount the idler at the other end.
- Position the pivot so the arm sits roughly PERPENDICULAR to the belt span when tensioned.
Why perpendicular. With the arm at right angles to the belt, the spring force converts most efficiently into belt tension, and small swings of the arm change that geometry least. Set the arm nearly in line with the belt and the tension varies wildly for a small movement — the same reason a toggle's force changes so sharply near dead centre.
Free swing at the pivot is essential. A stiff pivot means the arm sticks where it was rather than tracking the belt, and the tensioner stops tensioning without any visible sign.此步骤所需材料:
 铝扁条1 个
 平垫圈4 个
 尼龙自锁螺母2 个
所需工具:
 钢锯弓配锯条充电式电钻钻头套装
 内六角扳手组
 组合角尺
组合角尺Load the arm — spring, weight, or screw
Load the arm — spring, weight, or screw
Three ways to push the idler into the belt, with genuinely different behaviour.
- Spring: hook a compression or extension spring from the arm to the base. Tension falls slightly as the belt stretches and the arm swings.
- Weight: hang a mass on an extension of the arm. Tension stays CONSTANT regardless of arm position.
- Screw: fit an M6 × 60 hex bolt as an adjuster against the arm and lock it. Tension is fixed until you adjust it again.
- Build the spring version first, then try the others.
此步骤所需材料:
 压缩弹簧套装1 套平垫圈2 个
 六角螺母2 个
所需工具:
充电式电钻钻头套装内六角扳手组锉刀套装Measure the wrap angle gain and the slip torque
Measure the wrap angle gain and the slip torque
The tensioner does two jobs. Measure both.
- With the jockey removed, measure the wrap angle on the small pulley with a protractor.
- Load the output until the belt slips and record the torque.
- Fit the jockey, press it into the slack span, and measure wrap again.
- Repeat the slip test.
- Now stretch the belt — or fit a slightly longer one — and confirm the jockey takes up the slack with no adjustment.
所需工具:
组合角尺6 英寸数显卡尺 秒表
秒表Which side, and history
Which side, and history
Put the jockey on the SLACK span, never the tight one. The tight side is already carrying the drive tension; pressing on it just adds load to bearings and belt without gaining anything. The slack side is where the surplus length appears, so that is where it must be taken up. Getting this wrong is a common and quietly damaging mistake.
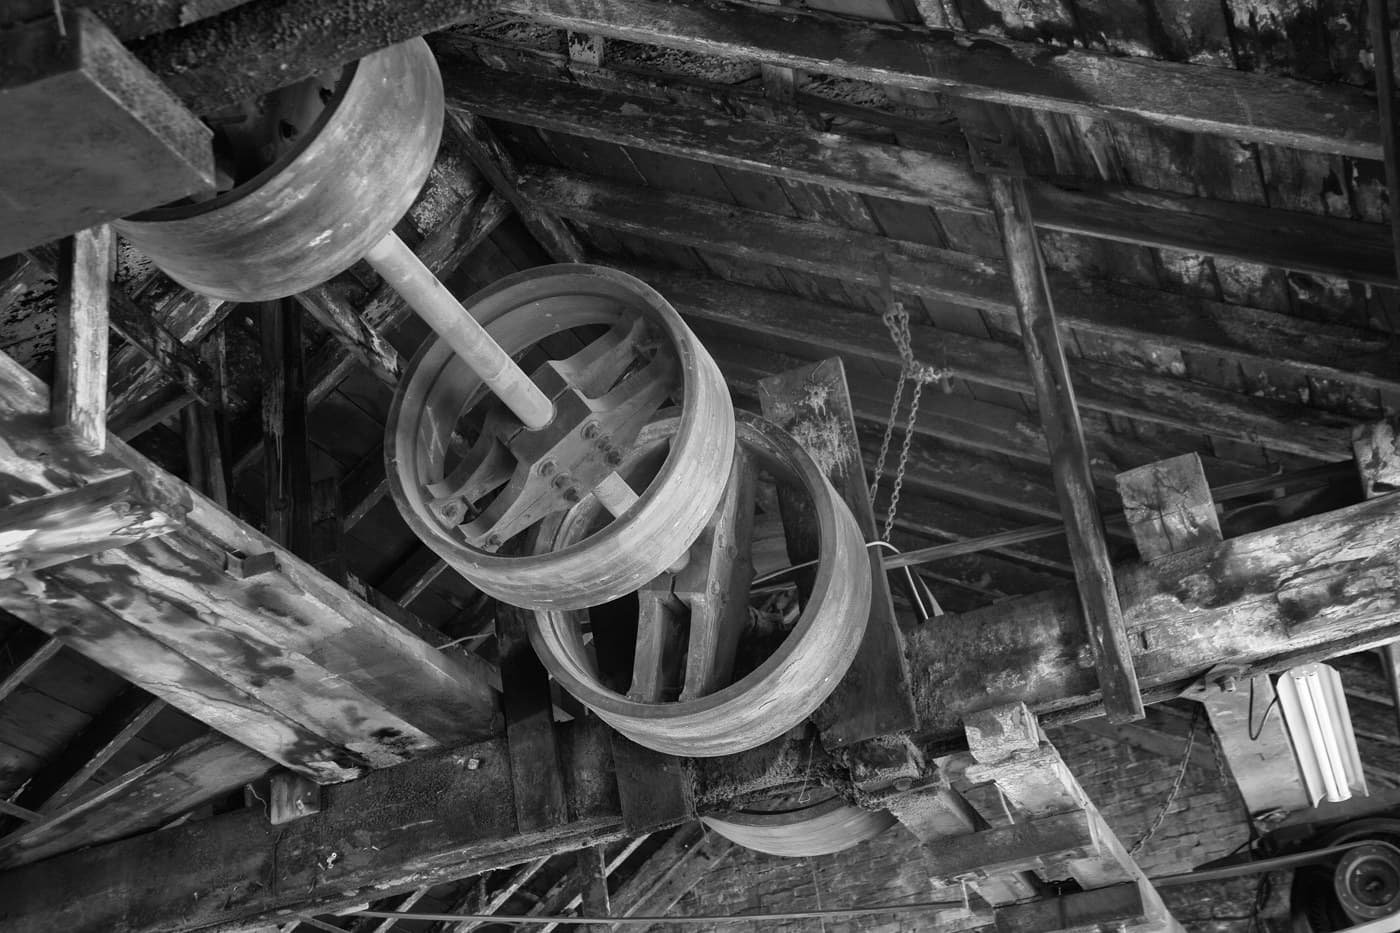
History. Idler and jockey pulleys are as old as belt drives themselves and appear throughout line-shaft practice, often as a weighted arm hanging on the slack side. The automatic spring tensioner in every modern car's serpentine belt drive is the same device with a damper added — and its arrival is what allowed one long belt to drive every accessory, because a single tensioner can maintain the whole run.
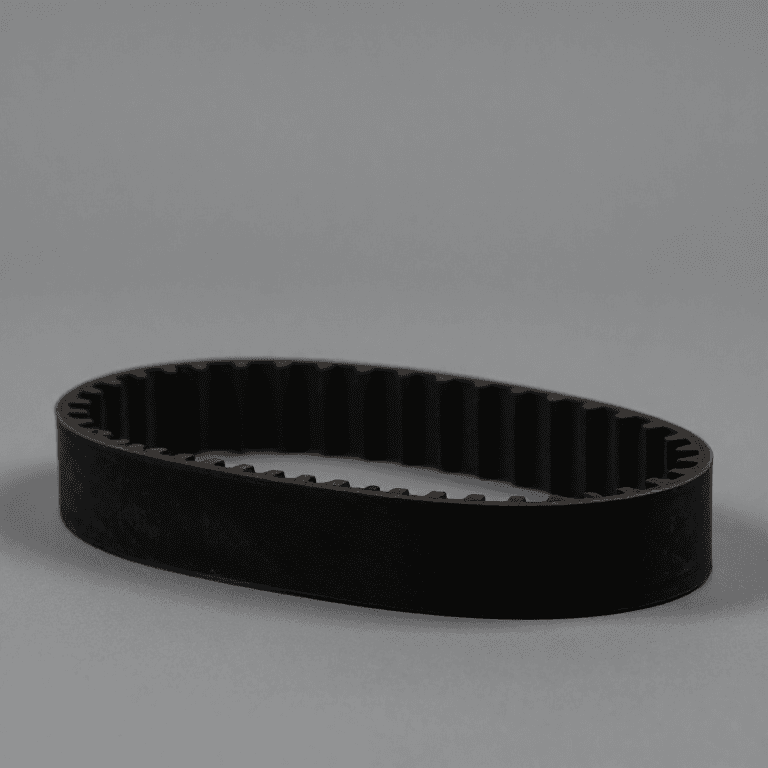
Its siblings solve tension differently: moving the motor on slotted feet is simplest and needs re-doing as the belt stretches. A crowned flat belt drive needs less tension in the first place, because it tolerates slip. A timing belt needs correct tension too but cannot be tensioned by slip. The jockey is the answer when the shaft centres are fixed and the tension must not be a maintenance job.
One caution: a spring tensioner and a belt make a mass-spring system, and it can resonate. If a drive howls or the belt visibly flutters at one particular speed, the fix is usually damping rather than more tension — which is exactly why automotive tensioners include a friction damper.
材料
7- 1 张占位符
- $1.27
- 1 个占位符
- 6 个占位符
- 2 个占位符
- 1 套占位符
- 2 个占位符
所需工具
9- 1 vendor sell this, none ship to you yet占位符
- 1 vendor sell this, none ship to you yet占位符
- 占位符
- 占位符
- 占位符
- 占位符
- 占位符
- 占位符
- 占位符

CC0 公共领域
此蓝图以 CC0 协议发布。你可以自由复制、修改、分发和使用此作品,无需征得许可。
通过购买蓝图中的产品支持创客,他们将获得 创客佣金 (由供应商设定),或创建此蓝图的新版本并将其作为连接包含在你自己的蓝图中以分享收入。