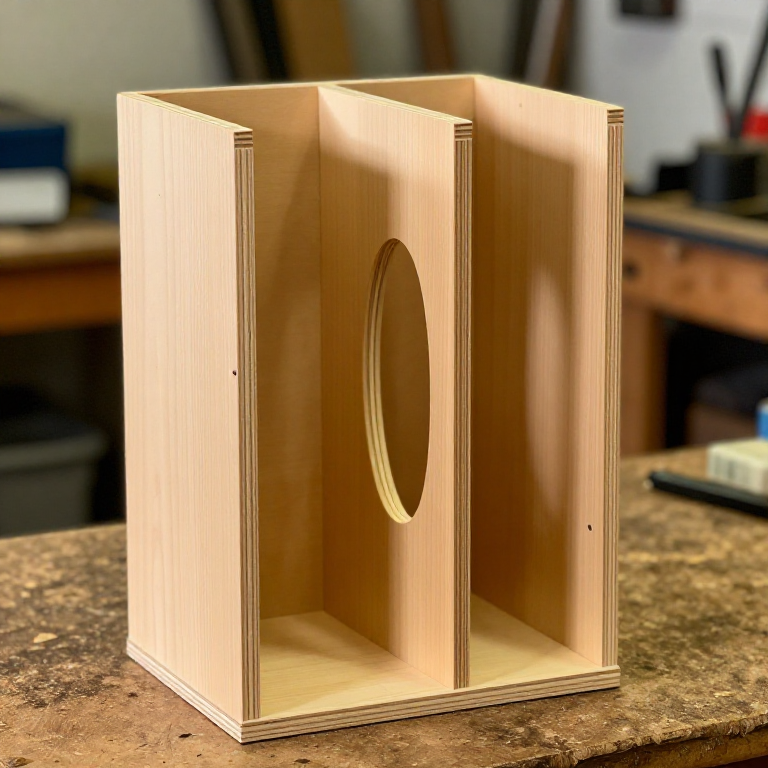


Mitre-Saw Storage Caddy
说明
Measure the tool, not a drawing
Measure the tool, not a drawing
Measure what the caddy has to hold, at its widest points.
- The saw across its base, and its height with the head locked down.
- A battery pack, plus however many travel with you.
- Anything else that lives with the saw — stops, a square, spare blades.
Add 10 mm clearance to each compartment so things drop in rather than needing to be aimed.
A caddy built to a published cut list rarely fits the tool actually in the shop. Ten minutes with a tape here saves rebuilding it.所需工具:
 Ryobi RTM8M Tape Measure 8 m
 Hultafors Carpenter's Pencil HB
Cut the base, sides, ends and dividers
Cut the base, sides, ends and dividers
Cut every panel from three-quarter-inch plywood.
- Base, two long sides, two ends, and one central divider that will also carry the handle.
- Check each crosscut against the speed square before you cut, not after.
- Keep the two long sides identical — cut them in one setup.
此步骤所需材料:
 波罗的海桦木胶合板1 张
所需工具:
 Ryobi ONE+ R18MS216-0 Cordless Mitre Saw 216 mm
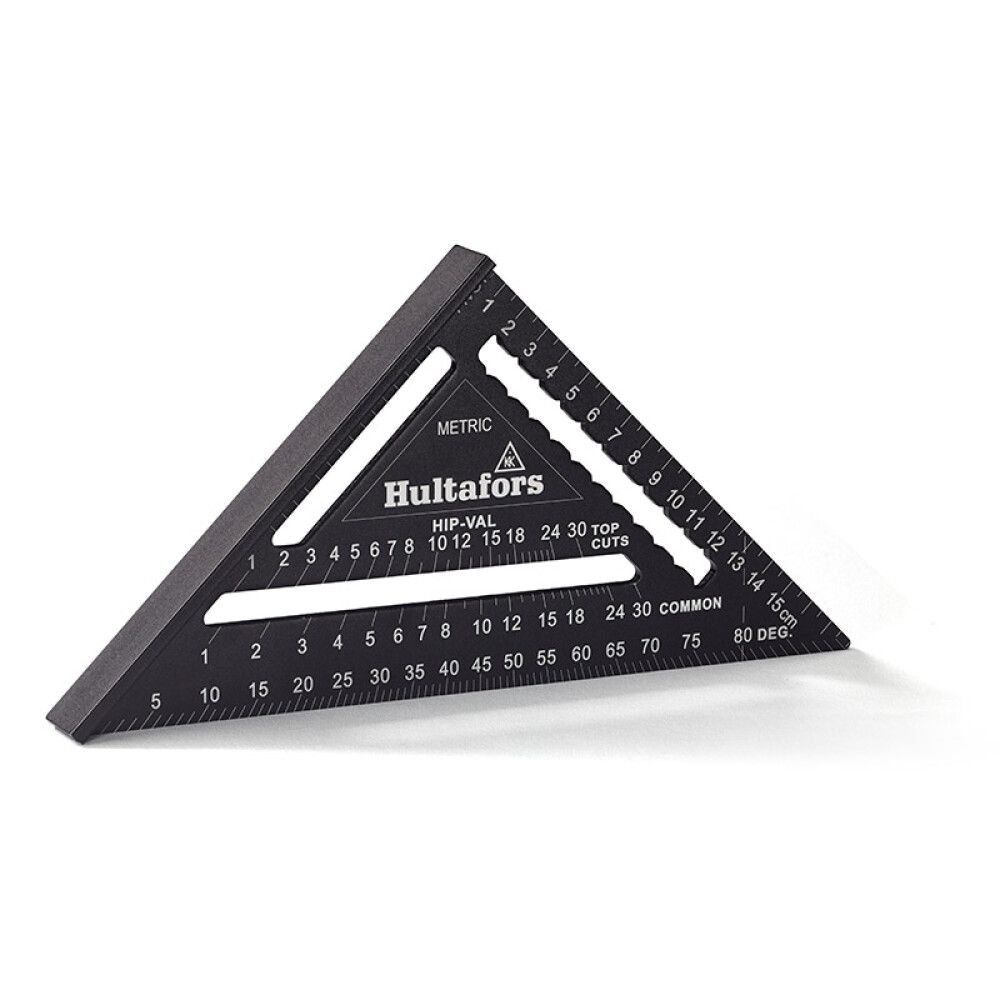 Hultafors MRS 18 Speed Square — Metric
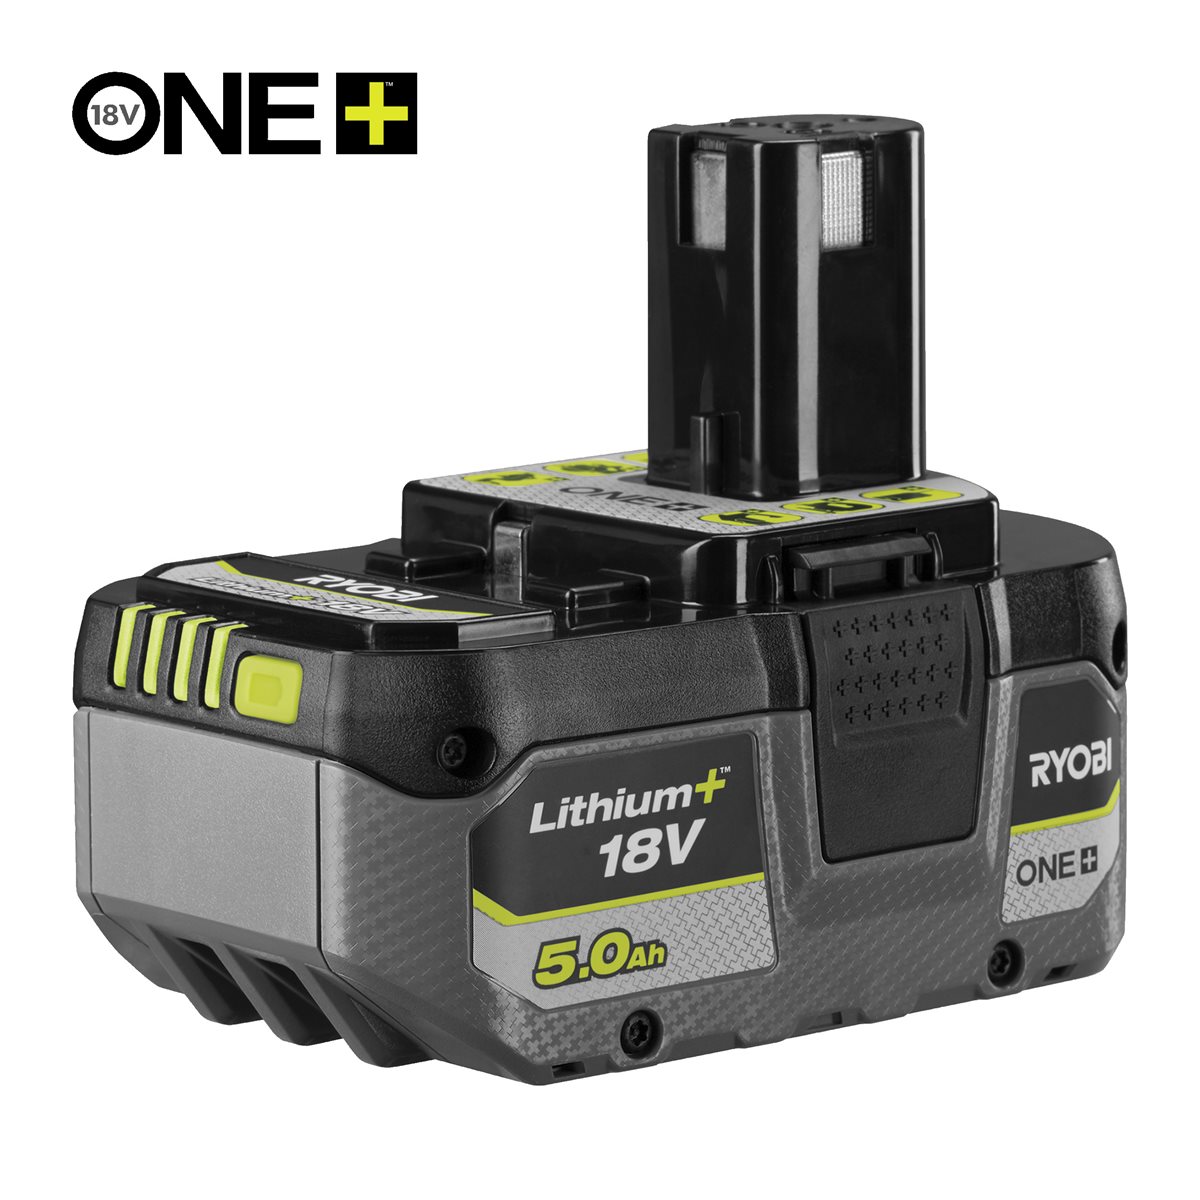 Ryobi ONE+ RB1850X 18V Lithium+ Battery 5.0 Ah
Set the nailer depth on an offcut first
Set the nailer depth on an offcut first
Before touching the real parts, fire three or four brads into a scrap of the same plywood and adjust until the heads sit just below the surface.
- Too deep and the head tears through the face veneer.
- Too shallow and the head stands proud and snags.
- Keep hands well clear of the nose — a brad can deflect inside plywood and exit the side.
此步骤所需材料:
 18 号 x 1" 无头钉40 个
所需工具:
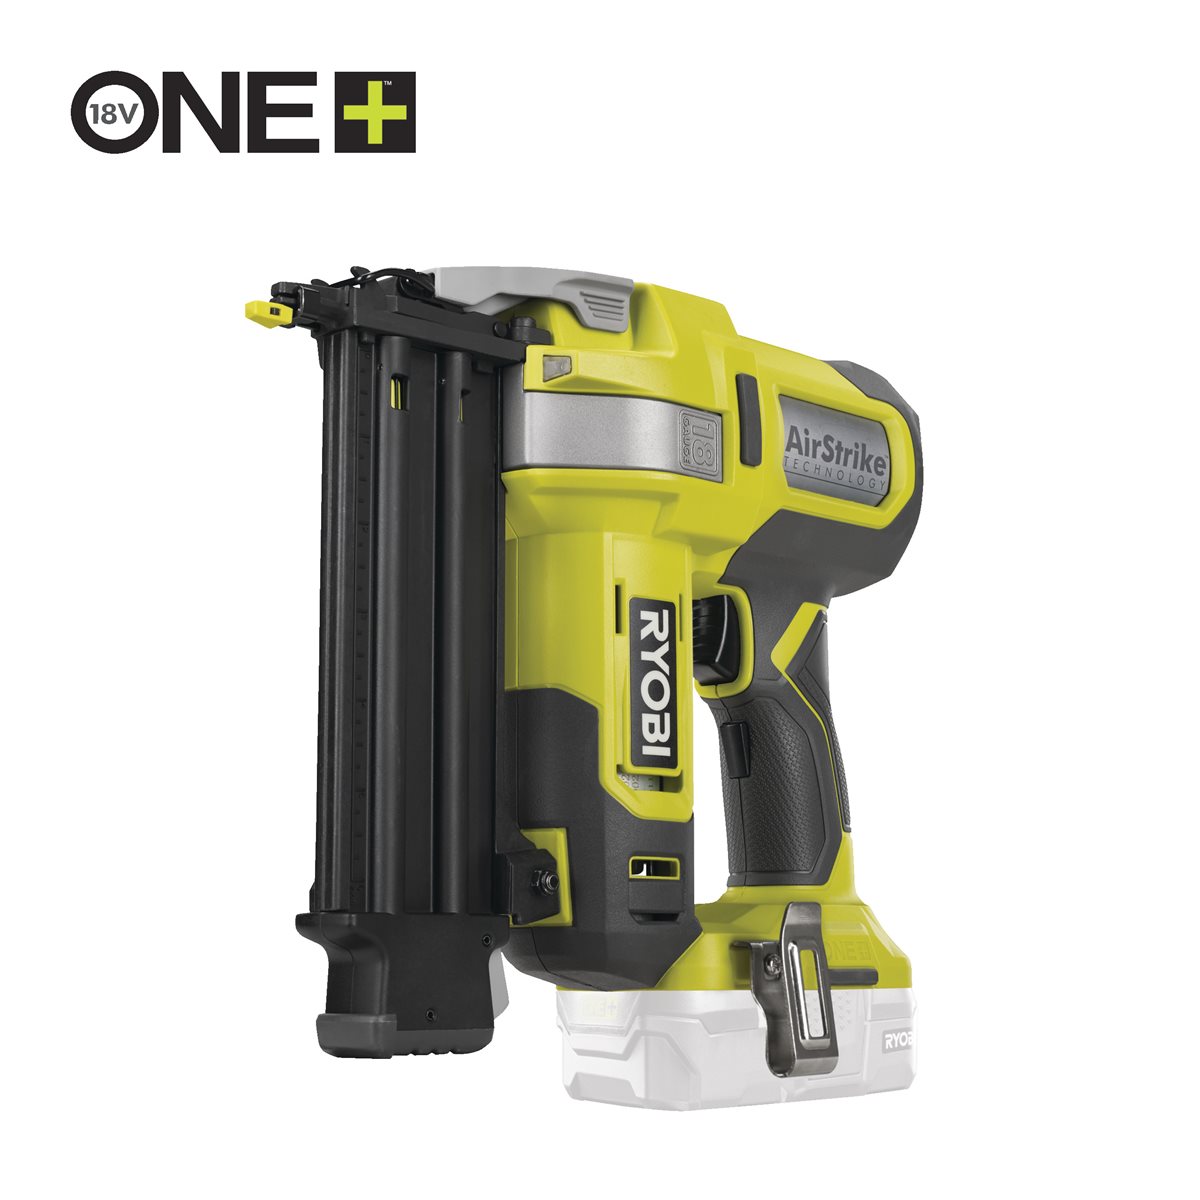 Ryobi ONE+ R18GN18-0 Cordless Brad Nailer
Glue and nail the carcass
Glue and nail the carcass
Assemble base, sides and ends.
- Run a bead of glue on each mating face and spread it thin.
- Hold the parts square and fire brads through the sides into the ends.
- Check the diagonals before the glue grabs — equal diagonals mean square.
此步骤所需材料:
 PVA 木工胶1 瓶
所需工具:
Ryobi ONE+ R18GN18-0 Cordless Brad NailerFit the divider to the tool, then glue it
Fit the divider to the tool, then glue it
Dry-fit the divider with the saw and batteries actually in the caddy.
- Stand the saw in place and slide the divider until each compartment holds its contents without slack.
- Mark the divider position on the base with the pencil.
- Only then glue and nail it home.
所需工具:
Ryobi ONE+ R18GN18-0 Cordless Brad NailerCut the handle opening and round it well
Cut the handle opening and round it well
Cut a hand-sized opening in the top of the central divider — about 110 × 30 mm with rounded ends.
- Drill a starter hole inside the waste, then cut the opening with the jigsaw.
- Sand the opening smooth and round the edges generously, top and bottom.
此步骤所需材料:
 砂纸1 张
砂纸1 张所需工具:
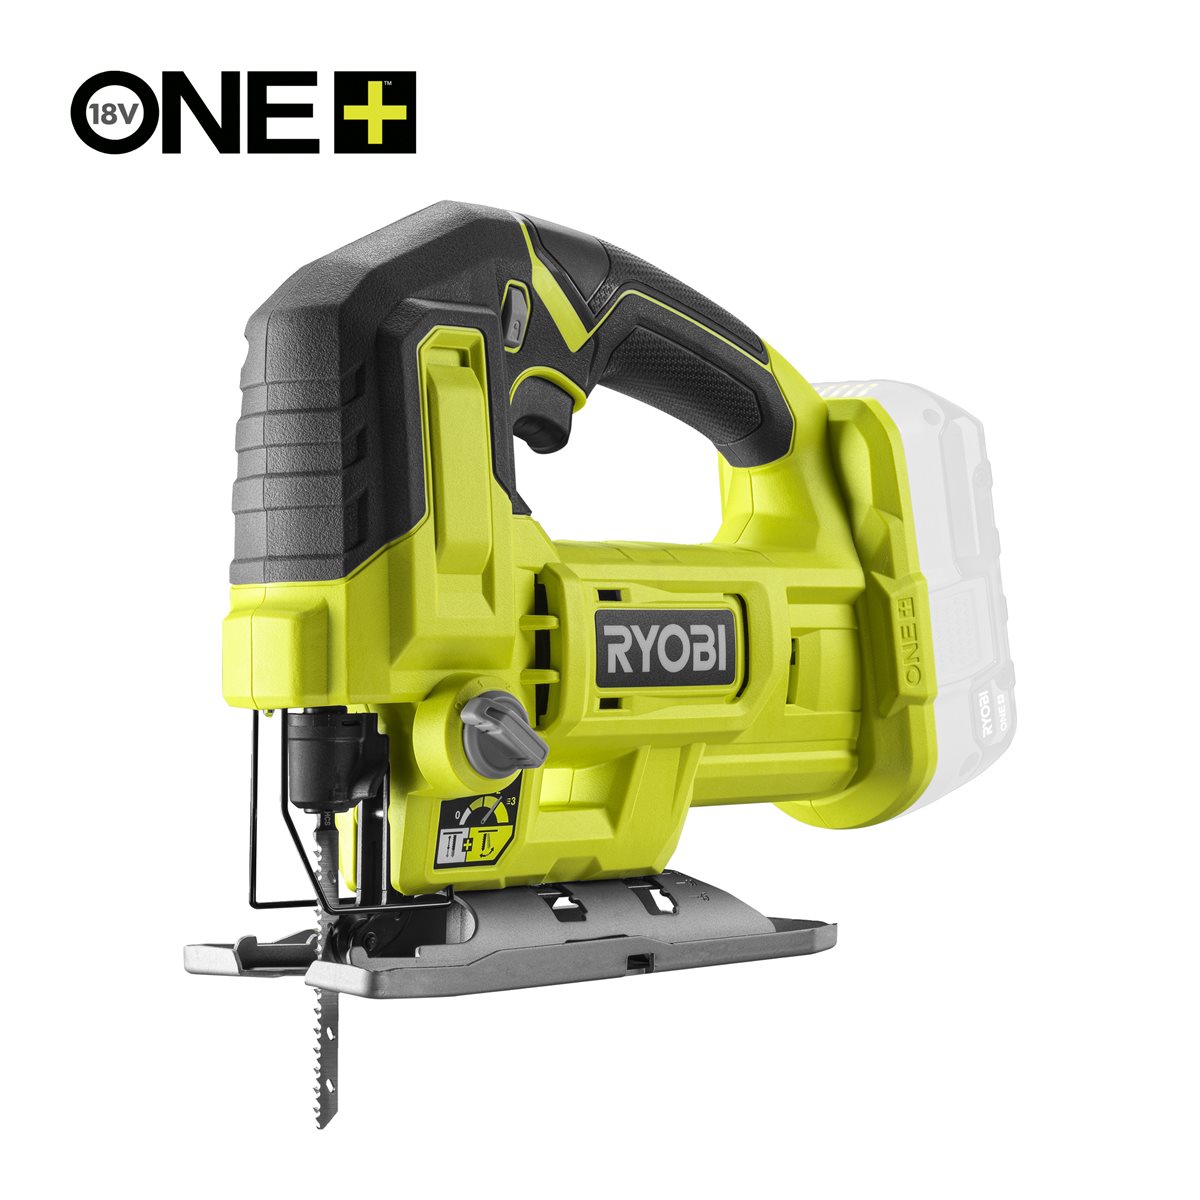 Ryobi ONE+ RJS18-0 Cordless Jigsaw
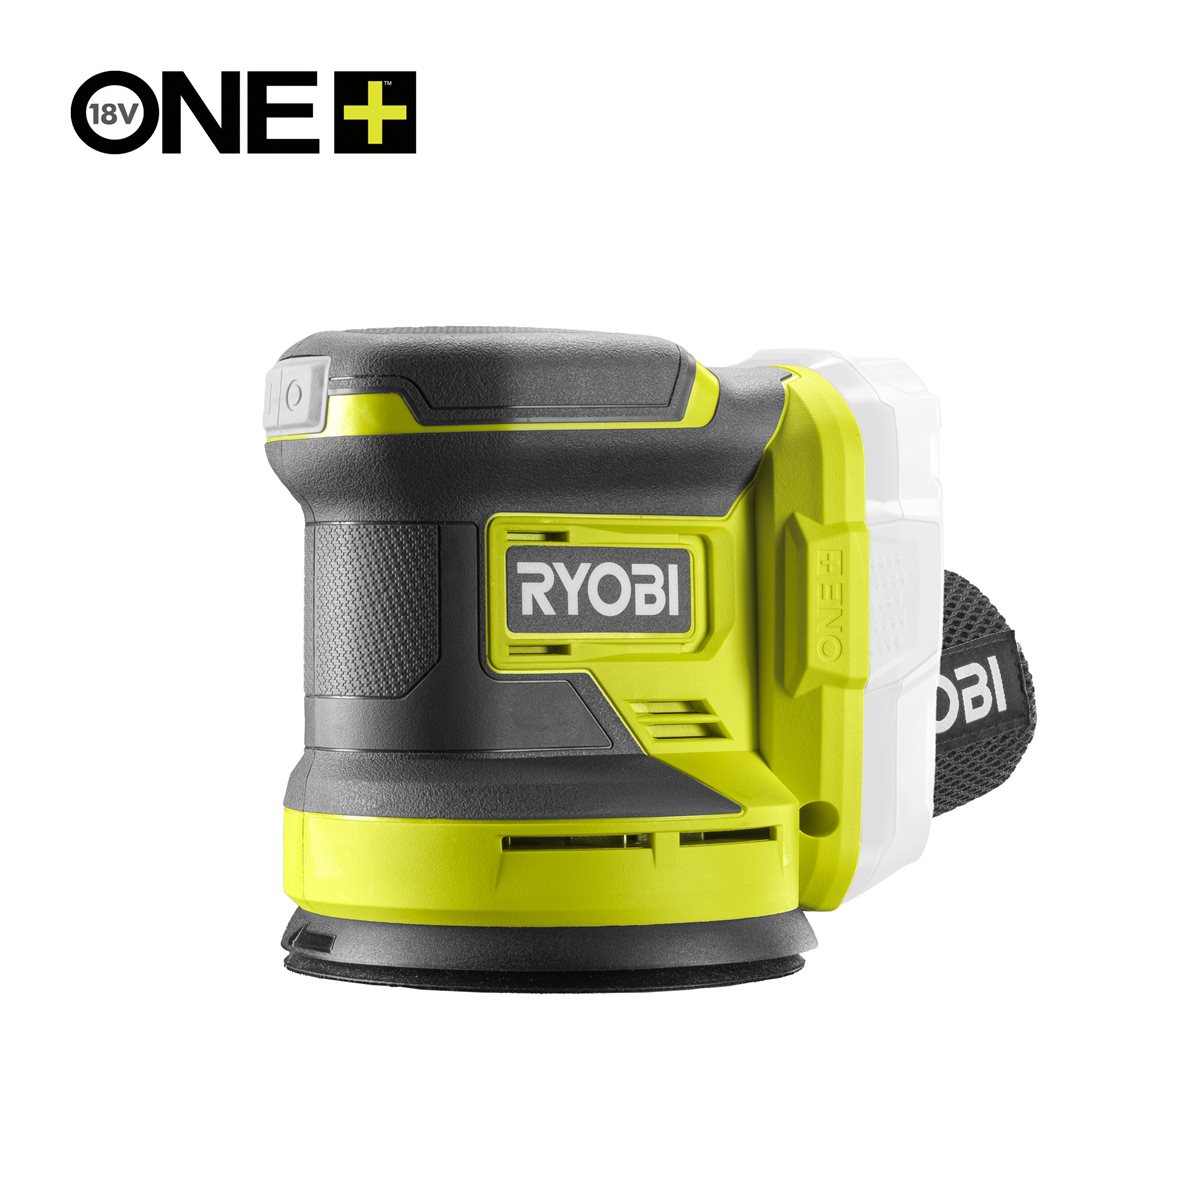 Ryobi ONE+ R18ROSN-0 Cordless Random Orbit Sander
Load it and check the balance
Load it and check the balance
Load the caddy as it will actually travel and lift it by the handle.
- If it tips toward one end, move the heaviest item nearer the handle.
- Re-check that nothing slides when the caddy tilts.
所需工具
8- $24.29
- $1.69
- $27.77
- $150.45
- $324.66
- $127.23
此蓝图制作

CC0 公共领域
此蓝图以 CC0 协议发布。你可以自由复制、修改、分发和使用此作品,无需征得许可。
通过购买蓝图中的产品支持创客,他们将获得 创客佣金 (由供应商设定),或创建此蓝图的新版本并将其作为连接包含在你自己的蓝图中以分享收入。