艺术
美容与健康
工艺
文化与历史
娱乐
环境
食品与饮料
逆向工程
科学
体育
技术
可穿戴设备
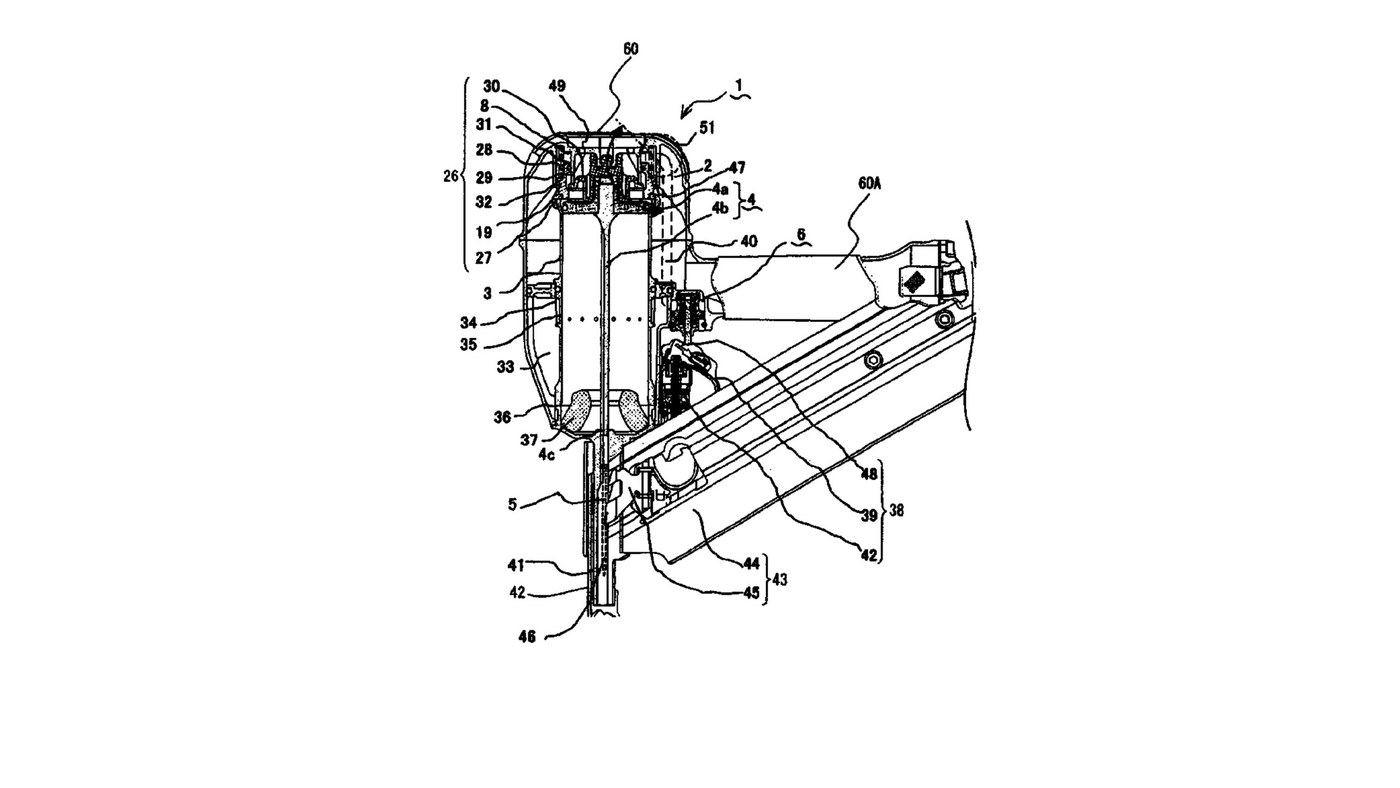


Pneumatic Nail Gun: Main Valve, Return Chamber and Fast Trigger Valve
Hitachi Koki's air nailer (US 7,156,012, 2007). Compressed air stored in the handle holds a main valve shut over the cylinder. Pulling the trigger with the nose pressed to the work vents a small trigger-valve chamber, which vents the main-valve chamber; the main valve jumps up, closes the exhaust and lets stored air throw the piston and driver blade down onto a nail. Air caught below the piston in a return chamber pushes it back up. Hitachi sized the valve chambers against their vents to make the gun fire and reset faster.
The patent gives no materials, bore, stroke, air pressure or nail size. The picture: the patent's Fig. 1.
高级
2 days
说明
1
1
Use the one-piece frame, handle and nose
Use the one-piece frame, handle and nose
Use a frame (60), handle (60A) and nose (41) made as one outer frame; the space inside the handle and frame is the air accumulator (2). Screw a hose nipple into the handle's end for the air hose.
此步骤所需材料:
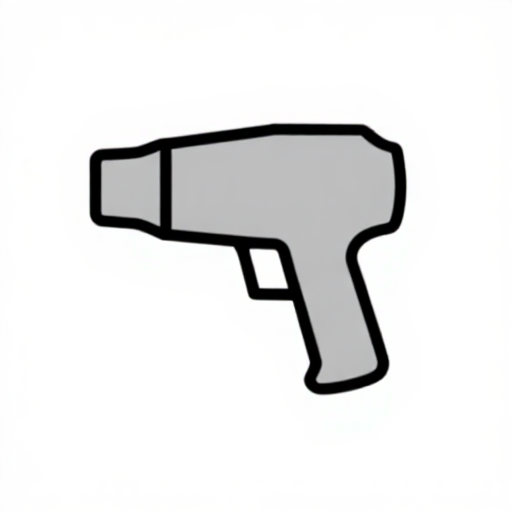 工具电机壳1 个
 软管螺纹接头1 个
所需工具:
 活动扳手
2
2
Fit the cylinder with its return chamber
Fit the cylinder with its return chamber
Fit the cylinder (3) in the frame with a return chamber (33) round its lower part. Halfway up, a one-way valve (34) lets air pass only from the cylinder into the return chamber; a channel (36) near the bottom joins them always. Seat a piston bumper (37) at the bottom.
此步骤所需材料:
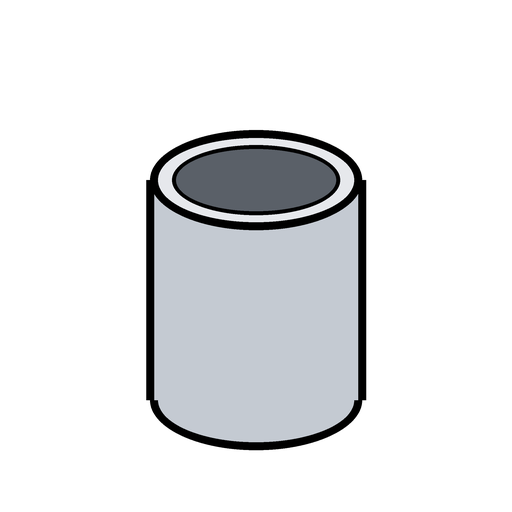 缸套1 个
 止回阀1 个
 活塞缓冲垫1 个
所需工具:
活动扳手3
3
Insert the piston and driver blade
Insert the piston and driver blade
By hand, slide the piston (4a) with its integral driver blade (4b) into the cylinder; the blade's free end (4c) runs down the nose to strike the nail.
此步骤所需材料:
 驱动活塞1 个
4
4
Fit the main valve section
Fit the main valve section
Over the top of the cylinder fit the main valve rubber (27), the main valve (19) with O-rings (31, 32) sliding in the main valve chamber (8), the main valve spring (28) pushing it down, and the exhaust rubber (30) under the exhaust passage (29) to the top exhaust hole (49).
此步骤所需材料:
 主阀1 个
 阀座密封圈2 个
 Coil Spring1 个
 O形密封圈2 个
所需工具:
活动扳手5
5
Fit the trigger valve
Fit the trigger valve
At the base of the handle fix an outer and an inner valve bush (10, 11). Inside them fit the valve piston (9) and the plunger (7), with a spring (12) between them pushing the piston up and the plunger down, and O-rings 15, 17, 18, 21, 23, 24, 25. Join it to the main valve chamber by the control channel (40), a tube with a gentle bend.
此步骤所需材料:
 阀套2 个
 阀芯活塞1 个
 阀杆1 个Coil Spring1 个O形密封圈7 个
所需工具:
活动扳手6
6
Fit trigger, arm plate and push lever
Fit trigger, arm plate and push lever
Fit the trigger (39) with its pivoting arm plate (48) under the plunger, and the push lever (42) sprung out from the nose bottom. Only with both pulled and pressed does the arm plate push the plunger up.
此步骤所需材料:
 工具扳机1 个
 触压保险杆1 个Coil Spring1 个
所需工具:
活动扳手7
7
Fit the magazine and feeder
Fit the magazine and feeder
Fit the magazine (44), holding nails side by side, with the feed mechanism (45) that moves each next nail into the injection opening (46) in the nose.
此步骤所需材料:
 钉匣1 个
 送钉器1 个
所需工具:
活动扳手8
8
Why the valve chambers are small
Why the valve chambers are small
正在加载 Jupyter 笔记本…
9
9
Connect and fire
Connect and fire
Ours: connect an air hose from a compressor. At rest the stored air holds the main valve down and the piston up. Press the nose to the work and pull the trigger: the main valve lifts, the piston drives the nail, and the return-chamber air brings it back up.
所需工具:
 空气压缩机
 压缩空气软管
材料
17- 1 个占位符
- 1 个占位符
- 1 个占位符
- 1 个占位符
- 1 个占位符
- 1 个占位符
- 1 个占位符
- 2 个占位符
- 3 个占位符
- 9 个占位符
- 2 个占位符
- 1 个占位符
- 1 个占位符
- 1 个占位符
- 1 个占位符
- 1 个占位符
- 1 个占位符
此蓝图制作
CC0 公共领域
此蓝图以 CC0 协议发布。你可以自由复制、修改、分发和使用此作品,无需征得许可。
通过购买蓝图中的产品支持创客,他们将获得 创客佣金 (由供应商设定),或创建此蓝图的新版本并将其作为连接包含在你自己的蓝图中以分享收入。