艺术
美容与健康
工艺
文化与历史
娱乐
环境
食品与饮料
绿色未来
逆向工程
科学
体育
技术
可穿戴设备
Collecting and Preparing Feathers for Arrow Fletching — Stabilising Projectiles in Flight
Fletching — attaching feathers to the tail end of an arrow — is one of the most important innovations in projectile technology. Without fletching, an arrow tumbles in flight, losing energy and accuracy beyond a few metres. Feathers create aerodynamic drag at the tail that keeps the point forward, similar to the tail fins of a rocket. Archaeological evidence of fletched arrows dates to at least 11,000 years ago, though the technology likely extends much further back to the origins of bow use. Not all feathers work equally well: flight feathers from the wing (primaries and secondaries) have the rigid, asymmetric structure needed to spin-stabilise an arrow. This blueprint teaches the complete process from selecting and harvesting feathers through splitting, trimming, and attaching them to an arrow shaft using sinew and pitch.
中级
1-2 hours
说明
1
1
Identify Suitable Feather Sources
Identify Suitable Feather Sources
The best fletching feathers come from large birds: wild turkey, goose, eagle, hawk, crow, heron, or swan. You need wing flight feathers — the long, stiff feathers from the leading and trailing edge of the wing. Tail feathers also work but are typically shorter. Ground-found moulted feathers are ideal — they are naturally shed and fully mature. Avoid downy body feathers, which lack the rigid central shaft needed.
2
2
Select Primary or Secondary Wing Feathers
Select Primary or Secondary Wing Feathers
Primary feathers (the outermost wing feathers) are the stiffest and most asymmetric — one side of the vane is notably wider than the other. This asymmetry is what causes the arrow to spin in flight. Collect 3 matching feathers per arrow, all from the same wing (either all left-wing or all right-wing). Mixing left and right wing feathers cancels the spin effect and destabilises the arrow.
3
3
Clean and Straighten the Feathers
Clean and Straighten the Feathers
Wipe each feather clean of dirt and oil. If the feather has a curved shaft, hold it over steam from a container of hot water for 10 to 15 seconds, then gently bend it straight and hold until cool. The heat softens the keratin in the shaft temporarily, allowing it to be reshaped. A straight shaft is essential — curved feathers create uneven drag.
4
4
Split the Feather Along the Shaft
Split the Feather Along the Shaft
Hold the feather firmly and use a sharp flint flake to split the central shaft (rachis) lengthwise, dividing the feather into two halves. Each half has the shaft on one side and the vane on the other. You need the half with the most vane attached to the shaft — this becomes one fletch. Alternatively, strip the vane from one side by peeling it off where it attaches to the shaft.
5
5
Trim to Fletching Size
Trim to Fletching Size
Cut the split feather to 8 to 12 cm long for hunting arrows, or 6 to 8 cm for shorter darts. Trim the vane width to 10 to 15 mm — wider fletching provides more stability but slows the arrow. Shape the leading edge (the front, toward the arrowhead) to a tapered or shield profile to reduce turbulence. The trailing edge can be left square or rounded.
6
6
Prepare the Arrow Shaft for Fletching
Prepare the Arrow Shaft for Fletching
Mark three evenly spaced lines along the last 12 cm of the arrow shaft, dividing the circumference into equal thirds (120 degrees apart). Lightly score a shallow groove along each line with a flint flake to help the fletching glue adhere. The nock (string notch) at the tail end should already be cut — the fletching is applied just forward of the nock.
所需工具:
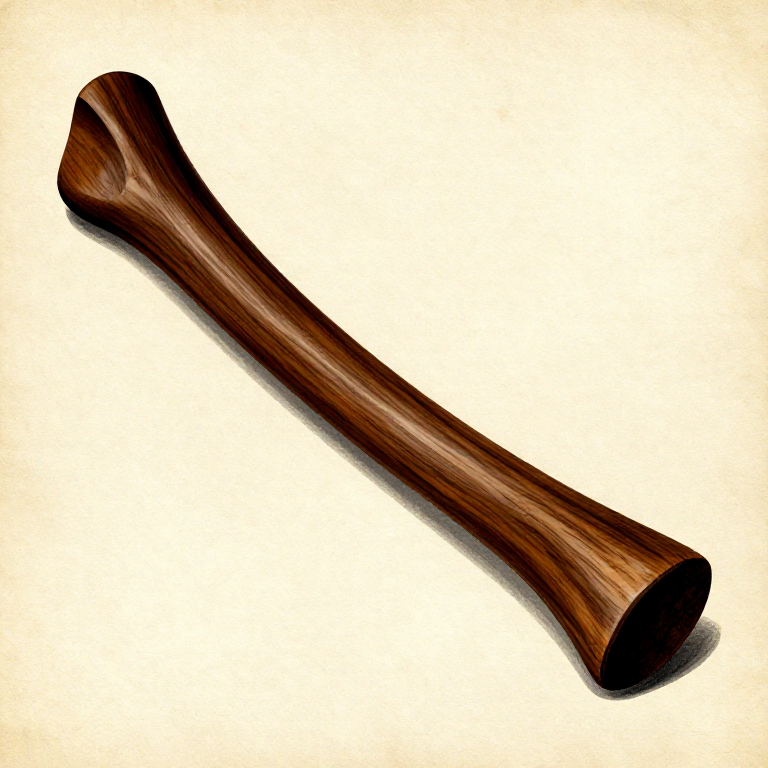
 Bone Awl
7
7
Apply Pine Pitch Adhesive
Apply Pine Pitch Adhesive
Warm a small amount of pine pitch or birch tar until it becomes liquid. Using a thin stick, paint a thin line of warm pitch along each of the three scored lines on the arrow shaft. Work quickly — pitch sets as it cools. If using hide glue instead of pitch, apply the warm glue in the same manner. The adhesive provides the initial hold while the sinew binding cures.
8
8
Attach the First Fletching
Attach the First Fletching
Press the split shaft of the first feather into the pitch line, positioning the feather with its concave (inner) face toward the arrow shaft. Align the front of the feather 2 to 3 cm forward of the nock. Hold it firmly in place for 30 seconds as the pitch cools and sets. The feather should lie flat against the shaft with the vane standing upright.
9
9
Attach the Remaining Two Fletchings
Attach the Remaining Two Fletchings
Repeat the process for the second and third feathers, spacing them exactly 120 degrees apart around the shaft. All three feathers must be from the same wing (all left or all right) and oriented the same way — the natural curve of the feathers creates a slight helical angle that spins the arrow clockwise or counterclockwise in flight.
10
10
Bind with Sinew at Front and Back
Bind with Sinew at Front and Back
Wrap a length of dampened sinew thread tightly around the arrow shaft at the front edge of all three fletchings, binding the feather shafts to the arrow. Make 5 to 8 tight wraps and tuck the end under. Repeat at the back edge near the nock. Sinew shrinks as it dries, creating an extremely tight binding that will not loosen under the vibration and impact of shooting.
此步骤所需材料:
 Sinew Thread1 个
11
11
Seal the Bindings with Pitch
Seal the Bindings with Pitch
Apply a thin coat of warm pine pitch over both sinew bindings. This waterproofs the sinew (wet sinew softens and loosens) and adds additional adhesion. Smooth the pitch with a wet finger to create a streamlined transition between the shaft and the feather base. The pitch should cover the sinew wraps completely but not extend onto the feather vane.
12
12
Test the Fletched Arrow
Test the Fletched Arrow
Hold the finished arrow at eye level and sight along the shaft — the three fletchings should be evenly spaced and identical in height. Spin the arrow between your palms — it should spin smoothly without wobbling. Shoot the arrow at a soft target from 10 metres. A properly fletched arrow flies straight with a gentle spiral rotation. If it fishtails or corkscrews, one feather may be misaligned or from a different wing.
已连接蓝图材料
相关蓝图
这些蓝图共享知识——技术、材料或原理
Related blueprints
Other builds that share materials, tools, or techniques with this one.
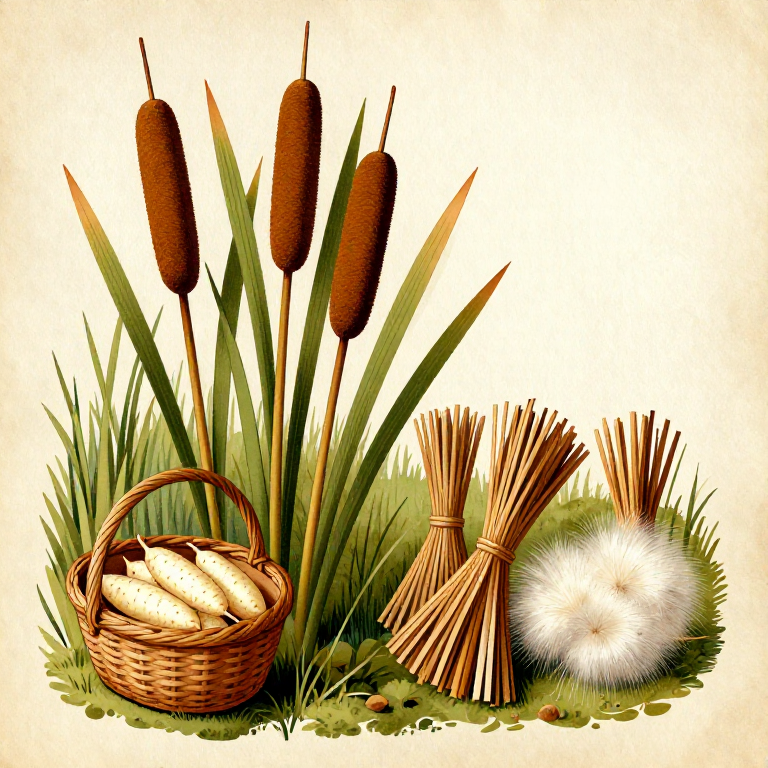
Collecting and Processing Cattail — The Supermarket of the Swampsurvival
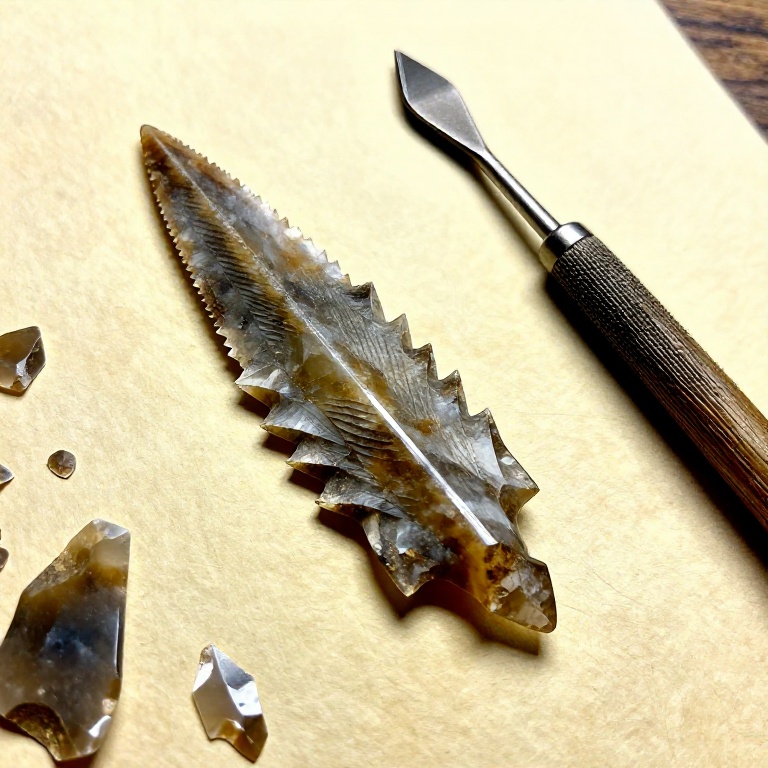
Knapping a Stone Arrowhead — Pressure-Flaked Projectile Pointsurvival

Making a Leather Sling — The Shepherd's Projectile Weaponsurvival
Carving a Toggling Bone Harpoon — Detachable-Head Hunting Pointsurvival

Digging a Pitfall Trap for Large Game — Concealed Pit Huntingsurvival
Making a Prehistoric Throwing Stick — The Simplest Hunting Weaponsurvival
CC0 公共领域
此蓝图以 CC0 协议发布。你可以自由复制、修改、分发和使用此作品,无需征得许可。
通过购买蓝图中的产品支持创客,他们将获得 创客佣金 (由供应商设定),或创建此蓝图的新版本并将其作为连接包含在你自己的蓝图中以分享收入。