艺术
美容与健康
工艺
文化与历史
娱乐
环境
食品与饮料
绿色未来
逆向工程
科学
体育
技术
可穿戴设备
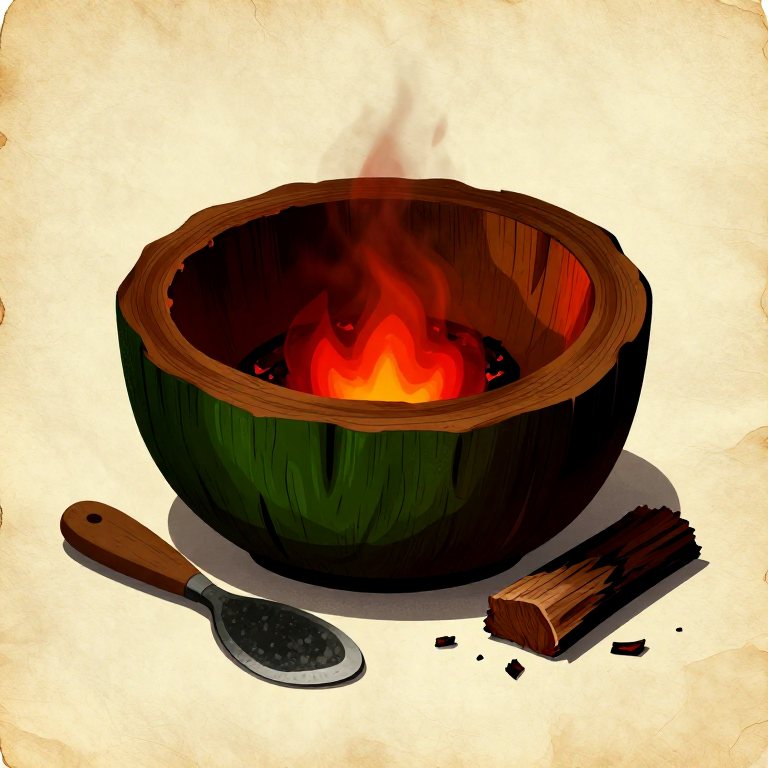
Carving a Wooden Bowl by Ember Burning — Hollowing Without Metal Tools
Before metal chisels and gouges existed, woodworkers across the world used controlled burning to hollow vessels from solid wood. The technique is deceptively simple: place hot embers from a fire on the surface of a green wood log or burl, let them char a shallow depression, scrape out the charred wood with a stone scraper or shell, then repeat. This process — documented in every inhabited continent — produces bowls, troughs, mortars, canoe hulls, and storage containers without any metal tools. The method works because charcoal (the product of burning) is soft and easily scraped away, while the surrounding green wood resists ignition. By controlling ember placement and blowing air with a reed or tube to concentrate heat, a skilled craftsperson can hollow complex curved forms with surprising precision. Archaeological examples from Mesolithic Europe show ember-burned bowls with wall thicknesses as uniform as 8 mm.
中级
3-5 hours
说明
1
1
Select a Green Hardwood Log Section
Select a Green Hardwood Log Section
Choose a freshly cut section of hardwood — birch, alder, maple, poplar, or willow work well. The piece should be 20 to 30 cm in diameter and 15 to 20 cm tall (or a half-log split lengthwise for a shallow bowl). The wood must be green (freshly cut, not dried) because green wood resists uncontrolled burning and chars predictably. Avoid resinous softwoods like pine — they burn too fast and unevenly.
此步骤所需材料:
 Hardwood Sapling1 个
2
2
Flatten the Top Surface
Flatten the Top Surface
Using a stone adze or scraper, flatten the top of the log section where the bowl cavity will be. The surface does not need to be perfectly level but should be flat enough that embers will not roll off. Remove bark from the top surface — bark insulates the wood and slows charring. Leave the bark on the sides and bottom for insulation during burning.
所需工具:
 Hammerstone
3
3
Build a Small Fire and Prepare Embers
Build a Small Fire and Prepare Embers
Build a small hardwood fire nearby and let it burn down to a bed of glowing coals. You need embers — not flames. Hardwood embers (oak, ash, birch) glow hotter and longer than softwood. Prepare a pair of green wood tongs or two flat sticks to pick up and place individual embers. You also need a hollow reed or tube 30 to 40 cm long to blow directed air onto the embers.
4
4
Place the First Embers in the Centre
Place the First Embers in the Centre
Using the tongs, place 3 to 5 glowing embers in the centre of the flattened surface. Cluster them tightly in an area about 5 cm in diameter. Blow gently through the reed tube to concentrate heat on the wood surface directly beneath the embers. The wood will begin to char — a thin black layer forms, then starts to glow red at the contact points.
5
5
Let the Embers Burn a Shallow Depression
Let the Embers Burn a Shallow Depression
Continue blowing gently to keep the embers glowing. After 10 to 15 minutes, the embers will have burned a shallow depression 2 to 3 cm deep into the wood. Do not blow too hard — forced air creates uncontrolled flame that burns the rim. The goal is a slow, directed burn that penetrates downward into the heartwood while the sides remain intact.
6
6
Scrape Out the Charred Wood
Scrape Out the Charred Wood
Remove the spent embers and brush away ash. Using a stone scraper or large shell, scrape out all the charred (blackened) wood from the depression. Charcoal is soft and crumbles easily — it comes out in powdery fragments. Scrape until you reach un-charred wood (a lighter colour). This cleaned surface is ready for the next round of burning.
7
7
Apply Wet Clay to Protect the Rim
Apply Wet Clay to Protect the Rim
Mix clay or mud with water to form a thick paste and apply it around the rim of the bowl — the top edge where you want burning to stop. The wet clay insulates the rim from heat, preventing the embers from burning outward and maintaining a clean, defined bowl edge. Reapply clay whenever it dries out during subsequent burning cycles.
8
8
Repeat the Burn-and-Scrape Cycle
Repeat the Burn-and-Scrape Cycle
Place fresh embers in the cleaned depression and repeat the burn-scrape cycle. Each round deepens the cavity by 1 to 3 cm. Direct embers toward areas that need more depth — use the reed tube to blow heat toward thicker spots. A typical bowl requires 8 to 12 cycles over 2 to 4 hours. Patience produces better results than aggressive burning.
9
9
Control the Wall Thickness
Control the Wall Thickness
As the cavity deepens, periodically check wall thickness by pressing a thin stick or bone awl against the outside while feeling inside with your fingers. Aim for walls 10 to 15 mm thick — thin enough to be lightweight but thick enough to be strong. When an area reaches target thickness, protect it with wet clay on the inside to prevent further burning.
10
10
Shape the Interior Profile
Shape the Interior Profile
In the final burning cycles, place embers strategically to shape the interior curve. For a round-bottomed bowl, concentrate embers in the centre. For a flat-bottomed bowl, spread embers evenly across the base. Use smaller, individual embers near the walls for fine control. The interior should curve smoothly without abrupt steps between burn zones.
11
11
Final Scraping and Smoothing of the Interior
Final Scraping and Smoothing of the Interior
After the last burning cycle, scrape the entire interior surface to remove all remaining charcoal and carbon. Then smooth the surface using fine sandstone or a bundle of horsetail plant (Equisetum, a natural abrasive). The interior should be uniformly smooth with no remaining char — residual charcoal flakes off into food and water.
所需工具:
 Sandstone (Abrasive)
12
12
Shape the Exterior
Shape the Exterior
Using a stone adze or scraper, shape the outside of the bowl. Remove excess wood to reduce weight and create a pleasing form. Round the bottom if the bowl will sit in sand or on a ring, or flatten it for stability on a table surface. Smooth the exterior with a sandstone slab to remove tool marks.
所需工具:
Sandstone (Abrasive)13
13
Seal the Bowl with Oil or Fat
Seal the Bowl with Oil or Fat
Rub the entire bowl — inside and out — with animal fat, nut oil, or beeswax. This seals the wood grain, prevents cracking as the green wood dries, and makes the bowl somewhat waterproof. Apply several coats over the first week as the wood absorbs oil. The bowl will darken to a rich brown as the oil cures. Never use the bowl over direct heat — it is a serving and storage vessel.
材料
1- 占位符
已连接蓝图材料
相关蓝图
这些蓝图共享知识——技术、材料或原理
Related blueprints
Other builds that share materials, tools, or techniques with this one.
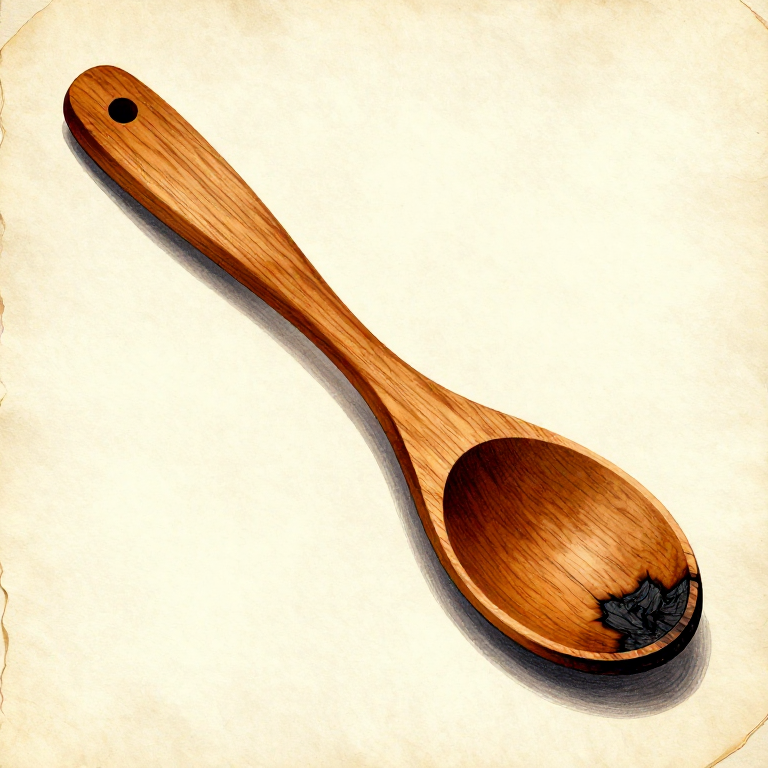
Carving a Wooden Spoon with Stone Tools and Ember Hollowing — The Universal Kitchen Toolwoodworking
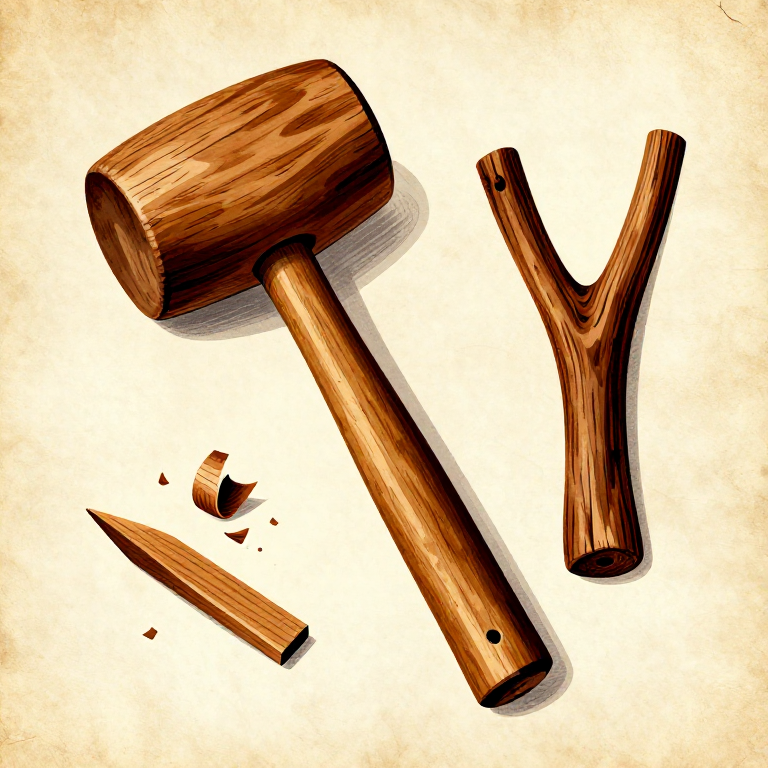
Making a Wooden Mallet — The Percussive Tool That Does Not Damagewoodworking
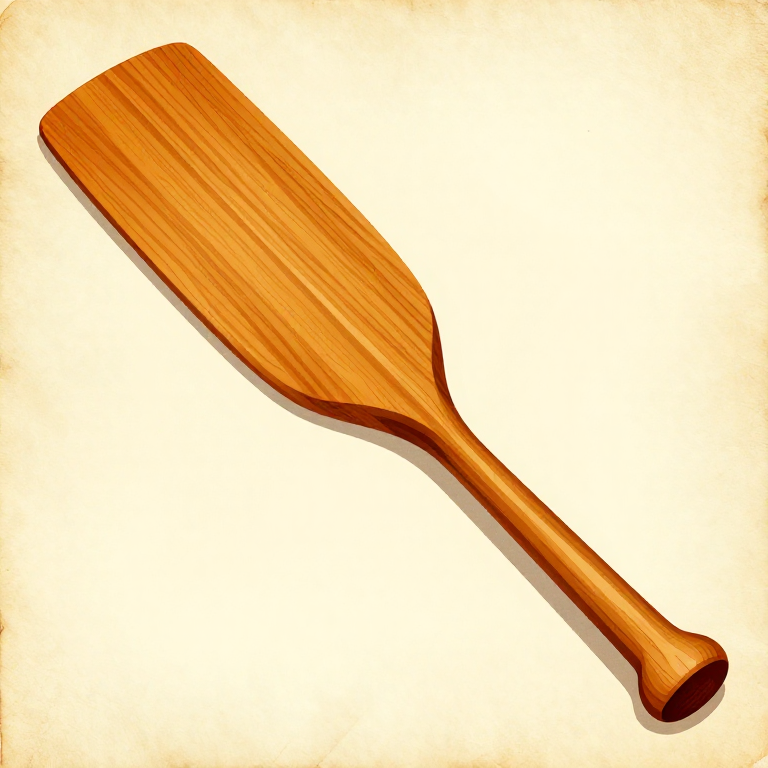
Carving a Wooden Paddle from a Single Piece of Hardwood — Prehistoric Watercraft Propulsionwoodworking

Making a Bull-Roarer — Whirling Sound Instrumentwoodworking
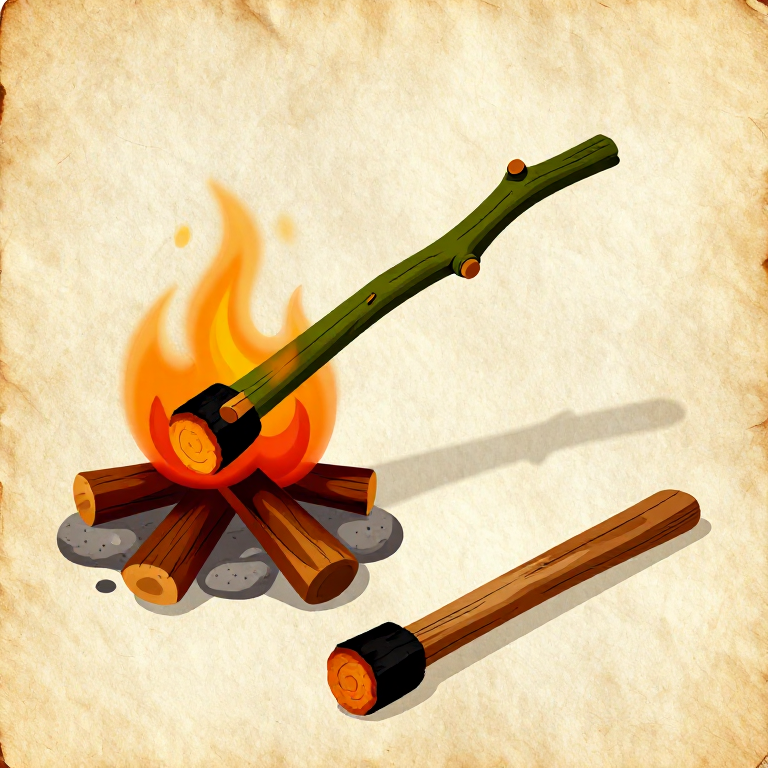
Making Wooden Fire Tongs — Split-Stick Spring Tongs for Handling Hot Stones and Coalswoodworking
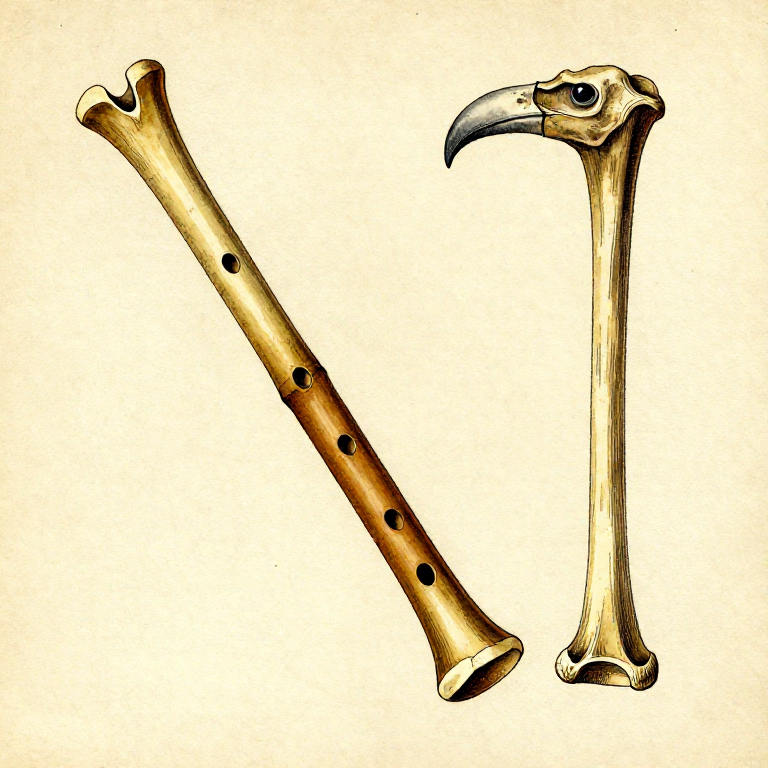
Carving a Bone Flute — Prehistoric Musical Instrumentwoodworking
CC0 公共领域
此蓝图以 CC0 协议发布。你可以自由复制、修改、分发和使用此作品,无需征得许可。
通过购买蓝图中的产品支持创客,他们将获得 创客佣金 (由供应商设定),或创建此蓝图的新版本并将其作为连接包含在你自己的蓝图中以分享收入。