艺术
美容与健康
工艺
文化与历史
娱乐
环境
食品与饮料
逆向工程
科学
体育
技术
可穿戴设备
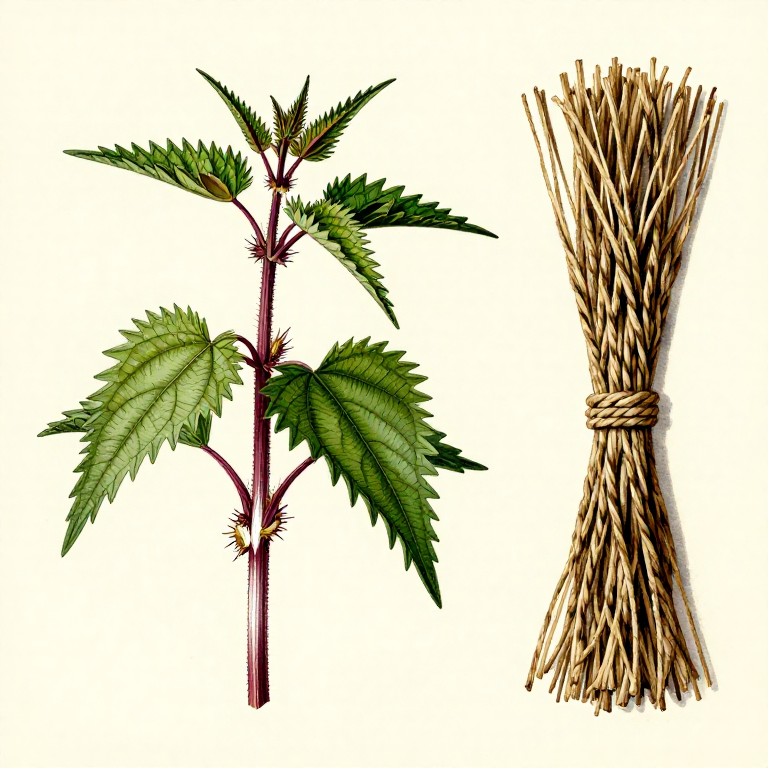
Making Rope from Stinging Nettle Fibre — Plant Bast Extraction and Reverse Twist
Stinging nettle (Urtica dioica) produces some of the strongest and finest natural bast fibres available to prehistoric humans, rivalling flax and hemp in tensile strength while being far more widely distributed across temperate Europe, Asia, and North America. Archaeological evidence of nettle fibre use dates to at least 3,000 years ago in Europe (Bronze Age textile fragments from Denmark and Austria), with indirect evidence suggesting much earlier use. The fibres come from the bast layer — the long, tough strands running between the outer bark and the inner pith of the stem. Extracting these fibres requires retting (controlled rotting of the soft plant tissue), stripping, drying, and then splitting the bast into fine threads. The individual fibres are 2 to 5 cm long and must be overlapped and twisted together to form continuous cordage. The reverse-twist (also called counter-twist or two-ply twist) method produces rope where two bundles of fibre are twisted individually in one direction, then wound around each other in the opposite direction — the opposing twist forces lock together and prevent the rope from unravelling. A well-made nettle fibre rope 6 mm in diameter can support a load of 50 to 80 kg.
初学者
3-5 hours
说明
1
1
Harvest Mature Nettle Stalks
Harvest Mature Nettle Stalks
Gather stinging nettle stalks in late summer or early autumn when the plants have reached full height (100 to 200 cm) and have begun to flower or set seed. At this stage, the bast fibres are at maximum length and strength. The stalks should be woody and stiff — green, immature stalks contain shorter, weaker fibres. Wear thick leather or hide hand coverings to protect against the stinging hairs (trichomes) on the leaves and stems. Cut the stalks at the base with a flint knife. You need approximately 30 to 50 stalks to produce enough fibre for 3 to 4 metres of 6 mm rope. Strip the leaves immediately — they are not needed and their stinging hairs make handling difficult.
此步骤所需材料:
 Dried Nettle Stalks40 个
所需工具:
 Flint Knife
2
2
Ret the Stalks to Loosen the Bast Fibre
Ret the Stalks to Loosen the Bast Fibre
Retting is the controlled decomposition of the soft pith and outer bark, which releases the bast fibres from the surrounding plant tissue. Submerge the harvested stalks in a still pool of water, a slow stream, or a shallow pit filled with water. Weight them down with stones to keep them fully submerged. Water retting takes 5 to 14 days depending on water temperature — warmer water speeds the process. Check the stalks daily: retting is complete when the outer bark peels away easily and the fibres beneath separate with gentle pulling. Over-retting weakens the fibres — if the bast starts to disintegrate into mush, the stalks have been left too long. An alternative is dew retting: spread the stalks on grass for 2 to 4 weeks, turning them every few days so morning dew and rain break down the bark evenly.
3
3
Break and Strip the Retted Stalks
Break and Strip the Retted Stalks
Once retting is complete, dry the stalks thoroughly in sun and wind for 1 to 2 days. The dried stalks become brittle and crack easily. Crush each stalk gently by rolling it under your palm on a flat stone surface or by bending it back and forth along its length until the woody core (shive) breaks into short segments. The bast fibres remain intact as long continuous strips attached to the shive fragments. Peel the fibre strips away from the broken core, pulling gently to avoid snapping the fibres. Work from one end to the other. Each stalk yields 2 to 4 long fibre strips.
4
4
Scrape and Clean the Fibres
Scrape and Clean the Fibres
The raw bast strips still contain fragments of shive (woody core) and bark residue. Scrape each strip by pulling it under a flint scraper held at a shallow angle against a smooth log or stone surface. Apply moderate pressure — enough to dislodge the woody bits without cutting the fibres. After scraping, the fibres should be clean, pale tan or grey-green, and feel silky to the touch. Discard any sections that are discoloured, mushy, or break easily — these were over-retted and will create weak points in the finished rope.
所需工具:
Flint Knife5
5
Separate Fibres into Fine Strands
Separate Fibres into Fine Strands
Split each cleaned bast strip lengthwise into finer strands approximately 1 to 2 mm wide. The finer you split them, the more flexible and even the finished rope will be. Use your fingernails or a bone needle to start the split at one end, then pull the two halves apart slowly, guiding the split to keep both halves roughly equal. For rope making, strands of 1 to 2 mm width are ideal — thicker strands produce stiff, lumpy cordage that does not grip knots well.
6
6
Moisten the Fibres Before Twisting
Moisten the Fibres Before Twisting
Lightly dampen the prepared fibre strands by dipping them in water and shaking off the excess. The fibres should be damp but not dripping — wet fibres are slippery and hard to grip, while dry fibres are stiff and break during twisting. Damp fibres twist smoothly, grip each other during the reverse-twist process, and produce tighter, stronger cordage. Keep a bark container of water nearby to re-moisten fibres as you work.
7
7
Begin the Reverse-Twist with Two Bundles
Begin the Reverse-Twist with Two Bundles
Take a small bundle of fibre strands (3 to 5 strands for 6 mm rope) and fold them at approximately one-third of their length, creating a loop at the fold point with two unequal legs. Pinch the loop between the thumb and forefinger of your non-dominant hand — this is the starting point of the cordage. With your dominant hand, twist the top (shorter) bundle away from you (clockwise if you are right-handed), rolling it between thumb and forefinger with a firm, consistent motion. Then fold this twisted bundle down toward you, crossing it over the lower bundle. Now the lower bundle is on top. Twist this bundle away from you in the same manner, then fold it down. Repeat this sequence: twist away, fold down, twist away, fold down. The individual bundles twist clockwise (Z-twist), while the two bundles wrap around each other counter-clockwise (S-lay). These opposing forces lock the rope together.
8
8
Splice in New Fibres to Extend the Length
Splice in New Fibres to Extend the Length
Each fibre strand is only 30 to 60 cm long, so you must continuously add new fibres to maintain the cord length. When a bundle becomes thin (1 to 2 strands remaining), lay 3 to 4 new strands alongside the thinning bundle, overlapping by at least 5 cm, and continue twisting. The twist action locks the new fibres into the bundle without any knot or adhesive. Stagger the splices — never add new fibres to both bundles at the same point, as this creates a weak spot where both joins coincide. Always splice into one bundle at a time, with at least 3 to 4 cm of twisting between splices in opposite bundles.
9
9
Maintain Consistent Tension and Twist Rate
Maintain Consistent Tension and Twist Rate
The strength of reverse-twisted rope depends entirely on consistent twist throughout its length. Each twist should contain approximately the same number of turns per centimetre (4 to 6 turns per cm for tight cordage). If the twist is too loose, the bundles separate under load. If too tight, the cord kinks and knots spontaneously. Maintain moderate tension on the completed section behind your pinch point — let the finished rope hang with slight weight or anchor it to a fixed object. Check the twist by releasing the pinch briefly: good cordage holds its shape without unravelling; bad cordage immediately begins to unwind.
10
10
Roll the Completed Cordage on Your Thigh
Roll the Completed Cordage on Your Thigh
For faster production of two-ply cordage, use the thigh-rolling method. Lay both fibre bundles side by side on your bare thigh. Place your open palm over both bundles and roll them forward (away from you) with a single firm stroke. This simultaneously twists both bundles individually. Then, with a backward rolling motion, the bundles wrap around each other. This technique is much faster than hand-twisting and produces very even cordage. It works best with damp fibres on bare skin — the friction of skin on fibre drives the twist. Practised cordage makers can produce 1 metre of finished rope per 5 to 10 minutes using this technique.
11
11
Dry and Set the Finished Rope
Dry and Set the Finished Rope
Once you have produced the desired length (typically 3 to 5 metres per session), stretch the rope between two fixed points under light tension and allow it to dry completely. As the nettle fibres dry, they shrink slightly and the twist tightens, producing a firmer, stronger rope than when it was wet. Drying takes 4 to 8 hours in warm, dry air. Do not coil the rope while still damp — it will develop permanent kinks and the twist may partially unwind where the coils press against each other.
12
12
Test the Rope Strength
Test the Rope Strength
Test the finished rope by tying one end to a fixed object and applying progressively increasing load to the other. A 6 mm diameter nettle fibre rope made with the reverse-twist method should hold 50 to 80 kg before failing. Inspect the rope under load: if any section begins to unwind or thin out, that splice was poorly made and the rope will fail there. Trim off and re-make any weak sections. Well-made nettle cordage will outlast rawhide in wet conditions (rawhide stretches and weakens when wet, while nettle fibre actually becomes slightly stronger when damp) and is resistant to rot if dried between uses. Store finished rope in loose coils in a dry location.
材料
1- 占位符
已连接蓝图材料
相关蓝图
这些蓝图共享知识——技术、材料或原理
Related blueprints
Other builds that share materials, tools, or techniques with this one.
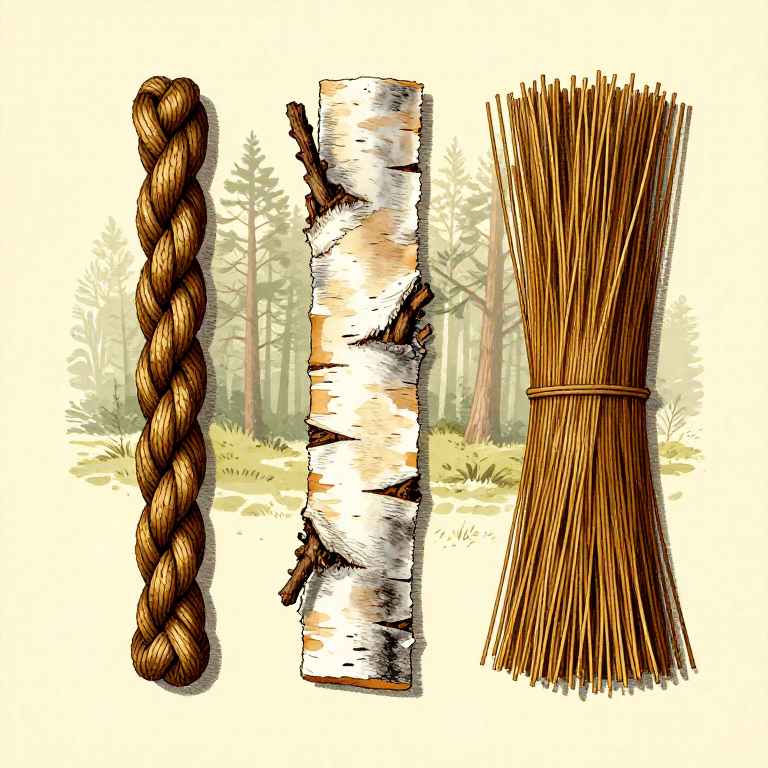
Making Rope from Inner Bark — Twisted Bast Fibre Cordagesurvival
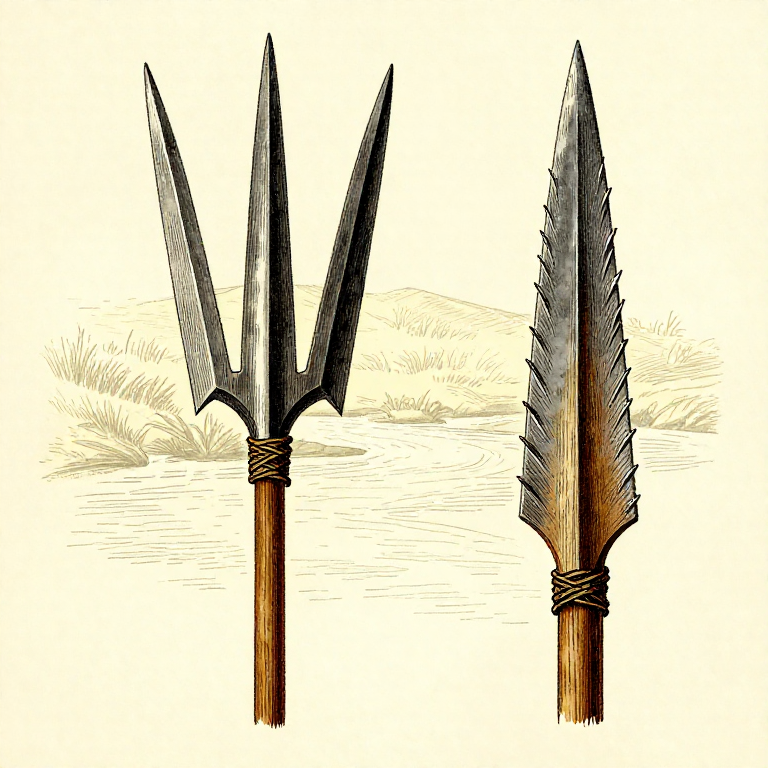
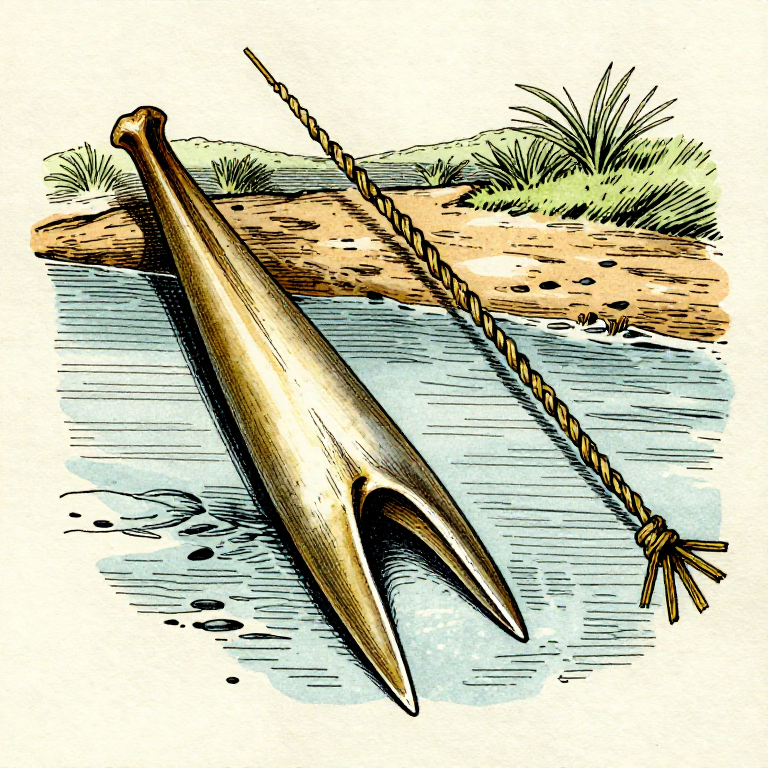
Making a Fishing Spear (Leister) — Multi-Pronged Fish Gigsurvival

Making a Leather Sling — The Shepherd's Projectile Weaponsurvival
Making a Bone Fish Gorge — The Oldest Fishing Devicesurvival
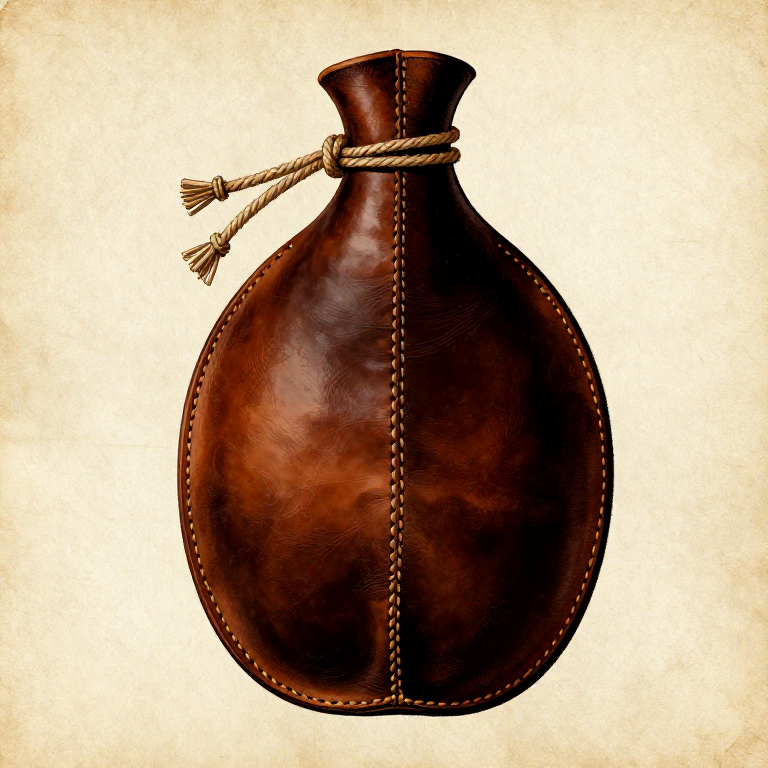
Making a Waterskin from Animal Hide — Portable Water Containersurvival
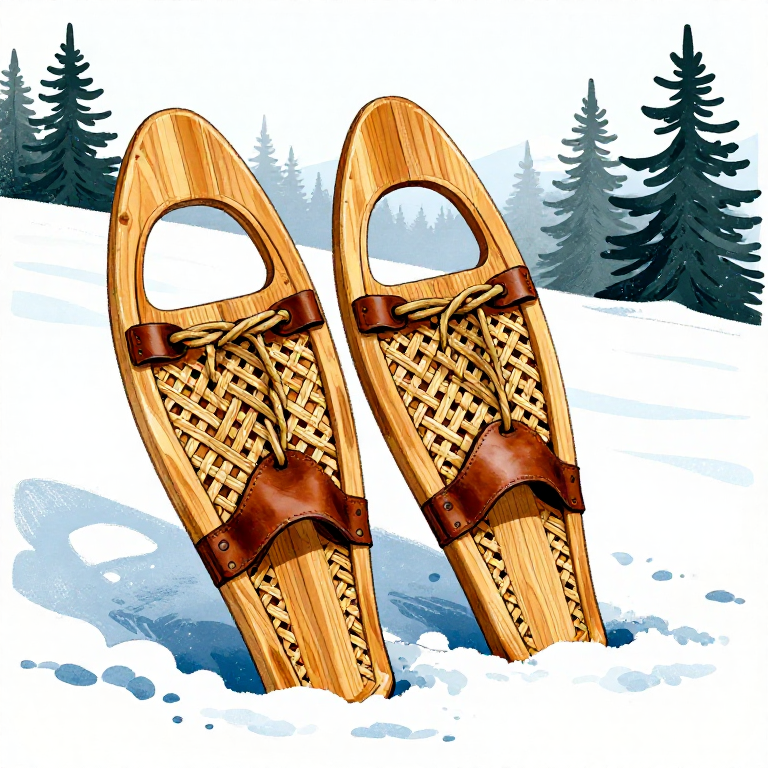
Making Snowshoes from Bent Wood and Rawhide Lacing — Winter Mobilitysurvival
CC0 公共领域
此蓝图以 CC0 协议发布。你可以自由复制、修改、分发和使用此作品,无需征得许可。
通过购买蓝图中的产品支持创客,他们将获得 创客佣金 (由供应商设定),或创建此蓝图的新版本并将其作为连接包含在你自己的蓝图中以分享收入。