艺术
美容与健康
工艺
文化与历史
娱乐
环境
食品与饮料
逆向工程
科学
体育
技术
可穿戴设备
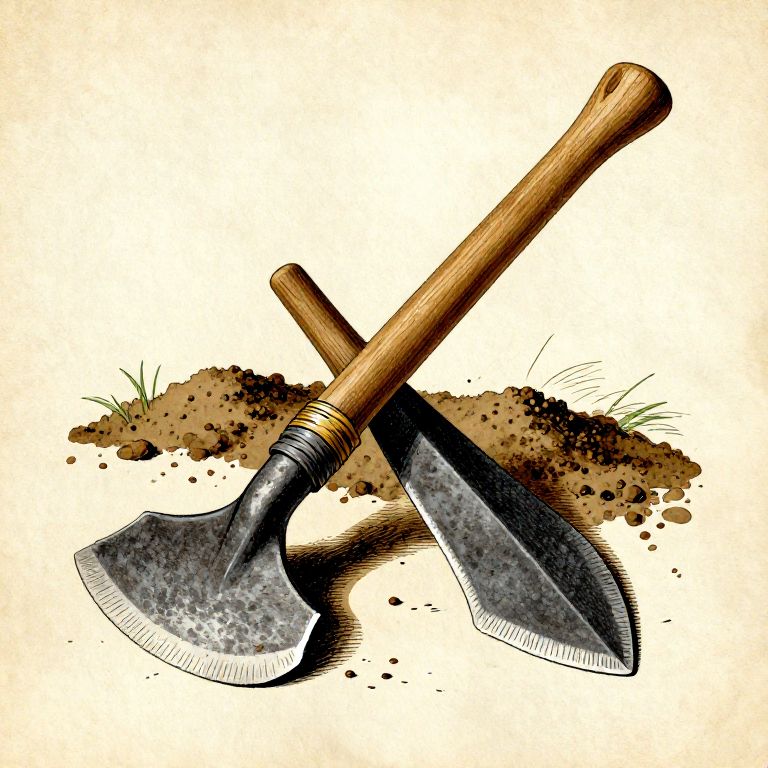


Making a Stone Hoe — The First Agricultural Tool
The stone hoe is the tool that made agriculture possible. While the digging stick could poke holes for individual seeds, the hoe could break, turn, and cultivate soil across an entire garden bed. Stone hoes appear in the archaeological record at the dawn of agriculture around 10,000-12,000 years ago, coinciding with the Neolithic Revolution in the Fertile Crescent. The design is functionally similar to a stone adze — a flat blade mounted perpendicular to a handle — but wider and thinner, optimized for cutting through soil and roots rather than shaping wood. Materials range from chipped flint to ground slate to large shell blades. The hoe remained the primary agricultural tool until the development of the animal-drawn plow.
中级
3-4 hours
说明
1
1
Select a Flat, Wide Stone
Select a Flat, Wide Stone
Choose a flat, wide stone of slate, schist, or fine-grained basalt, approximately 15 to 20 cm long and 8 to 12 cm wide. The stone should be naturally thin (2 to 3 cm thick) if possible — this reduces the amount of shaping required. Avoid stones with visible fracture planes or inclusions that could cause the blade to break during use.
此步骤所需材料:
 燧石结核1 个
2
2
Rough-Shape by Pecking with a Hammerstone
Rough-Shape by Pecking with a Hammerstone
Peck the stone into a broad, flat blade shape using a hammerstone. The blade should be wider at the cutting end and slightly narrower at the hafting end. Remove any thick ridges or uneven sections by striking at an angle to knock off small chips. The goal is a flat, roughly rectangular blade with even thickness.
所需工具:
 石锤(打制石器)
3
3
Grind Both Faces Flat
Grind Both Faces Flat
Grind both faces of the blade flat on a wet sandstone slab using long, even strokes. The faces do not need to be polished but must be uniformly flat — high spots create stress points that can cause the blade to snap under the impact of hoeing. Check flatness by laying the blade on a flat surface and looking for gaps.
所需工具:
 砂岩(磨料)
4
4
Grind the Cutting Edge
Grind the Cutting Edge
Grind the cutting edge sharp on wet sandstone. Bevel only one side to create a chisel-like edge — the flat face rides along the soil surface while the bevel cuts into and lifts the soil. The single-bevel design prevents the hoe from diving too deep into the ground, giving the user better control over cutting depth.
所需工具:
砂岩(磨料)5
5
Taper the Blade Thickness
Taper the Blade Thickness
The blade should taper from 1 to 1.5 cm thick at the hafting end (top) to a thin edge at the cutting end (bottom). This taper gives the blade strength where it meets the handle while keeping the cutting edge thin enough to slice through soil and roots. Grind the taper gradually on wet sandstone.
所需工具:
砂岩(磨料)6
6
Smooth the Sides
Smooth the Sides
Grind the sides of the blade smooth to reduce drag when the hoe passes through soil. Rough sides catch on roots and clods, requiring more effort and putting more stress on the hafting. Smooth sides allow the blade to slice cleanly through the ground with less resistance.
所需工具:
砂岩(磨料)7
7
Select a Hardwood Handle
Select a Hardwood Handle
Select a hardwood handle 80 to 120 cm long, slightly curved at the top. A natural elbow branch (where a side branch meets the trunk at 60 to 70 degrees) is ideal — the grain follows the curve, making it far stronger than a straight handle with a forced bend. Oak, ash, hickory, or similar dense hardwoods work best.
此步骤所需材料:
 硬木幼树杆1 个
8
8
Create a Slot in the Handle End
Create a Slot in the Handle End
Split or burn a slot in the handle end to seat the stone blade. If splitting, use a flint wedge and tap it carefully into the end grain. If burning, use a hot coal held against the wood to char a groove, then scrape out the charred wood. The slot should be slightly narrower than the blade so the blade fits tightly by friction.
9
9
Mount the Blade Perpendicular to the Handle
Mount the Blade Perpendicular to the Handle
Fit the stone blade into the slot with the cutting edge facing backward — toward the user when the handle is held upright. The blade must be perpendicular to the handle (like an adze, not like an axe). Press the blade firmly into the slot. It should seat securely with minimal wobble before binding.
10
10
Bind the Blade with Soaked Rawhide
Bind the Blade with Soaked Rawhide
Bind the blade tightly with soaked rawhide strips, wrapping in a figure-eight pattern around the blade and the handle. Soaked rawhide is pliable and stretches to conform to the shape. As it dries, it shrinks and contracts, creating an extremely tight binding. Wrap at least 6 to 8 passes and pull each wrap as tight as possible.
此步骤所需材料:
 生皮1 个
生皮1 个11
11
Apply Pine Pitch Over the Binding
Apply Pine Pitch Over the Binding
Apply warm pine pitch over the entire rawhide binding to waterproof it. Pine pitch prevents moisture from reaching the rawhide — wet rawhide softens and stretches, loosening the blade. Heat the pitch until liquid, then brush or drip it over the binding, working it into all the gaps and wraps. Let it cool and harden completely.
12
12
Test by Hoeing Soft Ground
Test by Hoeing Soft Ground
Test the hoe by chopping into soft, loose soil. Swing the hoe in short arcs, letting the blade bite into the ground and pull soil toward you. The blade should cut through soil cleanly without loosening from the handle. If the blade wobbles or shifts, remove it, re-seat with additional packing material in the slot, and rebind. Check the binding after every test session until it has fully dried and set.
已连接蓝图材料

相关蓝图
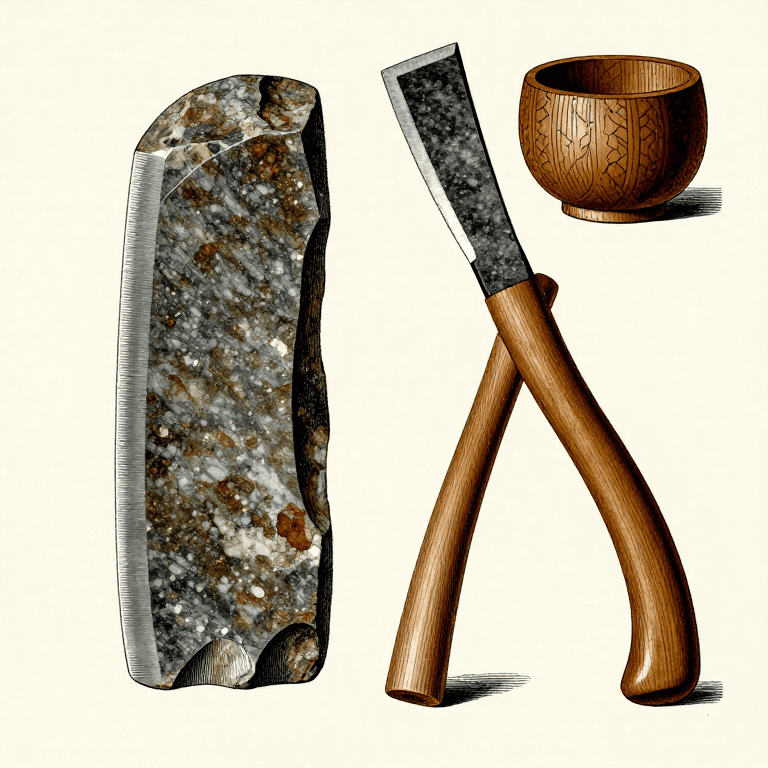
这些蓝图共享知识——技术、材料或原理
CC0 公共领域
此蓝图以 CC0 协议发布。你可以自由复制、修改、分发和使用此作品,无需征得许可。
通过购买蓝图中的产品支持创客,他们将获得 创客佣金 (由供应商设定),或创建此蓝图的新版本并将其作为连接包含在你自己的蓝图中以分享收入。