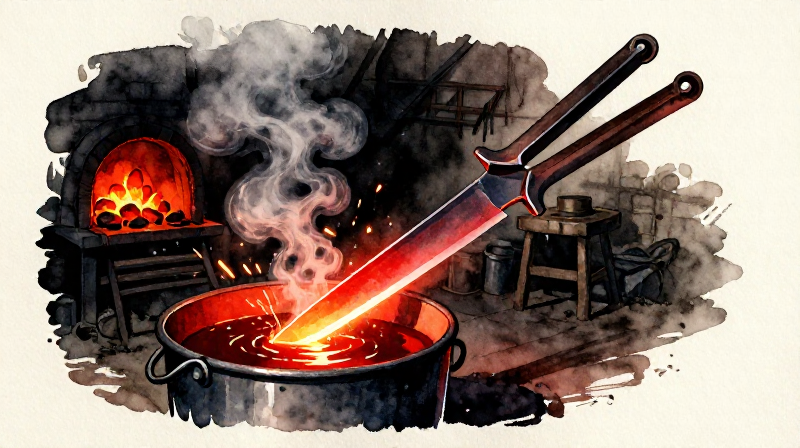


Quench Hardening and Tempering a Steel Blade — Heat Treatment Fundamentals
Raw steel from the forge is tough but relatively soft — it won't hold a cutting edge for long. Heat treatment transforms the same piece of steel into a blade that can shave hair, hold an edge through bone, or spring back from bending. The physics is remarkable: by controlling how fast steel cools, a blacksmith rearranges the crystal structure of iron atoms at the molecular level without adding anything.
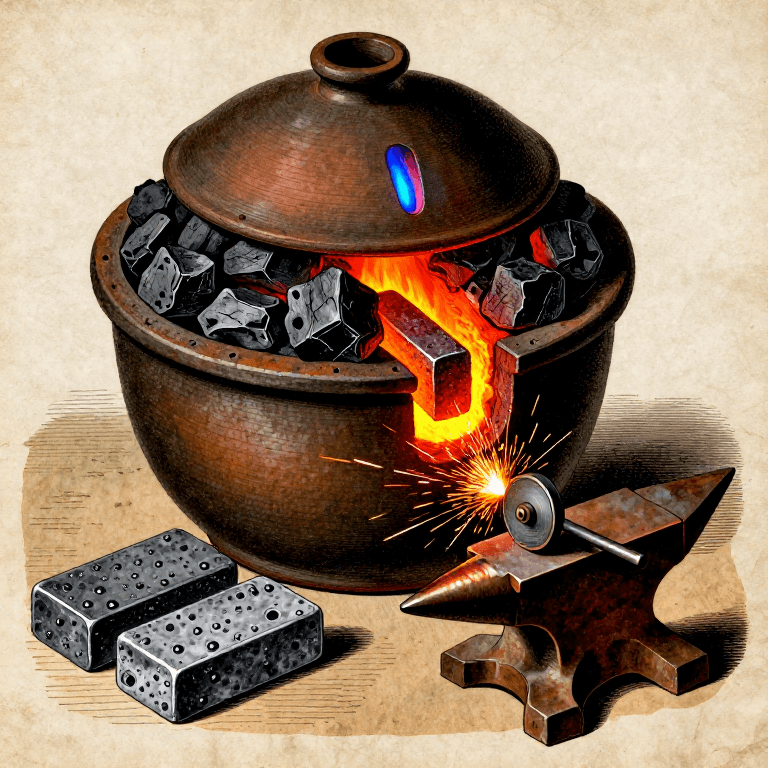
The process has two stages. First, quench hardening: heat the steel to critical temperature (around 800°C, a bright cherry-red glow) and plunge it into oil or water. The rapid cooling traps carbon atoms inside the iron crystal lattice, creating martensite — a structure so hard it can scratch glass, but so brittle it shatters like ceramic. Second, tempering: reheat the hardened steel to a lower temperature (200-350°C) to relax the martensite just enough to restore toughness while keeping most of the hardness.
Medieval bladesmiths judged temperature by the oxide colors that form on polished steel as it heats — pale straw at 220°C for razors, bronze at 260°C for knives, blue at 300°C for springs. This color-based system is still used by hand-forging blacksmiths today and requires no thermometer.
说明
Select a suitable steel blank
Select a suitable steel blank
Begin with a piece of medium or high-carbon steel — bloom iron that has been carburized, or any steel with roughly 0.4-0.8% carbon content. Low-carbon wrought iron (below 0.3% carbon) will not harden significantly by quenching. Test by striking a spark against a grinding stone: high-carbon steel throws long, branching sparks; low-carbon iron throws short, dull orange sparks with no branching.
此步骤所需材料:
 块炼铁(海绵铁)1 个
所需工具:
 砂岩(磨料)
Forge the blank into blade shape
Forge the blank into blade shape
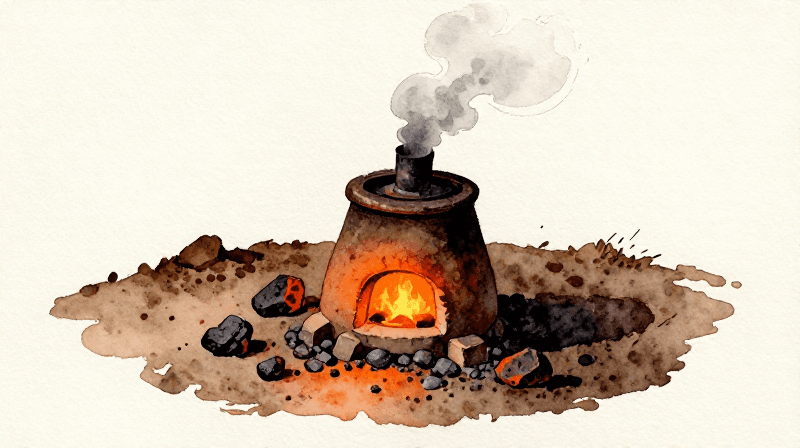
Heat the steel in a charcoal forge to bright orange-yellow (approximately 900-1000°C). Hammer it on a flat stone or anvil to draw it out into a blade profile — tapered tang at one end, blade body widening toward the tip. Work both sides evenly. The blade should be roughly 3-5 mm thick at the spine, tapering to about 1 mm at the edge. Do not attempt to create a sharp edge yet — leave the edge about 1 mm thick for now.
此步骤所需材料:
 块状木炭2 公斤
所需工具:
 锻打锤
锻打锤 锻造钳
锻造钳 平整石板
平整石板 风箱
风箱Normalize the steel to relieve stress
Normalize the steel to relieve stress
After forging, the steel has internal stresses from uneven heating and hammering. Heat the blade evenly to cherry red (about 800°C) and let it cool in still air on a firebrick or dry sand. Do not quench — air cooling is essential. This normalizing step refines the grain structure and relieves forging stress, producing a uniform starting point for hardening. Repeat 2-3 times for best results.
此步骤所需材料:
块状木炭1 公斤所需工具:
锻造钳风箱File and smooth the blade profile
File and smooth the blade profile
Clamp the normalized blade and use a metal file to refine the profile. Remove hammer marks, straighten the edge line, and clean up the tang. The blade must be at its final shape before hardening — filing hardened steel is nearly impossible without modern tools. Polish one flat with sandstone to a bright finish. This polished area will serve as your temperature indicator during tempering.
所需工具:
 金属锉砂岩(磨料)
Prepare the quench medium
Prepare the quench medium
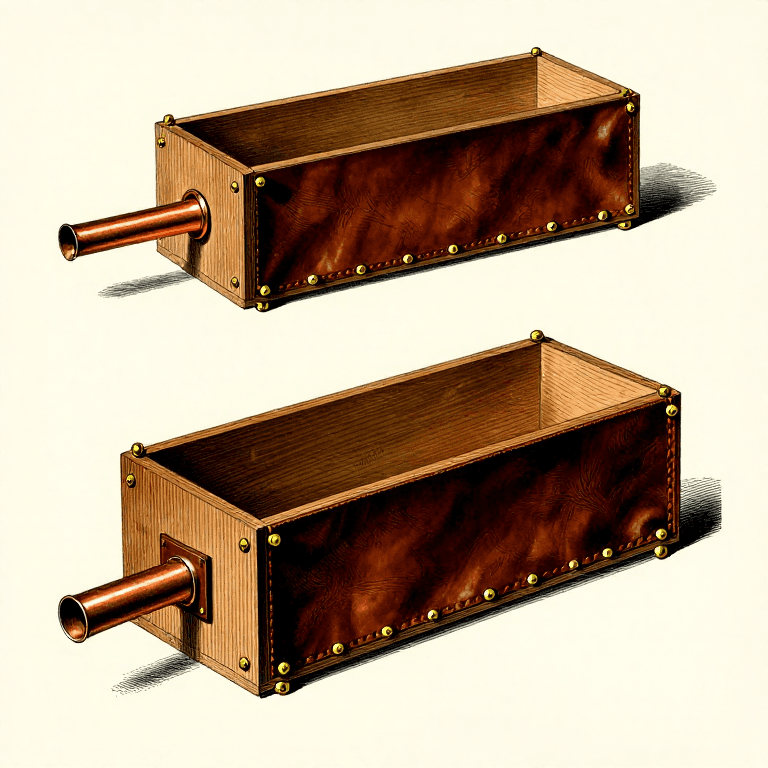
Fill a quench bucket with oil to a depth that will fully submerge the blade. Linseed oil, tallow, or any vegetable oil works. Oil quenches cool slower than water, which reduces the risk of cracking or warping — critical for thin blades. The oil should be at room temperature or slightly warm (30-40°C). Never use cold water for a thin blade — the thermal shock often causes fractures. Position the bucket within arm's reach of the forge.
此步骤所需材料:
 亚麻籽油2 升
所需工具:
 淬火水桶
淬火水桶Heat the blade to critical temperature
Heat the blade to critical temperature
Place the blade in the forge and heat evenly. Watch the color carefully. The target is a uniform bright cherry red — approximately 800°C for medium-carbon steel. In dim light, this appears as a strong glowing red with no dark spots. The critical test: hold a magnet near the blade (without touching). When steel reaches its critical temperature, it becomes non-magnetic. The moment the magnet stops attracting the steel, the austenite transformation is complete and the blade is ready to quench.
此步骤所需材料:
块状木炭1 公斤所需工具:
锻造钳风箱Quench the blade in oil
Quench the blade in oil
Working quickly, grip the blade by the tang with tongs and plunge it edge-first into the oil in one smooth motion. Push straight down — never angle or swirl, which causes uneven cooling and warping. The oil will ignite briefly at the surface — this is normal and harmless. Hold the blade fully submerged, moving it gently back and forth (not side to side) for 10-15 seconds until the sizzling stops. The rapid cooling traps carbon atoms in the iron lattice, forming martensite — the hardest structure steel can achieve.
所需工具:
锻造钳淬火水桶Test the hardness
Test the hardness
Remove the blade from the oil and wipe it clean. Test hardness immediately: run a metal file across the edge. If the quench was successful, the file will skate across the surface with a glassy feel and leave no mark — the steel is now harder than the file. If the file bites into the steel, the quench failed — the blade either was not hot enough, the steel has too little carbon, or the quench was too slow. A properly quenched blade is glass-hard but also glass-brittle — it will snap if dropped.
所需工具:
金属锉Clean and polish the blade for tempering
Clean and polish the blade for tempering
Scrub the quenched blade with sandstone or an abrasive stone to remove all scale, oil residue, and dark oxide. Polish at least one flat surface to a bright, mirror-like finish. This polished surface is critical — it serves as your temperature gauge during tempering. The oxide colors that form on clean steel as it heats are precise indicators of internal temperature, accurate to within 10°C. Without a polished surface, you cannot read temper colors.
所需工具:
砂岩(磨料)Begin tempering — heat slowly from the spine
Begin tempering — heat slowly from the spine
Place the blade spine-down on a flat piece of hot iron or in a bed of glowing charcoal embers (not direct flame). The goal is to heat the blade slowly and evenly from the spine toward the edge. Watch the polished surface. As the temperature rises, a thin oxide film forms that changes color in a predictable sequence: pale straw (220°C), dark straw (240°C), bronze (260°C), purple (280°C), blue (300°C), light blue (320°C), grey (340°C+).
此步骤所需材料:
块状木炭1 公斤所需工具:
锻造钳Read the temper colors and quench at the target
Read the temper colors and quench at the target
Watch the color band move from spine toward edge. For a knife or chisel: quench when the edge reaches dark straw to bronze (240-260°C) — this gives a blade hard enough to hold an edge but tough enough to resist chipping. For a spring or sword: let the color run to blue (300°C) — maximum flexibility. For a razor or engraving tool: quench at pale straw (220°C) — maximum hardness, minimum toughness. When the target color reaches the cutting edge, plunge the blade back into oil immediately.
所需工具:
锻造钳淬火水桶Test the tempered blade
Test the tempered blade
The blade should now be hard at the edge but resilient at the spine — the hallmark of a well-tempered tool. Test by clamping the tang and flexing the blade gently. A properly tempered knife flexes slightly and springs back. If it snaps, the temper was too hard (repeat from step 6 with a higher target color). If it bends and stays bent, the temper was too soft. Test the edge by shaving a curl from a piece of hardwood — a well-tempered edge bites cleanly without chipping.
Final sharpening on a whetstone
Final sharpening on a whetstone
Sharpen the tempered edge on a wet sandstone, maintaining a consistent angle of about 15-20 degrees per side. The hardened steel takes a much finer edge than unhardened iron — this is the entire purpose of heat treatment. Finish by stropping on smooth leather if available. The blade is now complete: hard enough to hold an edge through sustained use, tough enough to absorb impacts without shattering.
所需工具:
砂岩(磨料)已连接蓝图材料

相关蓝图
这些蓝图共享知识——技术、材料或原理

CC0 公共领域
此蓝图以 CC0 协议发布。你可以自由复制、修改、分发和使用此作品,无需征得许可。
通过购买蓝图中的产品支持创客,他们将获得 创客佣金 (由供应商设定),或创建此蓝图的新版本并将其作为连接包含在你自己的蓝图中以分享收入。