艺术
美容与健康
工艺
文化与历史
娱乐
环境
食品与饮料
逆向工程
科学
体育
技术
可穿戴设备
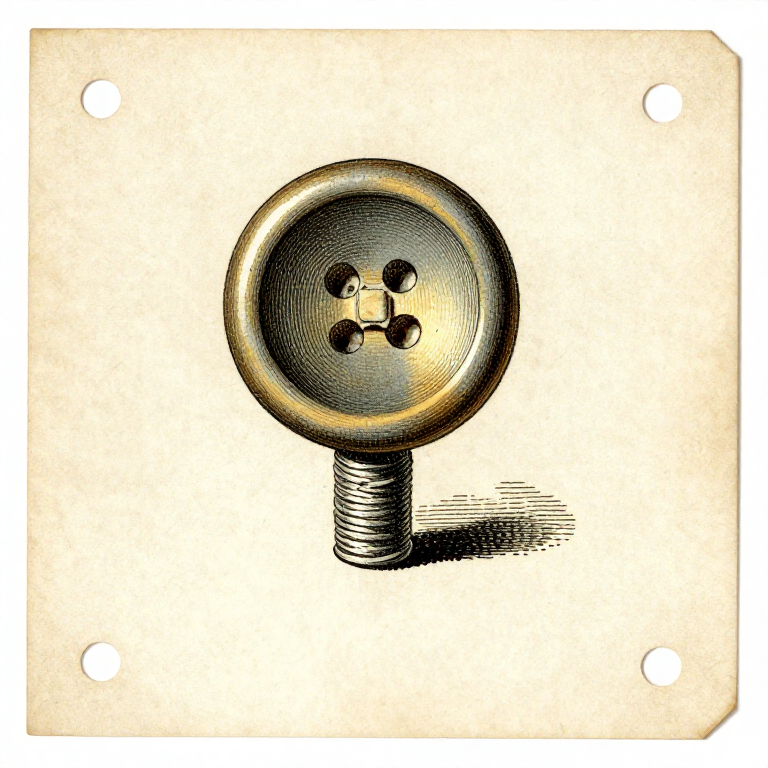


Sewing On a Button So It Stays On: The Shank Is the Whole Trick
A button sewn flat against the cloth has nowhere to sit when the buttonhole layer comes under it. It pulls, the fabric distorts, the threads take all the strain at one point, and it comes off again.
The fix is a SHANK: a short stem of thread between the button and the fabric, long enough for the other layer to fit underneath. It takes an extra fifteen seconds and it is the difference between a button that lasts years and one that falls off in a month.
This is the most-performed repair in the world and it is almost always done without the shank.
初学者
2 hours
说明
1
1
Position it from the buttonhole, not from the old marks
Position it from the buttonhole, not from the old marks
Do up the other buttons, lay the two edges as they should sit, and push a pin through the buttonhole to mark where the button's centre belongs.
The old thread marks are where the button WAS, and if it pulled off because it was in the wrong place, putting it back there repeats the problem. The buttonhole is the authority.
For a row of new buttons, mark them all from a story stick or a gauge rather than measuring each — same reasoning as the woodworking layout rungs, and the same failure if you chain-measure them: the last one ends up visibly out.
此步骤所需材料:
 亚麻布1 个
所需工具:
 缝纫珠针
 裁缝划粉
 缝份尺
2
2
Double the thread, anchor it, and lay a spacer
Double the thread, anchor it, and lay a spacer
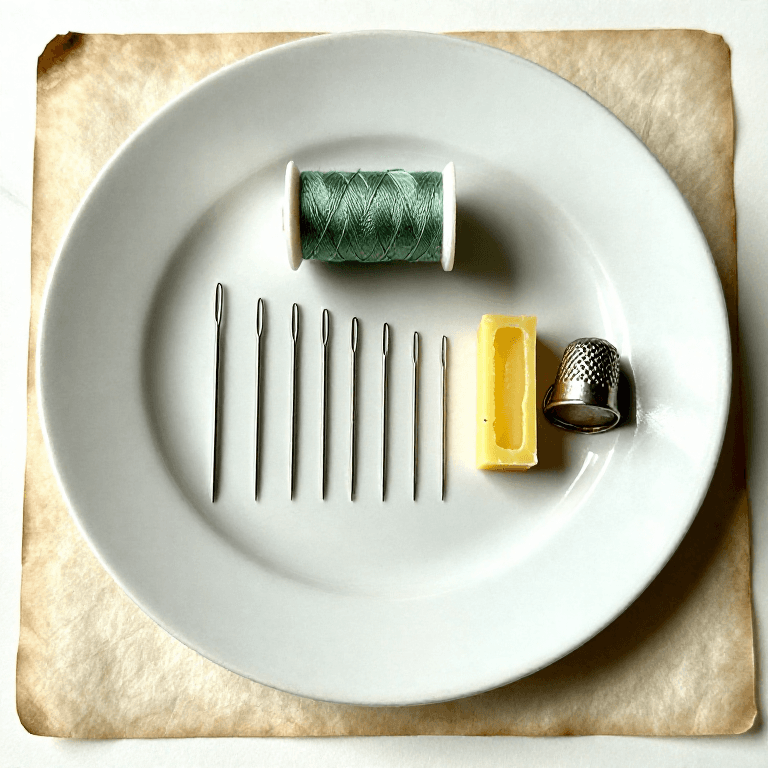
Use a doubled waxed thread for strength. Anchor it with two tiny stitches on the spot where the button goes rather than a knot, so there is no lump under the button.
Lay a pin, a matchstick or a second needle across the top of the button and sew over it. That spacer holds the stitches loose by exactly its own thickness, which is what creates the shank.
Six passes through each pair of holes is plenty. More thread is not stronger — the holes fill, the button sits crooked, and the bulk is what starts abrading the buttonhole opposite.
此步骤所需材料:
 缝纫线1 个
 蜂蜡1 个
所需工具:
 手缝针缝纫珠针
 顶针(金属)
3
3
Make the shank and whip it
Make the shank and whip it
Pull the spacer out. The stitches are now loose, and the button lifts away from the cloth on a small bundle of threads.
Bring the needle up under the button but above the fabric and wind the thread tightly around that bundle five or six times, then take the needle through to the back and fasten off. The winding binds the loose threads into one firm stem.
Check the length against the fabric it must accommodate. A shirt needs barely any shank; a coat needs several millimetres, because the layer coming under it is thick. A shank-back button — one with a metal loop built in — already has this and is sewn down flat.
此步骤所需材料:
缝纫线1 个所需工具:
手缝针 裁布剪
 放大目镜
4
4
Reinforce the back on anything that pulls
Reinforce the back on anything that pulls
On a coat, a waistband or any button that takes real load, sew a small flat button on the INSIDE directly behind the main one, passing the same stitches through both.
That spreads the load across the backing button instead of concentrating it in four small holes in the cloth. Without it, the usual failure is not the thread breaking at all — it is the button tearing a hole clean out of the fabric, taking the threads with it.
A patch of interfacing or a scrap of firm fabric behind the button does the same job where a backing button would show. Either way, the principle is the one from the fastener rung: spread the load rather than trusting the material at a point.
此步骤所需材料:
亚麻布1 个缝纫线1 个所需工具:
手缝针顶针(金属)此蓝图制作
相关蓝图
这些蓝图共享知识——技术、材料或原理
CC0 公共领域
此蓝图以 CC0 协议发布。你可以自由复制、修改、分发和使用此作品,无需征得许可。
通过购买蓝图中的产品支持创客,他们将获得 创客佣金 (由供应商设定),或创建此蓝图的新版本并将其作为连接包含在你自己的蓝图中以分享收入。