Driving Multiple LEDs — SIK Circuit 4
说明
Parts & Introduction
Parts & Introduction
This experiment uses 8 LEDs to create light patterns. You'll learn about arrays (grouping related variables) and for loops (repeating actions efficiently). The sketch includes 6 different animation functions you can try.
Parts Needed
- 1x Arduino Uno + USB cable
- 1x Breadboard
- 8x LEDs (any color)
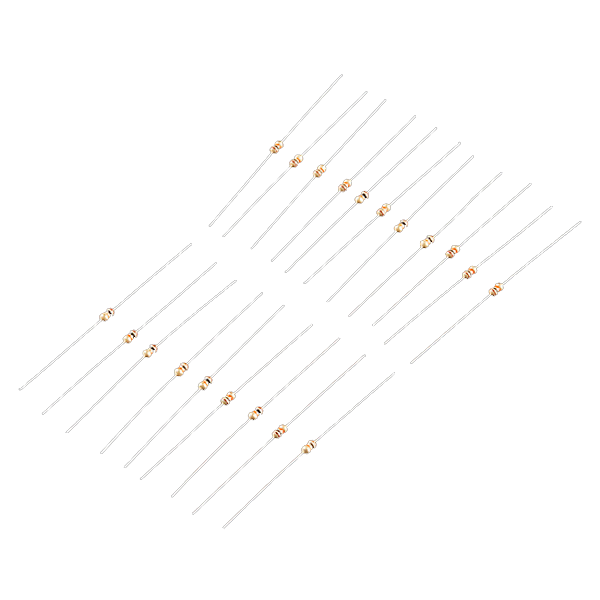
- 8x 330Ω Resistors
- 9x Jumper Wires
此步骤所需材料:
 SparkFun Inventors Kit - V3.21 套件
 Arduino Uno R31 个
 Breadboard1 个
 5mm LED8 个
 330 Ohm Resistor8 个
 Jumper Wires9 个
所需工具:
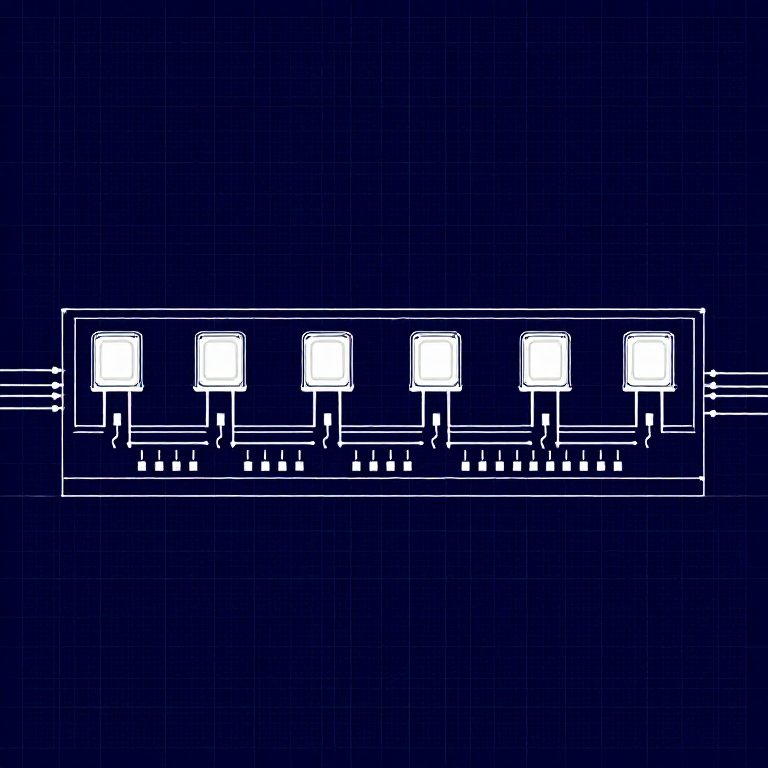
Hardware Hookup
Hardware Hookup
Wiring Instructions
- Place 8 LEDs in a row on the breadboard.
- For each LED, connect the negative leg (shorter) through a 330Ω resistor to GND.
- Connect the positive leg (longer) of each LED to Arduino digital pins 2 through 9 (LED 1 = pin 2, LED 2 = pin 3, etc.).
- Connect the GND rail on the breadboard to Arduino GND.
Tip: Keep the LEDs neatly spaced for the best visual effect.
此步骤所需材料:
5mm LED8 个330 Ohm Resistor8 个Breadboard1 个Jumper Wires9 个Arduino Code
Arduino Code
Open the Arduino IDE and upload the following sketch to your Arduino board.
此步骤所需材料:
Arduino Uno R31 个所需工具:
Test & Experiment
Test & Experiment
What You Should See
All 8 LEDs light up one after another, then turn off in reverse order. This repeats continuously.
Troubleshooting
- Some LEDs don't light: Easy to insert an LED backwards. Check polarity.
- Out of sequence: With 8 wires, it's easy to cross a couple. Verify LED 1 is on pin 2, then each pin in order.
- Starting fresh: Sometimes pulling everything out and re-wiring is faster than debugging.
Experiments to Try
- Uncomment the other functions in
loop()to try:oneOnAtATime(),pingPong(),marquee(),randomLED(). - Create your own animation pattern!
- Modify the delay times to change the speed.
材料
6- $105.00
- 占位符
- 1 个占位符
Required Equipment
Equipment this kind of build typically needs — buy from any maker below.
- CriticalSoldering Iron·
 Helping Hands Soldering Stand
 Solder Tip Tinner and Cleaner
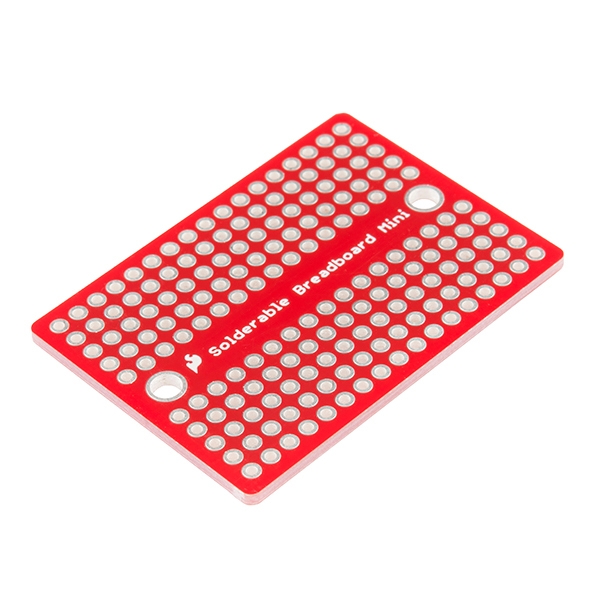 SparkFun Solder-able Breadboard - Mini
 Soldering Iron
 Solder Wire
 Soldering Flux Paste (50g, Rosin-Based)
 - RecommendedBreadboard·
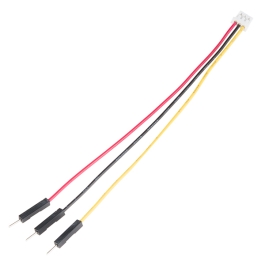 JST to Breadboard Jumper (3-pin)
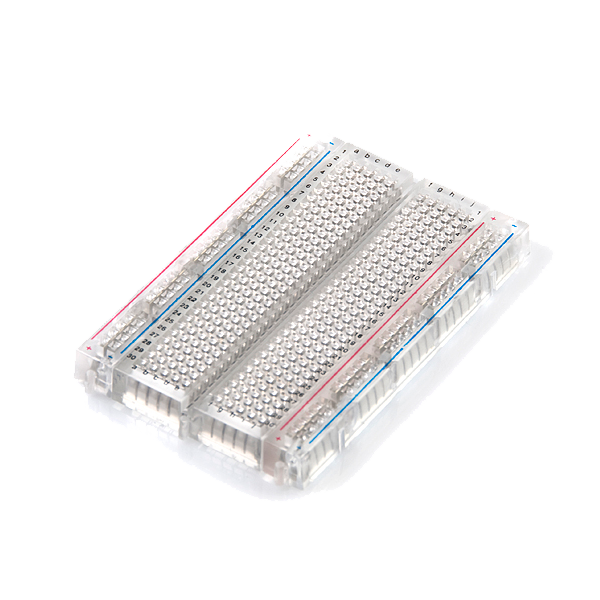 Breadboard - Translucent Self-Adhesive (Clear)Solderless Breadboard 830 Points (3-Pack)SparkFun Solder-able Breadboard - Mini
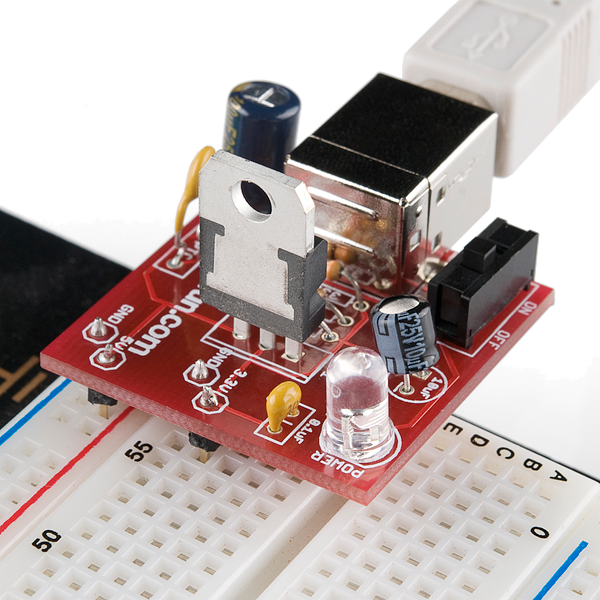 Breadboard Power Supply USB - 5V/3.3VBreadboard
 - RecommendedDust Mask / Respirator·
 Full-Face Gas Mask (ABEK multi-gas cartridge)
 Dust Mask
 Venetian Mask Blank (Papier-Mache)
 Full-Face Respirator
 Respirator Fit Test Kit
 Respirator with Acid Gas Cartridge
 - RecommendedMultimeter·
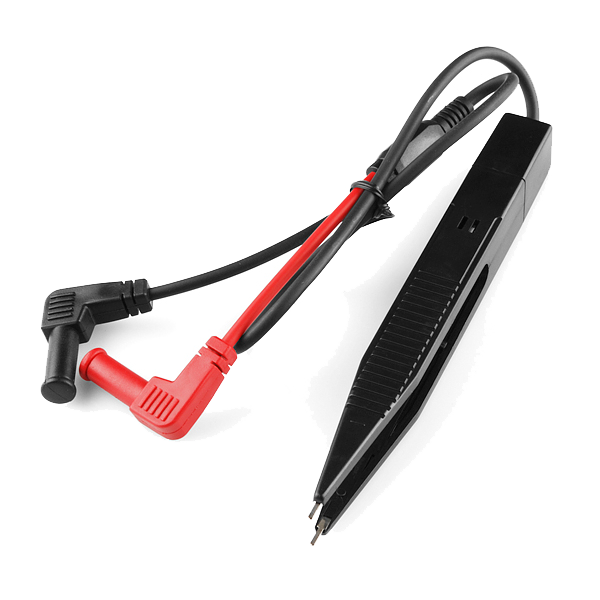 Multimeter Tweezer Probes
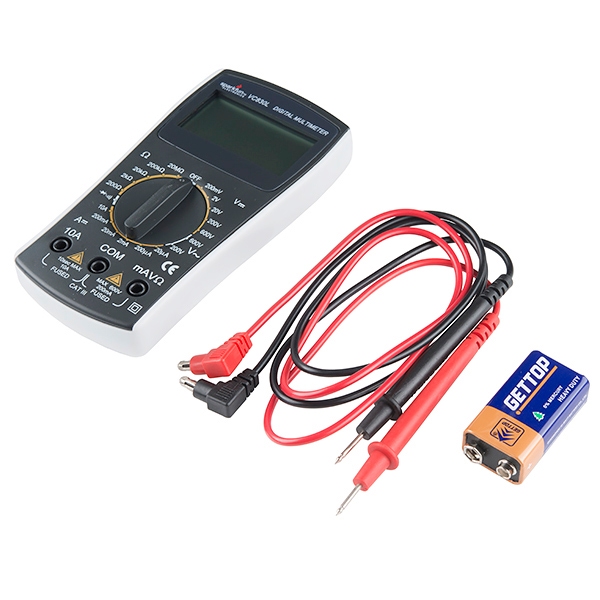 Digital Multimeter - Basic
 Digital Multimeter Pro
 Multimeter
 Digital Multimeter (Auto-Range, True RMS)Digital Multimeter
 - RecommendedSafety Glasses·
 Safety Sign (Caution/Warning)
 Splash-Proof Safety Goggles
 Reflective Safety Vest Kit (DIY)
 Chemical Splash Goggles
 Safety Netting for Rockfall
 Steel-Toed Safety Boots
 - RecommendedWire Strippers·
 Wire Strippers
 Wire Stripper & Crimping Tool (AWG 10-22)
 Wire Stripper
 - RecommendedWork Gloves·
 Boxing Gloves (Training)
 Leather Gauntlet Gloves
 Cotton Gloves
 Welding Gloves
 Heavy-Duty Gloves
 Leather Work Gloves
 - OptionalFire Extinguisher·
 ABC Fire Extinguisher
 Fire Extinguisher
 - OptionalFirst Aid Kit·
 First Aid Kit
 Mountain First Aid Kit (Altitude)
 Workshop First Aid Kit
 Bow Release Aid
 - OptionalHelping Hands / Third Hand·Helping Hands Soldering Stand
 Helping Hands
 PCB Holder Helping Hands (with Magnifier)
 Helping Hands (Third Hand)
You can swap these in
Can't get one of the materials? Swap it for an equivalent — these work just as well.
- Instead of Arduino Uno R3, try:
 Prototyping Shield for Arduino Uno (3-Pack)
 Arduino Uno R3 BoardArduino Uno
 - Instead of 5mm LED Assortment Kit (300pcs, 5 Colors), try:
 WS2812B NeoPixel LED Strip (1m, 60 LEDs)
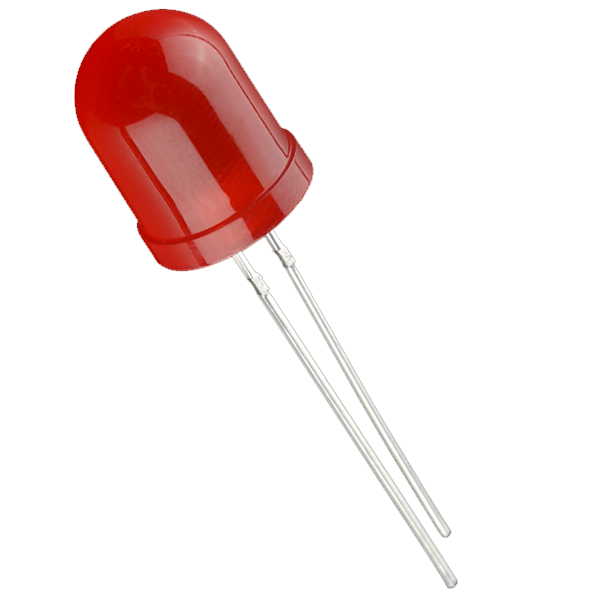 Diffused LED - 10mm
 RGB LED Strip 5050 (5m, Non-Addressable)
 LilyPad Tri-Color LED
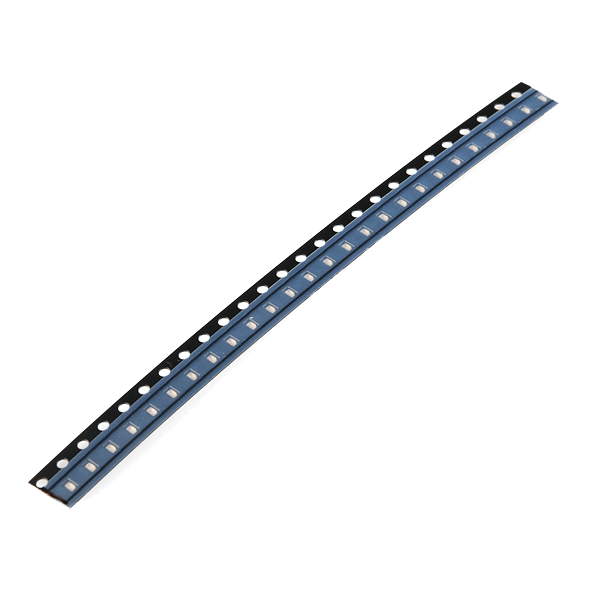 SMD LED 0603 - Strip of 25
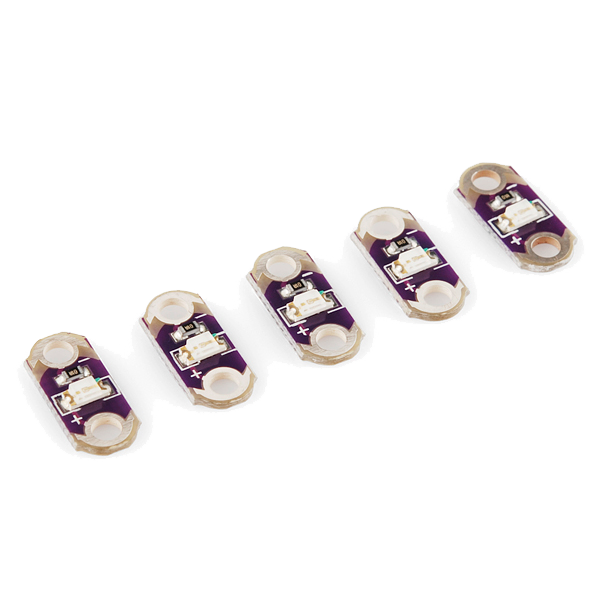 LilyPad LED - 5 pcs
 - Instead of Resistor 330 Ohm 1/6 Watt PTH - 20 pack, try:
 Resistor 10K Ohm 1/6th Watt PTH - 20 pack
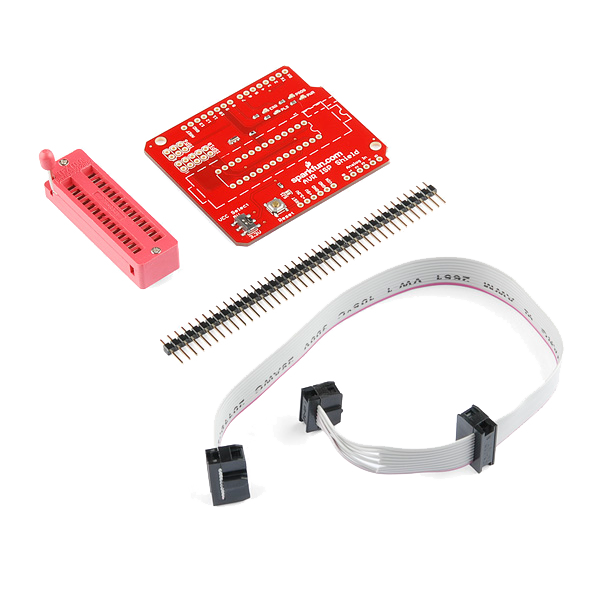 AVR ISP Shield - PTH Kit
 - Instead of Breadboard, try:
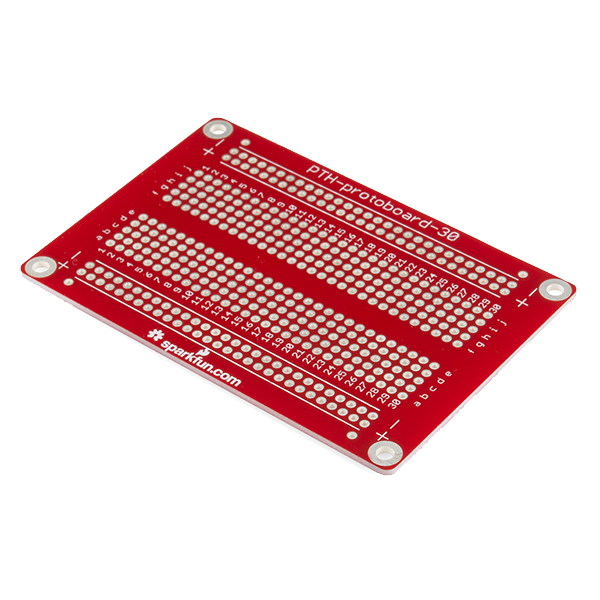 Solder-able Breadboard
Recommended for this build
Products makers often use with builds like this one.
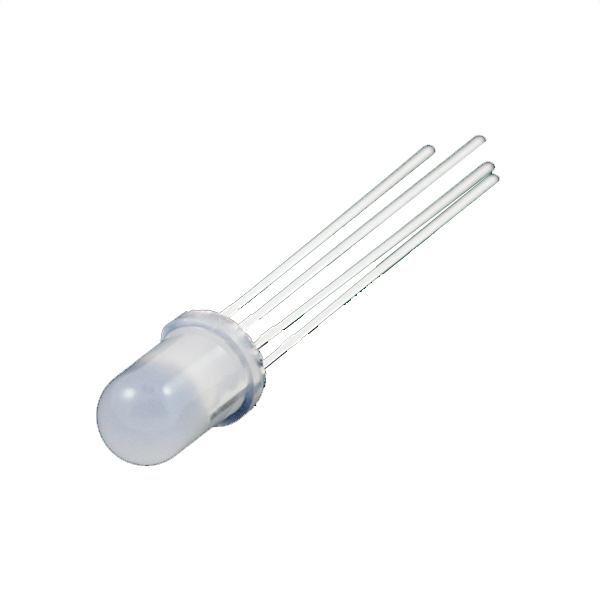 LED - RGB Diffused Common Cathode - 5mmUsed together and in similar buildsResistor 10K Ohm 1/6th Watt PTH - 20 packFrequently used with this build's materials
 Push Button - 33mmFrequently used with this build's materials
 Diode KitFrequently used with this build's materials
 PotentiometerFrequently used with this build's materials
 Servo MotorFrequently used with this build's materials
 Jumper Wire Kit (350pcs, M-M / M-F / F-F)Frequently used with this build's materials
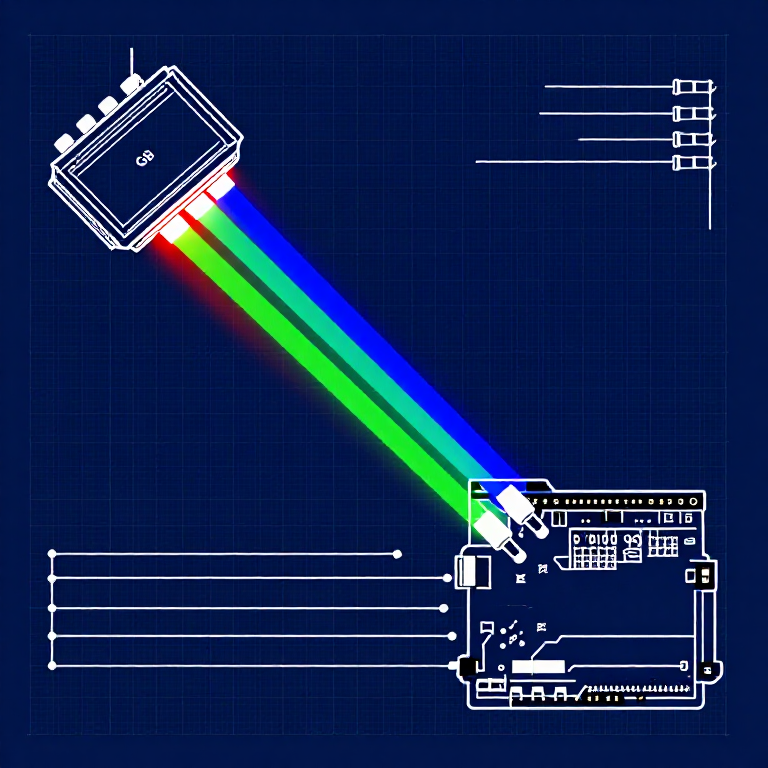
Related blueprints
Other builds that share materials, tools, or techniques with this one.


CC0 公共领域
此蓝图以 CC0 协议发布。你可以自由复制、修改、分发和使用此作品,无需征得许可。
通过购买蓝图中的产品支持创客,他们将获得 创客佣金 (由供应商设定),或创建此蓝图的新版本并将其作为连接包含在你自己的蓝图中以分享收入。