艺术
美容与健康
工艺
文化与历史
娱乐
环境
食品与饮料
逆向工程
科学
体育
技术
可穿戴设备
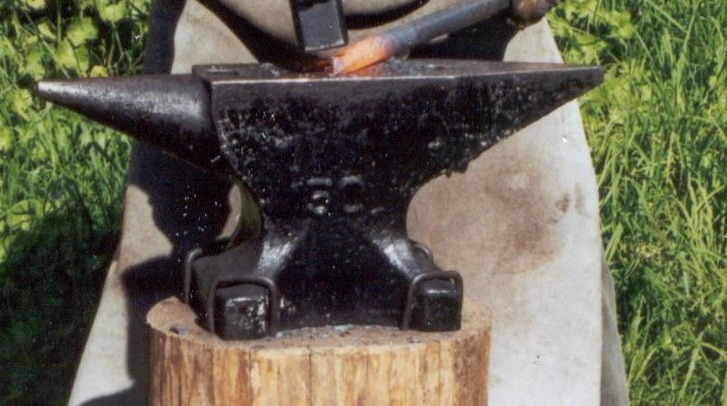


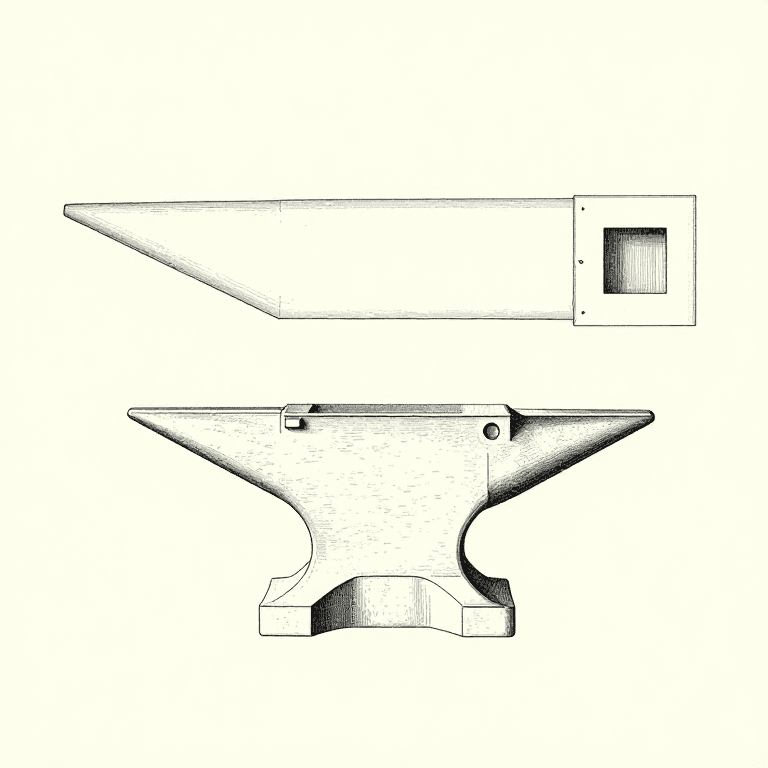
Anvil: Wrought-Iron Body with a Welded Steel Face
Outside the United States, anvils of the 1880s had a body of wrought iron under a steel face, and a horn of plain wrought iron. The body was roughly shaped under tilt hammers, in one piece or with the corners and horn welded on. A face plate of shear or blister steel, 3/8 to 3/4 inch thick, was forge-welded to it a few inches at a time by four strikers, then the holes were punched and the anvil dressed to shape, ground flat and hardened under a falling stream of water. A well-welded anvil rings clearly when struck. Most modern anvils are instead cast steel with the face hardened by flame or induction.
高级
Works process (1880s)
说明
1
1
Shape the body
Shape the body
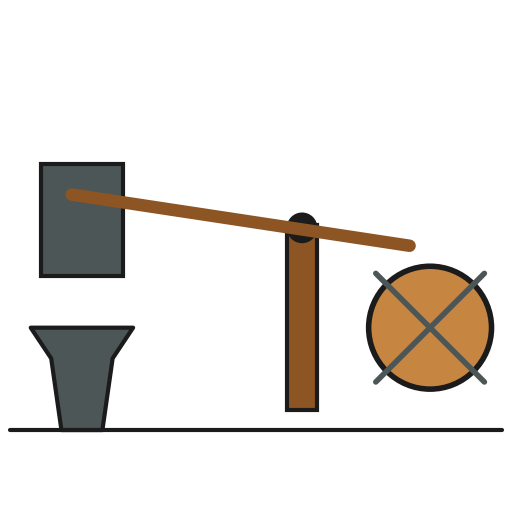
Rough out the wrought-iron body under the tilt hammer, in one piece or with the corners and horn welded on.
此步骤所需材料:
 锻铁条1 as required
所需工具:
 凸轮锻锤
凸轮锻锤 铁匠炉
铁匠炉2
2
Weld on the face
Weld on the face
Bring the body and the steel face plate to a welding heat and weld from one end, about five inches at a time with four strikers, heat after heat, until the whole face is on. Take care not to burn the steel.
此步骤所需材料:
 剪切钢板(叠锻钢板)1 个
所需工具:
铁匠炉 大锤
大锤3
3
Punch and dress
Punch and dress
Punch the hardy (cutter) hole and the small round hole in the tail, round the horn, and dress the anvil to shape at another heat.
所需工具:
 热冲子大锤
热冲子大锤4
4
Grind
Grind
Grind any unevenness out of the face, crosswise on a large stone.
所需工具:
 旋转磨石
旋转磨石5
5
Harden
Harden
Reheat the top to a red heat and let a stream of water fall on it from a ten-foot head. A clear ring when struck shows a sound weld.
此步骤所需材料:
 水1 as required
所需工具:
铁匠炉此蓝图制作

相关蓝图
这些蓝图共享知识——技术、材料或原理
CC0 公共领域
此蓝图以 CC0 协议发布。你可以自由复制、修改、分发和使用此作品,无需征得许可。
通过购买蓝图中的产品支持创客,他们将获得 创客佣金 (由供应商设定),或创建此蓝图的新版本并将其作为连接包含在你自己的蓝图中以分享收入。