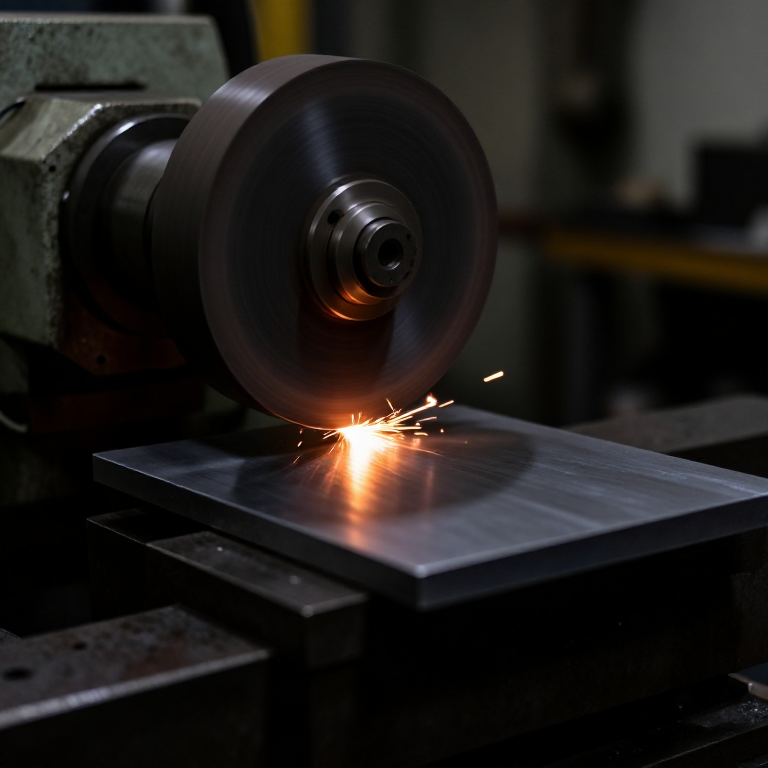


Surface Grinder
说明
Build a rigid table on straight ways
Build a rigid table on straight ways
Grinding removes little metal, so every error in the machine shows in the work.
- Build a bed 400 × 200 mm from 18 mm ply with aluminium angle ways.
- Make a table that slides back and forth on those ways, driven by hand or by a leadscrew.
- Fix the ways with M5 × 30 socket head cap screws × 8, M5 flat washers × 16 and M5 hex nuts × 8.
- Check the table stays at a constant height along its whole travel using a dial indicator against a fixed reference.
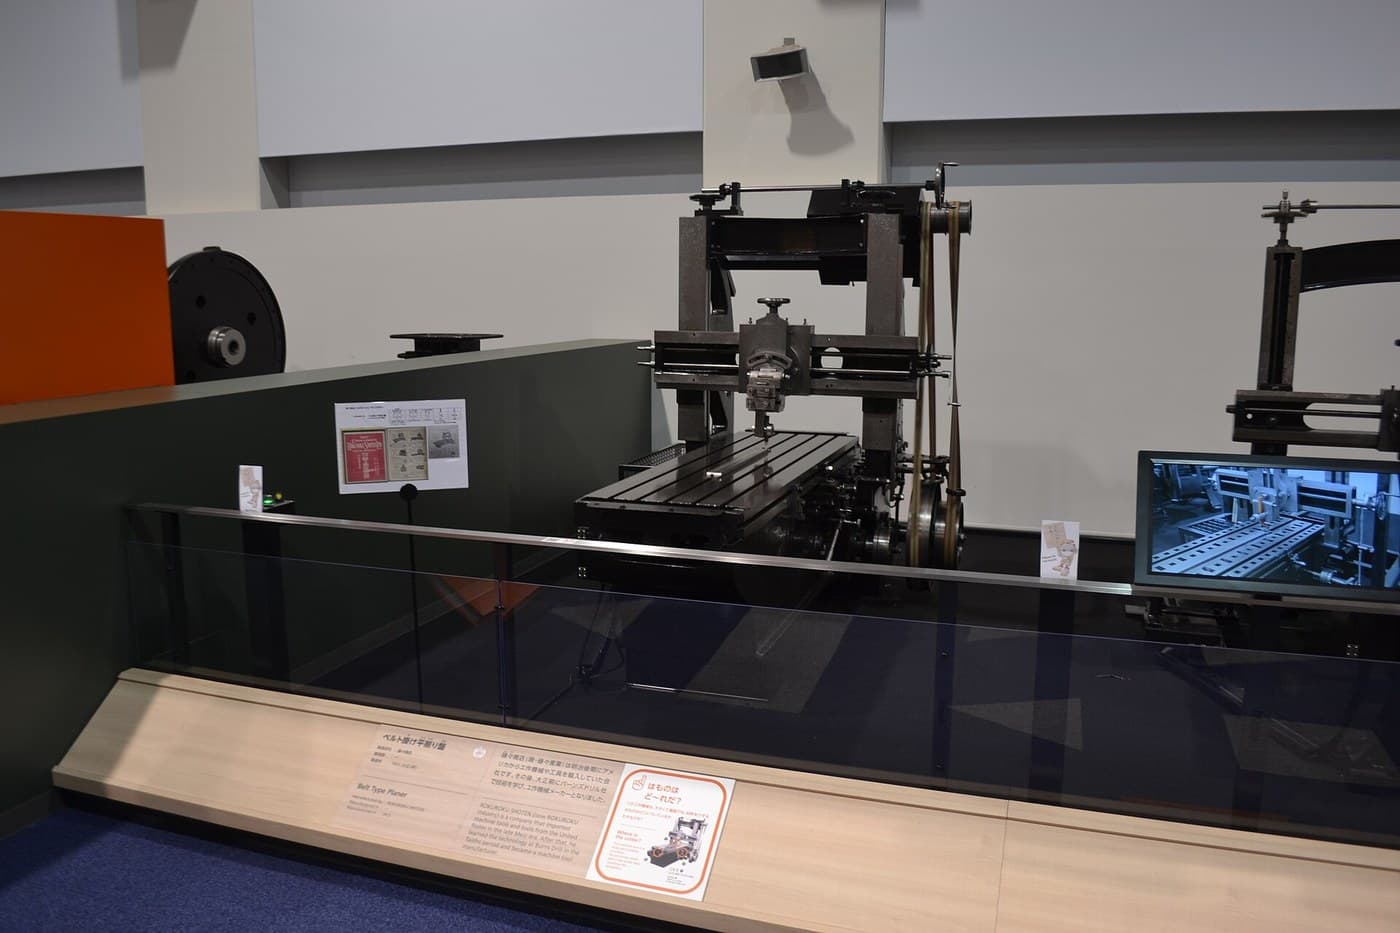
Height variation along the travel is copied directly into the work. A planer taking a 0.3 mm cut can tolerate a few hundredths of way error; a grinder taking 0.01 mm cannot. This is the same slideway problem the planer solved, now at a tolerance a hundred times tighter — which is why surface grinders arrive decades later, once planers and scraping could produce ways good enough.
Measure the table height at ten points along the travel and plot it. That plot is your machine's accuracy limit, and no amount of careful grinding will beat it.此步骤所需材料:
 波罗的海桦木胶合板1 张
 铝角材2 个
 平垫圈16 个
 六角螺母8 个
所需工具:
 曲线锯
曲线锯 充电式电钻
充电式电钻 钻头套装
钻头套装 内六角扳手组
 组合角尺
组合角尺 6 英寸数显卡尺
Mount the wheelhead with fine vertical feed
Mount the wheelhead with fine vertical feed
Depth of cut is measured in hundredths, so the feed screw must resolve it.
- Mount a 100 mm grinding wheel on a spindle in two 608 bearings, in a head that slides vertically on the column.
- Feed it with an M8 screw — 1.25 mm pitch, so one turn is 1.25 mm.
- Fit a handwheel with 50 divisions, giving 0.025 mm per division.
- Take up backlash by always approaching the work in the same direction.
Work out your resolution before you rely on it. A 50-division dial on a 1.25 mm pitch screw resolves 25 microns per division, which is coarse for grinding — real machines use a finer pitch or a larger dial to reach a micron or two. Knowing the number matters more than the number itself: it tells you what the machine can and cannot promise.
Always approach in one direction. Backlash in a threaded feed means a reversal moves the dial without moving the wheel, and the dial then lies to you by the full amount of the slack.此步骤所需材料:
 Ball Bearing - Non-Flanged (8mm Bore, 22mm OD)2 个
 铝圆棒1 个波罗的海桦木胶合板1 张平垫圈8 个六角螺母4 个
所需工具:
充电式电钻钻头套装 锉刀套装内六角扳手组6 英寸数显卡尺
 中心冲
中心冲Make a workholding chuck and dress the wheel
Make a workholding chuck and dress the wheel
Thin work must be held without being bent, and the wheel must be true and open.
- Make a fixture plate with clamps, or fit permanent magnets under a thin steel plate as a simple magnetic chuck.
- Ensure the holding surface is itself flat — grind it in place if you can.
- Dress the wheel with a diamond or a dressing stick, traversing steadily across its face.
- Re-dress whenever the wheel glazes or the work starts to burn.
Why a magnetic chuck rather than clamps. A clamp squeezes thin work, you grind it flat while distorted, and it springs back curved when released. A magnet pulls it evenly against a flat surface and imposes no bending. That distinction — hold without distorting — is the central problem of precision workholding.
Dressing does two things at once: it trues the wheel's shape and it fractures away loaded grains to expose sharp ones. A glazed wheel rubs rather than cuts, and rubbing means heat, and heat means the hardened part you are grinding gets softened exactly where it matters.此步骤所需材料:
 铝板1 个
铝板1 个 铝扁条1 个
 内六角圆柱头螺钉4 个平垫圈8 个
所需工具:
充电式电钻钻头套装锉刀套装内六角扳手组6 英寸数显卡尺组合角尺Grind, and find the point where heat takes over
Grind, and find the point where heat takes over
Grinding is a heat process disguised as a cutting process. Find the boundary.
- Take passes at 0.01 mm depth across a test piece and note the finish.
- Increase to 0.05 mm and watch the surface colour and the sound.
- Increase again until the work discolours — straw, then blue.
- Stop, let it cool, and measure the flatness of each region.
此步骤所需材料:
铝扁条1 个所需工具:
6 英寸数显卡尺组合角尺 秒表
秒表Why hardened parts changed everything, and history
Why hardened parts changed everything, and history
Precision grinding developed through the second half of the nineteenth century and became a production process once artificial abrasives arrived — carborundum in 1891 and aluminium oxide shortly after, both already in this catalogue. Natural emery was variable and slow; manufactured grit made grinding predictable enough to be scheduled rather than hoped for.
The reason it mattered is heat treatment. Harden a steel part and it warps: a ground flat surface goes convex, a bore goes oval, a shaft bends. Before grinding, the answer was to make the part slightly wrong, harden it, and then have a fitter scrape and lap it back — expensive, slow and dependent on skill. Grinding let a part be machined soft, hardened, and then finished to size on a machine. That sequence is the foundation of modern manufacturing, and it is why interchangeable hardened parts became possible at all.
Its place in this chain. The planer of 1817 made flat surfaces on soft metal. This machine makes them on hard metal, to a finer tolerance, at the cost of removing metal far more slowly. The two are not competitors: work is planed or milled first, hardened, then ground. Each machine occupies a different point in the sequence, which is the more useful way to see a workshop than as a set of alternatives.
Honest limits: slow metal removal, a wheel that must be dressed and eventually replaced, sensitivity to heat, and an absolute dependence on the machine's own slideway accuracy. And this plywood build will demonstrate the method while achieving nothing like real grinder accuracy — the lesson is the process and its heat limit, not the tolerance.
材料
10- 1 张占位符
- 2 个占位符
- 24 个占位符
- 12 个占位符
- $1.27
- 1 个占位符
- 1 个占位符
- 1 个占位符
- 4 个占位符
- 8 个占位符
所需工具
9- 1 vendor sell this, none ship to you yet占位符
- 1 vendor sell this, none ship to you yet占位符
- 占位符
- 占位符
- 占位符
- 占位符
- 占位符
- 占位符
- 占位符

CC0 公共领域
此蓝图以 CC0 协议发布。你可以自由复制、修改、分发和使用此作品,无需征得许可。
通过购买蓝图中的产品支持创客,他们将获得 创客佣金 (由供应商设定),或创建此蓝图的新版本并将其作为连接包含在你自己的蓝图中以分享收入。