艺术
美容与健康
工艺
文化与历史
娱乐
环境
食品与饮料
逆向工程
科学
体育
技术
可穿戴设备
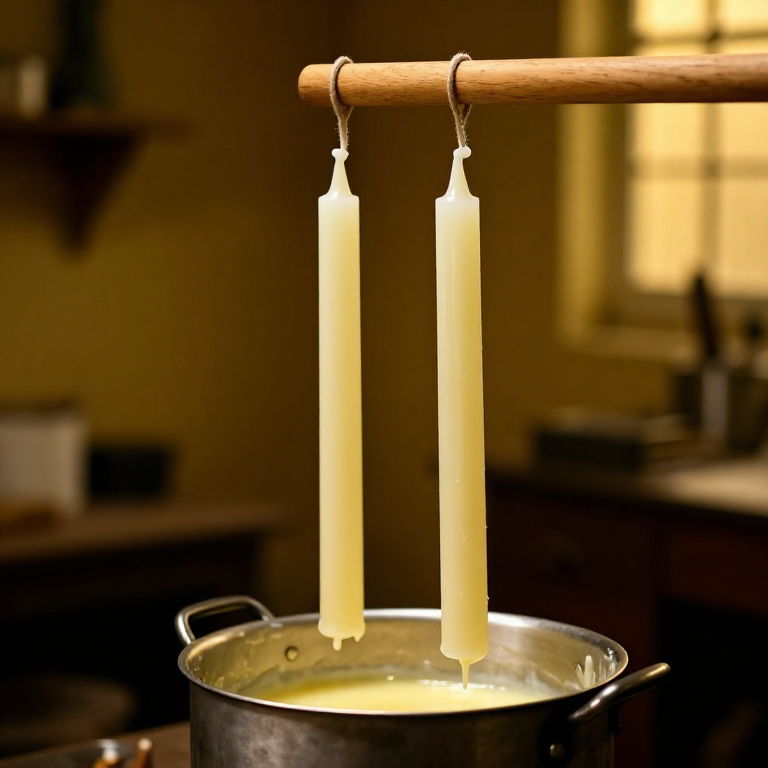


Making Tallow Candles by Repeated Dipping — The Chandler's Craft
Before paraffin wax, most of Europe lit its homes with tallow candles — rendered animal fat (beef or mutton suet) cast or dipped around a cotton or rush wick. The dipping method produces the smoothest, most even candles: a wick is dipped into a tall pot of melted tallow, withdrawn to cool, and dipped again, building up thin layers until the candle reaches the desired thickness. A skilled chandler could dip dozens of candles at once using a dipping frame. This was the everyday light source from the medieval period through the 19th century.
初学者
2-3 hours
说明
1
1
Render the tallow
Render the tallow
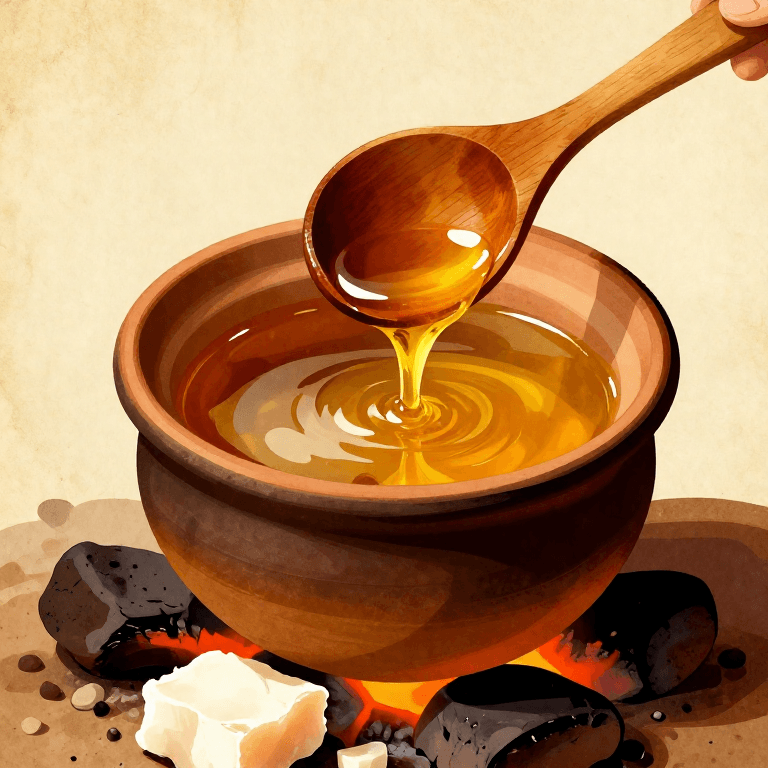
Cut beef or mutton suet into small cubes (about 2 cm). Place in a heavy pot with a splash of water to prevent scorching. Heat on low for 2-3 hours, stirring occasionally, until all the fat has melted and the crackling solids float. Strain through cheesecloth into a clean pot.
此步骤所需材料:
 牛板油1 公斤
2
2
Purify the tallow
Purify the tallow
Pour the strained tallow into a tall pot of warm water and stir. Allow to cool completely — the tallow solidifies on top, trapping impurities at the water interface. Lift off the tallow disc, scrape the bottom clean, and re-melt. Repeat once more for the cleanest candles.
3
3
Prepare the wicks
Prepare the wicks
Cut cotton wick to twice the desired candle length plus 5 cm for tying. For a standard taper, use medium-weight braided cotton wick. Straighten the wicks and tie pairs at the centre to a dipping rod — each rod carries 2-6 pairs of wicks hanging down on either side.
此步骤所需材料:
 棉烛芯5 米
4
4
Set up the dipping station
Set up the dipping station
Melt the purified tallow in a tall, narrow pot — deep enough to submerge the full candle length. Maintain the temperature at approximately 65-70°C. Set up a horizontal rod or rack nearby where the dipping rods can rest between dips.
5
5
Prime the wicks
Prime the wicks
Dip the bare wicks into the tallow for 3-4 seconds. Withdraw slowly and hang to cool for about 30 seconds. The first coat stiffens the wick and makes it hang straight. This priming coat is essential — without it, the wick curls and produces uneven candles.
6
6
Begin the dipping cycle
Begin the dipping cycle
Dip the primed wicks smoothly into the tallow — lower in, pause for 2 seconds, and withdraw in one steady motion. Hang to cool for 1-2 minutes until the surface is no longer tacky. Each dip adds approximately 1 mm of tallow. Repeat.
7
7
Build up layers
Build up layers
Continue dipping and cooling in rotation. A standard taper candle about 2 cm in diameter requires 20-30 dips. Work multiple rods in rotation — while one set cools, dip the next. Keep the tallow at a consistent temperature; too hot and it melts previous layers, too cool and it sets lumpy.
8
8
Shape during dipping
Shape during dipping
After about 15 dips, the candle is thick enough to shape. While still warm from a dip, roll the candle gently on a smooth board to eliminate drips and ensure a perfectly round cross-section. Straighten any curves by rolling with light pressure.
9
9
Final dips for a smooth finish
Final dips for a smooth finish
For the last 2-3 dips, raise the tallow temperature slightly (to about 75°C). This gives a smoother, glossier surface coat. Withdraw slowly and steadily for the cleanest finish.
10
10
Cut and flatten the base
Cut and flatten the base
While the candle is still slightly warm, cut the bottom flat with a sharp knife so it sits upright in a candlestick. Trim to the desired length. Cut the wick at the top to about 1 cm above the candle surface.
11
11
Cure the candles
Cure the candles
Hang the finished candles in a cool, dry place for 24-48 hours to harden fully. Tallow candles burn best after curing — fresh candles can be soft and drip excessively. Store away from heat and direct sunlight.
已连接蓝图材料


此蓝图制作
相关蓝图
这些蓝图共享知识——技术、材料或原理


CC0 公共领域
此蓝图以 CC0 协议发布。你可以自由复制、修改、分发和使用此作品,无需征得许可。
通过购买蓝图中的产品支持创客,他们将获得 创客佣金 (由供应商设定),或创建此蓝图的新版本并将其作为连接包含在你自己的蓝图中以分享收入。