艺术
美容与健康
工艺
文化与历史
娱乐
环境
食品与饮料
逆向工程
科学
体育
技术
可穿戴设备
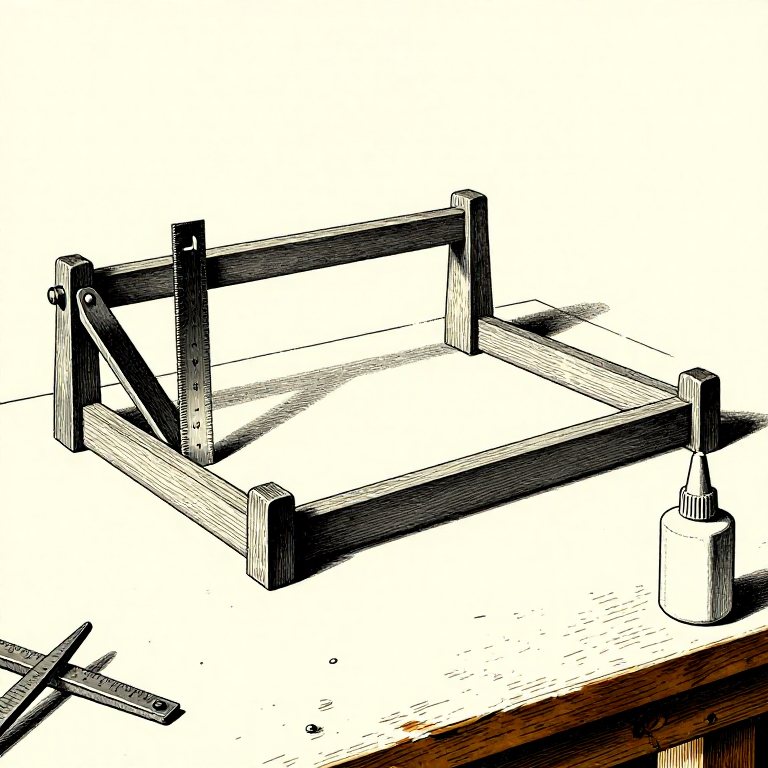


The Dry Run: Assemble It Once With No Glue at All
Once the glue is on, the clock is running and every problem has to be solved in minutes. The dry run moves all of those problems to a time when there is no clock at all.
You assemble the whole thing with no adhesive, fit every clamp, check it is square, and take it apart again. Everything that goes wrong then is free to fix; the same thing going wrong during the glue-up costs the assembly.
It is the step experienced makers never skip and beginners almost always do — because it feels like doing the work twice, and it is in fact the only way to do it once.
初学者
2 hours
说明
1
1
Fit every clamp you intend to use
Fit every clamp you intend to use
Not an approximation — the actual clamps, in the actual positions, tightened as they will be. Then look at what happened.
The usual discoveries: a clamp that will not reach, a bar that fouls another clamp, a jaw that lands on a face it will mark, and — most often — that you do not own enough clamps. Every one of those is a five-minute problem now and a ruined assembly later.
Lay the clamps out open and ready afterwards, at the reach you measured. Hunting for a clamp with glue going off is exactly the situation the dry run exists to prevent.
此步骤所需材料:
 硬木板4 个
所需工具:
 F 夹(滑动夹)
 C 形夹
 压力分散垫条
2
2
Check square, check flat, check it sits down
Check square, check flat, check it sits down
With everything clamped dry, measure the diagonals, put a straightedge across the faces, and stand it on a flat surface to see whether it rocks.
A frame that will not come square dry will not come square glued — the fault is in the parts, and this is the moment to find out which one. A carcass that rocks is twisted, and twist cured into a glue-up is permanent.
Adjust until it is right with no glue involved. Then you know that when it goes wrong during the real glue-up, the cause is something you did in the last five minutes rather than something built into the parts.
所需工具:
 固定角尺
 直尺规F 夹(滑动夹)
3
3
Mark the parts so they cannot go back wrong
Mark the parts so they cannot go back wrong
While it is together dry, mark every joint — a pencil triangle across the whole assembly, or numbered pairs — so each part has one obvious home.
Joints that were fitted to each other are not interchangeable. A tenon eased to fit its own mortise will be loose in the next one, and two dovetails that looked identical are not. Swapping them during the glue-up is a common and completely avoidable disaster.
Mark on faces that will be inside the joint or planed off later. A cabinetmaker's triangle across the top of an assembled frame tells you orientation and order at a glance and disappears in the first cleanup.
此步骤所需材料:
硬木板4 个所需工具:
固定角尺4
4
Lay out everything, then rehearse the order
Lay out everything, then rehearse the order
Put the glue, the brush, the clamps, the cauls, a damp cloth and the square within reach before any glue is opened. Walk through the sequence once with your hands.
The order matters more than it looks: which joint gets glue first, which sub-assembly goes together before the whole, which clamp goes on before another blocks it. Deciding that mid-glue-up is where mistakes come from.
For anything with more joints than the open-time arithmetic allows — the adhesive rung computes this — plan it as STAGES from the start. Glue the two sides today, join them tomorrow. Nobody is fast enough to beat a skinned glue line, and planning to be is the underlying error.
此步骤所需材料:
 PVA 木工胶1 个
所需工具:
 涂胶刷
 棉布F 夹(滑动夹)
相关蓝图
这些蓝图共享知识——技术、材料或原理
CC0 公共领域
此蓝图以 CC0 协议发布。你可以自由复制、修改、分发和使用此作品,无需征得许可。
通过购买蓝图中的产品支持创客,他们将获得 创客佣金 (由供应商设定),或创建此蓝图的新版本并将其作为连接包含在你自己的蓝图中以分享收入。