合作
艺术
美容与健康
工艺
文化与历史
娱乐
环境
食品与饮料
逆向工程
科学
体育
技术
可穿戴设备
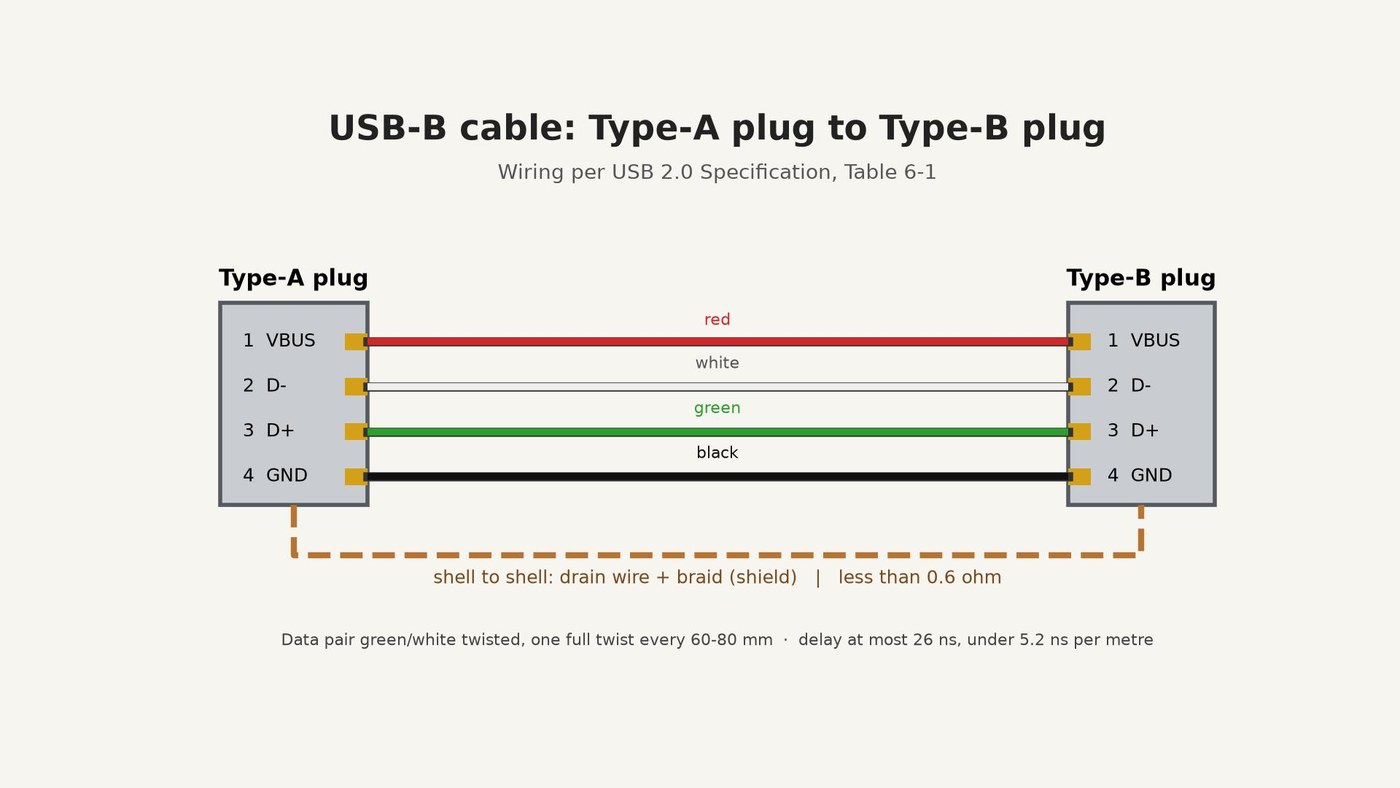


USB-B Cable: Type-A Plug to Type-B Plug, Wired to the USB 2.0 Specification
A USB-B cable joins a computer (Type-A plug) to a device such as an Arduino board or a printer (Type-B plug).
The USB 2.0 Specification (USB Implementers Forum, 2000) fixes the wiring: contact 1 VBUS on the red wire, 2 D- white, 3 D+ green, 4 GND black, and the plug shells joined through the cable's shield. It also sets the cable's build and its limits: a twisted green-white data pair, a red-black power pair, foil and braid shields, no more than 26 ns of delay, and less than 0.6 ohm from shell to shell.
This rung works out how long the cable may be, then cuts a 1.5 m shielded cable, solders a Type-A plug to one end and a Type-B plug to the other, and checks every wire with a multimeter.
Source: Universal Serial Bus Specification Rev. 2.0, sections 6.4.1, 6.5.2, 6.6, 7.1.16, 7.2.2. Picture: our own drawing.
中级
About 1 hour
说明
1
1
How long may it be?
How long may it be?
The delay and voltage-drop limits from the specification, and what they allow for each wire size.
2
2
Cut and strip the cable
Cut and strip the cable
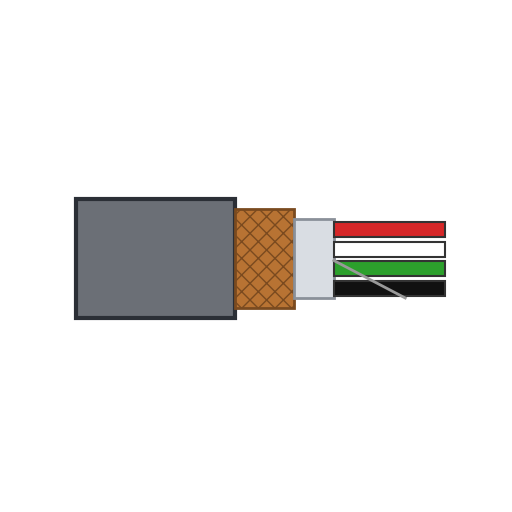
Cut 1.5 m of shielded USB cable with a 24 AWG power pair. At each end, slit and remove 20 mm of the PVC jacket with the knife. Comb the braid back over the jacket, trim the foil off and keep the bare drain wire. Strip 3 mm of insulation from the red, black, green and white wires.
此步骤所需材料:
 屏蔽USB电缆1.5 m
所需工具:
 卷尺
 美工刀
 斜口钳
 剥线钳
 安全眼镜
3
3
Solder the Type-A plug
Solder the Type-A plug
Slide the plug's hood and a 40 mm piece of heat-shrink tubing onto the cable. Tin the wires and solder them to the plug's contacts: 1 red (VBUS), 2 white (D-), 3 green (D+), 4 black (GND). Twist the drain wire into the braid and solder both to the plug's metal shell.
此步骤所需材料:
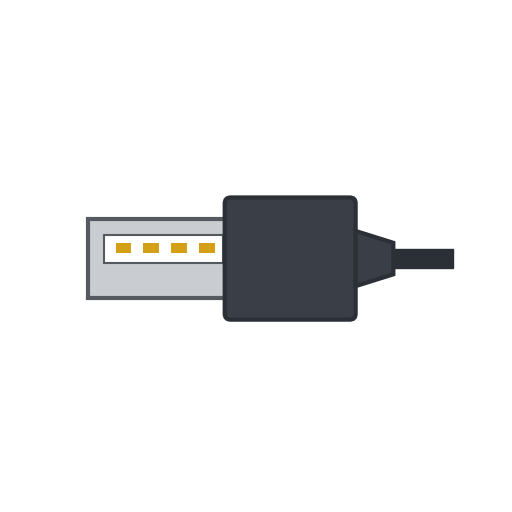 USB A型插头1 个
 热缩管40 mm
 焊锡丝1 as required
所需工具:
 电烙铁
 焊接辅助夹
4
4
Solder the Type-B plug
Solder the Type-B plug
Do the same at the other end with the Type-B plug: 1 red (VBUS), 2 white (D-), 3 green (D+), 4 black (GND), drain wire and braid to the shell. Pin 1 must reach pin 1 at both ends.
此步骤所需材料:
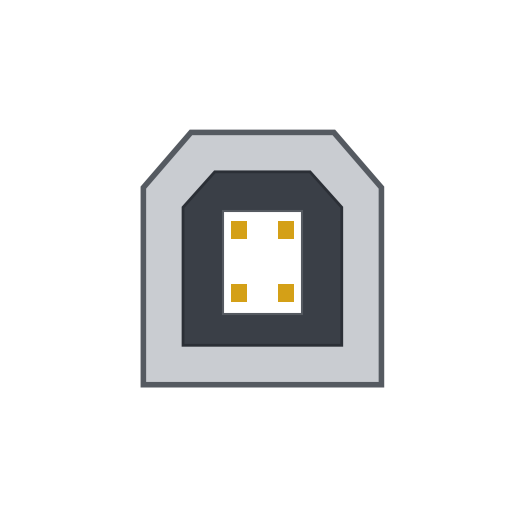 USB B型插头1 个热缩管40 mm焊锡丝1 as required
所需工具:
电烙铁焊接辅助夹5
5
Check every wire
Check every wire
With the multimeter, check that each contact connects to the same contact at the other end and to no other, and that no contact touches a shell. Measure from shell to shell: the specification asks for less than 0.6 ohm.
所需工具:
 万用表
6
6
Close the plugs
Close the plugs
Clip the hoods over the plugs, slide the heat-shrink tubing over each joint between hood and cable, and shrink it with the heat gun as a strain relief.
所需工具:
 热风枪
7
7
History and honest limits
History and honest limits
The specification's revision history dates USB 1.0 to 15 January 1996, 1.1 to 23 September 1998 and 2.0, which added high speed, to 27 April 2000.
The specification requires a standard detachable cable to end in OVERMOLDED plugs; ours has hand-soldered plugs in hoods, so it is not a compliant cable. We do not measure its 90 ohm impedance or its delay. The 1.5 m length, the 24 AWG power pair and the strip lengths are ours. How the plugs and the cable are made is not covered (unknown heads).
此蓝图制作

CC0 公共领域
此蓝图以 CC0 协议发布。你可以自由复制、修改、分发和使用此作品,无需征得许可。
通过购买蓝图中的产品支持创客,他们将获得 创客佣金 (由供应商设定),或创建此蓝图的新版本并将其作为连接包含在你自己的蓝图中以分享收入。