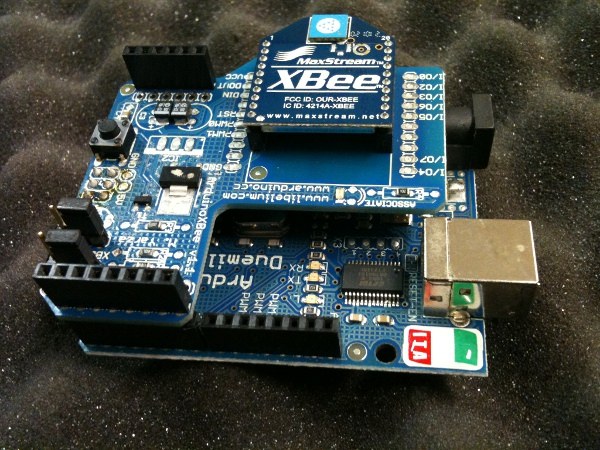


XBee Point-to-Point Wireless Link
说明
Solder headers to the XBee shield
Solder headers to the XBee shield
Solder the Arduino headers to the shield. The 2 mm XBee sockets are already fitted — only the 0.1 inch Arduino headers need soldering.
此步骤所需材料:
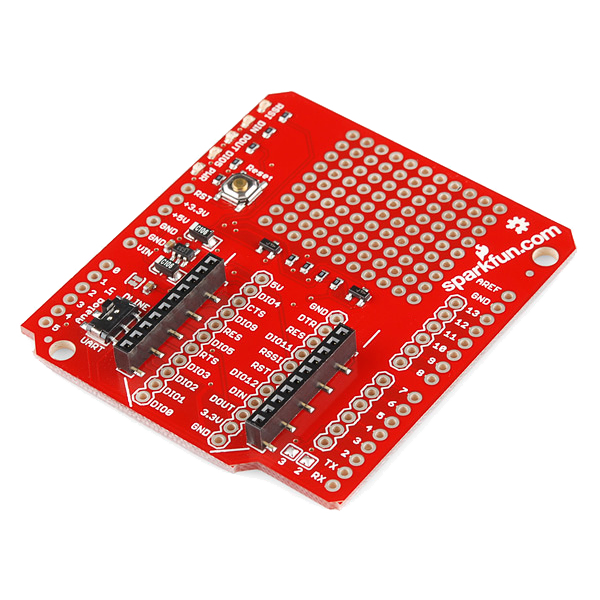 Sparkfun XBee Shield1 个
所需工具:
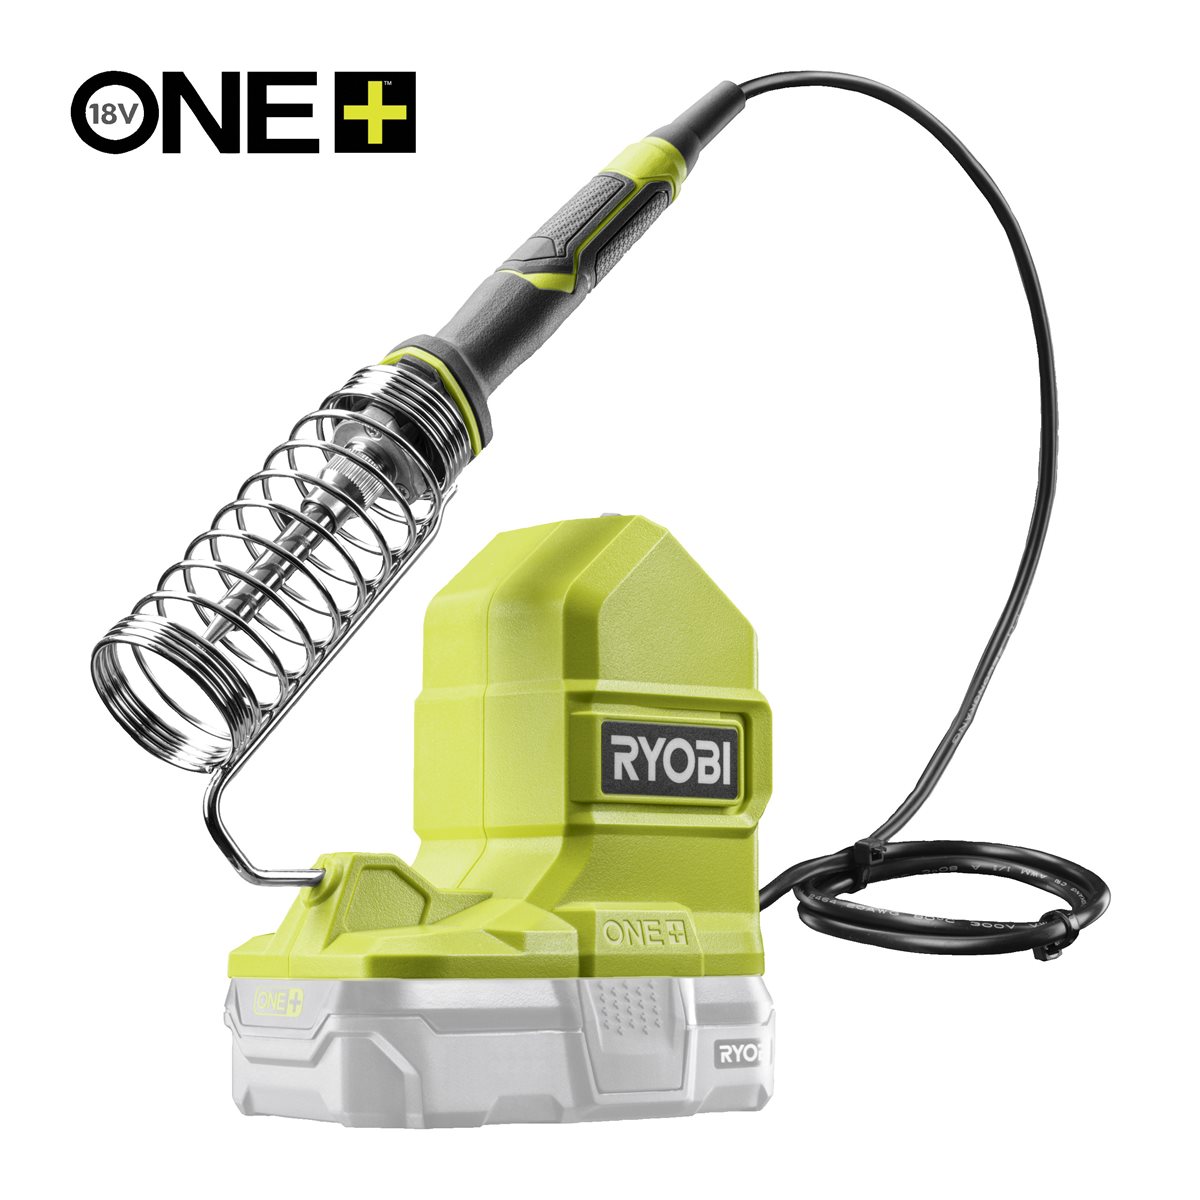 Ryobi ONE+ RSI18-0 Cordless Soldering Iron
Seat the radios — and mind the orientation
Seat the radios — and mind the orientation
One module into the USB explorer, the other into the shield.
- The modules are keyed: the pointed end of the outline matches the pointed end of the socket.
- Press straight down; the 2 mm pins bend easily.
此步骤所需材料:
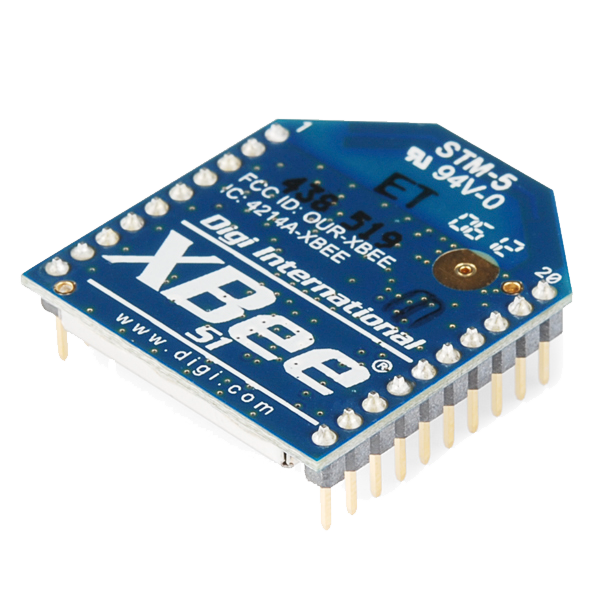 XBee 1mW Trace Antenna - Series 1 (802.15.4)2 个
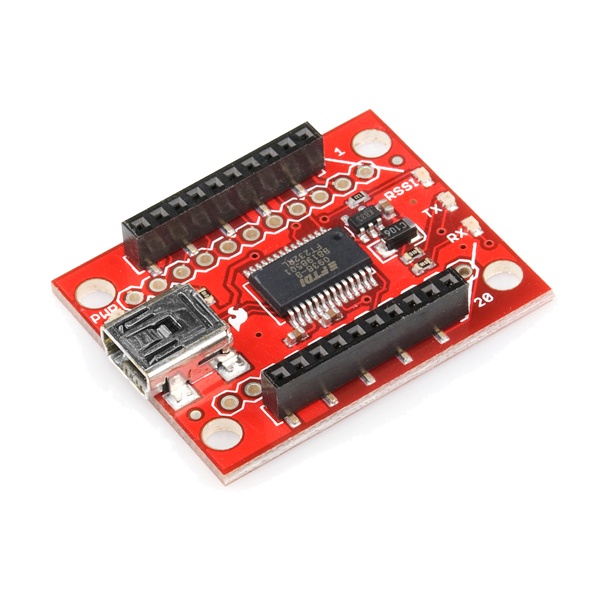 SparkFun XBee Explorer USB1 个
Confirm both radios share a network and channel
Confirm both radios share a network and channel
Plug the explorer into the computer and open a terminal at 9600 baud.
- Type +++ and wait — do not press Enter. The module replies OK.
- ATID shows the network identifier, ATCH the channel.
- Repeat for the second module and make the two match. ATWR saves.
Power the Arduino end and send bytes
Power the Arduino end and send bytes
Stack the shield on the Uno. Power over USB-B while testing; a 7–12 V supply on the barrel jack once it runs standalone.
Set the shield's UART switch to DLINE before uploading, then back for the radio to talk. On the SparkFun shield the radio shares the hardware UART with the USB port, so an upload and a live link cannot both use it at once.
此步骤所需材料:
 Arduino Uno R3 SMD1 个
 USB-B Cable1 个
Find the range where it actually fails
Find the range where it actually fails
Walk the Arduino end away from the computer until the counter starts skipping, and write down the distance and what stood between the radios.
The quoted range assumes open air and line of sight. One brick wall or a metal cabinet cuts it sharply. Your measured figure is worth more than the datasheet's, because it is the one your project has to live with.材料
5- Sparkfun XBee Shield10% 佣金1 个$14.14
- $23.99
- 1 个$23.99
- Arduino Uno R3 SMD10% 佣金1 个$26.85
- $5.64
所需工具
1- $92.47
CC0 公共领域
此蓝图以 CC0 协议发布。你可以自由复制、修改、分发和使用此作品,无需征得许可。
通过购买蓝图中的产品支持创客,他们将获得 创客佣金 (由供应商设定),或创建此蓝图的新版本并将其作为连接包含在你自己的蓝图中以分享收入。