KUNST
SCHÖNHEIT & WELLNESS
HANDWERK
KULTUR & GESCHICHTE
UNTERHALTUNG
UMFELD
ESSEN & GETRÄNKE
REVERSE ENGINEERING
WISSENSCHAFTEN
SPORT
TECHNOLOGIE
WEARABLES
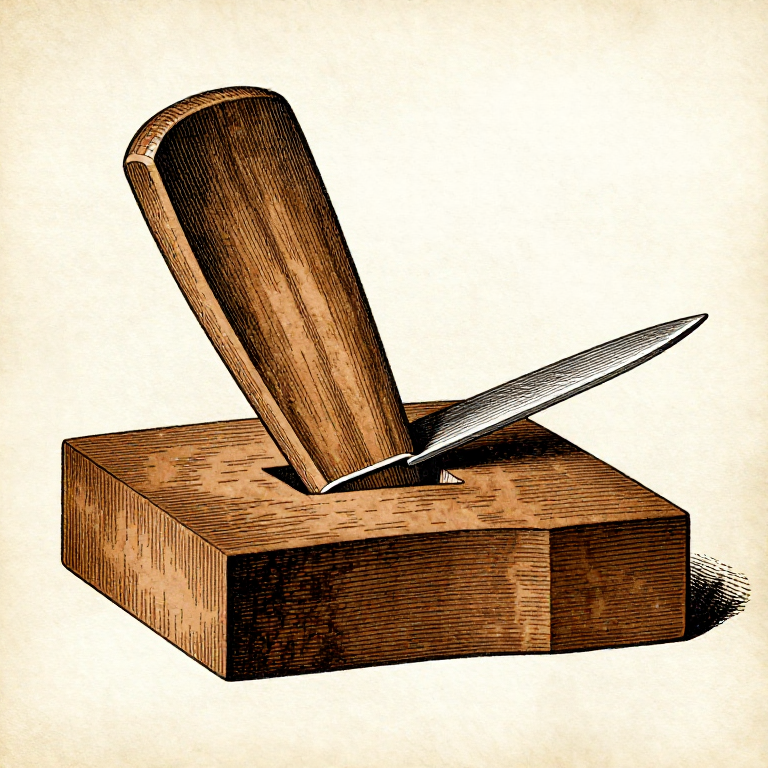


Fit: A Joint That Needs a Mallet Is Too Tight
A joint you have to drive home with a mallet will not be stronger for it. It will be weaker, because the fibres are crushed, there is nowhere for the glue to sit, and the glue that was there has been scraped off on the way in.
The target is a joint that goes together with firm hand pressure, or at most a few light taps, and stays together on its own when you let go. That leaves a glue line a few hundredths of a millimetre thick, which is what modern wood glues are formulated for.
A slack joint is also a bad joint, and for the opposite reason: PVA has essentially no gap-filling ability, so a visible gap is a joint held by a brittle film of dried glue. The useful range between the two is narrow, and it is worth knowing in numbers.
Fortgeschritten
3 hours
Anweisungen
1
1
How tight is right, in numbers
How tight is right, in numbers
Jupyter-Notebook wird geladen …
Materialien für diesen Schritt:
 Hartholzbrett1 Stück
 Weißleim (PVAc)1 Stück
Benötigte Werkzeuge:
 Fühlerlehrensatz
 Digitaler Messschieber 6 Zoll
 Desktop-Computer
2
2
Pare to fit, and pare the right piece
Pare to fit, and pare the right piece
Push the joint together until it binds, then look for the shiny spots — where it has rubbed is where it is tight. Pare those and only those. Taking a shaving off the whole cheek turns a tight joint straight into a slack one.
A sharp chisel takes a controlled shaving; a dull one skips and digs. Fitting is the operation that most rewards a freshly honed edge, and most punishes a tired one.
Pare the part that is hidden. On a mortise and tenon, pare the tenon rather than the mortise walls, because the tenon disappears. On a dovetail, pare the pins.
Materialien für diesen Schritt:
Hartholzbrett1 StückBenötigte Werkzeuge:
 Stechbeitel
 SchraubstockDigitaler Messschieber 6 Zoll
3
3
Fit dry, and only once
Fit dry, and only once
Assemble the whole thing dry, check it for square and for wind, and take it apart again. That is the dry-run rung, and this is the rung where it pays: a joint discovered to be tight with glue in it is a genuine emergency.
Assemble dry as FEW times as possible. Wood compresses a little each time, so a joint tested five times is looser than the one tested once. If a joint is right, leave it alone.
Number the joints as you take them apart. Hand-fitted joints are fitted to each other and are not interchangeable, and a pencil mark on the inside face saves finding that out during the glue-up.
Materialien für diesen Schritt:
Hartholzbrett1 StückBenötigte Werkzeuge:
 Kombinationswinkel
 Richtscheitpaar zur Windungsprüfung
 Schraubzwinge mit Schiebebügel
4
4
The clamps are for holding it, not for closing it
The clamps are for holding it, not for closing it
If the joint needs clamp pressure to close, it does not fit. Clamps are there to hold surfaces in contact while the glue cures, and to squeeze the line thin — not to drag parts into position.
A frame pulled square by clamps springs back out of square the moment they come off, because nothing has changed about the geometry of the parts. The shoulders are what make it square, and clamps cannot fix a shoulder.
Which makes the whole batch one argument. The wood will move whatever you do; the joint holds because its long grain is glued and its shape interlocks; and the fit is what decides whether the glue line is a bond or a filler. None of those can be corrected with pressure at the end.
Materialien für diesen Schritt:
Weißleim (PVAc)1 StückBenötigte Werkzeuge:
Schraubzwinge mit SchiebebügelKombinationswinkelBenötigte Werkzeuge
8- Platzhalter
- Platzhalter
- Platzhalter
- Platzhalter
- Platzhalter
- Platzhalter
- Platzhalter
- Platzhalter
Verwandte Blueprints
Diese Blueprints teilen Wissen — Techniken, Materialien oder Prinzipien

CC0 Gemeinfrei
Dieser Blueprint ist unter CC0 veröffentlicht. Sie dürfen dieses Werk für jeden Zweck frei kopieren, ändern, verbreiten und verwenden, ohne um Erlaubnis zu fragen.
Unterstützen Sie den Maker, indem Sie Produkte über seinen Blueprint kaufen, wo er eine Maker-Provision von Anbietern festgelegt, verdient. Oder erstellen Sie eine neue Iteration dieses Blueprints und verbinden Sie ihn in Ihrem eigenen Blueprint, um Einnahmen zu teilen.