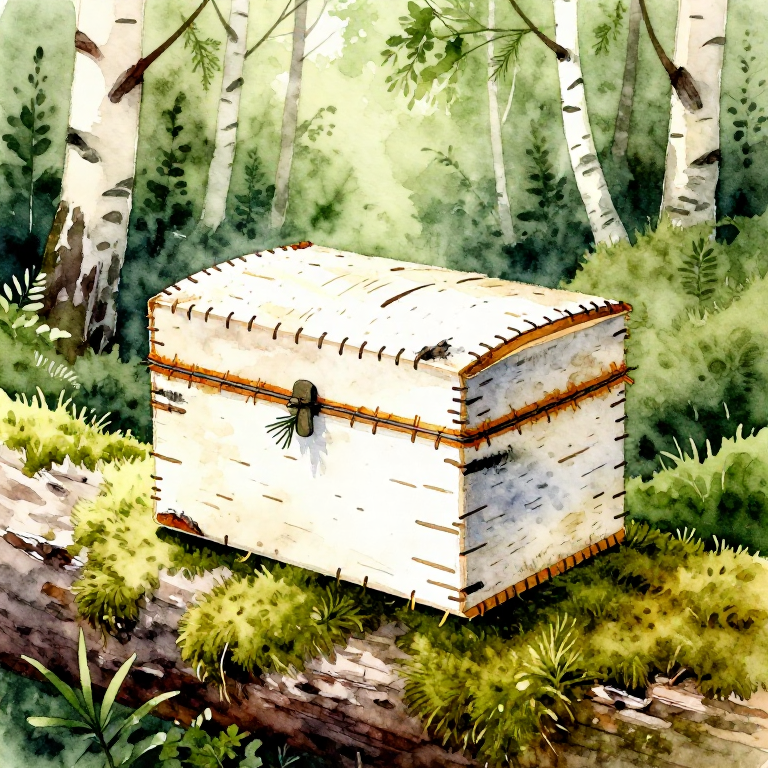
Crafting a Birch Bark Container — Folded & Sewn Bushcraft Vessel
Anweisungen
Harvest Birch Bark
Harvest Birch Bark
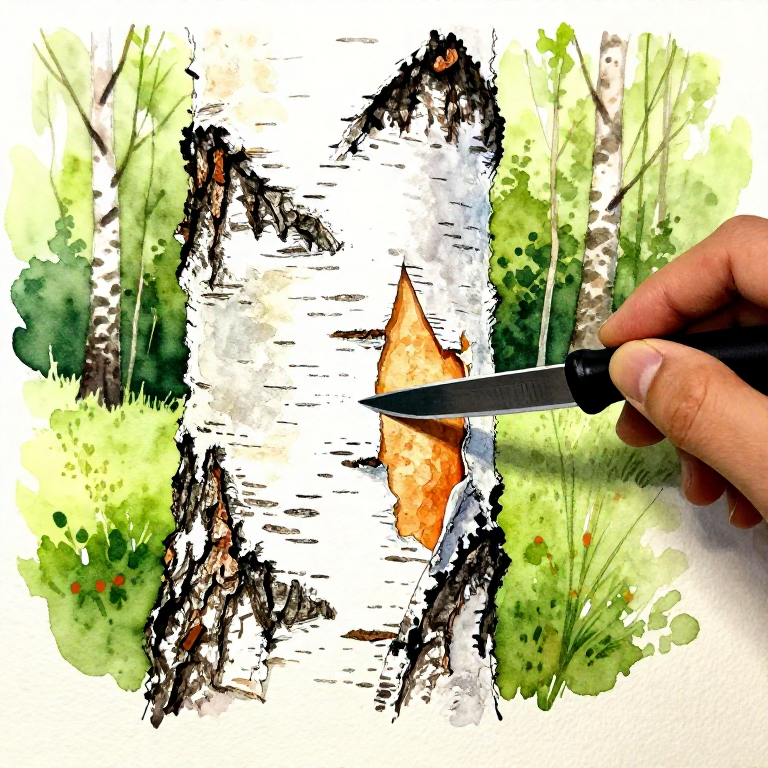
Select a mature birch tree (at least 20cm diameter) in late spring or early summer when sap is flowing — this is when bark peels most easily. Make a vertical score line through the outer white bark only, roughly 30-40cm long. Do NOT cut into the inner bark (cambium) or you will damage the tree.
Gently pry the bark away from the trunk using your knife blade as a lever. The bark should peel off in a large, flexible sheet. The inner (brown/orange) side will face outward on your finished container — it is smoother and more water-resistant than the white outer side.
Collect 2-3 sheets and keep them flat under weight to prevent curling. Fresh bark is flexible; dry bark becomes brittle and must be soaked in warm water before working.
Cut the Container Template
Cut the Container Template
Lay your bark sheet flat, brown (inner) side up. Cut a rectangular piece approximately 30cm × 20cm for a medium container. At each corner, make a diagonal fold line — score lightly with the knife tip, do not cut through.
The traditional Nordic "näverslöjd" technique uses a single piece of bark folded at the corners. Mark fold lines 5-6cm from each edge to create the base rectangle. The corners will fold up and overlap to form the walls.
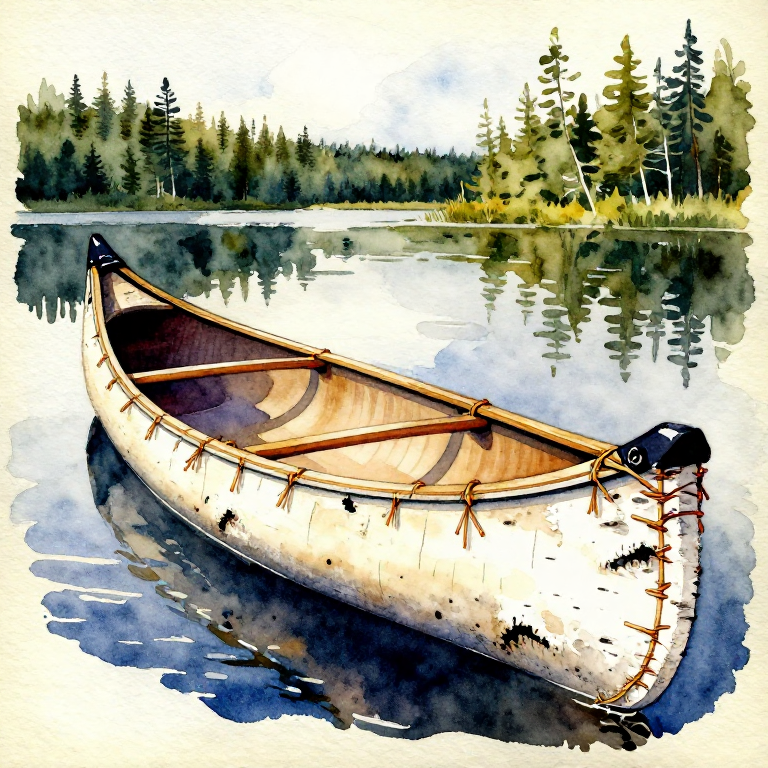
For a round container, cut an oval base piece and a long rectangular strip for the wall. The strip should be long enough to wrap around the base with 2-3cm overlap.
Fold and Sew the Walls
Fold and Sew the Walls
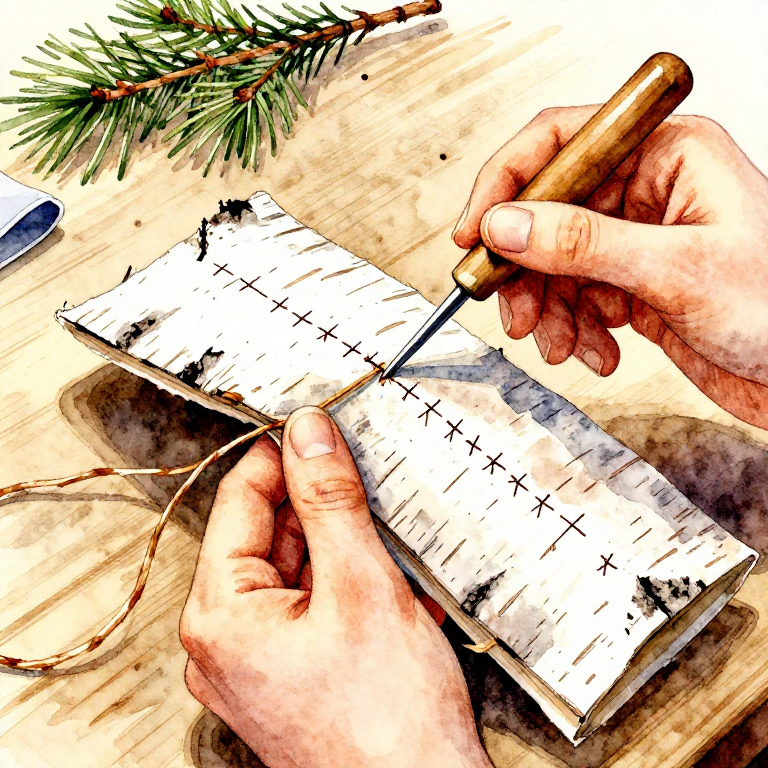
Fold the bark upward along your score lines to form the container walls. At each corner, overlap the bark flaps and clamp them temporarily with small wooden clothespins or split sticks.
Using your awl, punch a line of holes along each seam, spacing them 5-8mm apart. Thread split spruce root (softened by boiling for 30 minutes) or sinew through the holes using a whip stitch or cross stitch pattern. Pull each stitch tight — the root will shrink as it dries, making the seam even tighter.
Work from bottom to top on each seam. The stitching itself becomes a decorative element on traditional Scandinavian bark containers.
Add a Rim and Seal Seams
Add a Rim and Seal Seams
Cut a thin strip of birch bark or a flexible twig (willow works well) and fold it over the top edge of the container to reinforce the rim. Stitch through all three layers (rim strip, wall, rim strip) to lock it in place.
To make the container watertight, seal all seams with melted pine resin mixed with a small amount of crushed charcoal (acts as a filler). Apply the hot resin with a stick, pressing it into each stitch hole. The resin hardens as it cools, creating a waterproof seal.
If you plan to use the container for hot liquids, add a thin layer of beeswax over the resin — pure pine resin can soften with heat.
Create an Optional Lid
Create an Optional Lid
For a lidded container, cut a second piece of bark slightly larger than the opening. Score and fold a shallow rim (1-2cm) around the edges to create a lip that sits inside the container walls.
Stitch the lid rim the same way as the walls. A small bark loop stitched to the lid center serves as a handle. For a snug fit, adjust the rim depth so the lid sits flush with the container top.
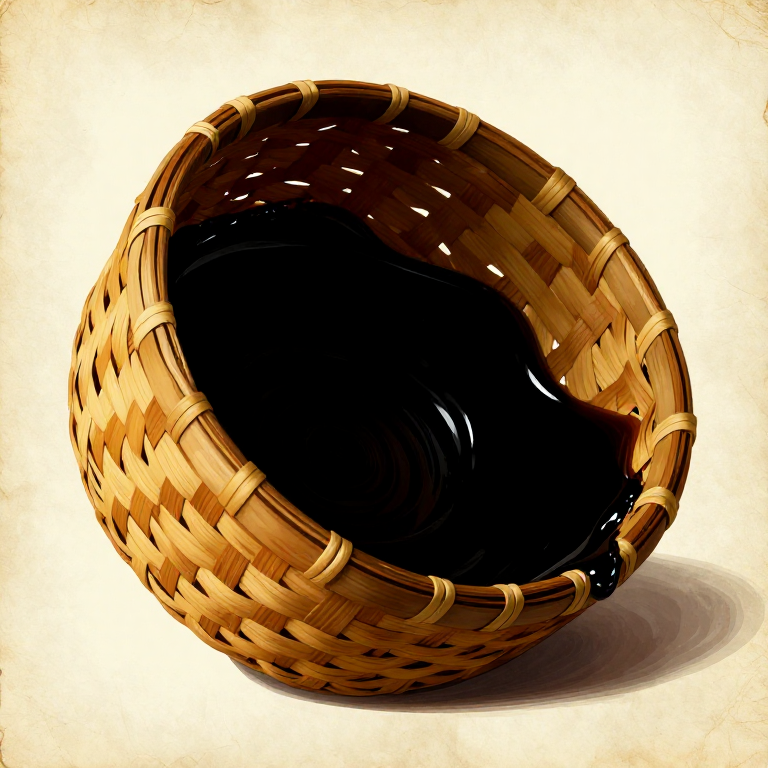
These birch bark containers were used across Scandinavia and Finland for storing everything from berries and dried fish to butter and grain. Archaeological finds date this technique to at least 8000 BCE.
Related blueprints
Other builds that share materials, tools, or techniques with this one.


CC0 Gemeinfrei
Dieser Blueprint ist unter CC0 veröffentlicht. Sie dürfen dieses Werk für jeden Zweck frei kopieren, ändern, verbreiten und verwenden, ohne um Erlaubnis zu fragen.
Unterstützen Sie den Maker, indem Sie Produkte über seinen Blueprint kaufen, wo er eine Maker-Provision von Anbietern festgelegt, verdient. Oder erstellen Sie eine neue Iteration dieses Blueprints und verbinden Sie ihn in Ihrem eigenen Blueprint, um Einnahmen zu teilen.