KUNST
SCHÖNHEIT & WELLNESS
HANDWERK
KULTUR & GESCHICHTE
UNTERHALTUNG
UMFELD
ESSEN & GETRÄNKE
REVERSE ENGINEERING
WISSENSCHAFTEN
SPORT
TECHNOLOGIE
WEARABLES
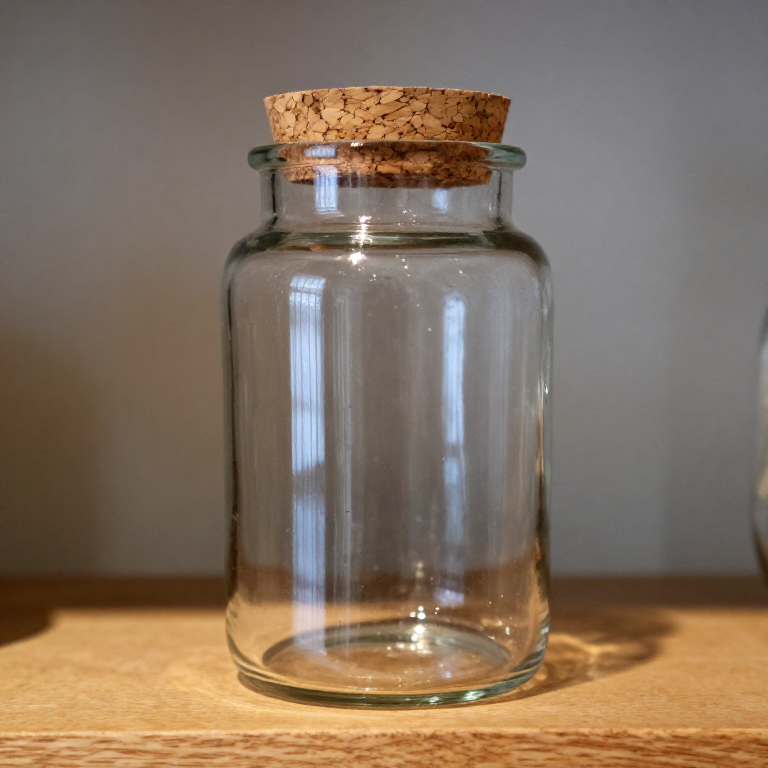


Blown Glass Jar with a Cork Lid
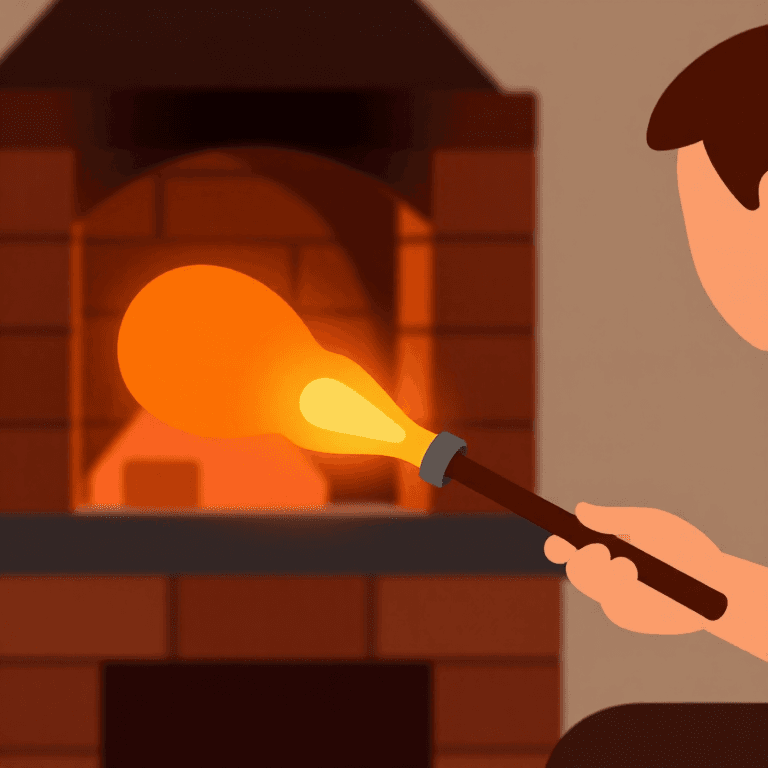
A jar is blown like a bottle, but instead of a narrow neck its mouth is opened out on the pontil to nearly the full width of the body, with straight walls and a flat base so it stands and can be filled with a spoon. A wide cork punched from bark makes the lid. All furnace work, the gather, the pontil and the annealing follow the bottle blueprint.
Erfahren
Half a day, plus annealing
Anweisungen
1
1
Gather, blow, pontil and anneal
Gather, blow, pontil and anneal
The furnace, gathering, transfer to the pontil and annealing, step by step.
2
2
Blow a straight-sided bubble
Blow a straight-sided bubble
Gather soda-lime glass, marver it into a cylinder and blow a bubble. Roll it on the marver to keep the walls straight and press the end flat on the marver for the base.
Materialien für diesen Schritt:
 Kalk-Natron-Glas1 kg
Benötigte Werkzeuge:
 Glasofen, der 1100 Grad Celsius erreicht
 Glasmacherpfeife
 Marbel (Formplatte des Glasmachers)
 Glasmacherbank
 Hitzebeständige Handschuhe
 Schutzbrille
3
3
Mark the shoulder
Mark the shoulder
Score a line with the jacks where the mouth will be, just beyond the full width of the body.
Benötigte Werkzeuge:
 GlasmacherzangeGlasmacherbank
4
4
Transfer to the pontil
Transfer to the pontil
Attach the pontil to the base, crack the jar off the blowpipe at the scored line.
Benötigte Werkzeuge:
 HefteisenGlasmacherbank
5
5
Open the mouth
Open the mouth
Reheat the open end and, turning the pontil on the bench rails, open it with the jacks until the mouth is as wide as the body. Fire-polish the rim smooth in the furnace.
Benötigte Werkzeuge:
GlasmacherzangeGlasofen, der 1100 Grad Celsius erreichtGlasmacherbank6
6
Crack off and anneal
Crack off and anneal
Crack the jar off the pontil straight into the annealing oven and anneal it as for the bottle.
Benötigte Werkzeuge:
 GlühofenHitzebeständige Handschuhe
7
7
Grind the pontil mark
Grind the pontil mark
When cold, grind the pontil scar on the base smooth on wet abrasive so it stands flat.
Benötigte Werkzeuge:
 Schleifpapierbogen
 Wetzstein
8
8
Cut a cork lid
Cut a cork lid
Measure the mouth's inside diameter. Punch a cork a little wider than it from thick, boiled cork bark with the cork borer, and taper its lower edge so it presses in.
Materialien für diesen Schritt:
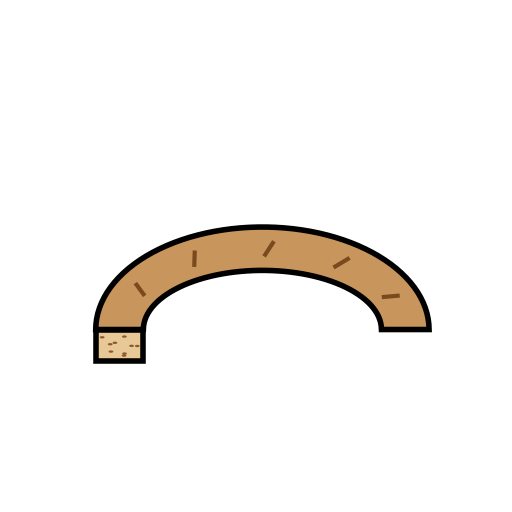 Korkrindenplatte0.1 kg
Benötigte Werkzeuge:
 Digitaler Messschieber 6 Zoll
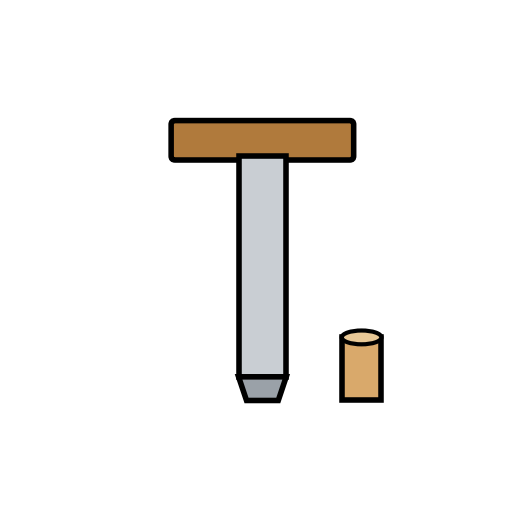 Korkbohrer
 CuttermesserSchleifpapierbogen
9
9
Troubleshooting
Troubleshooting
Jar blowing troubleshooting.
Flow
Loading...
Materialien
2- 1 kgPlatzhalter
- 0.1 kgPlatzhalter
Benötigte Werkzeuge
14- Platzhalter
- Platzhalter
- Platzhalter
- Platzhalter
- Platzhalter
- Platzhalter
- Platzhalter
- Platzhalter
- Platzhalter
- Platzhalter
- Platzhalter
- Platzhalter
- Platzhalter
- Platzhalter
Dieser Bauplan stellt her


Verwandte Blueprints
Diese Blueprints teilen Wissen — Techniken, Materialien oder Prinzipien


CC0 Gemeinfrei
Dieser Blueprint ist unter CC0 veröffentlicht. Sie dürfen dieses Werk für jeden Zweck frei kopieren, ändern, verbreiten und verwenden, ohne um Erlaubnis zu fragen.
Unterstützen Sie den Maker, indem Sie Produkte über seinen Blueprint kaufen, wo er eine Maker-Provision von Anbietern festgelegt, verdient. Oder erstellen Sie eine neue Iteration dieses Blueprints und verbinden Sie ihn in Ihrem eigenen Blueprint, um Einnahmen zu teilen.