KUNST
SCHÖNHEIT & WELLNESS
HANDWERK
KULTUR & GESCHICHTE
UNTERHALTUNG
UMFELD
ESSEN & GETRÄNKE
REVERSE ENGINEERING
WISSENSCHAFTEN
SPORT
TECHNOLOGIE
WEARABLES
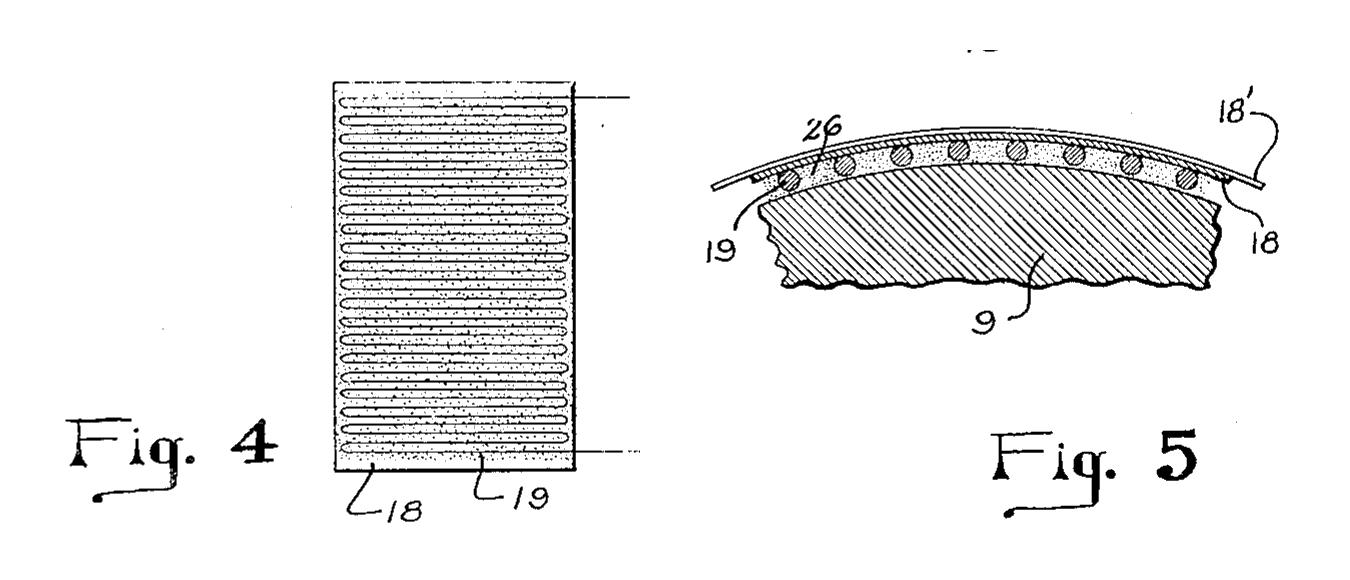


Bonded Wire Strain Gauge on Paper: Simmons, 1942
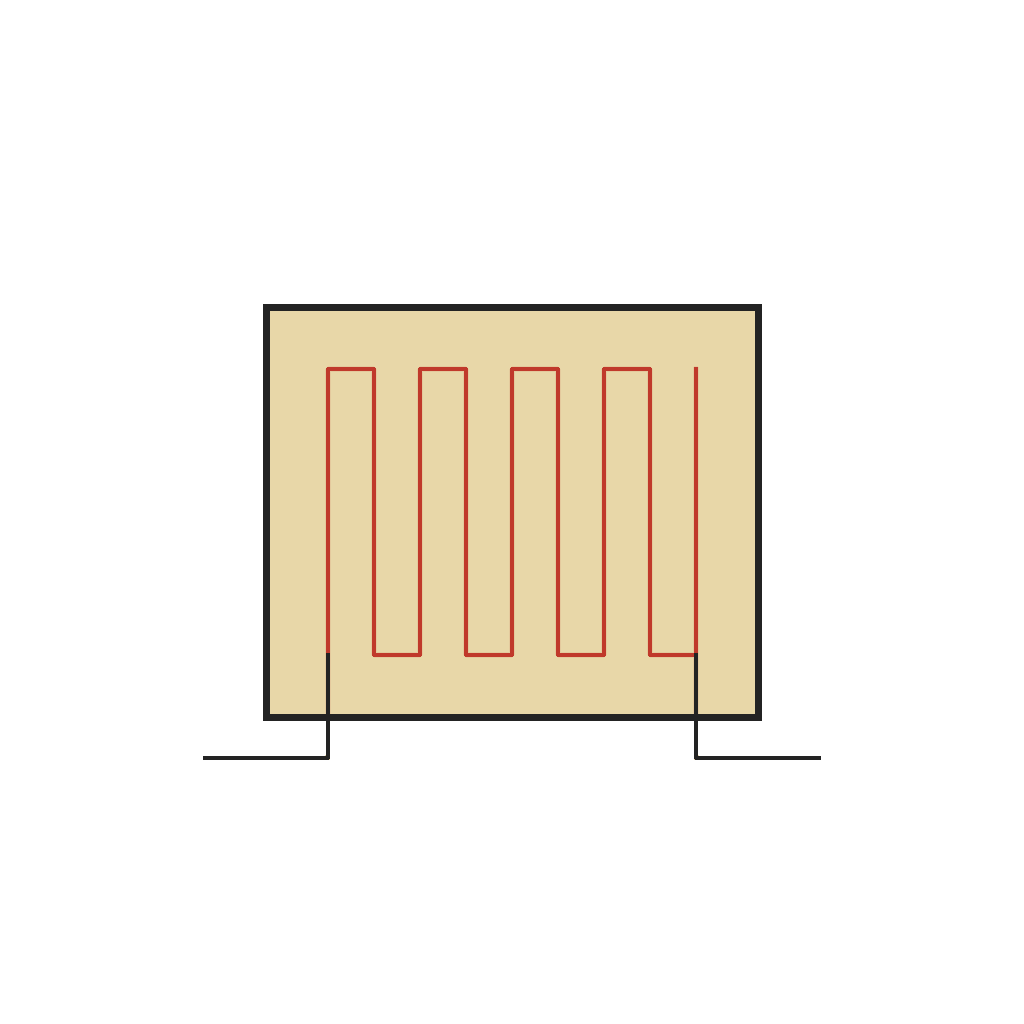
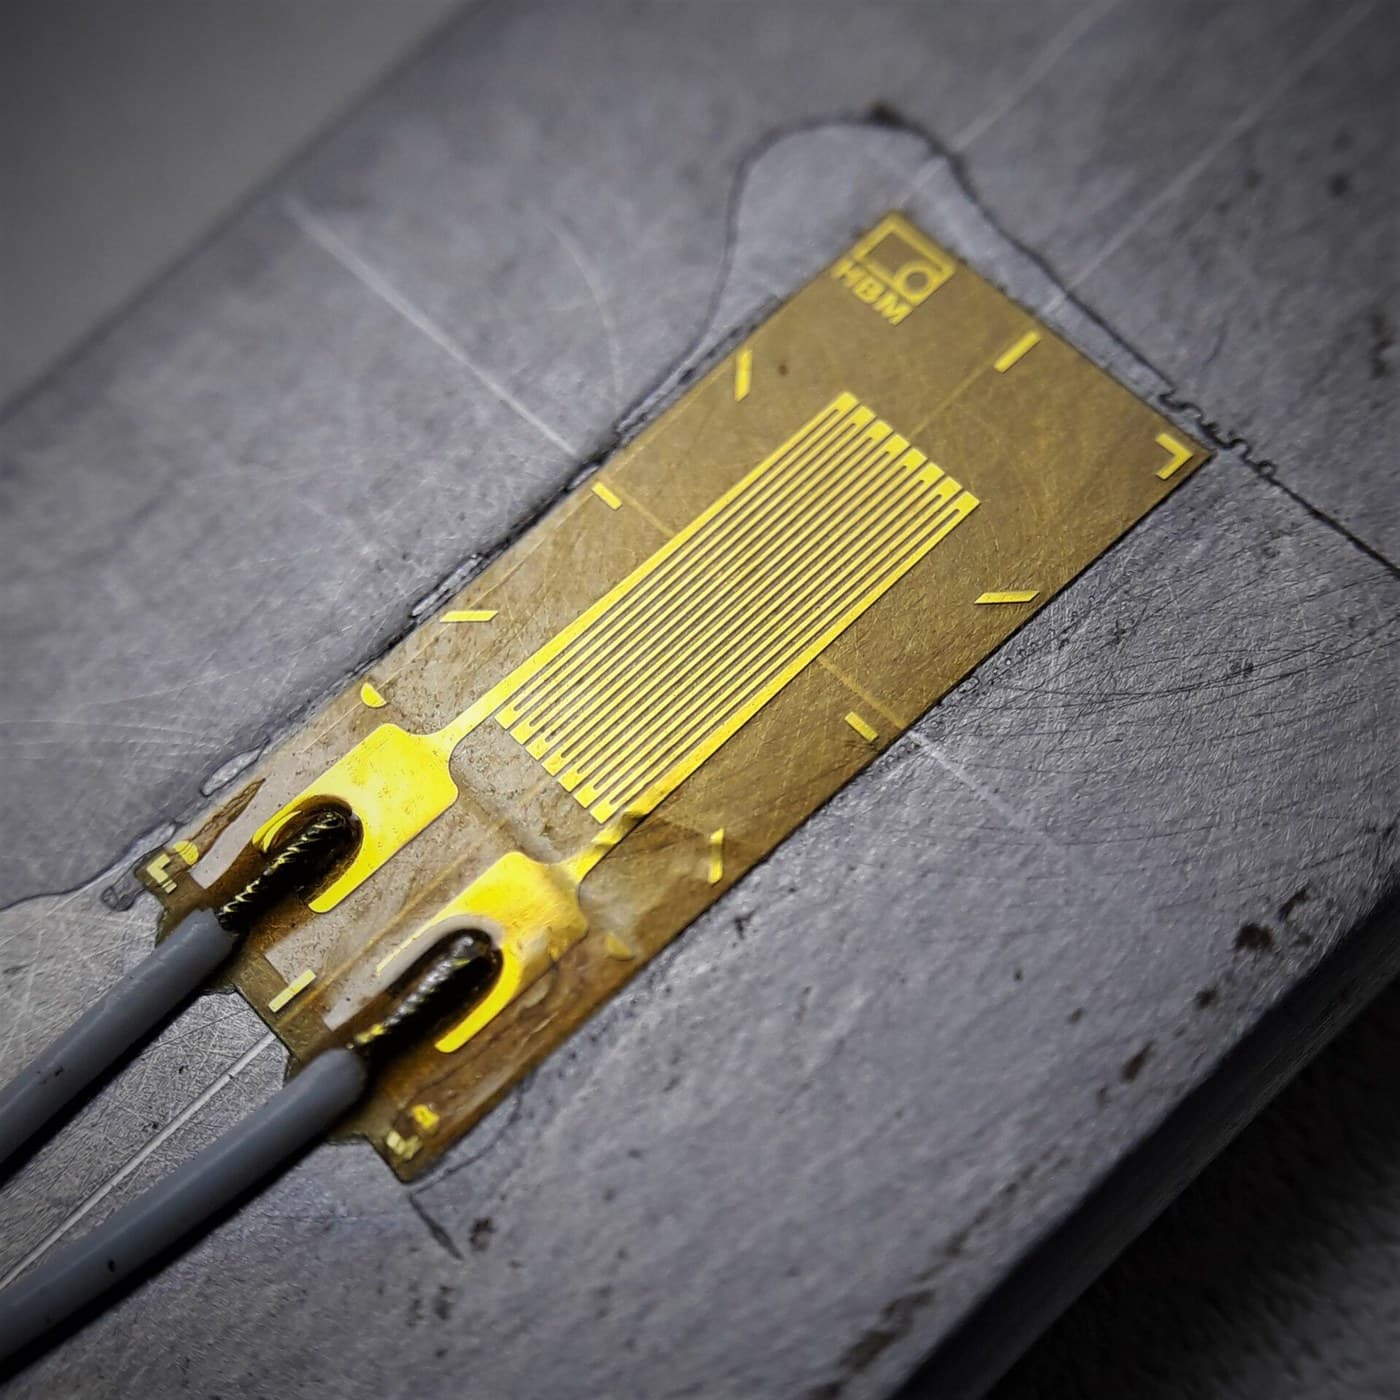
Edward E. Simmons, Jr. of Pasadena patented the bonded wire strain gauge in 1942, US 2,292,549 (filed 1940). A very fine resistance wire is cemented to a member along its entire length, so it stretches and shortens exactly with the surface and its electrical resistance follows the strain. His preferred form: Constantan or Advance wire, about 0.003 inch, wound back and forth on a thin paper, set in Glyptal, then cemented to the member and calibrated.
Erfahren
Workshop process
Anweisungen
1
1
Wind the filament on thin paper
Wind the filament on thin paper
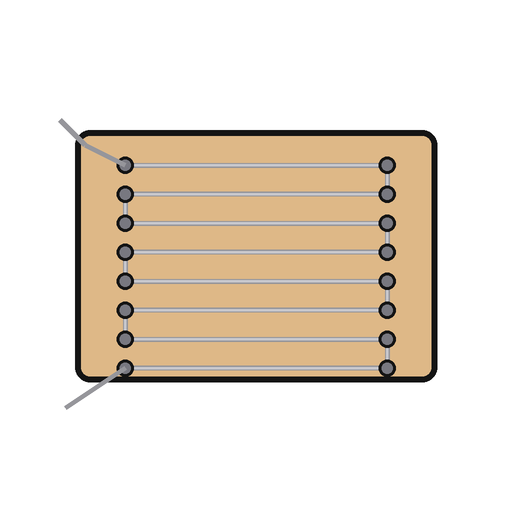
Use a fine resistance wire such as Constantan or Advance (a copper-nickel alloy, about 45 % nickel and 55 % copper); Simmons used No. 40 gauge, about 0.0031 inch. Wind it back and forth across a thin paper in parallel lengths whose alternate ends are joined, the strands very close together but not touching. A winding jig keeps the filament slightly taut.
Materialien für diesen Schritt:
 Konstantandraht1 as required
 Papier1 Blatt
Benötigte Werkzeuge:
 Wickelvorrichtung
 Schere
2
2
Set it in Glyptal
Set it in Glyptal
Cover the wound filament with Glyptal and let it dry and harden thoroughly. Filament and paper now form one gauge unit, the filament lying in the plane of the paper surface.
Materialien für diesen Schritt:
 Glyptal-Alkydharz1 as required
Benötigte Werkzeuge:
 Feine Pinsel
 Trockenofen
3
3
Cement it to the member
Cement it to the member
Put Glyptal on the surface of the member and wrap the gauge unit on with the strands running in the direction of the strain to be measured, the paper outside. The small amount of Glyptal on the surface insulates the filament from the member. Hold filament and paper in place by wrapping them with thread, then dry and harden the Glyptal thoroughly.
Materialien für diesen Schritt:
Glyptal-Alkydharz1 as required Baumwollgarn1 as required
Benötigte Werkzeuge:
Feine PinselTrockenofenSchere4
4
Calibrate it
Calibrate it
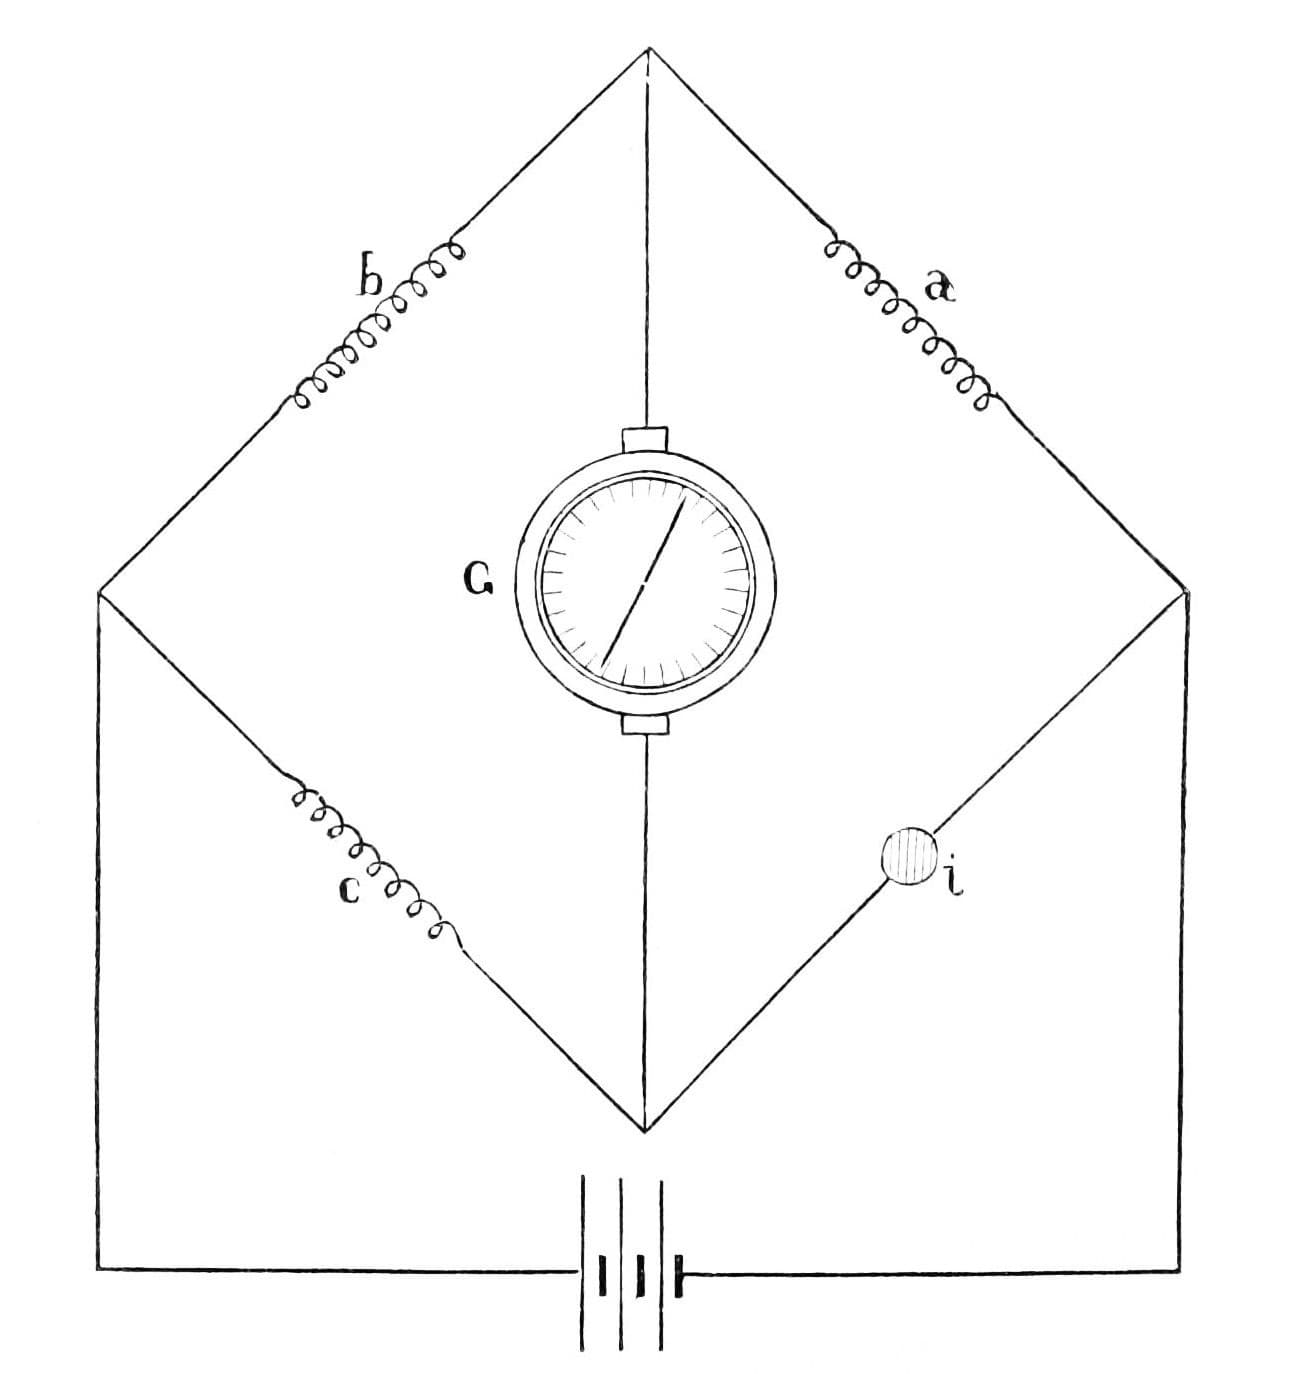
Load the member progressively in a materials testing machine and note the change in the filament's resistance at each load, measured on a Wheatstone bridge in which the filament is one arm. For very fast loads, as in impact tests, an oscillograph takes the place of the galvanometer.
Benötigte Werkzeuge:
 Werkstoffprüfmaschine
 Wheatstonesche Messbrücke
 Analoges Galvanometer
5
5
Bonding area and signal size
Bonding area and signal size
Jupyter-Notebook wird geladen …
Materialien
4- 1 as requiredPlatzhalter
- 1 BlattPlatzhalter
- 1 as requiredPlatzhalter
- 1 as requiredPlatzhalter
Benötigte Werkzeuge
7- Platzhalter
- Platzhalter
- Platzhalter
- Platzhalter
- Platzhalter
- Platzhalter
- Platzhalter
Dieser Bauplan stellt her
Verwandte Blueprints
Diese Blueprints teilen Wissen — Techniken, Materialien oder Prinzipien

CC0 Gemeinfrei
Dieser Blueprint ist unter CC0 veröffentlicht. Sie dürfen dieses Werk für jeden Zweck frei kopieren, ändern, verbreiten und verwenden, ohne um Erlaubnis zu fragen.
Unterstützen Sie den Maker, indem Sie Produkte über seinen Blueprint kaufen, wo er eine Maker-Provision von Anbietern festgelegt, verdient. Oder erstellen Sie eine neue Iteration dieses Blueprints und verbinden Sie ihn in Ihrem eigenen Blueprint, um Einnahmen zu teilen.