KUNST
SCHÖNHEIT & WELLNESS
HANDWERK
KULTUR & GESCHICHTE
UNTERHALTUNG
UMFELD
ESSEN & GETRÄNKE
REVERSE ENGINEERING
WISSENSCHAFTEN
SPORT
TECHNOLOGIE
WEARABLES
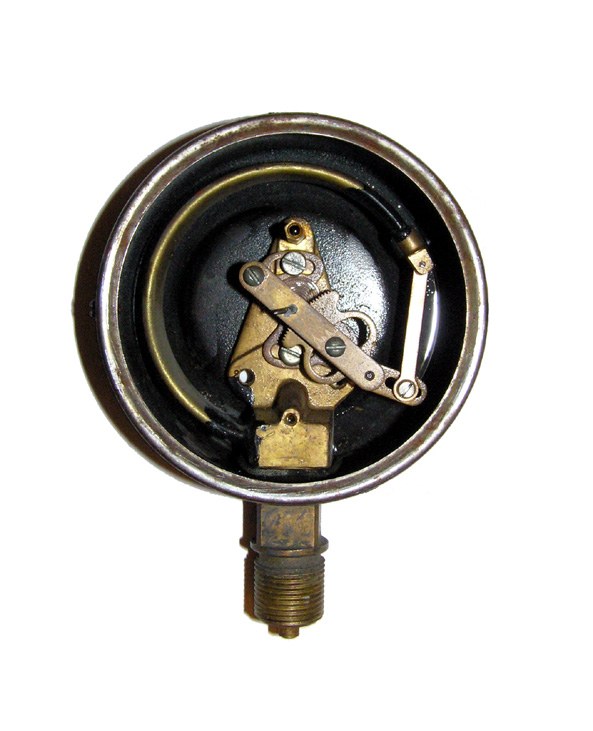


Bourdon-Tube Pressure Gauge
The heart of a dial pressure gauge is the Bourdon tube: a metal tube of oval section bent into a C and sealed at its free end. The greater the pressure, the farther the free tip moves, but only about 0.125–0.25 in (3–6 mm) across the whole range. A geared movement, built much like clockwork, turns that small movement into the sweep of a pointer, usually over 270° of dial. The tube metal must take a spring temper; phosphor bronze is used for most gauges for air, light oil or water, and beryllium copper for high pressure. The tube's wall thickness and the radius of its curve set the pressure range.
Erfahren
Factory process
Anweisungen
1
1
Roll the C
Roll the C
Pass the tubing over a lubricated steel mandrel and between two grooved, powered rollers. One roller grips the end and bends the inside radius while the other presses from outside; the grooves keep the tube from flattening.
Materialien für diesen Schritt:
 Phosphorbronzerohr1 as required
Benötigte Werkzeuge:
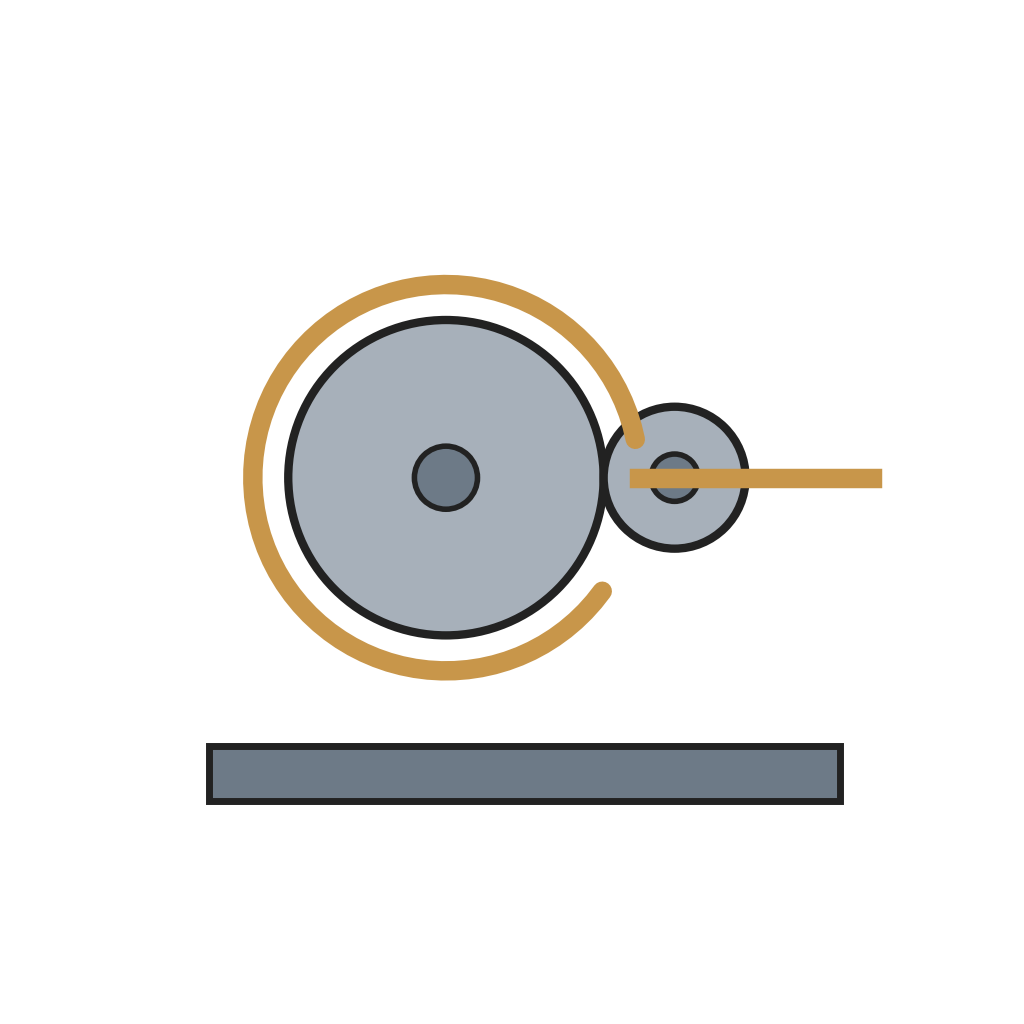 Bourdonrohr-Biegemaschine
2
2
Cut and heat treat
Cut and heat treat
As the roller keeps turning, a saw blade on it cuts the tube to length. Heat treat the tubes in ovens to give them their spring temper.
Benötigte Werkzeuge:
 Wärmebehandlungsofen
3
3
Machine the socket
Machine the socket
Turn, drill, mill and thread the socket from bar stock in one cycle on a machining centre. One end is threaded to screw into the pressure source.
Materialien für diesen Schritt:
 Messing-Rundstange1 as required
Benötigte Werkzeuge:
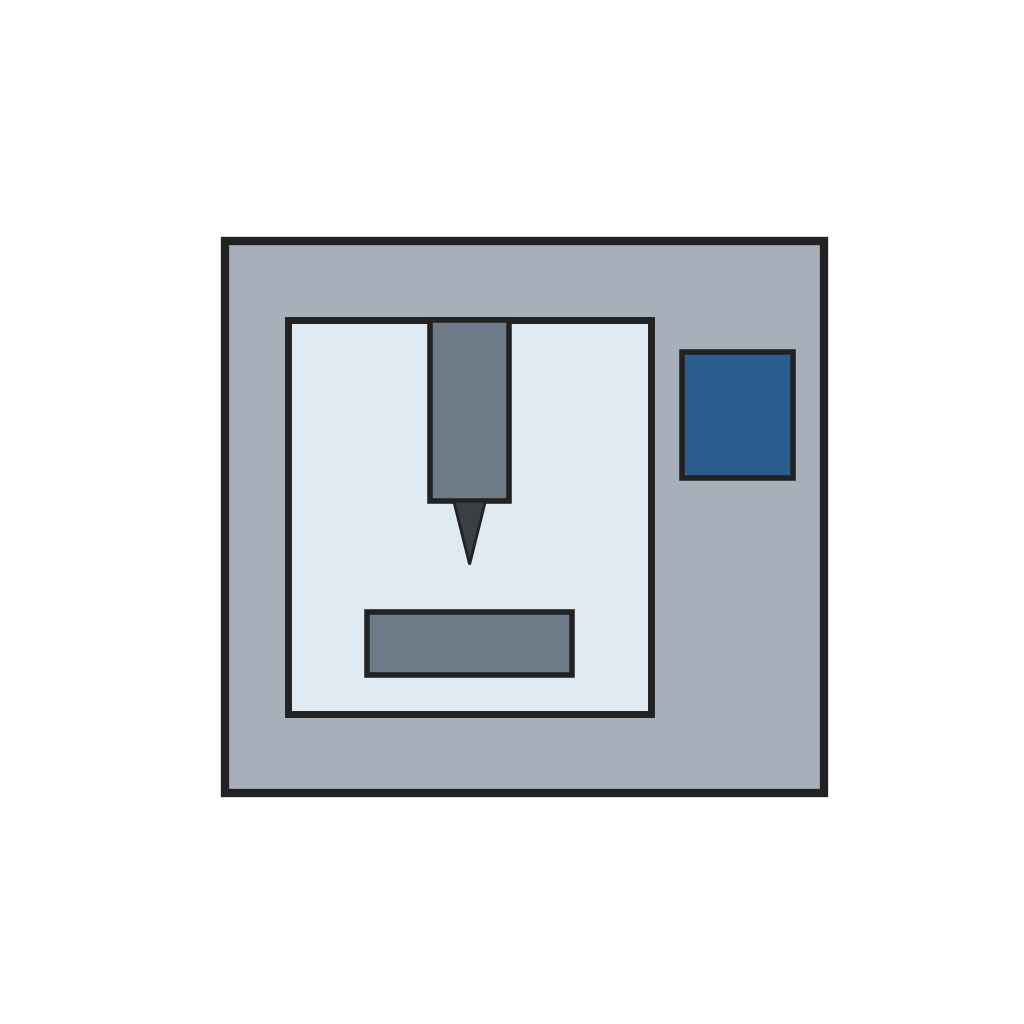 CNC-Bearbeitungszentrum
4
4
Join tube and socket
Join tube and socket
Solder, braze or weld the open end of the tube to the socket, locating the free end precisely, and seal the free end the same way. Fit an endpiece to the tip; its small hole links the tip to the movement.
Benötigte Werkzeuge:
 Hartlötbrenner
5
5
Fit movement, dial and pointer
Fit movement, dial and pointer
Mount the movement, the dial and the pointer onto the socket as a group.
Materialien für diesen Schritt:
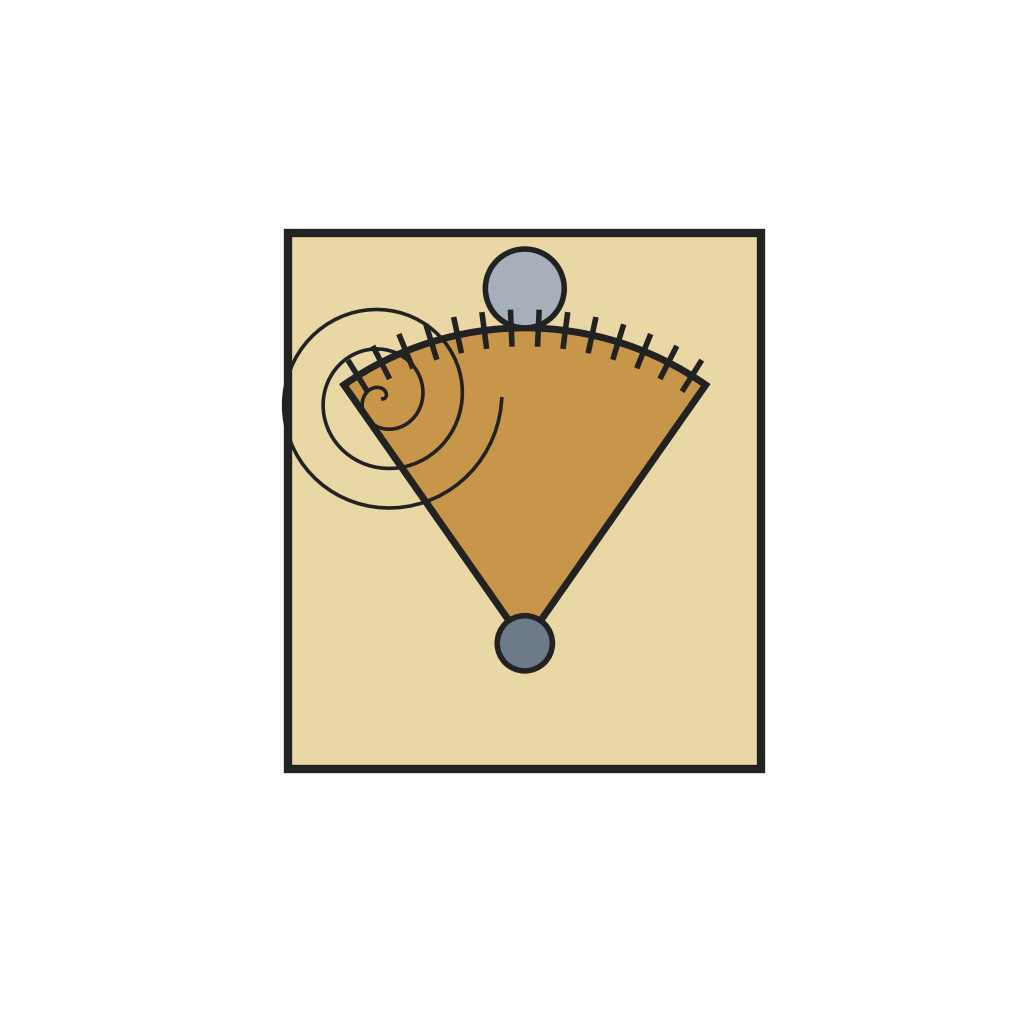 Manometer-Messwerk1 Stück
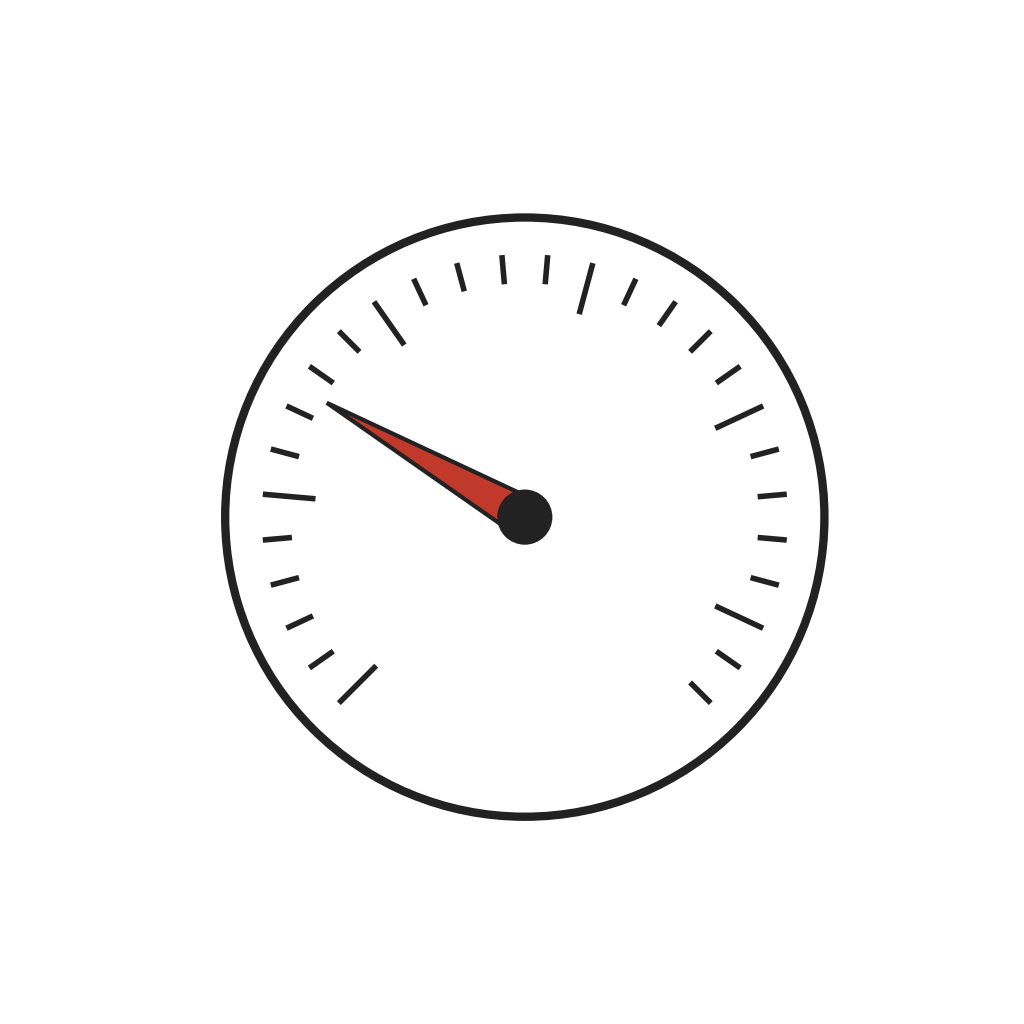 Zifferblatt und Zeiger für Manometer1 Stück
6
6
Calibrate and case
Calibrate and case
Connect the assembly to a pressure source alongside a master gauge of known accuracy and adjust it until it reads the same; 2% is a common accuracy, finer grades 1, 0.5 or 0.25%. Then fit the case and lens.
Materialien für diesen Schritt:
 Manometergehäuse und Sichtscheibe1 Stück
Benötigte Werkzeuge:
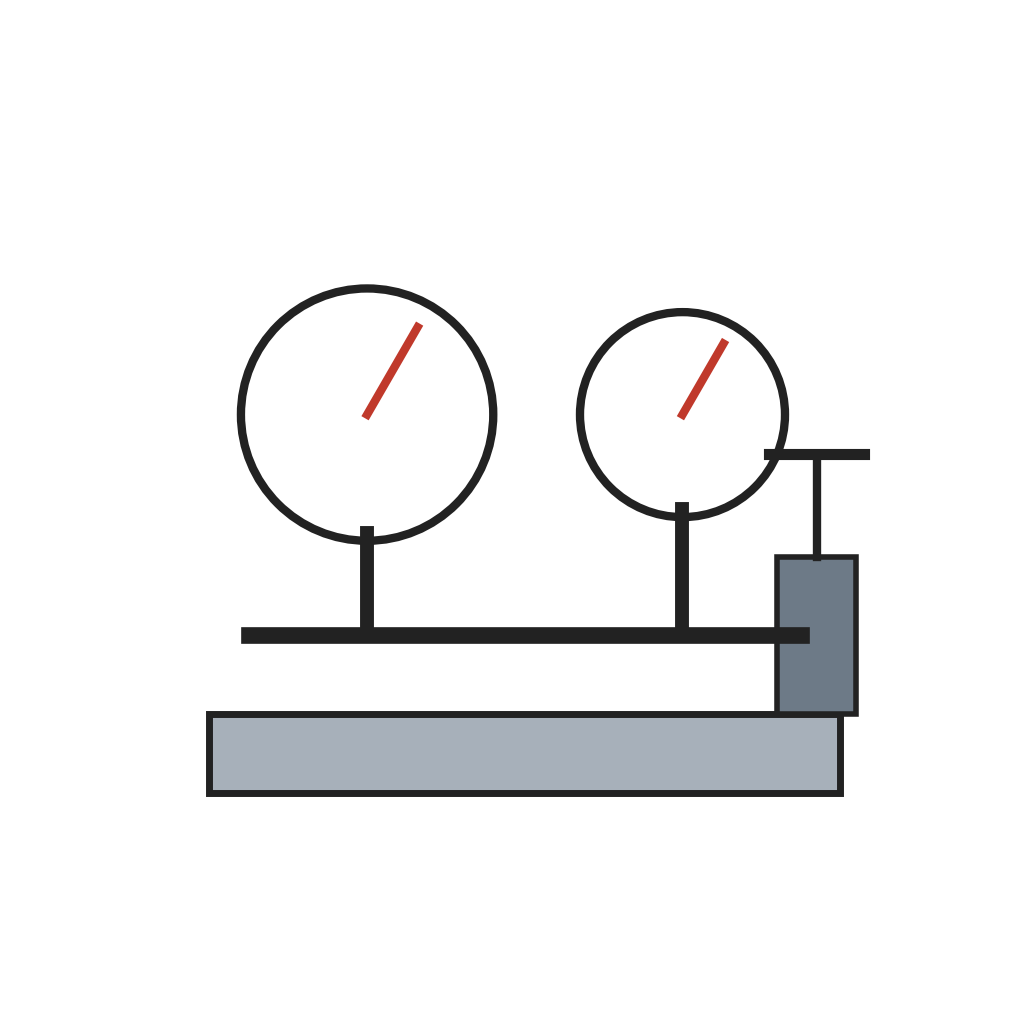 Prüfstand mit Referenzmanometer
Materialien
5- 1 as requiredPlatzhalter
- 1 as requiredPlatzhalter
- 1 StückPlatzhalter
- Platzhalter
- Platzhalter
Benötigte Werkzeuge
5- Platzhalter
- Platzhalter
- Platzhalter
- Platzhalter
- Platzhalter
Dieser Bauplan stellt her
Verwandte Blueprints
Diese Blueprints teilen Wissen — Techniken, Materialien oder Prinzipien
CC0 Gemeinfrei
Dieser Blueprint ist unter CC0 veröffentlicht. Sie dürfen dieses Werk für jeden Zweck frei kopieren, ändern, verbreiten und verwenden, ohne um Erlaubnis zu fragen.
Unterstützen Sie den Maker, indem Sie Produkte über seinen Blueprint kaufen, wo er eine Maker-Provision von Anbietern festgelegt, verdient. Oder erstellen Sie eine neue Iteration dieses Blueprints und verbinden Sie ihn in Ihrem eigenen Blueprint, um Einnahmen zu teilen.