Zusammenarbeit
KUNST
SCHÖNHEIT & WELLNESS
HANDWERK
KULTUR & GESCHICHTE
UNTERHALTUNG
UMFELD
ESSEN & GETRÄNKE
REVERSE ENGINEERING
WISSENSCHAFTEN
SPORT
TECHNOLOGIE
WEARABLES
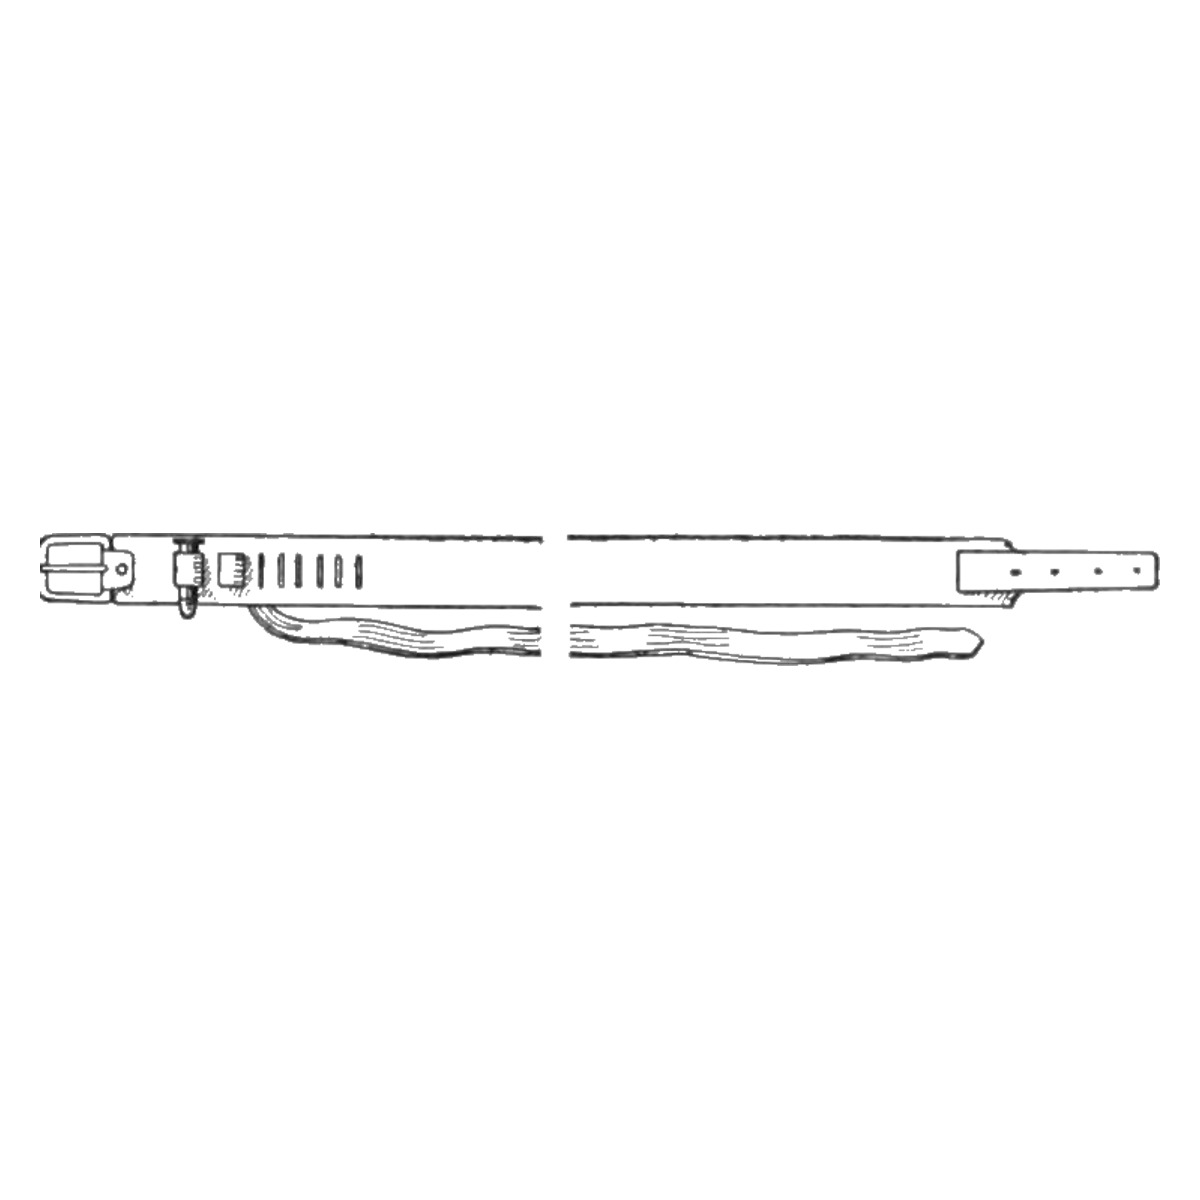


Cartridge Belt: Wide Leather Belt With a Woven Strip Forming the Loops (Boy Mechanic, 1915)
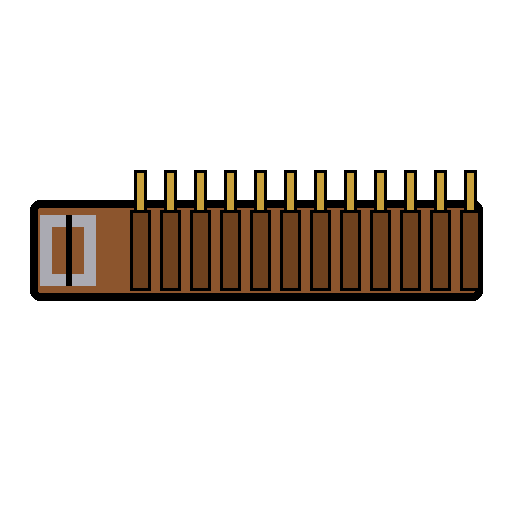
Robert Pound of Lavina, Montana, sent this cartridge belt to The Boy Mechanic, Book 2 (1915): a leather belt about 2-1/2 in wide with a 1 in strip woven through pairs of slits to form a row of loops. Using the strip's free end in the buckle lets the loops be tightened for different sizes.
Anfänger
About 2 hours
Anweisungen
1
1
His sizes, and how many loops
His sizes, and how many loops
Jupyter-Notebook wird geladen …
2
2
Read The Boy Mechanic, Book 2
Read The Boy Mechanic, Book 2
"Procure a leather belt, about 2-1/2 in. wide and long enough to reach about the waist, also a piece of leather, 1 in. wide and twice as long as the belt."
3
3
Cut the belt and strip
Cut the belt and strip
Cut a leather belt about 2-1/2 in wide and long enough to go round the waist, and a strip 1 in wide and twice as long as the belt. Fix a buckle to one end of the belt and rivet one end of the strip to the belt near the buckle.
Materialien für diesen Schritt:
 Geschirrleder2 Stück
 Eisenschnalle mit Dorn1 Stück
 Kupfernieten1 Stück
Benötigte Werkzeuge:
 Ledermesser
 Lederlocheisen
 Hammer
 Bandmaß (Rollmeter)
4
4
Weave the loops
Weave the loops
Cut two slits in the belt, a cartridge's diameter apart. Pass the strip through one slit and back through the other to make a loop. About 1/4 in further on, cut two more slits and form the next loop the same way, and so on along the whole belt.
Benötigte Werkzeuge:
LedermesserBandmaß (Rollmeter) Bleistift
5
5
Finish the end
Finish the end
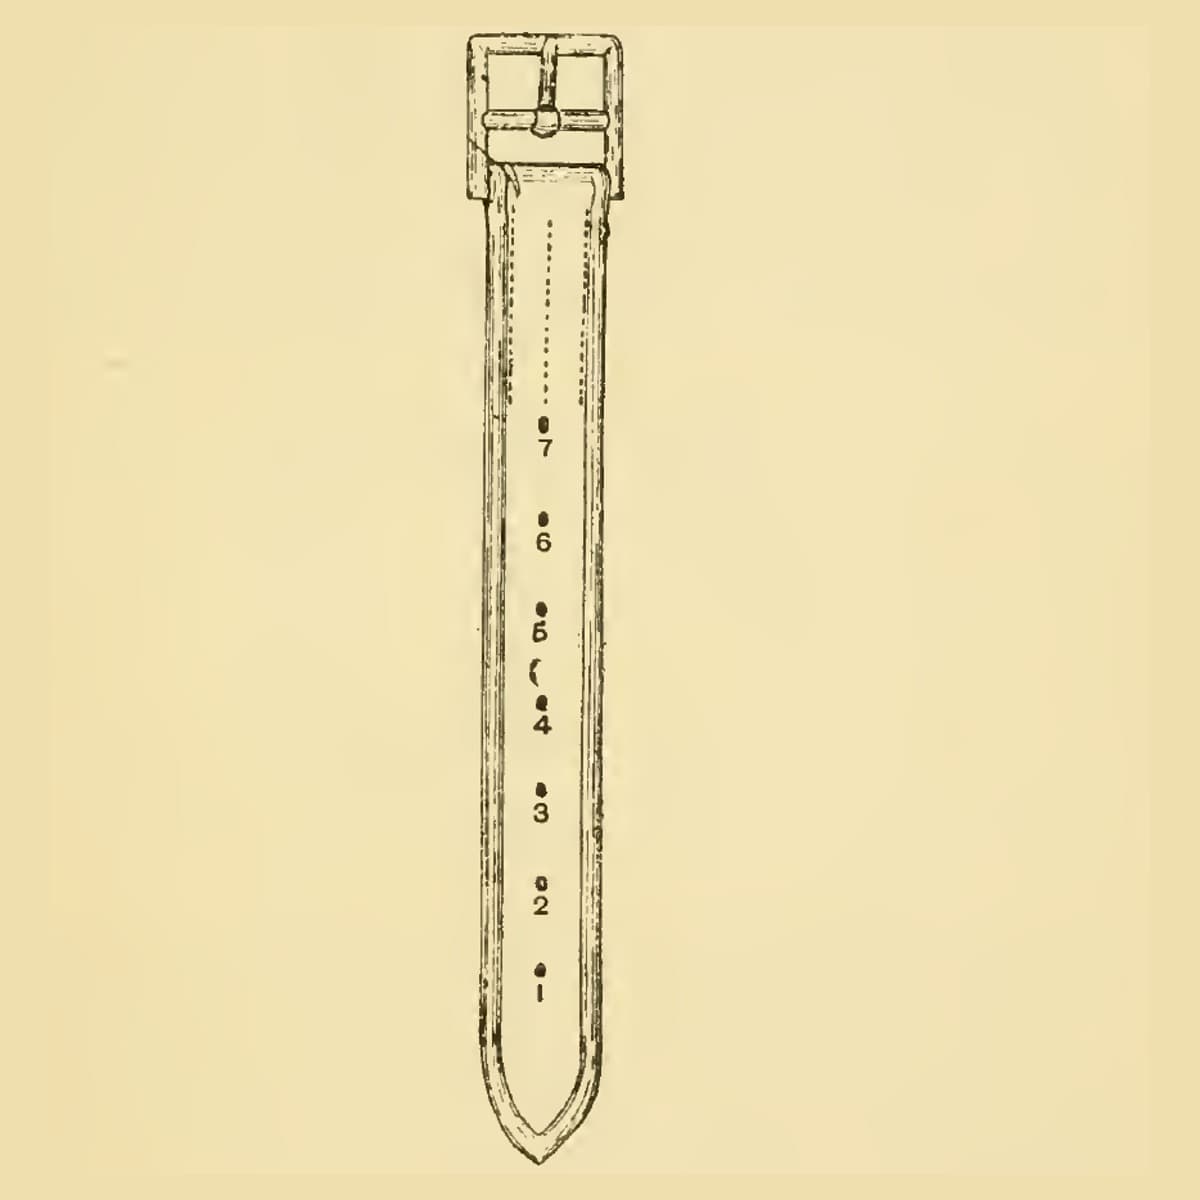
Rivet the end of the strip to the belt, or take it into the buckle: then the strip can be drawn up to fit cartridges of different sizes. Punch the holes for the buckle tongue.
Materialien für diesen Schritt:
Kupfernieten1 StückBenötigte Werkzeuge:
LederlocheisenHammer6
6
Troubleshooting
Troubleshooting
Cartridge belt troubleshooting.
Flow
Loading...
7
7
History and honest limits
History and honest limits
From "How to Make a Cartridge Belt" by Robert Pound, Lavina, Mont., in **The Boy Mechanic, Book 2**, Popular Mechanics, 1915 (Project Gutenberg 44585; checked on the archive.org scan boymechanicbook200chic2, p. 55). He gives no slit length and no cartridge size; the slit spacing follows whatever cartridge the belt is for. The tools and metric figures are ours.
Materialien
3- 2 StückPlatzhalter
- 1 StückPlatzhalter
- 1 StückPlatzhalter
Dieser Bauplan stellt her
Verwandte Blueprints
Diese Blueprints teilen Wissen — Techniken, Materialien oder Prinzipien
CC0 Gemeinfrei
Dieser Blueprint ist unter CC0 veröffentlicht. Sie dürfen dieses Werk für jeden Zweck frei kopieren, ändern, verbreiten und verwenden, ohne um Erlaubnis zu fragen.
Unterstützen Sie den Maker, indem Sie Produkte über seinen Blueprint kaufen, wo er eine Maker-Provision von Anbietern festgelegt, verdient. Oder erstellen Sie eine neue Iteration dieses Blueprints und verbinden Sie ihn in Ihrem eigenen Blueprint, um Einnahmen zu teilen.