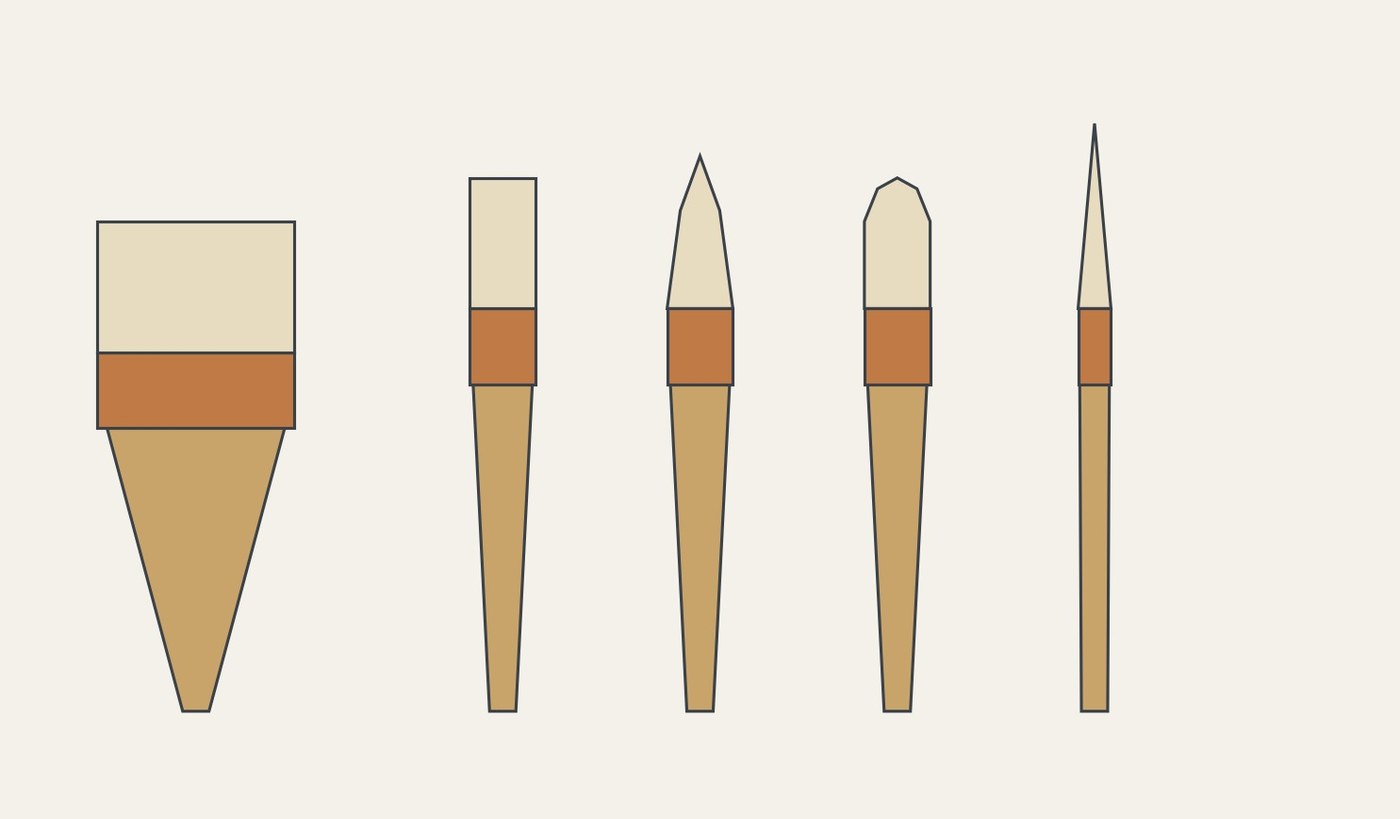


Bristle Paint Brushes: Wide Flat and a Set of Rounds and Flats
Anweisungen
Sort the bristle
Sort the bristle
Materialien für diesen Schritt:
 Wildschweinborsten0.1 kg
Benötigte Werkzeuge:
 Spitzpinzette
 Schere
Tie and glue the knots
Tie and glue the knots
Materialien für diesen Schritt:
 Gewachster Leinenzwirn3 m
 Hautleim0.1 kg
Benötigte Werkzeuge:
 Großer Topf (unten, für das Wasserbad)
 Becherglas
Make the ferrules
Make the ferrules
Materialien für diesen Schritt:
 Kupferblech1 Stück
Benötigte Werkzeuge:
 Blechschere
 Kreuzschlaghammer
 Flachzange
Handles
Handles
Materialien für diesen Schritt:
 Buchenholz1 Stück
Benötigte Werkzeuge:
 Wippdrehbank
 Drechselröhre
 Handsäge
Assemble
Assemble
Materialien für diesen Schritt:
Hautleim0.05 kgBenötigte Werkzeuge:
FlachzangeGroßer Topf (unten, für das Wasserbad)BecherglasBristle for a knot
Bristle for a knot
Materialien
5- 0.1 kgPlatzhalter
- Platzhalter
- 0.1 kgPlatzhalter
- 1 StückPlatzhalter
- 1 StückPlatzhalter
Benötigte Werkzeuge
10- Platzhalter
- Platzhalter
- Platzhalter
- Platzhalter
- Platzhalter
- Platzhalter
- Platzhalter
- Platzhalter
- Platzhalter
- Platzhalter
Dieser Bauplan stellt her


Verwandte Blueprints
Diese Blueprints teilen Wissen — Techniken, Materialien oder Prinzipien
CC0 Gemeinfrei
Dieser Blueprint ist unter CC0 veröffentlicht. Sie dürfen dieses Werk für jeden Zweck frei kopieren, ändern, verbreiten und verwenden, ohne um Erlaubnis zu fragen.
Unterstützen Sie den Maker, indem Sie Produkte über seinen Blueprint kaufen, wo er eine Maker-Provision von Anbietern festgelegt, verdient. Oder erstellen Sie eine neue Iteration dieses Blueprints und verbinden Sie ihn in Ihrem eigenen Blueprint, um Einnahmen zu teilen.