KUNST
SCHÖNHEIT & WELLNESS
HANDWERK
KULTUR & GESCHICHTE
UNTERHALTUNG
UMFELD
ESSEN & GETRÄNKE
GRÜNE ZUKUNFT
REVERSE ENGINEERING
WISSENSCHAFTEN
SPORT
TECHNOLOGIE
WEARABLES
Making a Bronze Needle — Drawing and Hammering Fine Wire
Forge

Erstellt von

Forge

26. Mai 2026NO
7
0
0
0
0

Making a Bronze Needle — Drawing and Hammering Fine Wire

The bronze needle was one of the smallest yet most transformative tools of the Bronze Age. It made possible fitted clothing, leather working, sail-making, and surgical suturing — tasks that bone needles could perform but bronze needles did faster, finer, and without breaking.

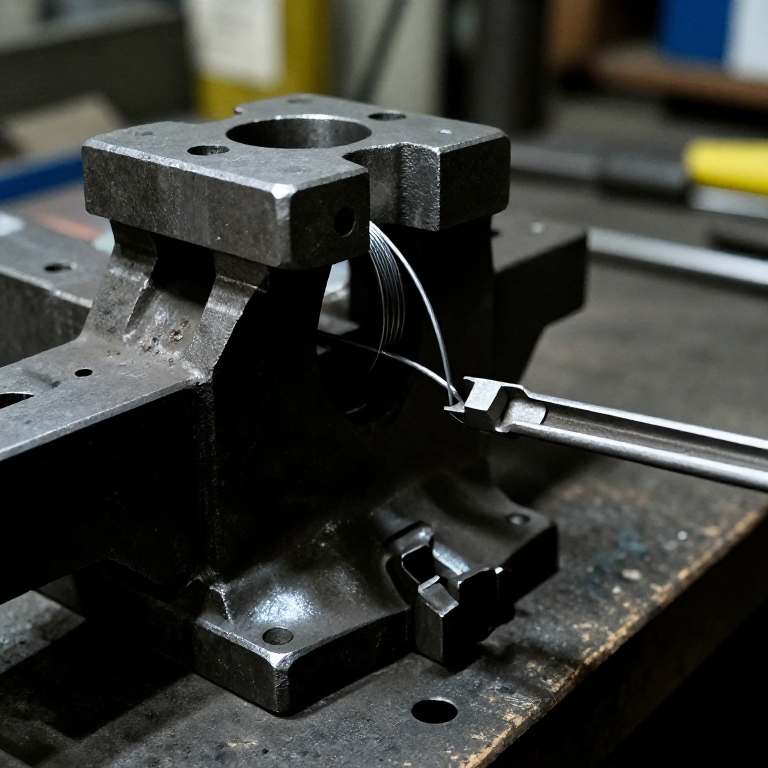
Unlike larger tools that are cast in moulds, a needle is too thin to cast directly. Instead, a short bronze rod is hammered and drawn into a taper, then the eye is punched through with a fine pointed tool. The entire process relies on repeated cycles of cold-hammering (to shape and harden) and annealing (heating to soften for further working).

A well-made bronze needle is 6-10 cm long, about 2 mm in diameter at the thickest point, tapers to a sharp point, and has an eye large enough to thread sinew or flax fibre.

Fortgeschritten
1-2 hours

Anweisungen

1

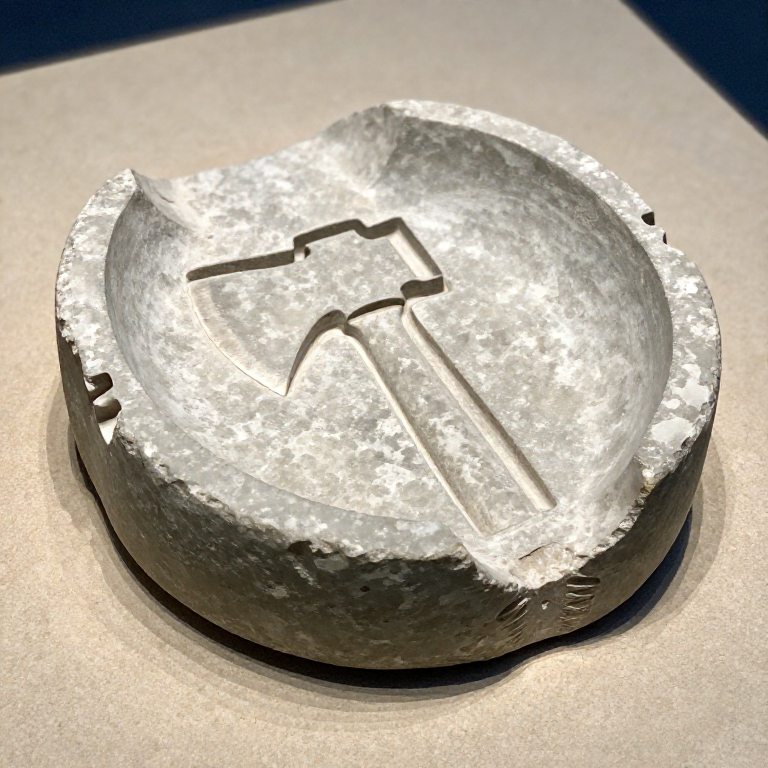
Cast a small bronze rod

Pour a small amount of molten bronze (about 30 g) into a narrow channel carved in a stone slab — a straight groove about 8 cm long and 5 mm wide. Alternatively, use a scrap piece of cast bronze from a previous pour. The starting piece should be roughly pencil-thickness and finger-length.

Materialien für diesen Schritt:

Copper Sheet (0.5-1mm)Copper Sheet (0.5-1mm)27 g
2

Hammer the rod to initial taper

Place the bronze rod on a flat stone anvil. Using a smooth hammerstone, hammer one end to begin forming a taper. Rotate the rod 90 degrees between strikes to keep the cross-section round rather than flat. Work from the middle toward the tip, gradually reducing the diameter. After 50-60 blows the bronze will become stiff and resistant — this is work-hardening.

Benötigte Werkzeuge:

HammerstoneHammerstone
Flat Stone SlabFlat Stone Slab
3

Anneal to restore workability

Hold the work-hardened rod in the edge of a charcoal fire using tongs until it glows a dull cherry red (about 500-600 °C). Remove and let it cool slowly in still air — do not quench. This annealing recrystallises the distorted grain structure, making the bronze soft and workable again. Bronze must be annealed frequently during cold-working or it cracks.

Materialien für diesen Schritt:

CharcoalCharcoal500 g
4

Continue hammering to needle dimensions

Repeat the cycle: hammer to shape, anneal when stiff, hammer again. Over 4-6 cycles, reduce the rod to approximately 2 mm diameter at the thickest point (the eye area) and taper to a sharp point. The needle should be 6-10 cm long. Keep rolling the rod between strikes to maintain a round cross-section throughout.
5

Form the eye end

Flatten the blunt end of the needle slightly by hammering it on one face only, creating an oval cross-section about 3 mm wide and 1.5 mm thick. This provides enough material to punch a hole through without splitting the needle. The flattened area should be about 5 mm long.
6

Punch the eye

Place the flattened end on a piece of lead or a thick leather pad (to support the metal without cracking it). Position a fine-pointed bronze or hardened bone awl on the centre of the flat area. Tap the awl with a small hammerstone to punch through. Turn the needle over and punch from the other side to clean the hole. The eye should be about 1-1.5 mm in diameter — large enough for sinew or flax thread.
7

Sharpen the point

Grind the needle point on a fine whetstone with water, rotating constantly to maintain a symmetrical taper. The point should be sharp enough to penetrate leather without tearing. Test by pricking the surface of a piece of hide — a good point enters cleanly with light pressure.

Materialien für diesen Schritt:

WhetstoneWhetstone1 Stück
8

Polish and final work-hardening

Rub the entire needle with fine sand on a smooth stone to remove all hammer marks and surface roughness. A rough needle drags through fabric and enlarges the holes it makes. Finally, give the shaft a few light taps with the hammerstone — just enough to work-harden the surface without bending the needle. The finished needle should be straight, smooth, and springy.

Materialien

3

Benötigte Werkzeuge

2

Materialien verbundener Blueprints

CC0 Gemeinfrei

Dieser Blueprint ist unter CC0 veröffentlicht. Sie dürfen dieses Werk für jeden Zweck frei kopieren, ändern, verbreiten und verwenden, ohne um Erlaubnis zu fragen.

Unterstützen Sie den Maker, indem Sie Produkte über seinen Blueprint kaufen, wo er eine Maker-Provision von Anbietern festgelegt, verdient. Oder erstellen Sie eine neue Iteration dieses Blueprints und verbinden Sie ihn in Ihrem eigenen Blueprint, um Einnahmen zu teilen.

Diskussion

(0)

Anmelden um an der Diskussion teilzunehmen

Kommentare werden geladen...