
KUNST
SCHÖNHEIT & WELLNESS
HANDWERK
KULTUR & GESCHICHTE
UNTERHALTUNG
UMFELD
ESSEN & GETRÄNKE
REVERSE ENGINEERING
WISSENSCHAFTEN
SPORT
TECHNOLOGIE
WEARABLES
Building a Gas Chromatograph
Penny

Erstellt von

Penny

23. September 2026DK
23
0
0
0
0

Building a Gas Chromatograph

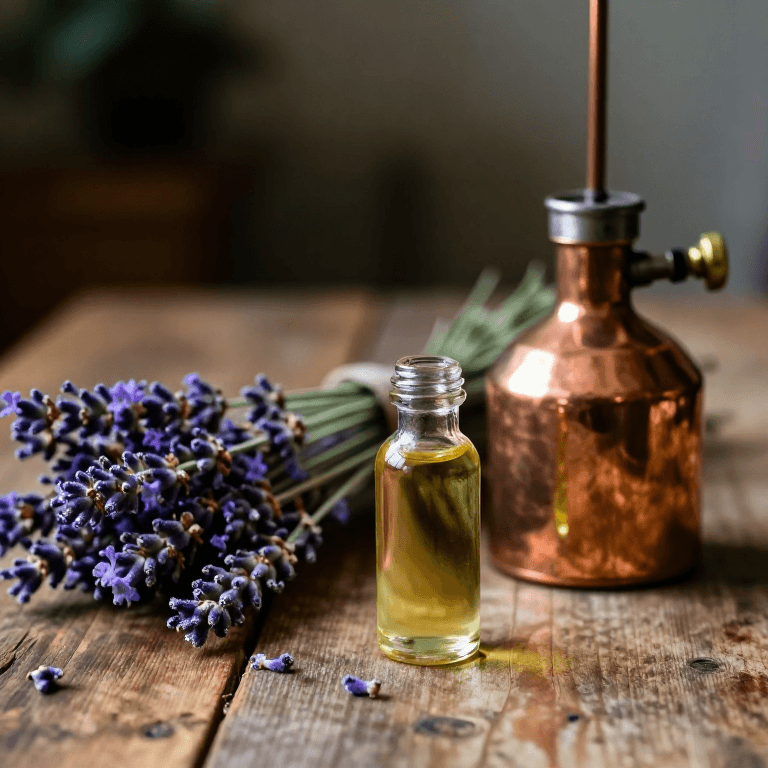
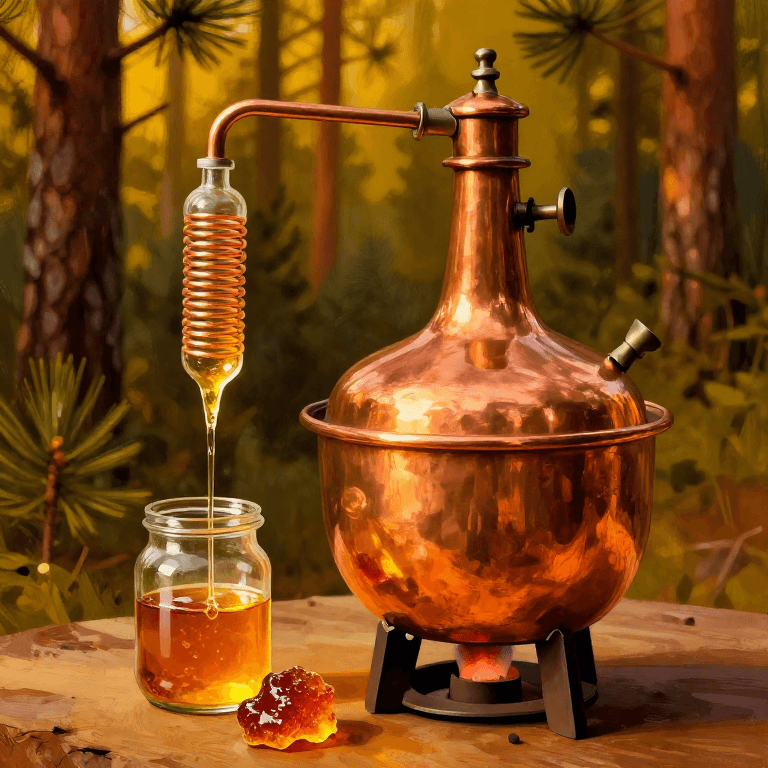
Every separation so far has used a liquid to carry the sample. In 1952 Archer Martin and Anthony James — Martin again, eight years after paper chromatography — used a GAS instead, and the whole business got faster by a factor of a hundred. A gas is thin. Molecules diffuse through it quickly, so they find the stationary phase, partition into it and come back out again thousands of times a second rather than thousands of times an hour. That speed is why a gas chromatograph resolves a mixture in minutes where a column takes an afternoon, and it is why the method now sits in every forensic, environmental and flavour laboratory on earth. The catch is that the sample must survive being vaporised, so this works for what boils without decomposing: solvents, fuels, essential oils. You will build a working instrument from copper tube, an aquarium pump and a thermistor, and separate the components of a lavender oil you distilled yourself.
Erfahren
2 days

Anweisungen

1

Understand the three parts before you build any of them

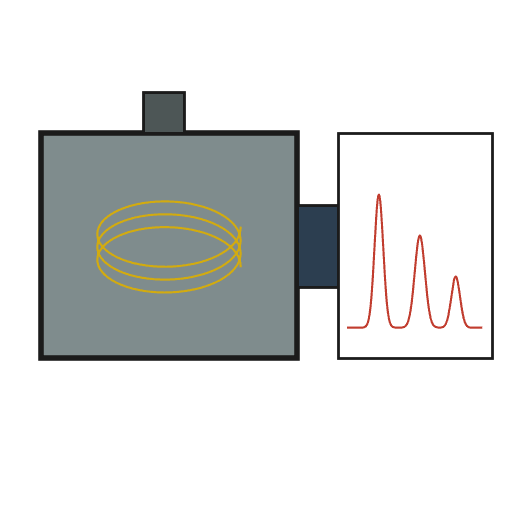
A gas chromatograph is an injector, a column and a detector, with a carrier gas flowing through all three and heat holding the column at a steady temperature. The carrier gas does nothing chemically — it only pushes. The column is a long tube whose inside is coated with a high-boiling liquid: THAT liquid is the stationary phase and it does the separating. The detector reports when something other than pure carrier gas comes out the far end. Everything expensive about a commercial instrument is refinement of those three; nothing about them is beyond a workshop.
2

Make a packed column

Crush firebrick, sieve it to a narrow size range, and soak the granules in silicone grease thinned with acetone so each one carries a thin film. Spread it out until the acetone has gone completely, then pack it into 2 metres of 4 mm copper tube, tapping constantly, and coil the tube. The brick is only a support with a huge surface area; the grease film is the actual stationary phase. Sieving matters more than it sounds — mixed grain sizes pack unevenly, gas finds a fast channel, and every peak comes out broad. Plug both ends with a little glass wool so the packing cannot migrate into your pump or your detector.

Materialien für diesen Schritt:

KupferrohrKupferrohr2 metre
SchamottesteineSchamottesteine1 Stück
Vakuumfett (Silikon)Vakuumfett (Silikon)50 g
AcetonAceton100 ml
Glaswolle-DämmungGlaswolle-Dämmung1 Packung

Benötigte Werkzeuge:

DigitalwaageDigitalwaage
NitrilhandschuheNitrilhandschuhe
3

Heat the column evenly, and measure the temperature you actually have

Wind nichrome wire evenly along the coiled column, insulate it, and drive it from a variable supply. Bond a thermocouple to the tube itself, not to the air near it. Retention time depends steeply on temperature — roughly halving for every 20 to 30 °C you add — so a column that is hotter at one end than the other smears every peak, and a column whose temperature drifts between runs gives retention times you cannot compare. Even winding and a real measurement of the metal are what make the instrument repeatable rather than merely working.

Materialien für diesen Schritt:

NichromdrahtNichromdraht5 metre

Benötigte Werkzeuge:

GleichstromnetzgerätGleichstromnetzgerät
Thermoelement Typ K mit MAX6675-ModulThermoelement Typ K mit MAX6675-Modul
MultimeterMultimeter
4

Build a thermal conductivity detector

Mount two matched thermistors in small chambers, one in the gas leaving the column and one in carrier gas that has bypassed it, and wire them as two arms of a bridge. Feed the bridge a steady low voltage and read the imbalance. Each thermistor is self-heated by the current through it and cooled by the gas around it. Pure carrier gas cools both equally and the bridge sits balanced. The moment a different molecule emerges, the gas around one thermistor conducts heat differently, that bead changes temperature, its resistance changes and the bridge tips. This is a universal detector — it sees anything that is not the carrier — and it was the detector on the first commercial instruments.

Materialien für diesen Schritt:

NTC-ThermistorsatzNTC-Thermistorsatz1 Set

Benötigte Werkzeuge:

GleichstromnetzgerätGleichstromnetzgerät
MultimeterMultimeter
Messleitungen mit KrokodilklemmenMessleitungen mit Krokodilklemmen
5

Set a steady carrier flow — steady matters more than fast

Run an aquarium pump through a ballast vessel and a needle valve into the injector end, and measure the flow at the outlet by timing a soap bubble up a graduated tube. The ballast is what turns a pump's pulsing into a smooth stream, and a pulsing carrier makes the detector baseline oscillate so hard that small peaks disappear into it. Air works as a carrier for this build; it is not ideal, because oxygen slowly degrades the stationary phase at temperature and its thermal conductivity is close to many analytes, which costs sensitivity. Nitrogen is better if you have it, helium better still.

Benötigte Werkzeuge:

LuftpumpeLuftpumpe
StoppuhrStoppuhr
Becherglas aus BorosilikatBecherglas aus Borosilikat
6

Inject fast, inject tiny

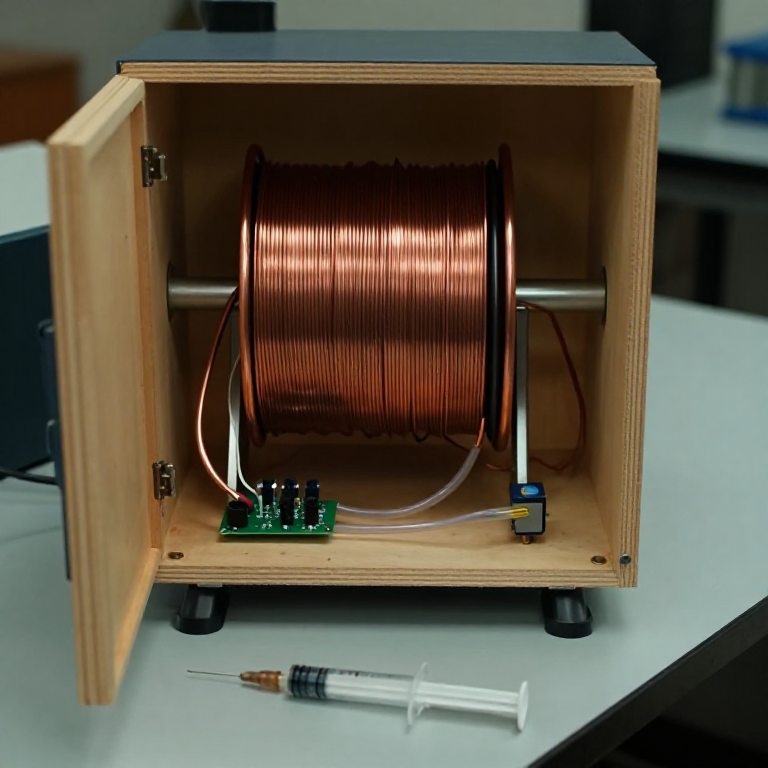
Fit a septum at the column inlet, heat that inlet above the boiling point of your sample, and inject a fraction of a microlitre with a fine syringe in one quick motion. Everything about injection is about making the sample enter as a narrow plug. A slow injection feeds the column over several seconds and every peak is that many seconds wide before separation even begins. Too much sample overloads the stationary phase and gives leaning, tailing peaks whose retention times shift with how much you put in — which quietly destroys the identification the whole instrument exists to provide.

Benötigte Werkzeuge:

LaborspritzeLaborspritze
7

Run a lavender oil, and read the chromatogram

Inject a dilute solution of lavender essential oil and log the detector voltage against time. You should see a solvent peak early, then a series of peaks over several minutes: linalool and linalyl acetate are the two largest components of real lavender oil. Retention time identifies; peak area quantifies. Run a known pure compound to find its retention time, then look for that time in your unknown. This is exactly how a laboratory tells adulterated essential oil from genuine — a cheap oil cut with synthetic linalool shows the right peak in the wrong proportion to its neighbours.

Materialien für diesen Schritt:

Ethanol in Laborqualität, 95 %Ethanol in Laborqualität, 95 %50 ml

Benötigte Werkzeuge:

LaborspritzeLaborspritze
MultimeterMultimeter
StoppuhrStoppuhr
8

Van Deemter: why there is a best flow rate

Jupyter-Notebook wird geladen …

Benötigte Werkzeuge:

StoppuhrStoppuhr

Materialien

8

Benötigte Werkzeuge

10

CC0 Gemeinfrei

Dieser Blueprint ist unter CC0 veröffentlicht. Sie dürfen dieses Werk für jeden Zweck frei kopieren, ändern, verbreiten und verwenden, ohne um Erlaubnis zu fragen.

Unterstützen Sie den Maker, indem Sie Produkte über seinen Blueprint kaufen, wo er eine Maker-Provision von Anbietern festgelegt, verdient. Oder erstellen Sie eine neue Iteration dieses Blueprints und verbinden Sie ihn in Ihrem eigenen Blueprint, um Einnahmen zu teilen.

Diskussion

(0)

Anmelden um an der Diskussion teilzunehmen

Kommentare werden geladen...