Zusammenarbeit
KUNST
SCHÖNHEIT & WELLNESS
HANDWERK
KULTUR & GESCHICHTE
UNTERHALTUNG
UMFELD
ESSEN & GETRÄNKE
REVERSE ENGINEERING
WISSENSCHAFTEN
SPORT
TECHNOLOGIE
WEARABLES
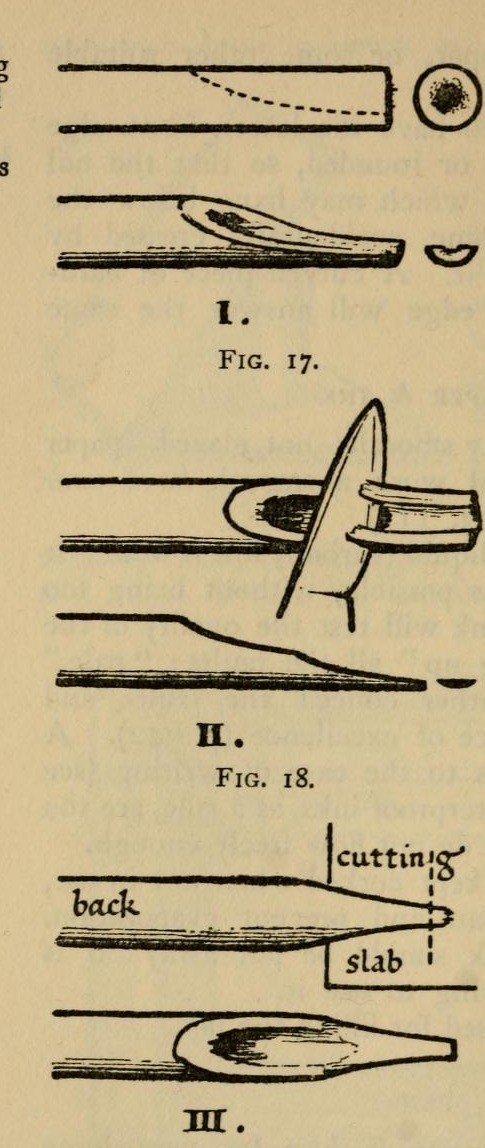


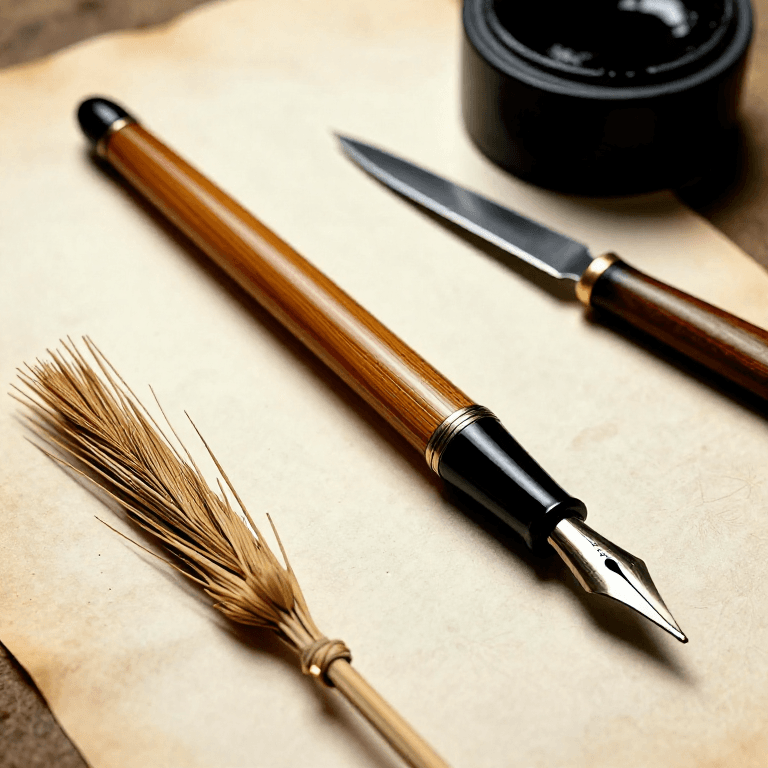
Calligraphy Pen Set: Cut Reed and Quill Pens with Ink Springs (Johnston, 1906)
Edward Johnston's broad-edged pens for formal writing: a reed or cane pen for letters over half an inch high, and a turkey quill for smaller work. Each nib is slit, cut square-chisel at about 70°, and given a folded tin spring underneath that holds a reservoir of ink. The width of the cut nib is exactly the width of the thickest stroke it will make.
Result: a set of reed and quill pens, cut to the widths you want.
Source: E. Johnston, Writing & Illuminating, & Lettering (1906), pp. 51-58. Picture: Figs. 17-19 of the book.
Anfänger
Unknown
Anweisungen
1
1
Cut the reed pen
Cut the reed pen
Take a reed or fine hollow cane about 8 inches long. Cut one end off obliquely and shave away the soft inside with the knife laid flat, leaving the hard shell. Lay the nib back up on the slab and, knife vertical, cut the tip off square. Slit the middle of the tip with the knife point, then lengthen the slit to about 3/4 inch by twitching a pencil upward under the nib, pressing the left thumbnail on the back about 1 inch from the tip so it does not split too far. A very stiff pen may get an extra slit each side. Finally cut the tip off at about 70° to the shaft, removing the first rough slit. Ours: reed straws.
Materialien für diesen Schritt:
 Schilfhalme zum Trinken1 reed pens
Benötigte Werkzeuge:
 Bastelmesser
 Glasscheibe
2
2
Cut the quill pen
Cut the quill pen
Cut a turkey wing quill down to 7 or 8 inches and strip the barbs off the shaft. The nib usually has a slit about 1/4 inch long; lengthen it to 3/8 inch in a very stiff pen. Pare the sides until the tip is a little narrower than the width wanted. Lay it back up on the glass slab and cut the extreme tip off with the knife slightly sloped, its edge at about 70° to the shaft. Cut very little at a time. Check under a magnifying glass that both half-nibs end on one straight line, with a sharp, oblique chisel edge.
Materialien für diesen Schritt:
 Federn1 turkey quills
Benötigte Werkzeuge:
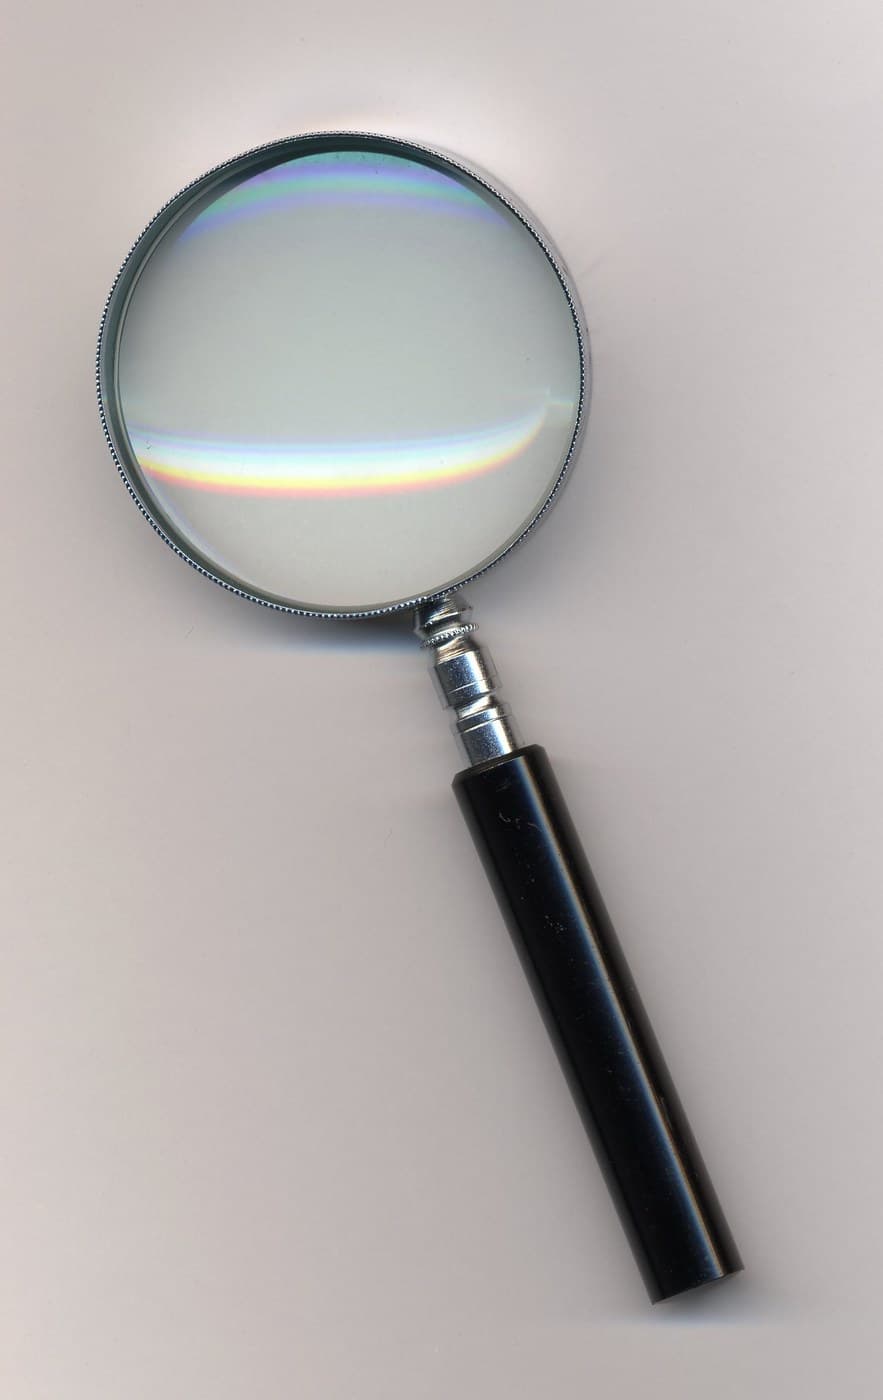
BastelmesserGlasscheibe Lupe
3
3
Fit the ink springs
Fit the ink springs
Cut a strip of very thin tin (or clock spring softened by heating and slow cooling) as wide as the nib and about 2 inches long, and fold it into a spring. Spring its short loop into the pen so it holds itself in place. The long loop, kept rather flat, holds the ink under the nib, with its point about 1/8 inch from the end of the nib. Too curved and it holds only a drop; quite flat and it draws the ink away from the nib.
Materialien für diesen Schritt:
 Weißblechtafel1 ink springs
Benötigte Werkzeuge:
 Blechschere
Materialien
3- 1 reed pensPlatzhalter
- 1 turkey quillsPlatzhalter
- 1 ink springsPlatzhalter
Materialien verbundener Blueprints



Dieser Bauplan stellt her

Verwandte Blueprints
Diese Blueprints teilen Wissen — Techniken, Materialien oder Prinzipien
CC0 Gemeinfrei
Dieser Blueprint ist unter CC0 veröffentlicht. Sie dürfen dieses Werk für jeden Zweck frei kopieren, ändern, verbreiten und verwenden, ohne um Erlaubnis zu fragen.
Unterstützen Sie den Maker, indem Sie Produkte über seinen Blueprint kaufen, wo er eine Maker-Provision von Anbietern festgelegt, verdient. Oder erstellen Sie eine neue Iteration dieses Blueprints und verbinden Sie ihn in Ihrem eigenen Blueprint, um Einnahmen zu teilen.