Zusammenarbeit
KUNST
SCHÖNHEIT & WELLNESS
HANDWERK
KULTUR & GESCHICHTE
UNTERHALTUNG
UMFELD
ESSEN & GETRÄNKE
REVERSE ENGINEERING
WISSENSCHAFTEN
SPORT
TECHNOLOGIE
WEARABLES
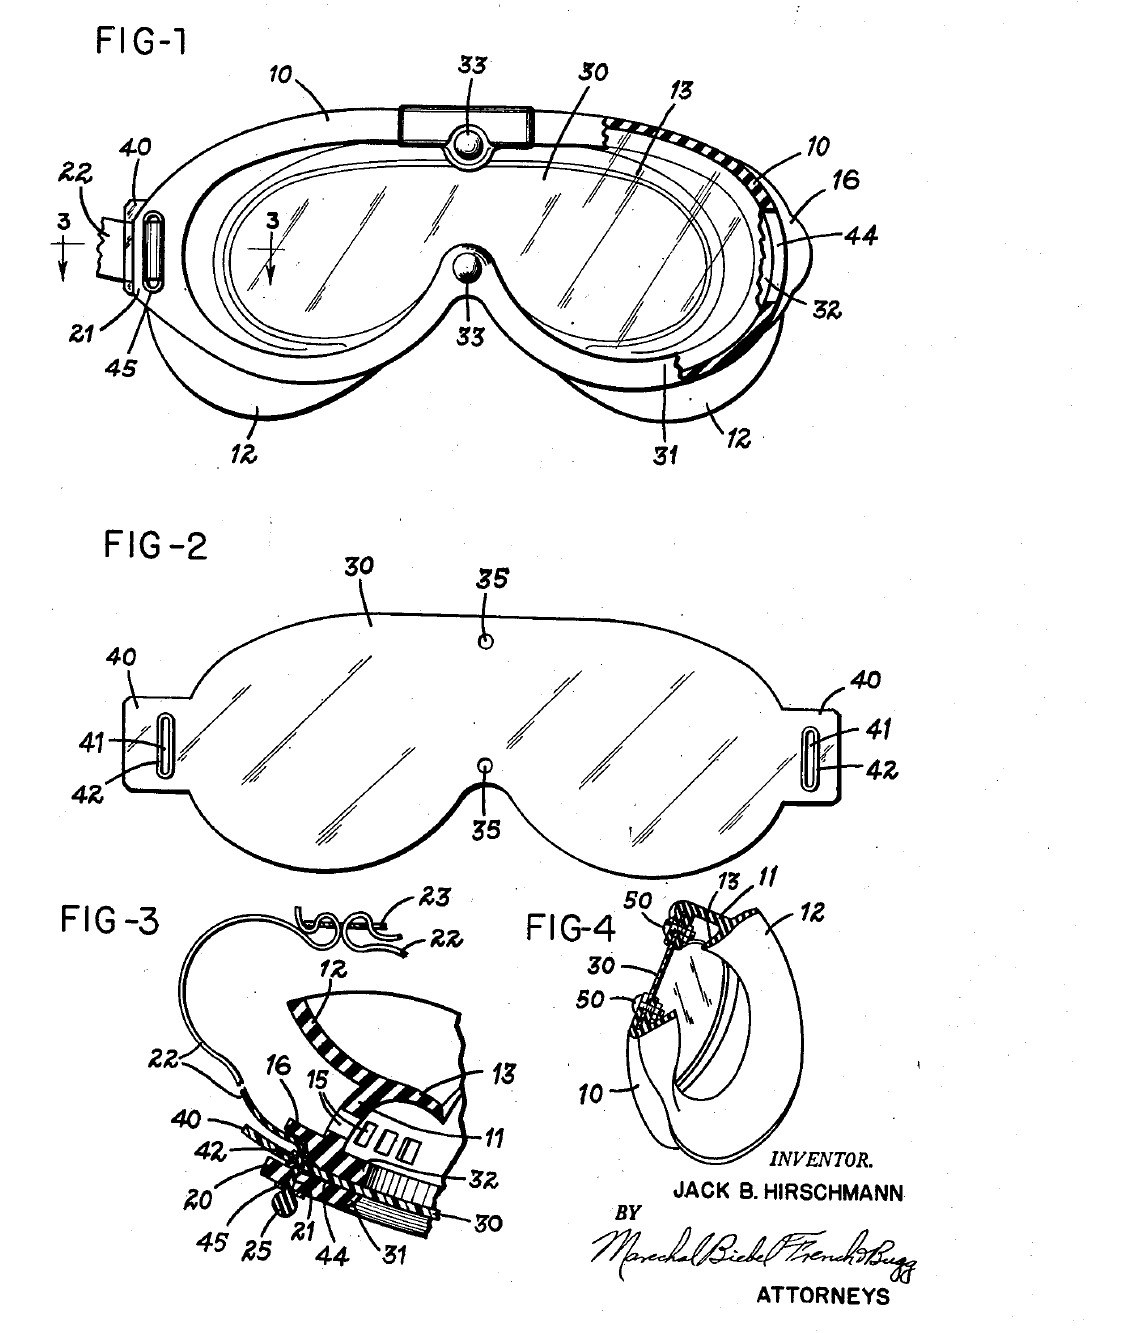


Chemical Splash Goggles: One Sealed Lens in a Moulded Rubber Frame (Hirschmann, 1954)
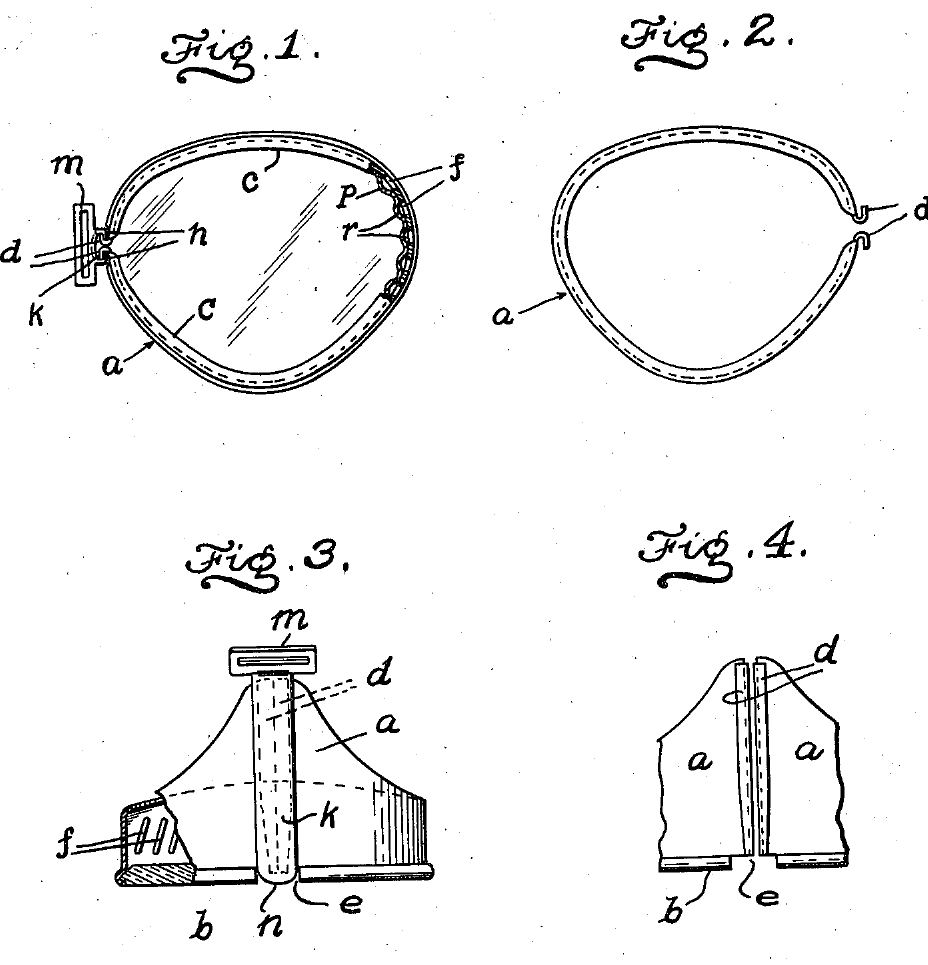
Goggles for work with corrosive liquids. One clear plastic lens covers both eyes and sits sealed all round in a soft moulded rubber frame that seals against the face. The version for gas and corrosive liquids has no vent holes at all, and the strap passes through tabs outside the lens, so nothing can leak through or around the part you look through.
Result: chemical splash goggles with a lens you can pull out and replace, and a strap pull shared evenly between lens and frame, so neither warps.
Source: J. B. Hirschmann, US Patent 2,680,846 (1954), Fig. 4 version. Unknown: sizes, the rubber compound, the strap material and how the frame is moulded. Ours: the mould; the patent tested a cellulose acetate lens. Picture: patent drawing.
Fortgeschritten
2 days
Anweisungen
1
1
Mould the rubber frame
Mould the rubber frame
Mould the frame in one piece from rubber. The front rim has one opening shaped for both eyes, narrower above the nose. Behind it, a wall forms the eye chamber and ends in a double flange that seals against the face. Inside the rim, form a channel between an outer and an inner flange to hold the lens edge. At each end, mould a lug with a strap slot and a slit through the channel for the lens tab. For corrosive liquids, leave out all vent holes. Ours: a compression mould.
Materialien für diesen Schritt:
 Kautschukmischung1 frame
Benötigte Werkzeuge:
 Formpresswerkzeug
 Unbekannte Maße
2
2
Cut the lens
Cut the lens
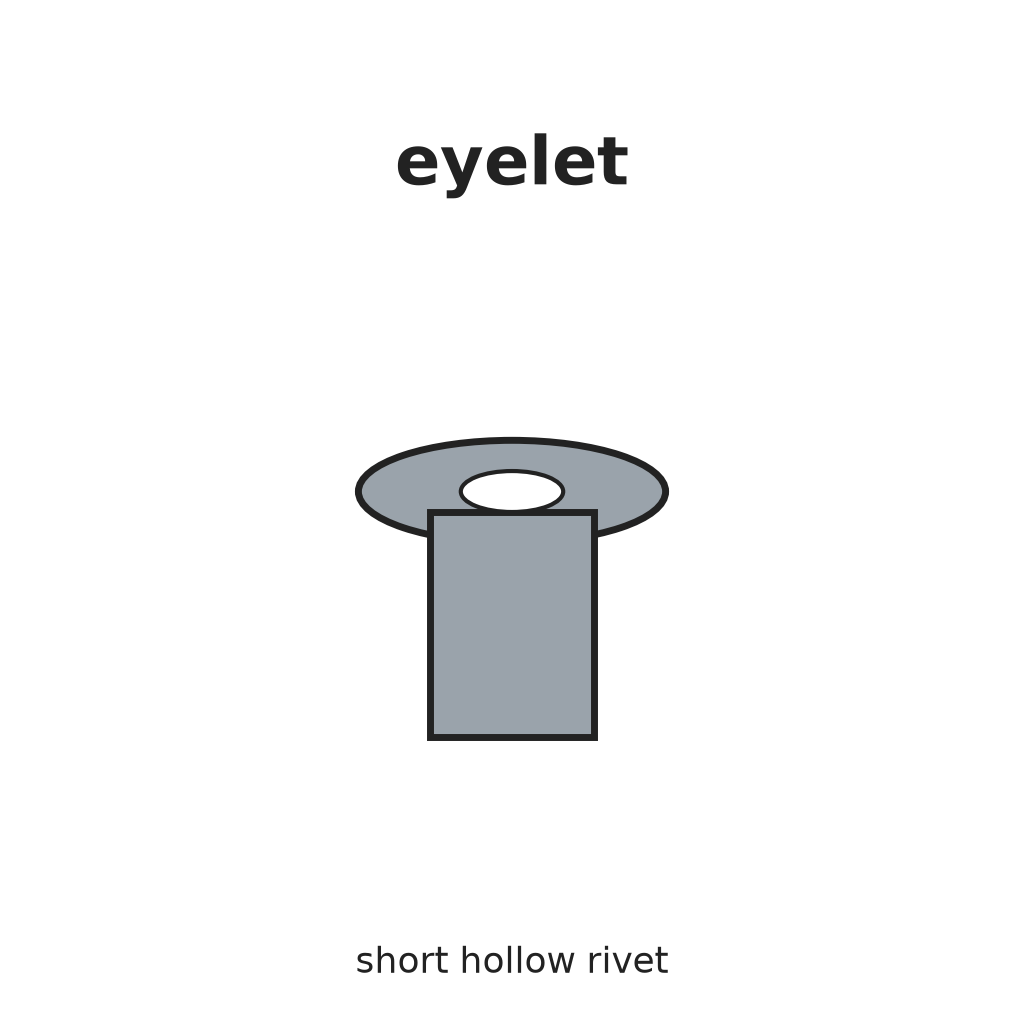
Cut one lens from flexible clear plastic, shaped to match the rim. The patent tested cellulose acetate. Leave a tab at each end, outside the area you look through. Cut a closed slot in each tab and line it with a grommet. Make two holes at the centre for the bolts. Leave no other holes in the viewing area.
Materialien für diesen Schritt:
 Klare Kunststoffplatte1 lens
 Hohlniet2 tab grommets
Benötigte Werkzeuge:
 Blechschere
 Körner
3
3
Seal the lens in the frame
Seal the lens in the frame
Spring the lens edge into the channel all the way round, pushing each tab out through its slit so it lies under the lug, slot over slot. Fasten the centre with two stainless-steel bolts and nuts. (The vented version uses snap fasteners here.)
Materialien für diesen Schritt:
 Maschinenschrauben2 stainless steel
 Sechskantmutter2 stainless steel
Benötigte Werkzeuge:
 Schraubendreher-Satz
4
4
Fit the head strap
Fit the head strap
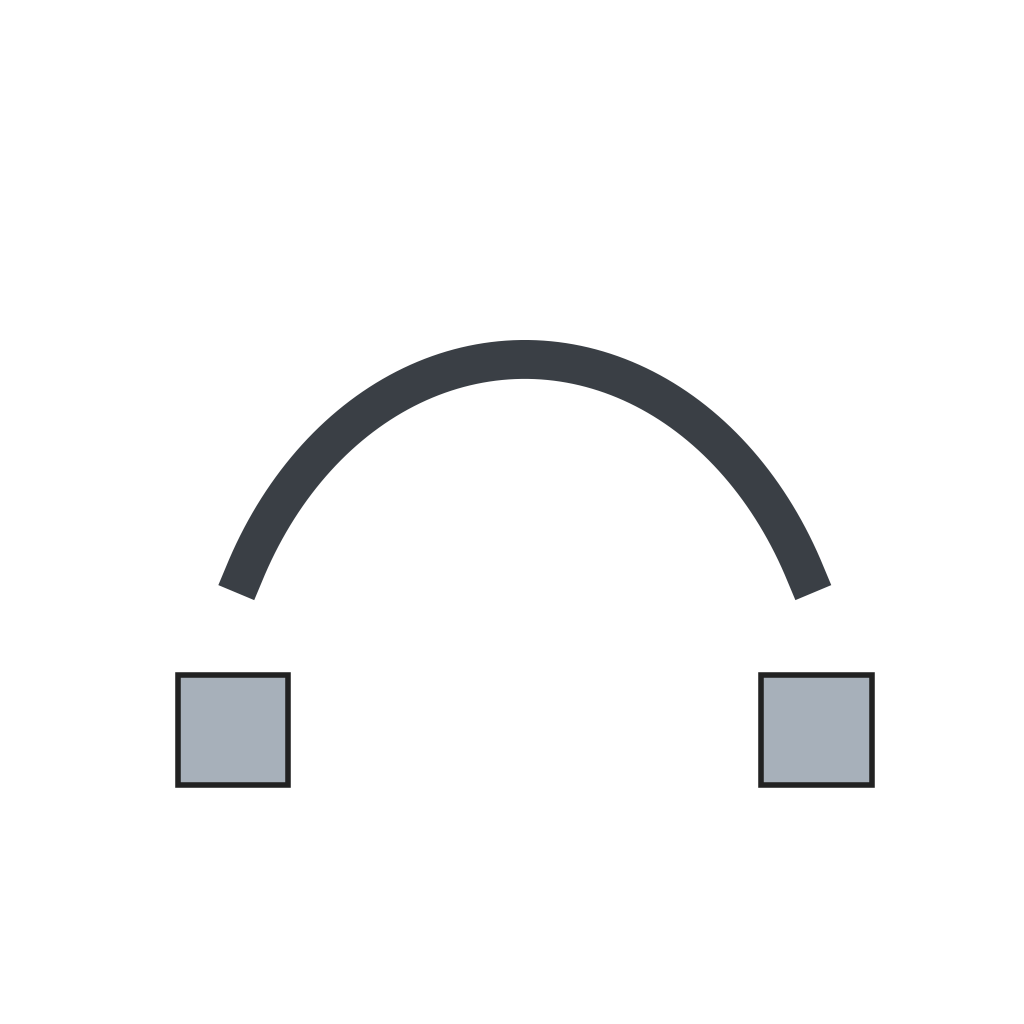
Use a strap in two halves, joined at the back by a buckle, each half with a thickened end. Slide a slotted plate of metal or plastic onto each half, then thread it from the front through the lug slot and the lens-tab slot. The thick end stops against the plate and lug. The pull of the strap now goes into both lens and frame, holds the lens in, and stays outside the field of view.
Materialien für diesen Schritt:
 Kopfband für Schutzbrille1 two halves
 Messingschnalle mit Dorn1 Stück
 Unbekanntes Material1 two slotted plates
Benötigte Werkzeuge:
Unbekannte MaßeMaterialien
8- 1 framePlatzhalter
- 1 lensPlatzhalter
- 2 tab grommetsPlatzhalter
- 2 stainless steelPlatzhalter
- 2 stainless steelPlatzhalter
- 1 two halvesPlatzhalter
- 1 StückPlatzhalter
- 1 two slotted platesPlatzhalter
Benötigte Werkzeuge
5- Platzhalter
- Platzhalter
- Platzhalter
- Platzhalter
- Platzhalter
Materialien verbundener Blueprints
Dieser Bauplan stellt her

Verwandte Blueprints
Diese Blueprints teilen Wissen — Techniken, Materialien oder Prinzipien

CC0 Gemeinfrei
Dieser Blueprint ist unter CC0 veröffentlicht. Sie dürfen dieses Werk für jeden Zweck frei kopieren, ändern, verbreiten und verwenden, ohne um Erlaubnis zu fragen.
Unterstützen Sie den Maker, indem Sie Produkte über seinen Blueprint kaufen, wo er eine Maker-Provision von Anbietern festgelegt, verdient. Oder erstellen Sie eine neue Iteration dieses Blueprints und verbinden Sie ihn in Ihrem eigenen Blueprint, um Einnahmen zu teilen.