KUNST
SCHÖNHEIT & WELLNESS
HANDWERK
KULTUR & GESCHICHTE
UNTERHALTUNG
UMFELD
ESSEN & GETRÄNKE
REVERSE ENGINEERING
WISSENSCHAFTEN
SPORT
TECHNOLOGIE
WEARABLES


Coated Welding Electrode: Iron Wire Dipped in Chalk and Water Glass (Kjellberg, 1907)
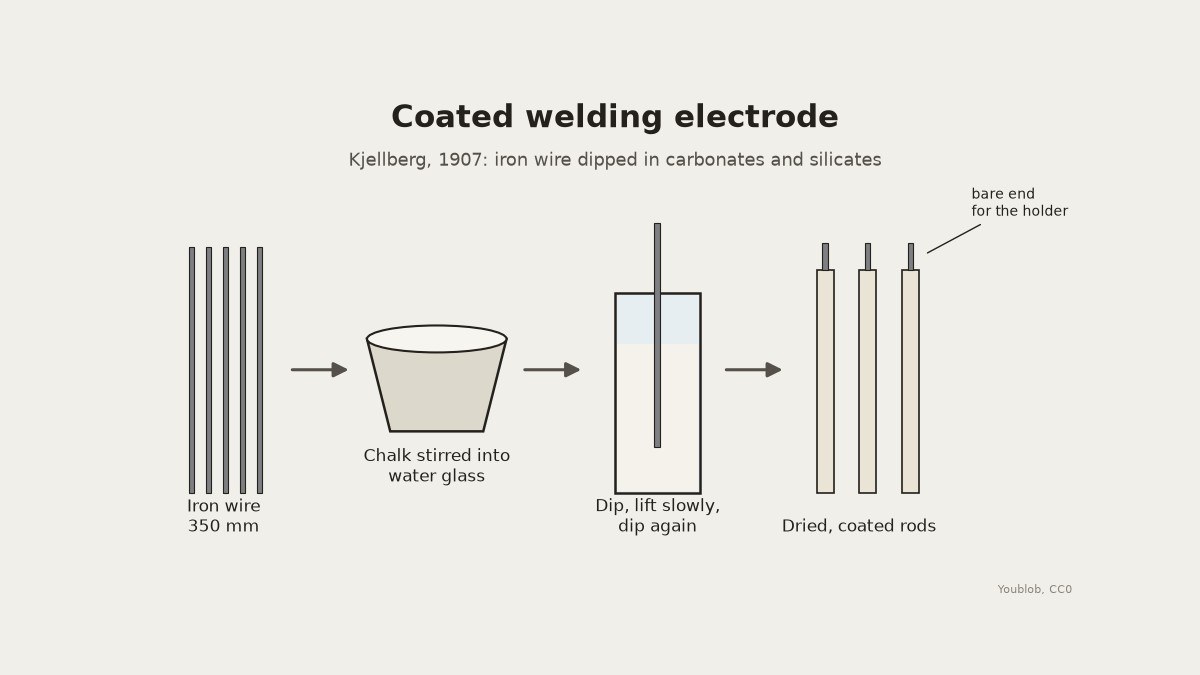
In 1907 Oscar Kjellberg patented a welding electrode made by dipping bare iron wire in a thick mixture of carbonates and silicates. In the arc the coating gives off a fume that keeps air away from the molten metal while it cools. Here the carbonate is chalk and the silicate is water glass. Cut the wire to length, dip it in the paste, and dry the rods well before use.
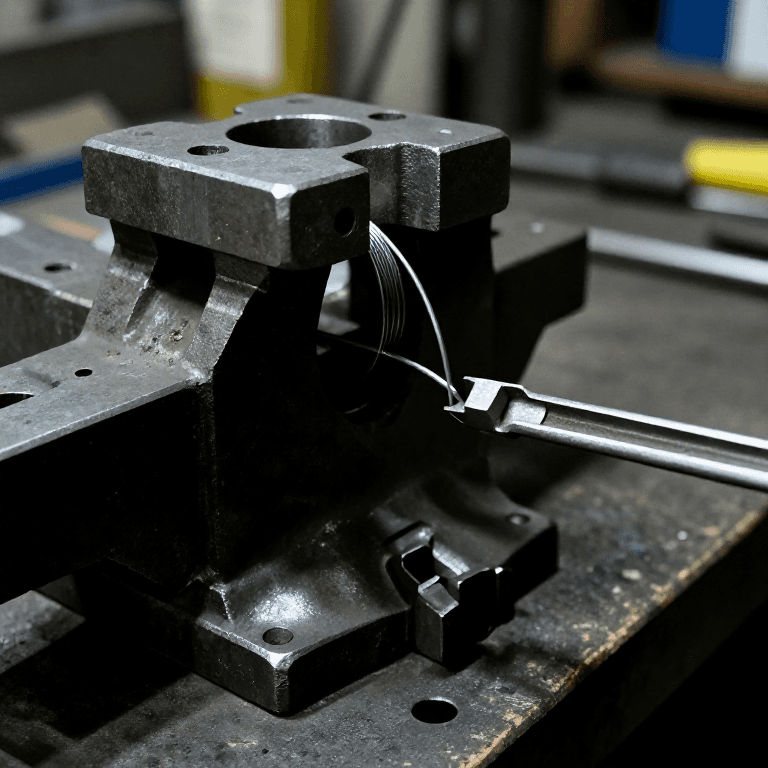
The picture: our diagram of the wire, the dip and the coated rod.
Anfänger
An hour, then drying overnight
Anweisungen
1
1
Cut the wire
Cut the wire
Cut straight iron wire about 3 mm thick into 350 mm lengths and wipe it clean.
Materialien für diesen Schritt:
 Eisendraht7 m
Benötigte Werkzeuge:
 Seitenschneider
 Schraubstock
 Bandmaß (Rollmeter)
2
2
Mix the coating
Mix the coating
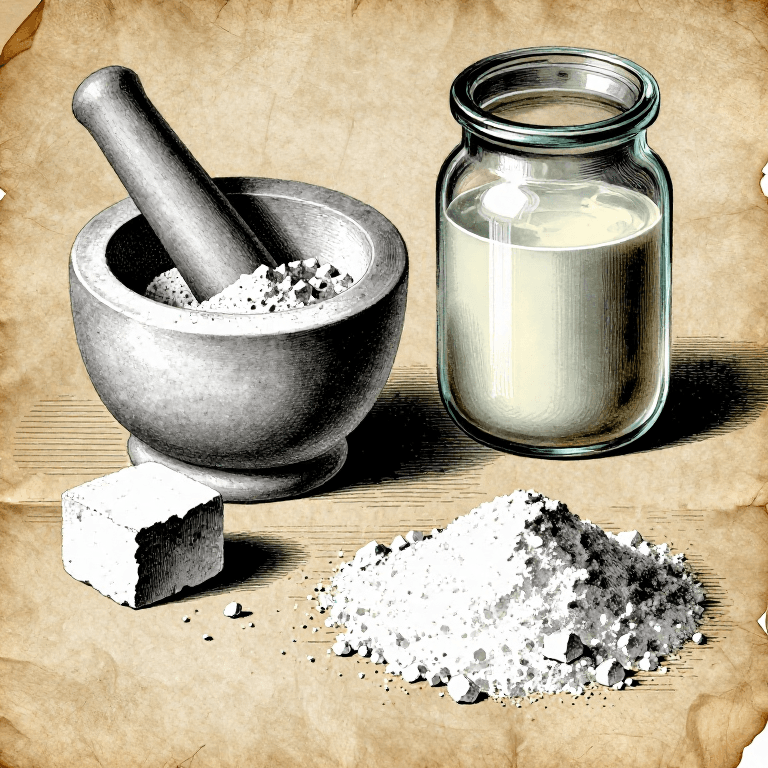
Stir sifted chalk into water glass, a little at a time, until the paste is thick enough to cling to the wire.
Materialien für diesen Schritt:
 Wasserglas (Natriumsilikatlösung)300 g
 Calciumcarbonat (Schlämmkreide)400 g
Benötigte Werkzeuge:
 Rührschüsselsatz
 Digitale Küchenwaage
 Gummihandschuhe
3
3
Dip the rods
Dip the rods
Pour the paste into a tall jar. Dip each rod, leaving the top 30 mm bare for the holder, and lift it out slowly. When the first coat has set, dip again for a thicker coat.
Benötigte Werkzeuge:
 EinmachglasGummihandschuhe
4
4
Dry
Dry
Hang the rods bare end up until the coating is hard, then dry them in a warm oven before welding. Keep them dry.
Benötigte Werkzeuge:
 Trockengestell
 Backofen
5
5
Wire for a batch
Wire for a batch
Jupyter-Notebook wird geladen …
Materialien
3- 7 mPlatzhalter
- Platzhalter
- Platzhalter
Benötigte Werkzeuge
9- Platzhalter
- Platzhalter
- 1 vendor sell this, none ship to you yetPlatzhalter
- Platzhalter
- Platzhalter
- Platzhalter
- Platzhalter
- Platzhalter
- Platzhalter
Dieser Bauplan stellt her
Verwandte Blueprints
Diese Blueprints teilen Wissen — Techniken, Materialien oder Prinzipien

CC0 Gemeinfrei
Dieser Blueprint ist unter CC0 veröffentlicht. Sie dürfen dieses Werk für jeden Zweck frei kopieren, ändern, verbreiten und verwenden, ohne um Erlaubnis zu fragen.
Unterstützen Sie den Maker, indem Sie Produkte über seinen Blueprint kaufen, wo er eine Maker-Provision von Anbietern festgelegt, verdient. Oder erstellen Sie eine neue Iteration dieses Blueprints und verbinden Sie ihn in Ihrem eigenen Blueprint, um Einnahmen zu teilen.