Zusammenarbeit
KUNST
SCHÖNHEIT & WELLNESS
HANDWERK
KULTUR & GESCHICHTE
UNTERHALTUNG
UMFELD
ESSEN & GETRÄNKE
REVERSE ENGINEERING
WISSENSCHAFTEN
SPORT
TECHNOLOGIE
WEARABLES
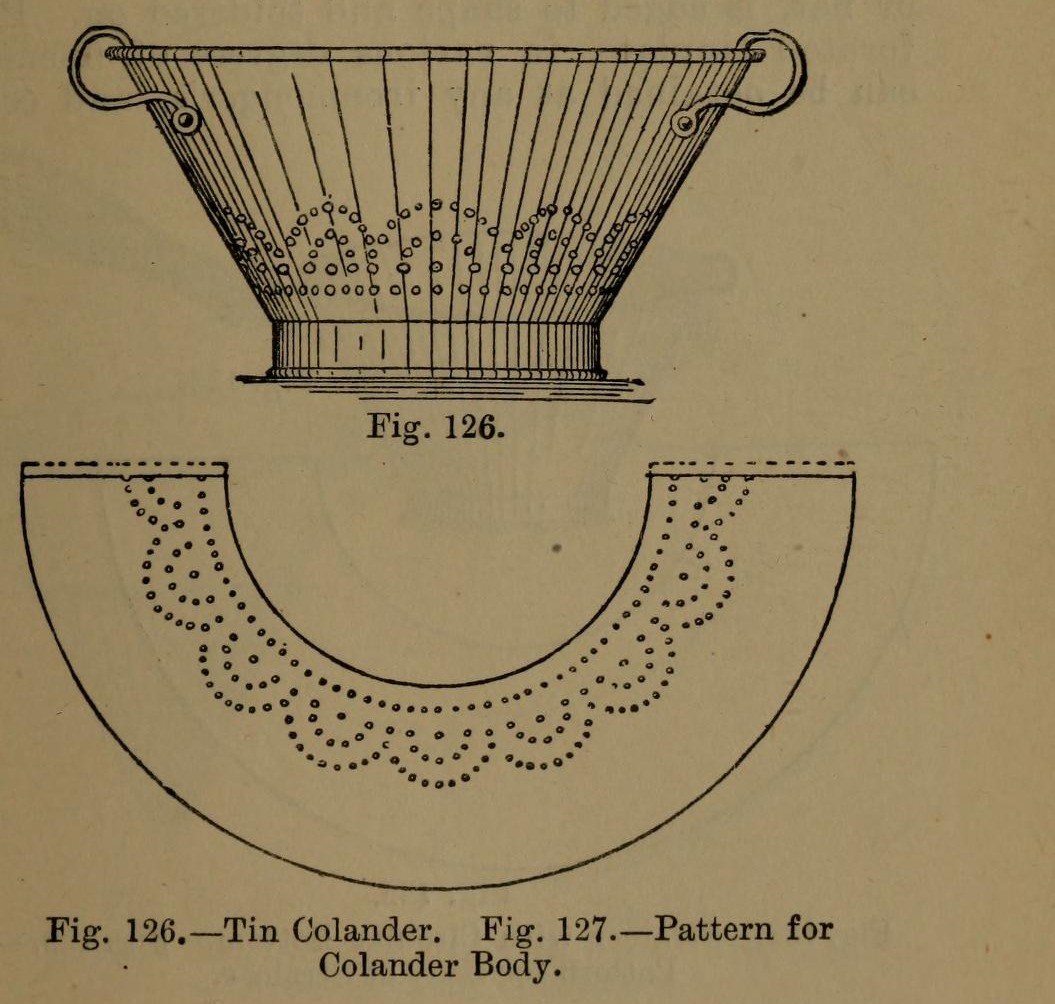


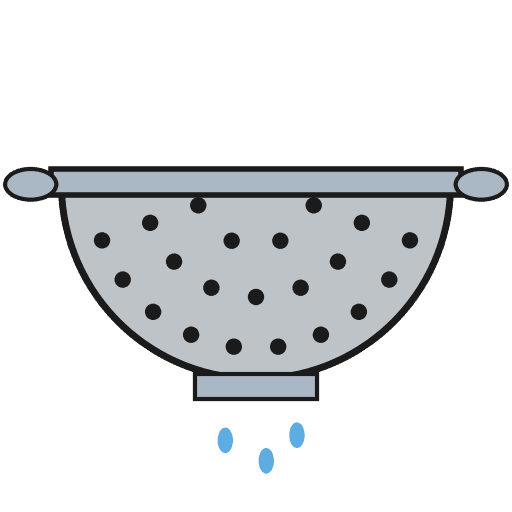
Colander: a Tinplate Colander with Perforated Body and Bottom (Hasluck, 1907)
A tinsmith's colander for straining: a tapered tinplate body and a hollowed bottom, both punched full of holes, standing on a wired hoop, with two bow handles.
The body pattern is a ring segment: outer radius = top diameter, inner radius = bottom diameter, which gives sides at 60 degrees.
Source: Paul N. Hasluck, Tinplate Work (1907), pp. 50-51. Unknown: sizes, solder. Picture: Figs. 126-127 of the book.
Fortgeschritten
Unknown
Anweisungen
1
1
Set out the body pattern
Set out the body pattern
Choose the top and bottom diameters. On tinplate, strike an arc with radius equal to the top diameter and, from the same centre, one equal to the bottom diameter (Fig. 127); the sides then slope at 60 degrees. Mark the rows of holes, add edges for a grooved seam and the wire, and cut it out.
Materialien für diesen Schritt:
 Weißblechtafel1 body
Benötigte Werkzeuge:
 Stechzirkel
 Reißnadel
 Blechschere
2
2
Break, punch and planish the body
Break, punch and planish the body
'Break' the pattern through the rollers, turning it the opposite way each pass, so it won't crease when bent. Punch the holes on a hardwood block, then flatten and planish the burrs.
Benötigte Werkzeuge:
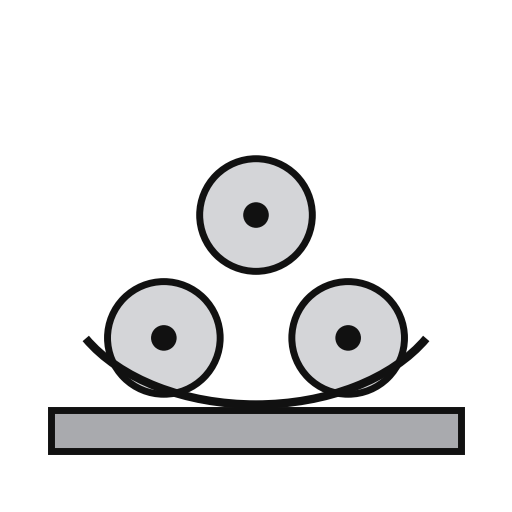 Blechbiegewalzen
 Blechlocher
 Hartholzblock
 Planierhammer
3
3
Seam and wire the body
Seam and wire the body
Set off the edges for a grooved seam, bend the body to shape and seam it. Solder the seam inside. Set off an edge on the wide end and wire it with No. 10 B.W.G. wire. If you like, raise a swage about 1 1/2 in below the wired edge: it stiffens the colander and looks better.
Materialien für diesen Schritt:
 Eisendraht1 No. 10 B.W.G.
 Zinn-Blei-Lot1 seam
Benötigte Werkzeuge:
 Holzhammer (Klüpfel)
 Pflock
 Elektrischer Lötkolben
 Flussmittel
4
4
Make and fit the bottom
Make and fit the bottom
Cut out the bottom, hollow it and edge it to fit the small end. Inside, mark circles from 1 in across at the centre, each 1 in wider than the last, out to the edge. Punch holes at short intervals round them and flatten the burrs on an upturned hollowing hammer. Solder the bottom on.
Materialien für diesen Schritt:
Weißblechtafel1 bottomZinn-Blei-Lot1 bottomBenötigte Werkzeuge:
StechzirkelBlechschereBlechlocherPlanierhammerElektrischer LötkolbenFlussmittel5
5
Add the hoop and handles
Add the hoop and handles
Cut a strip 1 1/2 in wide, as long as the circumference of the bottom. Wire it with No. 10 B.W.G., round it, seam it and solder it on as the foot. Rivet a pair of bow handles opposite each other at the top.
Materialien für diesen Schritt:
Weißblechtafel1 hoopEisendraht1 hoopZinn-Blei-Lot1 hoop Stiel2 bow handles
 Eisennieten1 number not given
Benötigte Werkzeuge:
BlechschereElektrischer LötkolbenFlussmittel Niethammer
6
6
Clean and scald
Clean and scald
Clean with turpentine and whiting, then polish with dry whiting. Before first use, steep it a short time in boiling water, as for any metal article for the kitchen.
Benötigte Werkzeuge:
 Terpentin
 Calciumcarbonat (Schlämmkreide)
 Wasser
Materialien
5- 1 hoopPlatzhalter
- 1 hoopPlatzhalter
- 1 hoopPlatzhalter
- 2 bow handlesPlatzhalter
- 1 number not givenPlatzhalter
Benötigte Werkzeuge
15- Platzhalter
- Platzhalter
- Platzhalter
- Platzhalter
- Platzhalter
- Platzhalter
- Platzhalter
- Platzhalter
- Platzhalter
- Platzhalter
- Platzhalter
- Platzhalter
- Platzhalter
- Platzhalter
- Platzhalter
Materialien verbundener Blueprints


Dieser Bauplan stellt her
CC0 Gemeinfrei
Dieser Blueprint ist unter CC0 veröffentlicht. Sie dürfen dieses Werk für jeden Zweck frei kopieren, ändern, verbreiten und verwenden, ohne um Erlaubnis zu fragen.
Unterstützen Sie den Maker, indem Sie Produkte über seinen Blueprint kaufen, wo er eine Maker-Provision von Anbietern festgelegt, verdient. Oder erstellen Sie eine neue Iteration dieses Blueprints und verbinden Sie ihn in Ihrem eigenen Blueprint, um Einnahmen zu teilen.