KUNST
SCHÖNHEIT & WELLNESS
HANDWERK
KULTUR & GESCHICHTE
UNTERHALTUNG
UMFELD
ESSEN & GETRÄNKE
REVERSE ENGINEERING
WISSENSCHAFTEN
SPORT
TECHNOLOGIE
WEARABLES
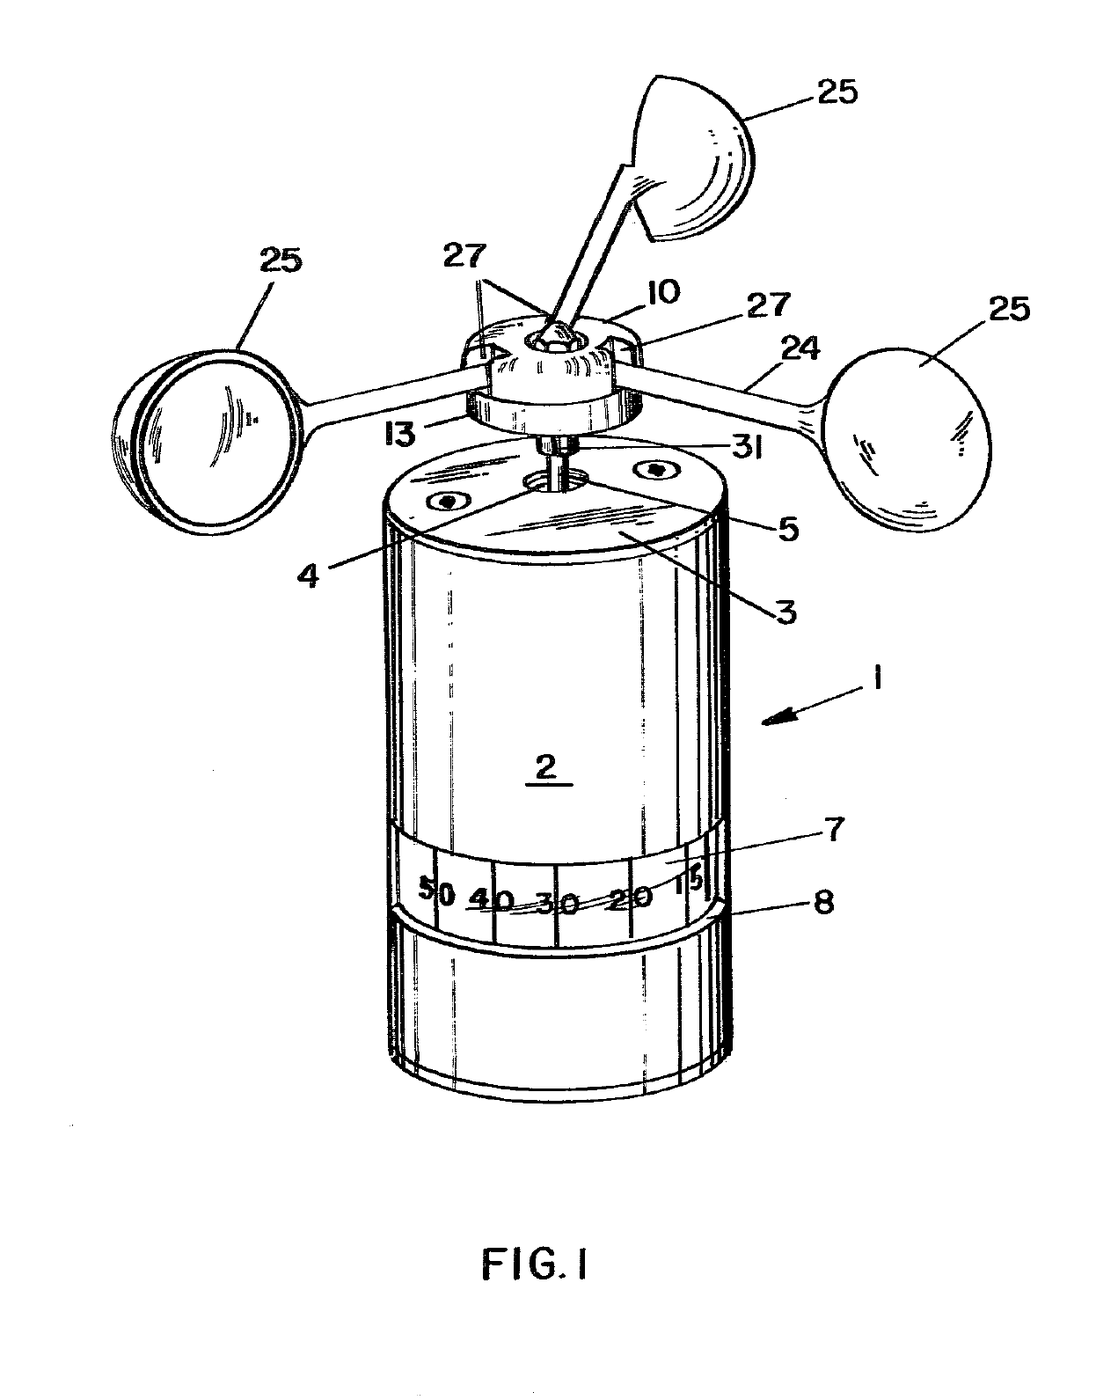


Hand-Held Cup Anemometer with Folding Cups: Simerl, 1978
R. A. Simerl of Annapolis, Maryland, patented this hand-held wind meter in 1978, US 4,102,188. A cylindrical casing small enough to hold in the hand carries a spindle with three light plastic cups on radial arms. The wind spins the cups, and the spindle's rotation is read as wind speed on a calibrated gauge behind a window in the casing. Earlier cup anemometers had their arms fixed to the spindle; here each arm is hinged to a link in a sliding cap, so pushing the cap up folds all three cups upright and parallel to the spindle for storage.
Fortgeschritten
Workshop process
Anweisungen
1
1
Casing and spindle
Casing and spindle
Journal a metal spindle vertically in the casing (aluminium or plastic), projecting through a central opening in its top. Inside, conventional electronic apparatus monitors the spindle's rotation and turns a calibrated gauge behind an arcuate window. Cut two annular grooves near the spindle's upper end and thread its tip.
Materialien für diesen Schritt:
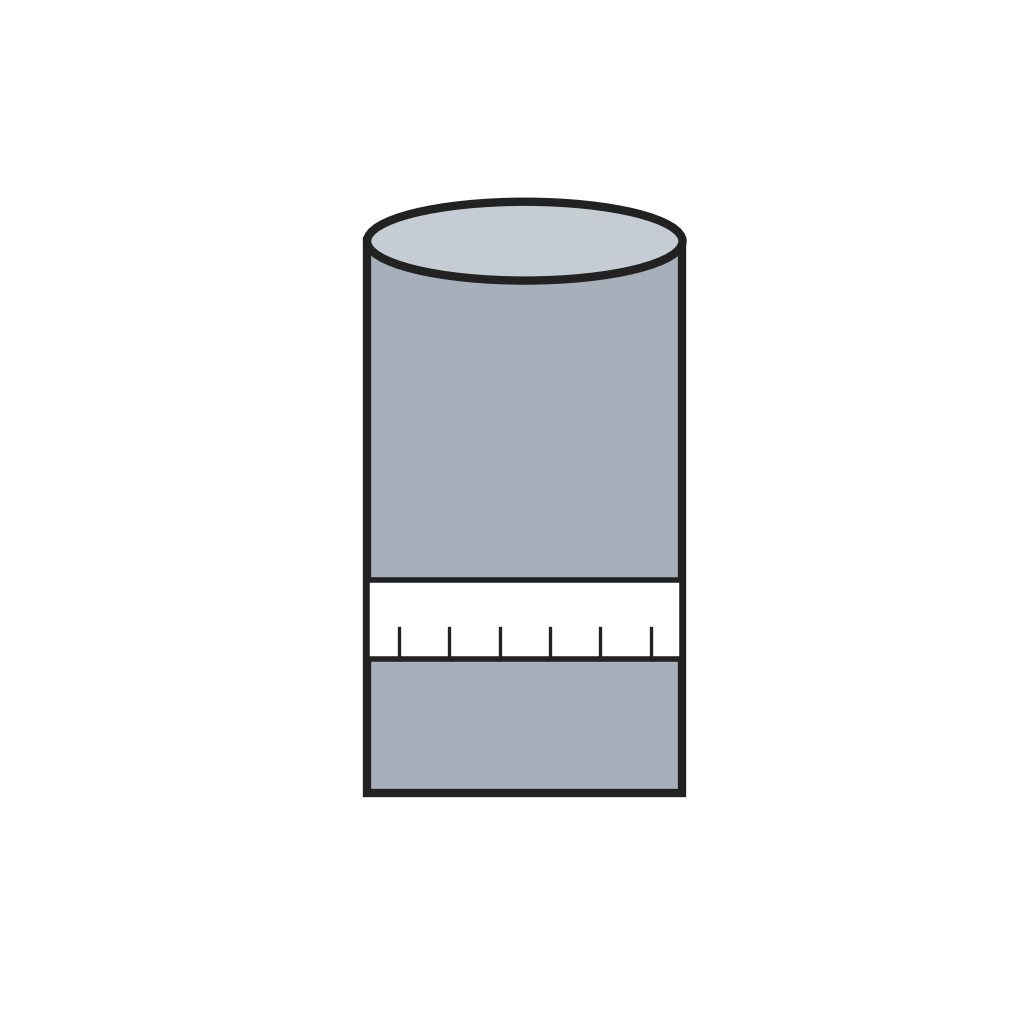 Anemometer-Handgehäuse mit Anzeigefenster1 Stück
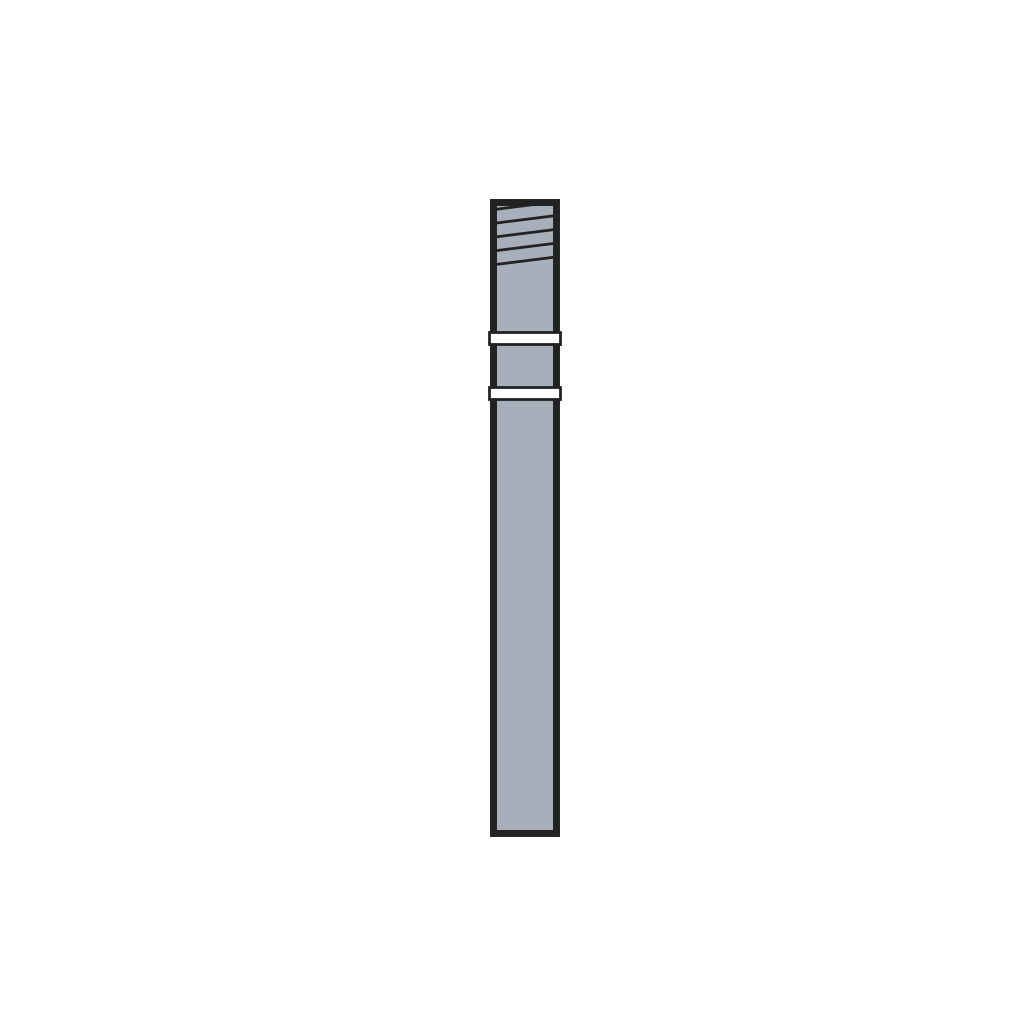 Genutete Anemometerwelle1 Stück
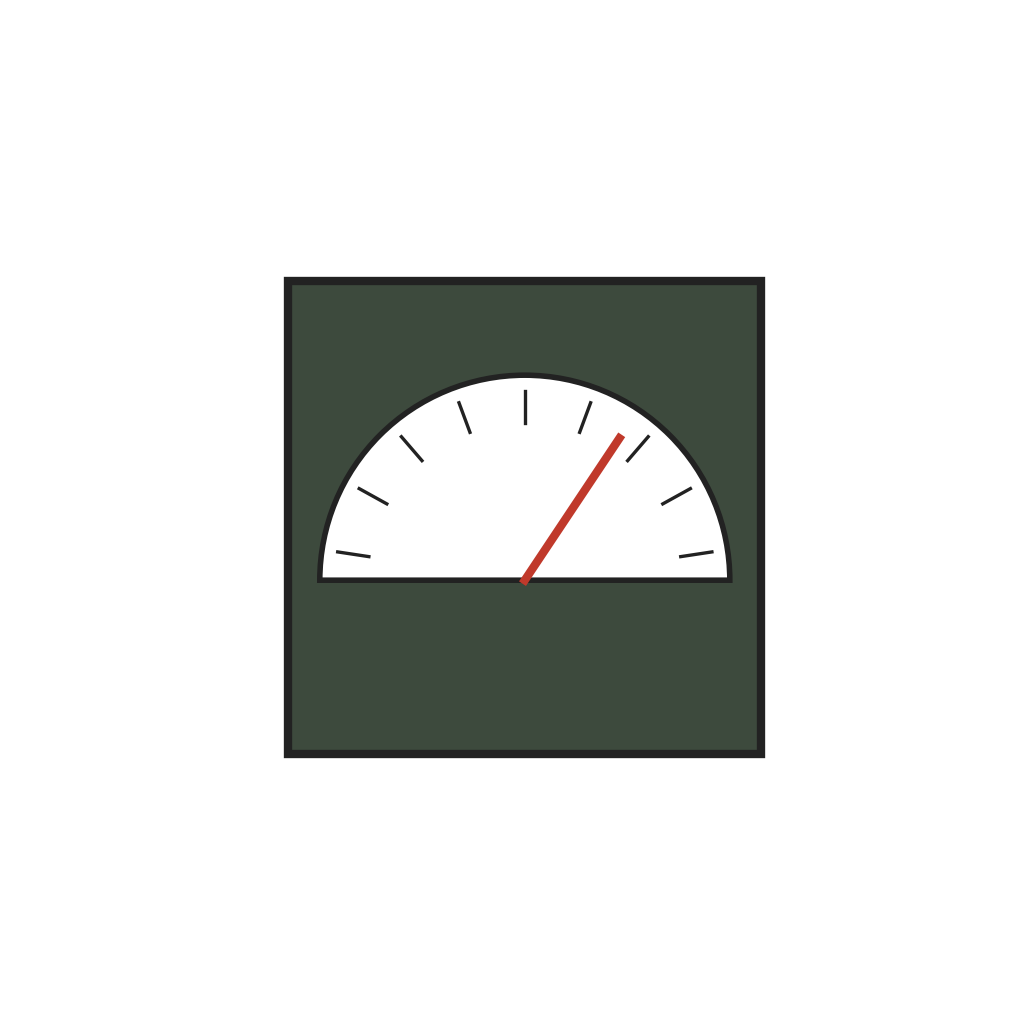 Wellendrehzahlmesser und Windanzeige1 Stück
Benötigte Werkzeuge:
 Metalldrehmaschine
 Schraubendreher-Satz
2
2
Spider cap
Spider cap
Make the cap in two plastic parts: a top with three vertical slots in its side wall and pins on its rim, and a bottom with a tubular hub split by four slots and ending in an inturned rib. Fix a spider plate on the spindle's reduced upper end inside the top, slide the hub over the spindle, mate the pins with recesses in the bottom's rim, and fit a lock nut on the threaded tip.
Materialien für diesen Schritt:
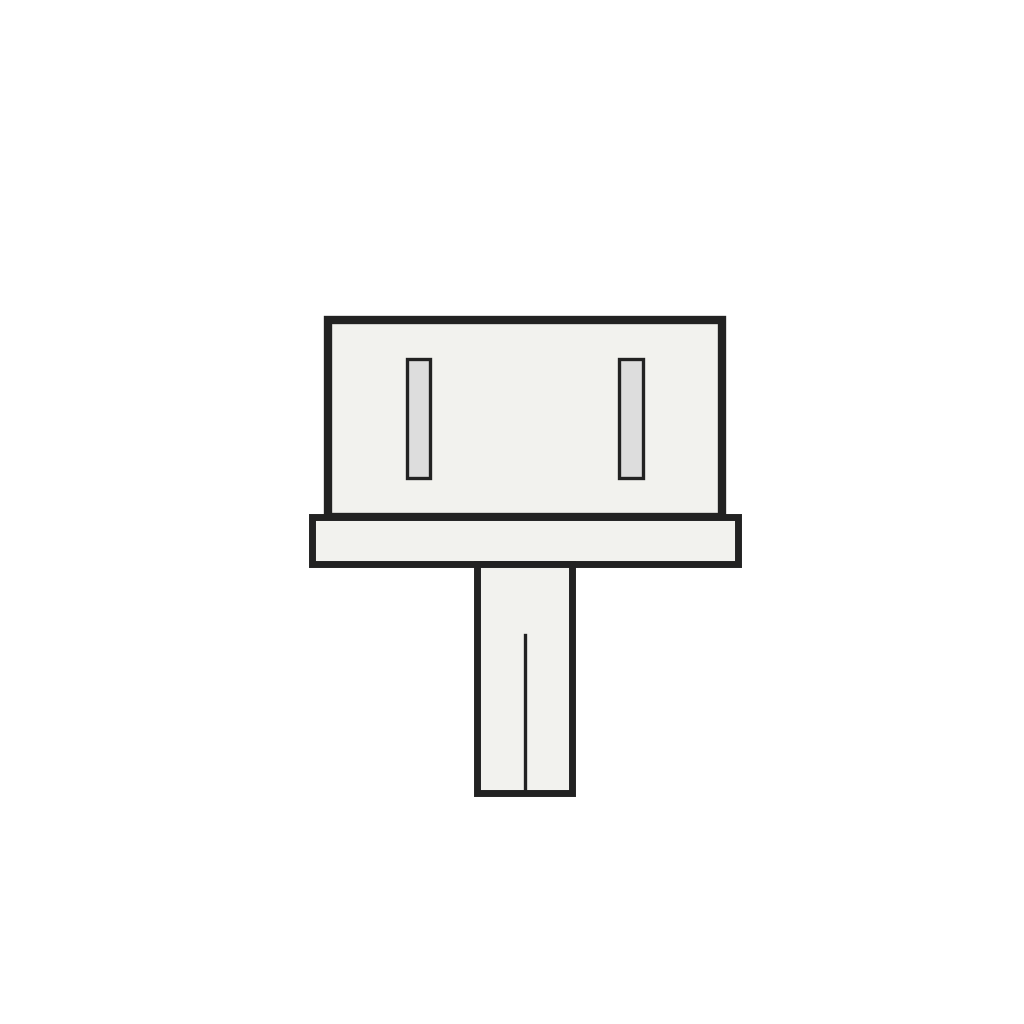 Zweiteilige Sternkappe mit geschlitzter Nabe1 Stück
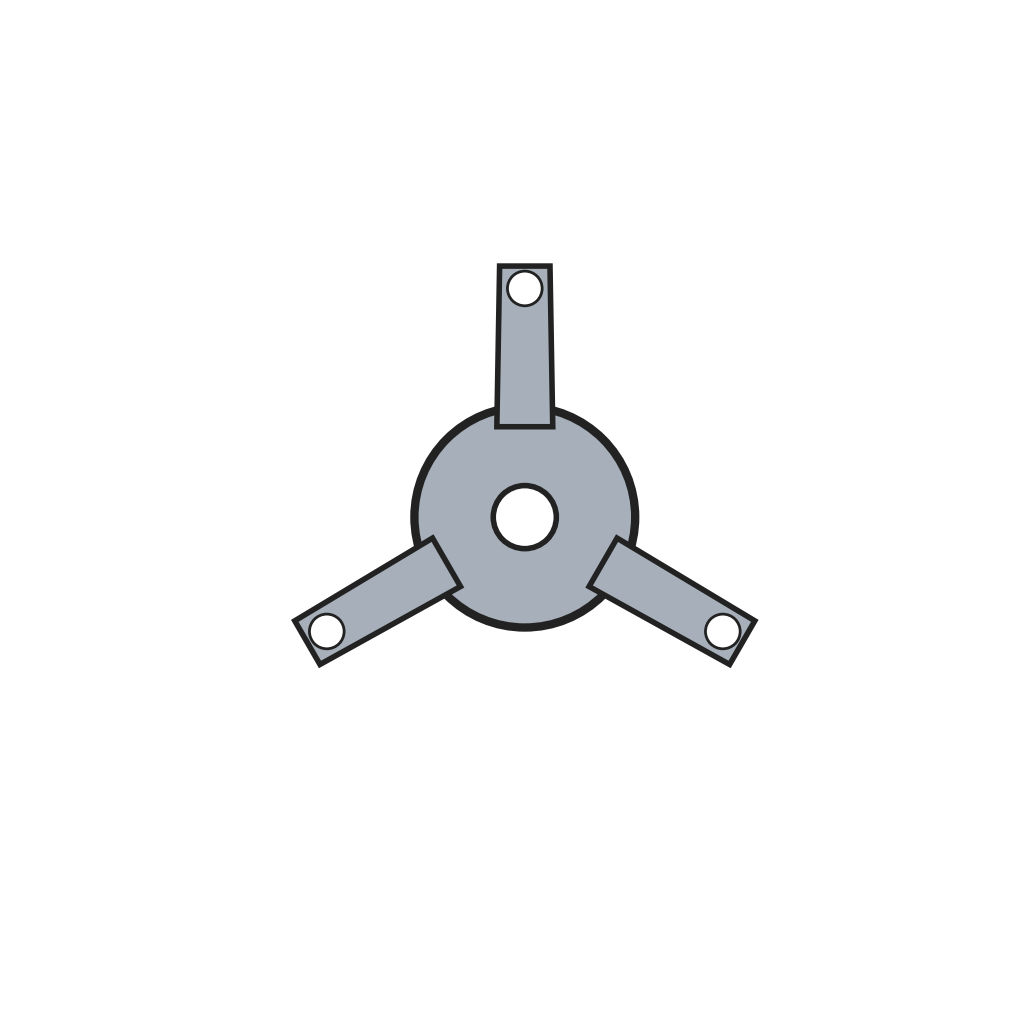 Sternplatte1 Stück
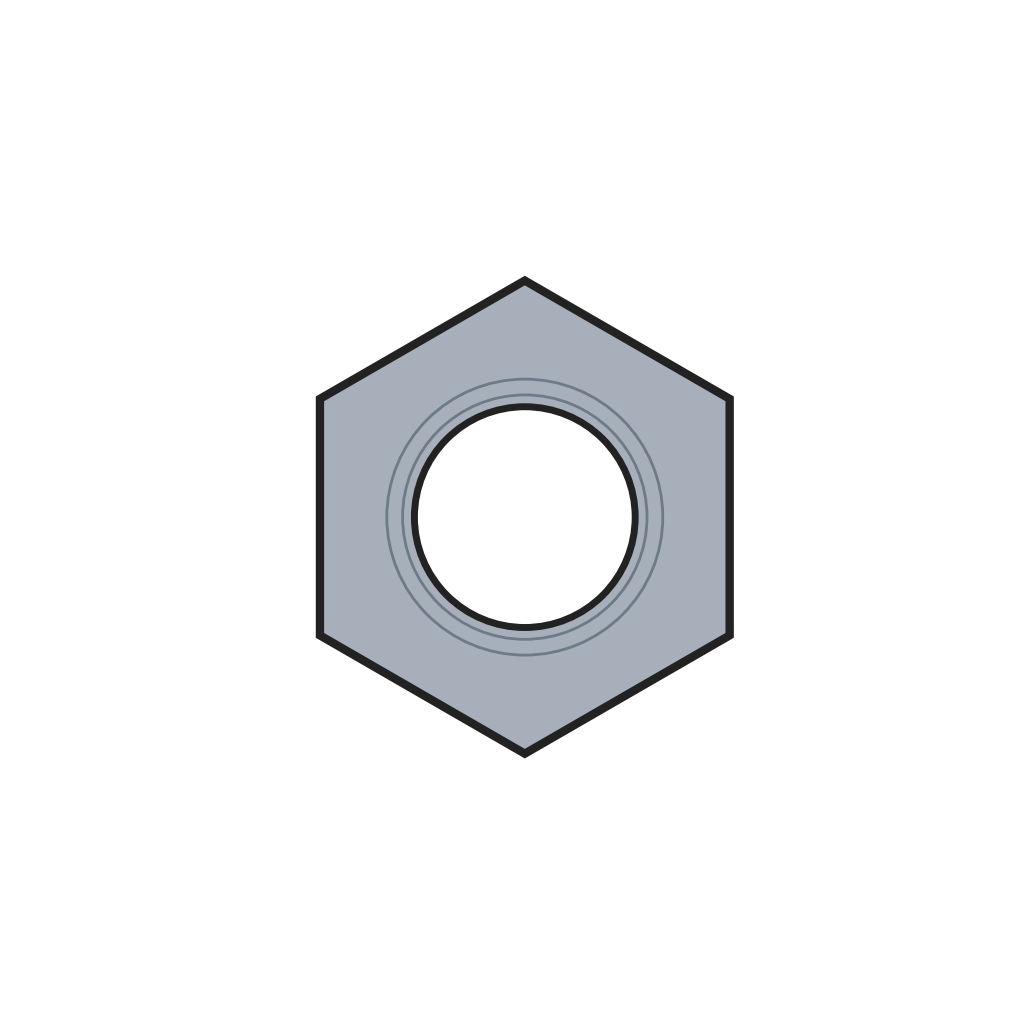 Kontermutter1 Stück
Benötigte Werkzeuge:
 Spritzgießmaschine
 Kombizange
3
3
Cup arms
Cup arms
Make three plastic arms with a wind cup on each outer end. Pass their inner ends through the slots and pivot each to the lower end of a link, itself pivoted in its slot and running up at about 45° to a pivot on the spider plate.
Materialien für diesen Schritt:
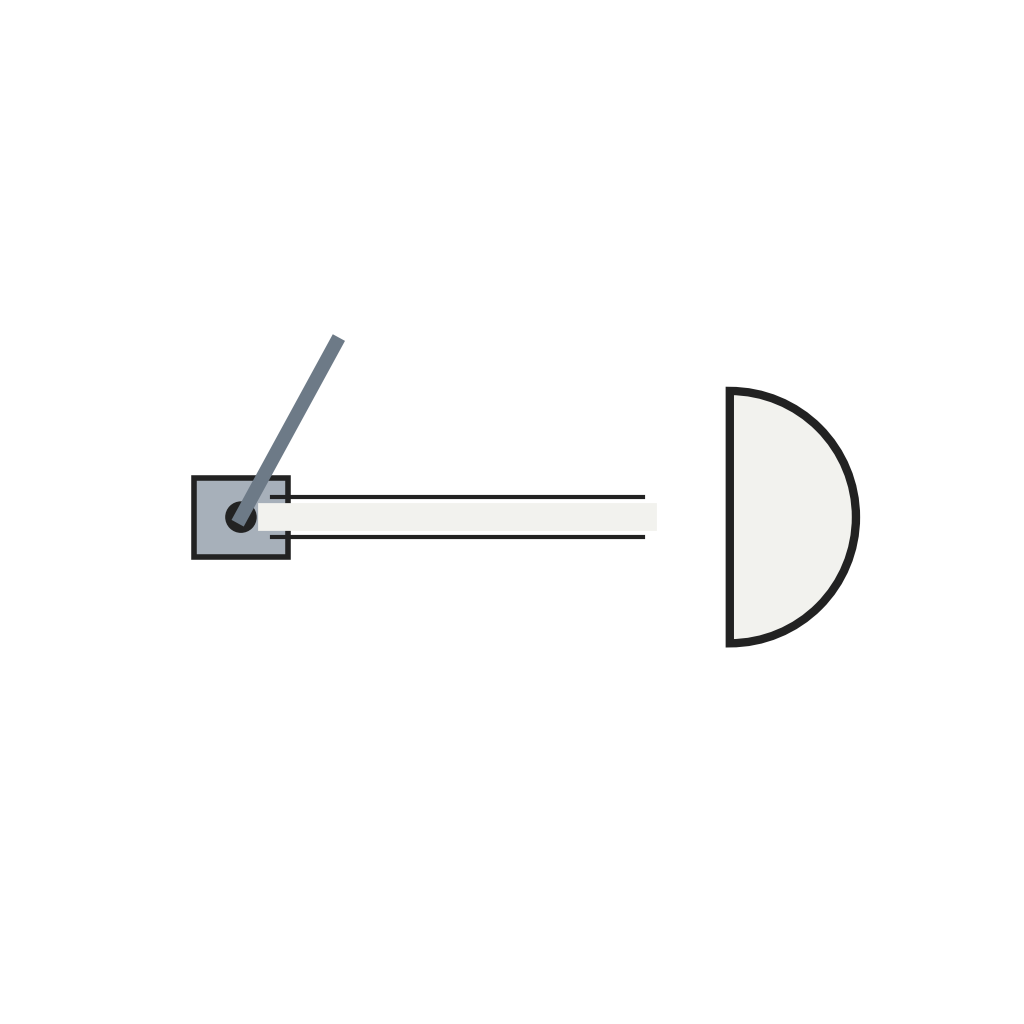 Kunststoff-Schalenarme mit Gelenklaschen3 Stück
Benötigte Werkzeuge:
Spritzgießmaschine Präzisionspinzetten-Satz
4
4
Fold and open
Fold and open
With the hub's rib in the lower groove, the arms stand horizontal and the cups turn in the wind. Push the cap top up: the flexing hub's rib cams out and snaps into the upper groove, and the links swing the arms up to stand parallel to the spindle. Press it down to open them again.
Materialien
7- Platzhalter
- 1 StückPlatzhalter
- Platzhalter
- Platzhalter
- 1 StückPlatzhalter
- 1 StückPlatzhalter
- Platzhalter
Benötigte Werkzeuge
5- Platzhalter
- Platzhalter
- Platzhalter
- Platzhalter
- Platzhalter
Dieser Bauplan stellt her

Verwandte Blueprints
Diese Blueprints teilen Wissen — Techniken, Materialien oder Prinzipien

CC0 Gemeinfrei
Dieser Blueprint ist unter CC0 veröffentlicht. Sie dürfen dieses Werk für jeden Zweck frei kopieren, ändern, verbreiten und verwenden, ohne um Erlaubnis zu fragen.
Unterstützen Sie den Maker, indem Sie Produkte über seinen Blueprint kaufen, wo er eine Maker-Provision von Anbietern festgelegt, verdient. Oder erstellen Sie eine neue Iteration dieses Blueprints und verbinden Sie ihn in Ihrem eigenen Blueprint, um Einnahmen zu teilen.