KUNST
SCHÖNHEIT & WELLNESS
HANDWERK
KULTUR & GESCHICHTE
UNTERHALTUNG
UMFELD
ESSEN & GETRÄNKE
REVERSE ENGINEERING
WISSENSCHAFTEN
SPORT
TECHNOLOGIE
WEARABLES


Cookware Handles: Stainless Loops on Flanges Drilled for Rivets
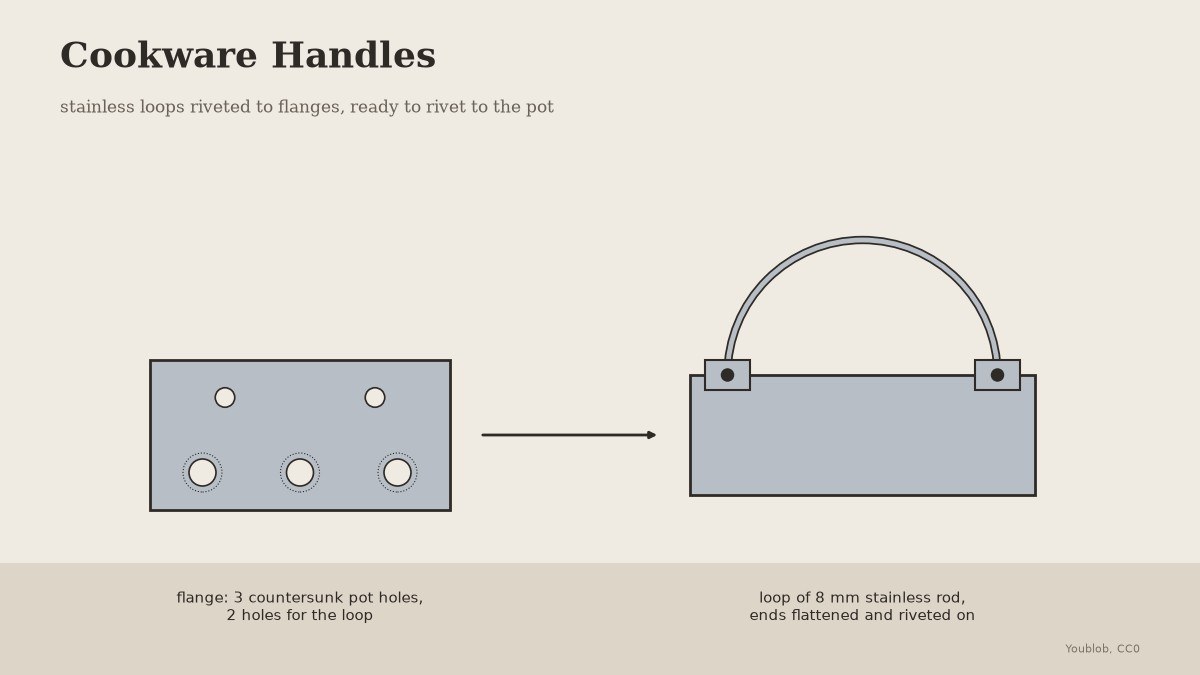
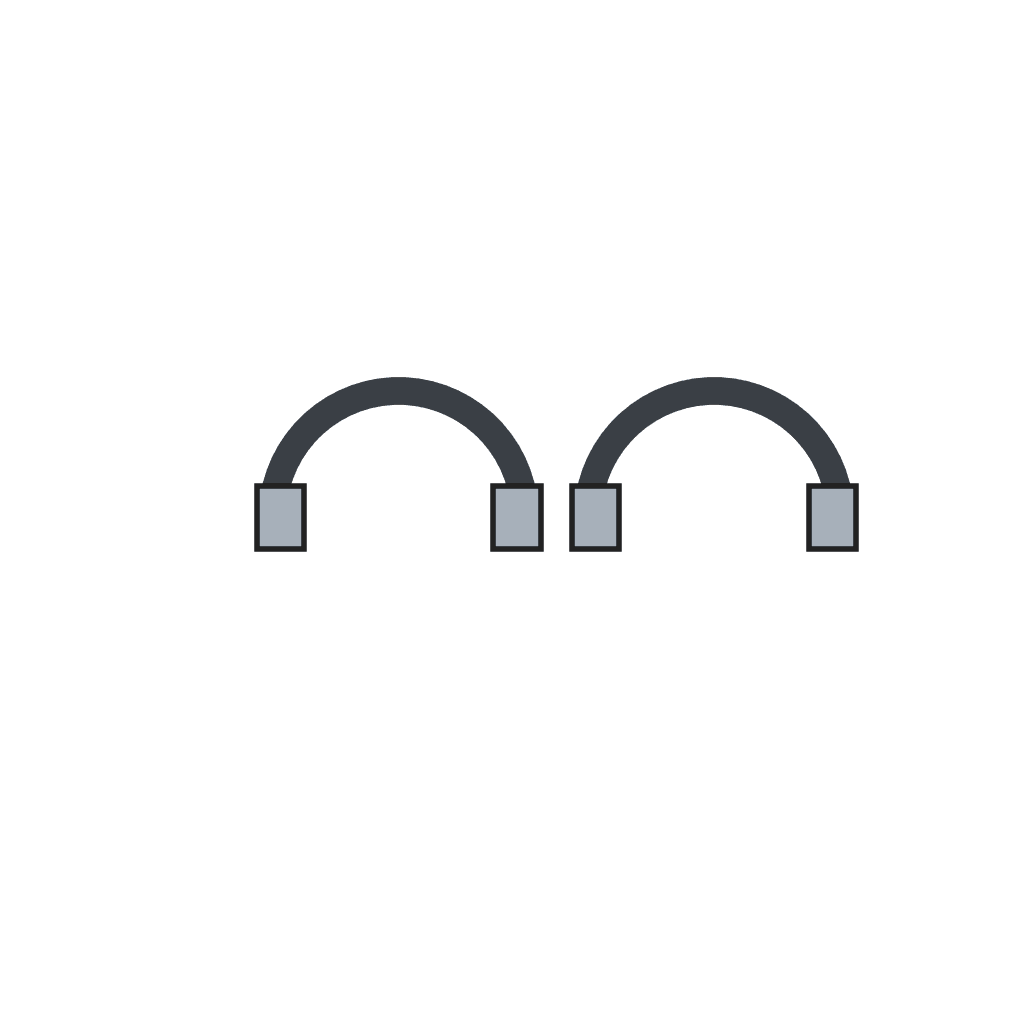
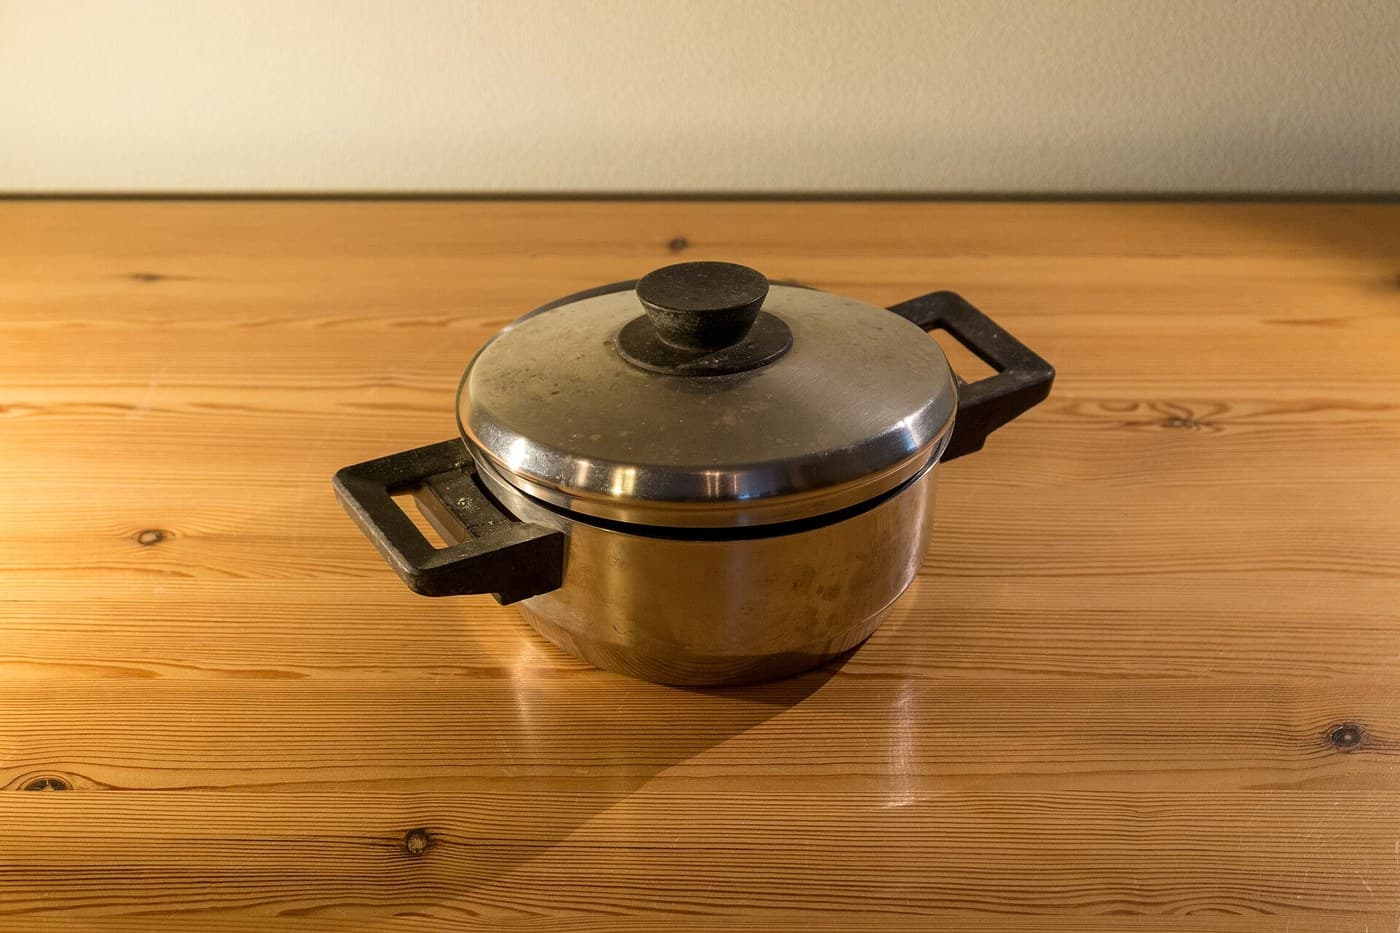
Pot handles are often riveted on: the handle has a flange with a pattern of holes, bevelled on the side against the pot, so the rivets spread into the bevel and lock the handle to the pot (US 7,966,710). These are a pair of loop handles bent from stainless rod and riveted to stainless flange plates, ready to rivet to a pot. Design and sizes are ours.
The picture: our drawing.
Fortgeschritten
Half a day
Anweisungen
1
1
Cut the flanges
Cut the flanges
Cut two flange plates 70 × 35 mm from 2 mm stainless sheet and curve each slightly to fit the pot's side wall. Drill each with three holes for the pot rivets, countersunk on the face that will sit against the pot, and two plain holes for fixing the loop.
Materialien für diesen Schritt:
 Edelstahlblech1 Stück
Benötigte Werkzeuge:
 Blechschere
 Bügelsäge (Metallsäge)
 Schraubstock
 Standbohrmaschine
 Bohrersatz
 Senker-Set
 Schneidöl
 Feilensatz
 Schutzbrille
2
2
Bend the loops
Bend the loops
Cut two 180 mm lengths of 8 mm stainless rod. Heat the ends red and flatten them on the anvil into tabs, then bend each rod into a loop that stands clear of the pot wall by a hand's thickness.
Materialien für diesen Schritt:
 Edelstahlstab400 mm
Benötigte Werkzeuge:
Bügelsäge (Metallsäge) Schmiedeesse
 Amboss
 Kreuzschlaghammer
 SchmiedezangeSchraubstock
 Schweißerhandschuhe
3
3
Drill and rivet the loops
Drill and rivet the loops
Drill the flattened tabs to match the two plain holes and rivet each loop to the outer face of its flange. The three countersunk holes are left for riveting the handle to the pot.
Materialien für diesen Schritt:
 Stahlnieten4 Stück
Benötigte Werkzeuge:
StandbohrmaschineBohrersatzAmbossKreuzschlaghammerSchutzbrille4
4
Finish
Finish
File all edges smooth so nothing catches the hand, and check both handles sit flat on the pot wall.
Benötigte Werkzeuge:
Feilensatz Digitaler Messschieber 6 Zoll
Materialien
3- 1 StückPlatzhalter
- 400 mmPlatzhalter
- 4 StückPlatzhalter
Benötigte Werkzeuge
15- Platzhalter
- Platzhalter
- Platzhalter
- Platzhalter
- Platzhalter
- Platzhalter
- Platzhalter
- Platzhalter
- Platzhalter
- Platzhalter
- Platzhalter
- Platzhalter
- Platzhalter
- Platzhalter
- Platzhalter
Dieser Bauplan stellt her
Verwandte Blueprints
Diese Blueprints teilen Wissen — Techniken, Materialien oder Prinzipien

CC0 Gemeinfrei
Dieser Blueprint ist unter CC0 veröffentlicht. Sie dürfen dieses Werk für jeden Zweck frei kopieren, ändern, verbreiten und verwenden, ohne um Erlaubnis zu fragen.
Unterstützen Sie den Maker, indem Sie Produkte über seinen Blueprint kaufen, wo er eine Maker-Provision von Anbietern festgelegt, verdient. Oder erstellen Sie eine neue Iteration dieses Blueprints und verbinden Sie ihn in Ihrem eigenen Blueprint, um Einnahmen zu teilen.