Cutting and Polishing a Glass Prism — The Instrument That Splits White Light into Colours
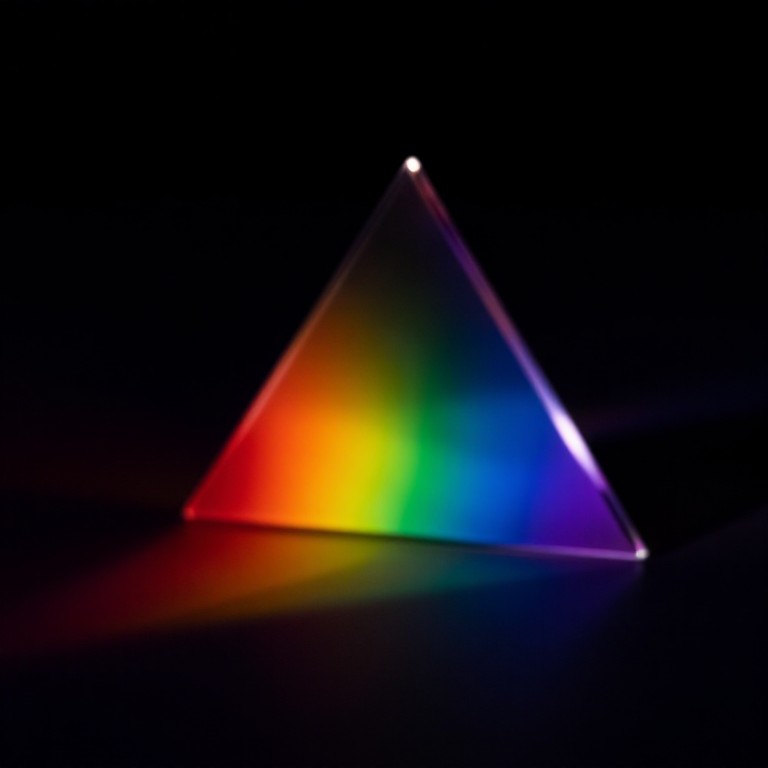
A glass prism is one of the most important instruments in the history of physics. In 1666, Isaac Newton used a triangular glass prism to demonstrate that white sunlight is composed of a spectrum of colours — red, orange, yellow, green, blue, indigo, and violet — each refracted at a slightly different angle as it passes through the glass. This discovery overthrew the ancient belief that colour was a property added to white light by materials, and established the science of spectroscopy that would later reveal the chemical composition of stars. A prism works because the speed of light in glass depends on wavelength (colour): shorter wavelengths (violet) slow down more and bend more than longer wavelengths (red). This dispersion separates the colours spatially. Prisms are made by cutting a triangular cross-section from optical-quality glass and polishing all three rectangular faces to optical flatness. The standard dispersing prism has a 60-degree apex angle. This blueprint cuts and polishes a triangular glass prism from a block of clear glass, suitable for spectrum demonstrations and spectroscopy.
Anweisungen
Understand prism geometry and dispersion
Understand prism geometry and dispersion
Select the glass
Select the glass
Materialien für diesen Schritt:
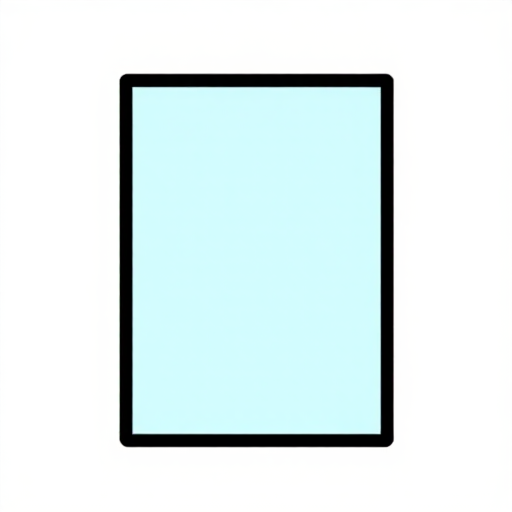 Glass Sheet1 Stück
Mark the triangular cross-section
Mark the triangular cross-section
Benötigte Werkzeuge:
 Diamond Scriber
 Protractor
Cut the glass to rough shape
Cut the glass to rough shape
Grind the first optical face flat
Grind the first optical face flat
Materialien für diesen Schritt:
 Silicon Carbide Grit200 g
Grind all three optical faces
Grind all three optical faces
Fine grind with progressively finer grits
Fine grind with progressively finer grits
Polish each face on a pitch lap
Polish each face on a pitch lap
Materialien für diesen Schritt:
 Pine Pitch Glue100 g
 Cerium Oxide Polish50 g
Test the prism with sunlight
Test the prism with sunlight
Verify optical quality
Verify optical quality
Materialien
4- 1 StückPlatzhalter
- 200 gPlatzhalter
- 100 gPlatzhalter
- Platzhalter
Benötigte Werkzeuge
2- Platzhalter
- Platzhalter
Materialien verbundener Blueprints
Verwandte Blueprints
Diese Blueprints teilen Wissen — Techniken, Materialien oder Prinzipien
Related blueprints
Other builds that share materials, tools, or techniques with this one.

CC0 Gemeinfrei
Dieser Blueprint ist unter CC0 veröffentlicht. Sie dürfen dieses Werk für jeden Zweck frei kopieren, ändern, verbreiten und verwenden, ohne um Erlaubnis zu fragen.
Unterstützen Sie den Maker, indem Sie Produkte über seinen Blueprint kaufen, wo er eine Maker-Provision von Anbietern festgelegt, verdient. Oder erstellen Sie eine neue Iteration dieses Blueprints und verbinden Sie ihn in Ihrem eigenen Blueprint, um Einnahmen zu teilen.